
If you have ever tried styling a wig on a cereal box, shaping a costume mask on your own knee, or photographing handmade hats on a suspiciously sad lamp, you already know why mannequin heads exist. They are useful, oddly dramatic, and one of the most underrated DIY projects in the craft universe. The good news is that learning how to make mannequin heads does not require a movie-studio budget or a degree in sculpture. It just requires the right method for the job.
Some people need a lightweight display head for wigs, hats, headphones, or jewelry. Others want a custom head form that actually matches real measurements instead of the generic “mystery melon” size sold at craft stores. And then there are ambitious makers who want to build a more realistic head for costume work, mask building, or art projects. All of those goals are possible. The trick is choosing the best material before you end up with a lumpy papier-mâché moon creature that was supposed to be a human head.
In this guide, you will learn three practical ways to make mannequin heads at home: a quick paper-mâché head, a sturdier plaster-cloth version, and a custom-fit mannequin head built from a basic foam wig form. You will also learn how to finish, paint, and seal your project so it looks intentional instead of “haunted second-grade volcano.”
Choose the Right Type of Mannequin Head First
Before you grab glue and newspaper like a caffeinated art teacher, decide what you want your mannequin head to do. That part matters more than people think.
Best for display
A paper-mâché mannequin head is lightweight, inexpensive, and easy to customize. It works well for wigs, hats, scarves, and decorative display. It is also beginner-friendly, which is another way of saying it forgives a lot of nonsense.
Best for durability
A plaster-cloth or plaster-bandage head creates a firmer shell and can be shaped faster than traditional paper-mâché. It is a smart option when you want a stronger display form or a smoother base for paint and embellishment.
Best for custom sizing
If you are making cosplay wigs, sewing headwear, building costume heads, or displaying handmade pieces for sale, you may need a mannequin head that matches a real person’s measurements. In that case, modifying a foam wig head is often easier than building from scratch.
Best for realism
A live lifecast can create the most accurate head form, but it is the most advanced option and comes with real safety concerns. For most DIYers, it is not the first method to try. It is the method to consider after you have experience, a helper, proper materials, and a healthy respect for breathing.
Method 1: How to Make a Paper-Mâché Mannequin Head
This is the easiest and most affordable method. It works especially well if you want a display head for hats, wigs, or crafts and do not need exact facial detail.
What You Need
- A plastic bottle, vase, or rolled cardboard tube for the neck support
- Crumpled newspaper, foil, or scrap paper for bulk
- Masking tape
- Paper strips torn from newspaper or kraft paper
- Paper-mâché paste made from flour and water or diluted craft glue
- Scissors
- Acrylic paint
- Sandpaper
- Sealer, varnish, or decoupage medium
Step 1: Build the Basic Shape
Start with the neck. A plastic bottle works beautifully because it already has that handy upright shape and does not complain. Tape crumpled paper or foil around the top until you form an egg-like skull. Keep the head slightly longer than a perfect sphere. Human heads are not basketballs, despite what some school portraits may suggest.
Add extra bulk for the forehead, back of the skull, cheeks, and chin. Do not obsess over details yet. You are building an armature, which is just a fancy art word for “the ugly stage that makes the good stage possible.” Wrap everything tightly with masking tape until the form feels stable and balanced.
Step 2: Apply the Paper-Mâché
Tear your paper into strips instead of cutting it. Torn edges blend better and lie flatter on curved surfaces. Dip each strip into the paste, remove the excess with your fingers, and smooth it onto the form. Overlap the strips in different directions so the shell becomes stronger as it dries.
Cover the entire head with at least three layers for a light display piece and four to six layers for something sturdier. Let the project dry thoroughly between heavy rounds of layering. Rushing this step is how people accidentally invent mildew sculpture.
Step 3: Refine the Features
If you want a stylized mannequin head, keep the face simple. A slight ridge for the nose, gentle cheek curves, and a soft chin are usually enough. For sharper details, switch from strips to paper pulp or lightweight paper clay after the base shell dries. This lets you shape the nose, lips, and brow without adding a weird patchwork texture.
Step 4: Sand, Paint, and Seal
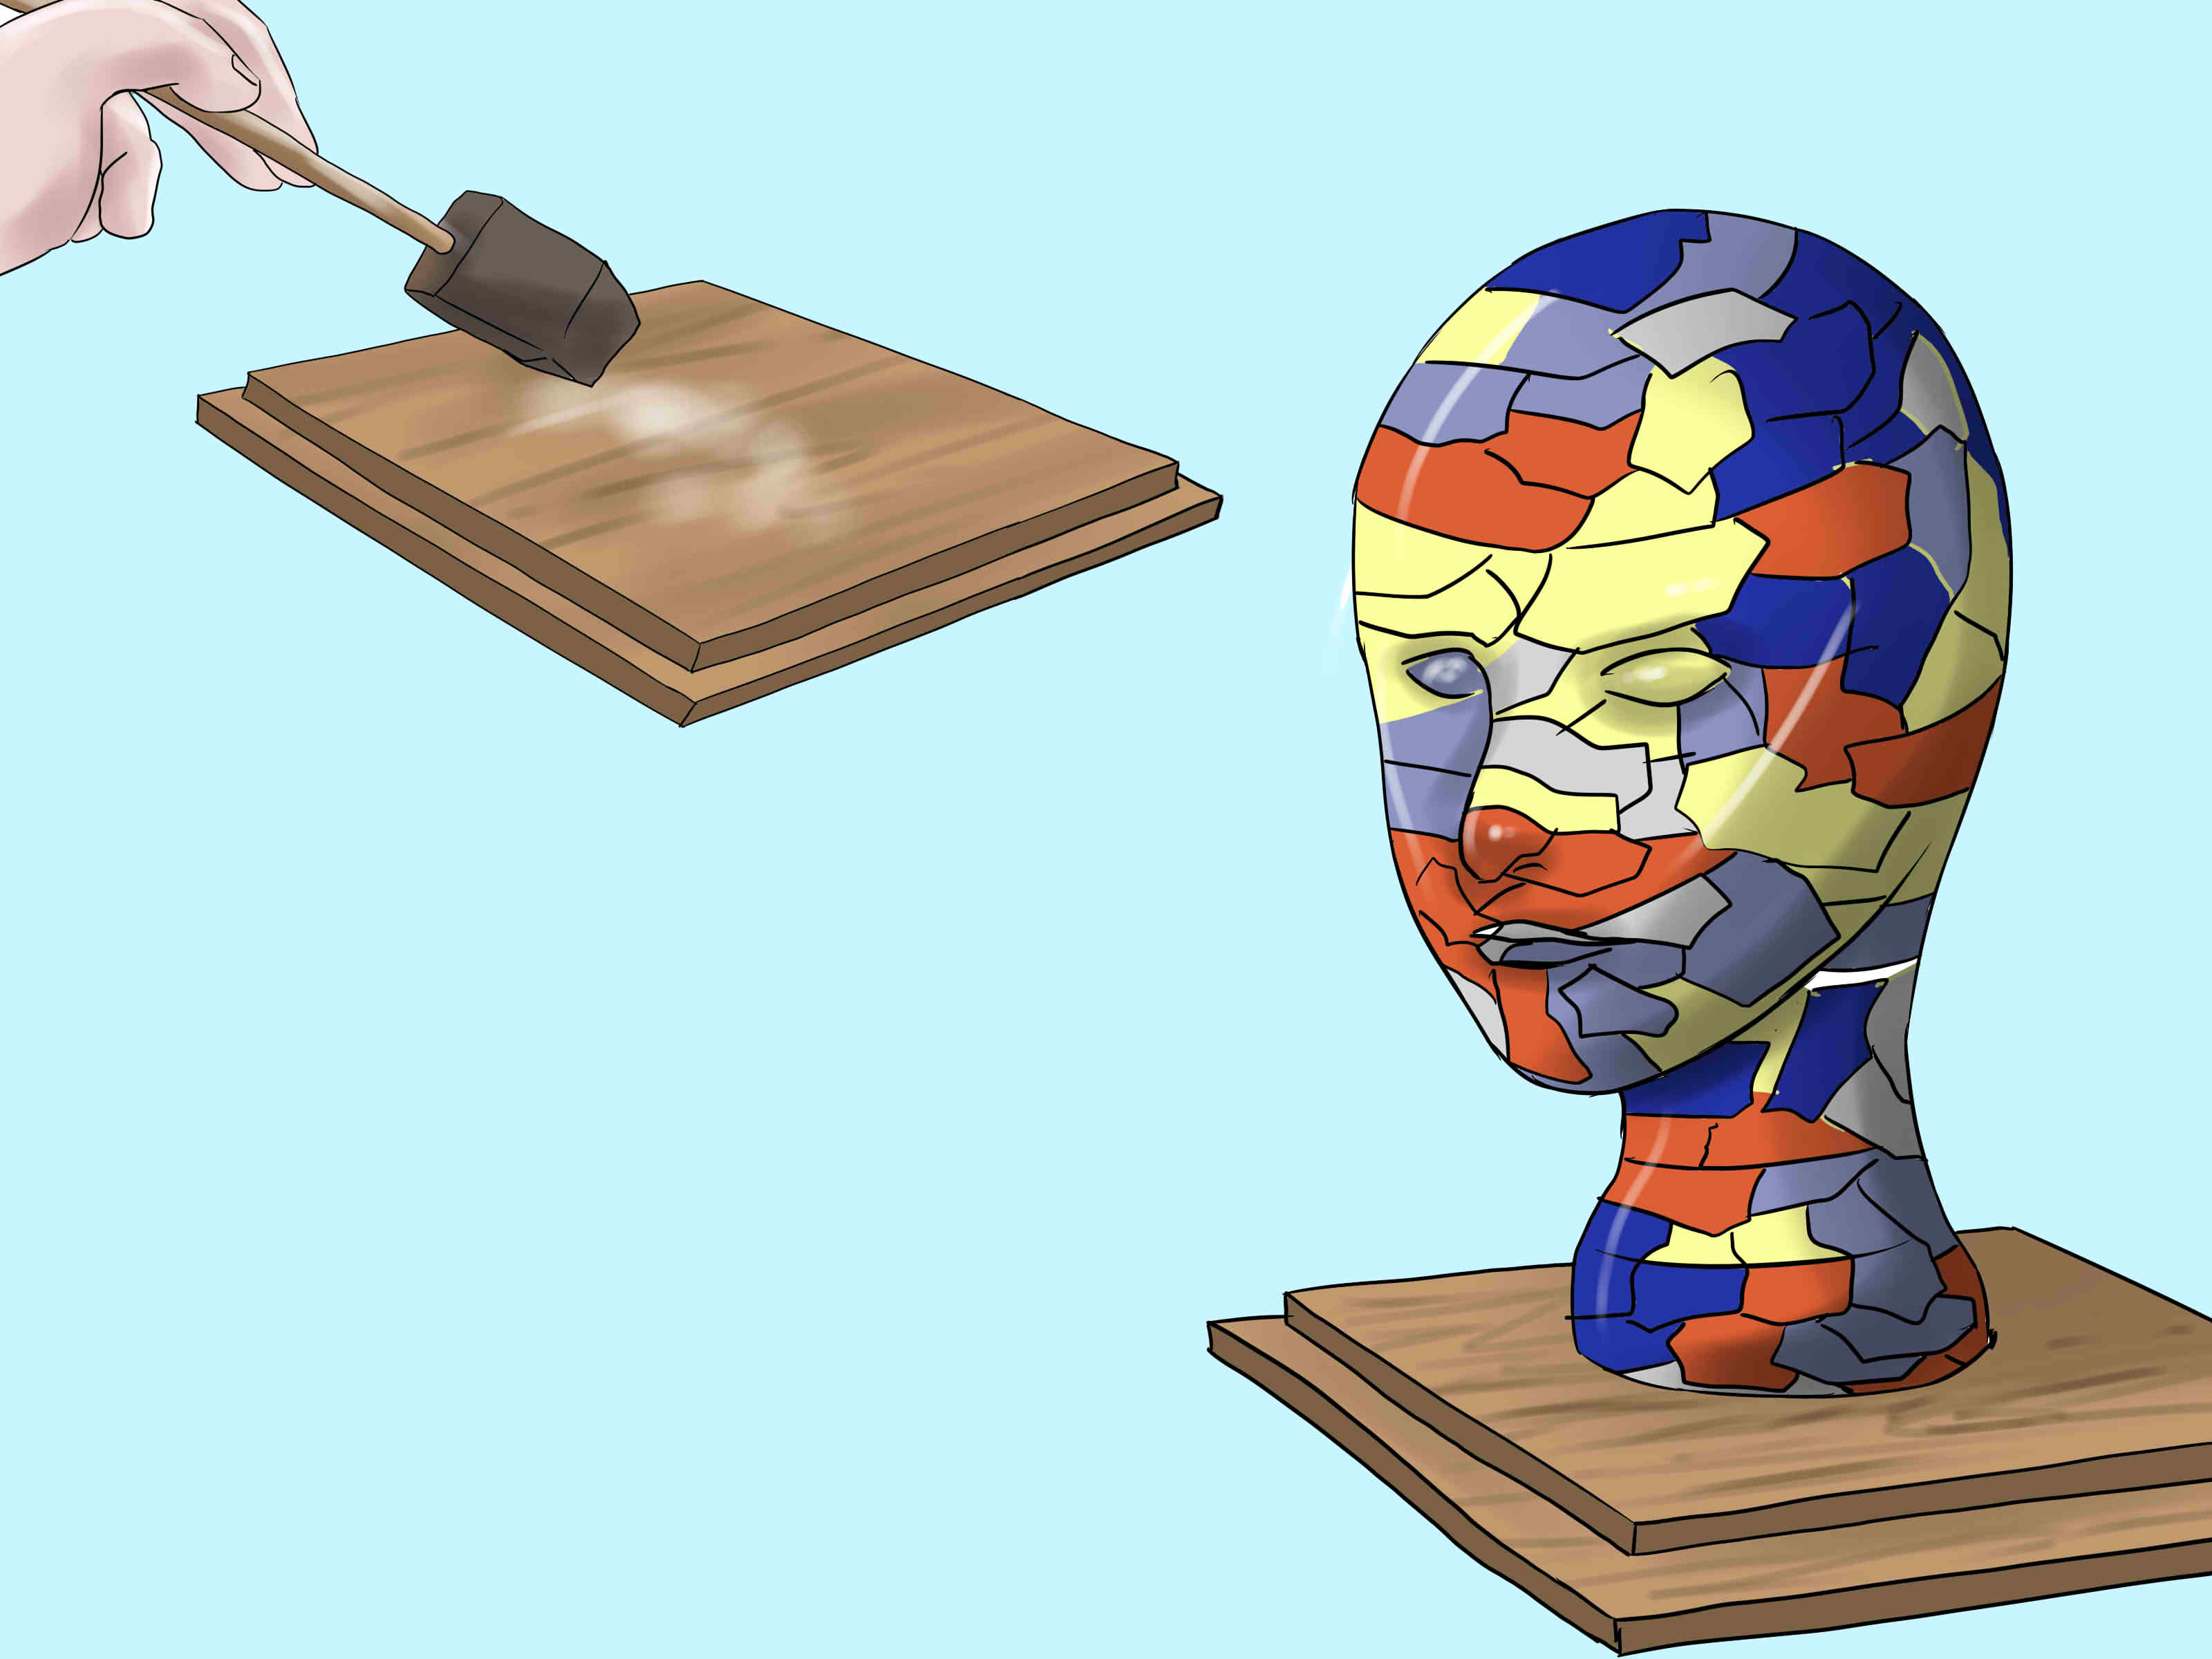
Once the head is completely dry, sand rough spots lightly. Paint with acrylics in thin coats. Matte white gives that classic shop-display look, while black looks sleek and modern. Skin tones can work too, but there is a fine line between “custom artisan display” and “why is this object staring at me from across the room?”
Finish with a clear sealer or several thin coats of decoupage medium to protect the surface. This step helps the mannequin head last longer and gives it a more polished appearance.
Method 2: How to Make a Custom-Size Mannequin Head
If your goal is function over drama, this method is the winner. Start with a basic foam wig head and build it out to match real measurements. That gives you a practical mannequin head for wig styling, hat making, costume fitting, or photography.
What You Need
- A foam wig head or canvas head block
- Flexible measuring tape
- Plastic wrap or cling film
- Batting, felt, fleece, or foam sheets
- Duct tape or masking tape
- Pins or glue
- Optional fabric cover
Step 1: Measure the Real Head
Measure the head circumference first. Then measure front to back over the crown and ear to ear over the top. These three numbers matter most when you want a mannequin head that supports wigs or headwear accurately. Measure twice, because “close enough” becomes “why does this wig fit like a spaceship helmet?” very quickly.
Step 2: Compare the Foam Head to the Measurements
Most ready-made foam heads are too small or too generic for custom work. Wrap the foam head in plastic wrap, then add layers of batting, fleece, felt, or foam in the areas that need more size. Build up the crown, temples, or back of the head gradually. Check your measurements often instead of trying to correct everything at once with one heroic lump.
Step 3: Secure the New Shape
Once the dimensions match, wrap the added layers with tape to hold them in place. For a nicer finish, add a fabric cover over the entire form. A neutral cotton cover looks clean, pins well, and makes the mannequin head feel more professional.
Why This Method Works So Well
It is fast, fairly clean, and genuinely useful. If you make wigs, hats, cosplay pieces, or head wraps, a custom-size mannequin head saves time and reduces fitting mistakes. It may not look like fine art, but it does something even better: it behaves.
Method 3: How to Make a Plaster-Cloth Mannequin Head
This method sits nicely between crafty and serious. It is faster than full paper-mâché, sturdier than a thin shell, and great for display heads, costume bases, and art pieces.
What You Need
- A base form such as a balloon, foil armature, foam head, or temporary head mold
- Plaster cloth or plaster bandages
- Warm water
- Scissors
- Optional lightweight filler or paper clay for details
- Acrylic gesso or primer
- Acrylic paint and sealer
Step 1: Prepare Your Form
You can apply plaster cloth over a simple armature, a foam head, or a protected object that already has the head shape you want. If you are covering a reusable base, wrap it in plastic first so the shell can be removed later.
Step 2: Add the Plaster Cloth
Cut the cloth into manageable strips. Dip each strip briefly in warm water, remove excess water, and smooth it onto the form. Overlap the pieces and rub gently so the plaster activates and fills the mesh. Two to three layers usually create a solid shell, though larger or more delicate pieces may need more.
Step 3: Clean Up the Surface
After the shell cures, trim rough edges and patch low spots with extra plaster cloth, lightweight filler, or paper clay. If you want a smooth mannequin display look, prime the piece and sand lightly between coats.
Why Makers Like This Method
Plaster cloth dries faster than classic paper-mâché and gives you a stronger shell with less waiting. It is especially helpful when you want a head form that can handle repeated use without feeling delicate.
Should You Try a Lifecast?
Here is the honest answer: only if you are prepared. A live head cast can produce the most realistic mannequin head, but it should never be approached casually. If you cast directly from a real person, use skin-safe materials designed for lifecasting, keep breathing passages open the entire time, and work with a capable helper. This is not a one-person “I watched half a video and feel confident” project.
For most readers, a smarter path is to make a mannequin head inspired by real measurements rather than a full live cast. You will get something highly usable without turning your craft room into a low-budget effects studio.
Common Mistakes That Ruin DIY Mannequin Heads
Making the skull too round
Human heads are more egg-shaped than ball-shaped. If the top gets too wide and round, hats and wigs will sit strangely.
Using too much wet paste
Over-saturated paper turns into slime with ambition. Use enough paste to bond the paper, but not so much that it drips and puddles.
Skipping dry time
Layering over damp paper traps moisture and weakens the structure. Patience is boring, but it is cheaper than rebuilding.
Ignoring balance
A mannequin head should sit upright without wobbling like it heard shocking gossip. Make sure the neck base is centered and sturdy.
Forgetting the finish
Paint alone does not do all the work. A sealed surface lasts longer, looks cleaner, and handles dust and humidity better.
How to Finish and Use Your Mannequin Head
Once your mannequin head is built, you can customize it for almost any purpose. Cover it with fabric for pinning wigs. Paint it with metallics for store display. Add a wooden base for tabletop stability. Decoupage it for an artsy look. Wrap it in velvet for jewelry photography. You can even mount it on a dowel stand if you want something that feels a little more studio and a little less kitchen-table-chaos.
If you plan to use pins often, a fabric-covered surface is much kinder than a painted shell. If you want a decorative piece, focus on a smooth paint finish and clean silhouette. And if you are making something for resale photos, choose a neutral color that does not compete with the product.
Final Thoughts on How to Make Mannequin Heads
Learning how to make mannequin heads is one of those wonderfully practical DIY skills that feels niche until you need it, and then suddenly it becomes the answer to half your creative problems. A homemade mannequin head can hold wigs, support hats, display accessories, help with costume builds, and save you from balancing projects on random furniture like a craft goblin.
If you want the easiest route, go with paper-mâché. If you want more strength, use plaster cloth. If you need accuracy, start with a foam head and customize the measurements. That is really the whole game: match the method to the mission.
And remember, even if your first attempt looks less “boutique studio display” and more “ancient theater prop discovered in a garage,” you are still doing it right. Most good mannequin heads begin as a weird lump with potential.
My Experience Making Mannequin Heads the Hard, Messy, and Surprisingly Useful Way
The first mannequin head I made was not elegant. It was not symmetrical. It was not, if we are being generous, emotionally easy to look at. I built it from a plastic bottle, masking tape, crumpled newspaper, and a level of confidence that was absolutely not supported by my skill set. At the time, I just needed something to hold a wig for a costume project. I assumed this would be a quick little craft. Instead, it turned into one of those DIY experiences that teaches you twelve lessons while humbling you in public.
The earliest mistake was making the head too round. I had accidentally created something shaped like a giant pear crossed with a bowling ball. When I put the wig on it, the wig looked offended. That was the moment I learned the importance of studying real head proportions before building anything. Once I adjusted the forehead, lengthened the back, and gave the chin a little more structure, the whole form suddenly made more sense. That experience alone changed how I approach sculptural projects. Shape matters more than detail in the beginning.
I also learned that less paste is usually better than more paste. In the first version, I drenched the paper strips like I was marinating them. Bad idea. The whole shell stayed wet forever, and I spent an unreasonable amount of time staring at it like my attention might speed up evaporation. Later attempts went much better because I used thinner, smoother layers and let the head dry properly between sessions.
The most useful mannequin head I ever made was not the prettiest one. It was a custom-size foam head I built up with batting and tape so I could style wigs more accurately. That one taught me something important: the best DIY result is not always the fanciest. Sometimes the true craft victory is making an object that quietly does its job every single time. It held pins well, matched the measurements I needed, and saved me from constant fit issues.
Over time, I started appreciating mannequin heads as tools rather than just craft projects. They became part display stand, part fitting assistant, part silent creative coworker. Slightly creepy coworker, yes, but dependable. And once I understood which material worked best for each purpose, the process got much easier. Paper-mâché for lightweight display, plaster cloth for sturdiness, padded foam for accuracy. After that, I stopped trying to force one method to do everything.
So if you are making your first mannequin head, expect a learning curve. Expect some trial and error. Expect at least one moment when you turn the project to the side and think, “Well, that is certainly a face.” But also expect improvement. Because once you make one workable mannequin head, the next one gets smarter, cleaner, and more useful. And that is when the project goes from random experiment to a skill you will actually keep using.











