
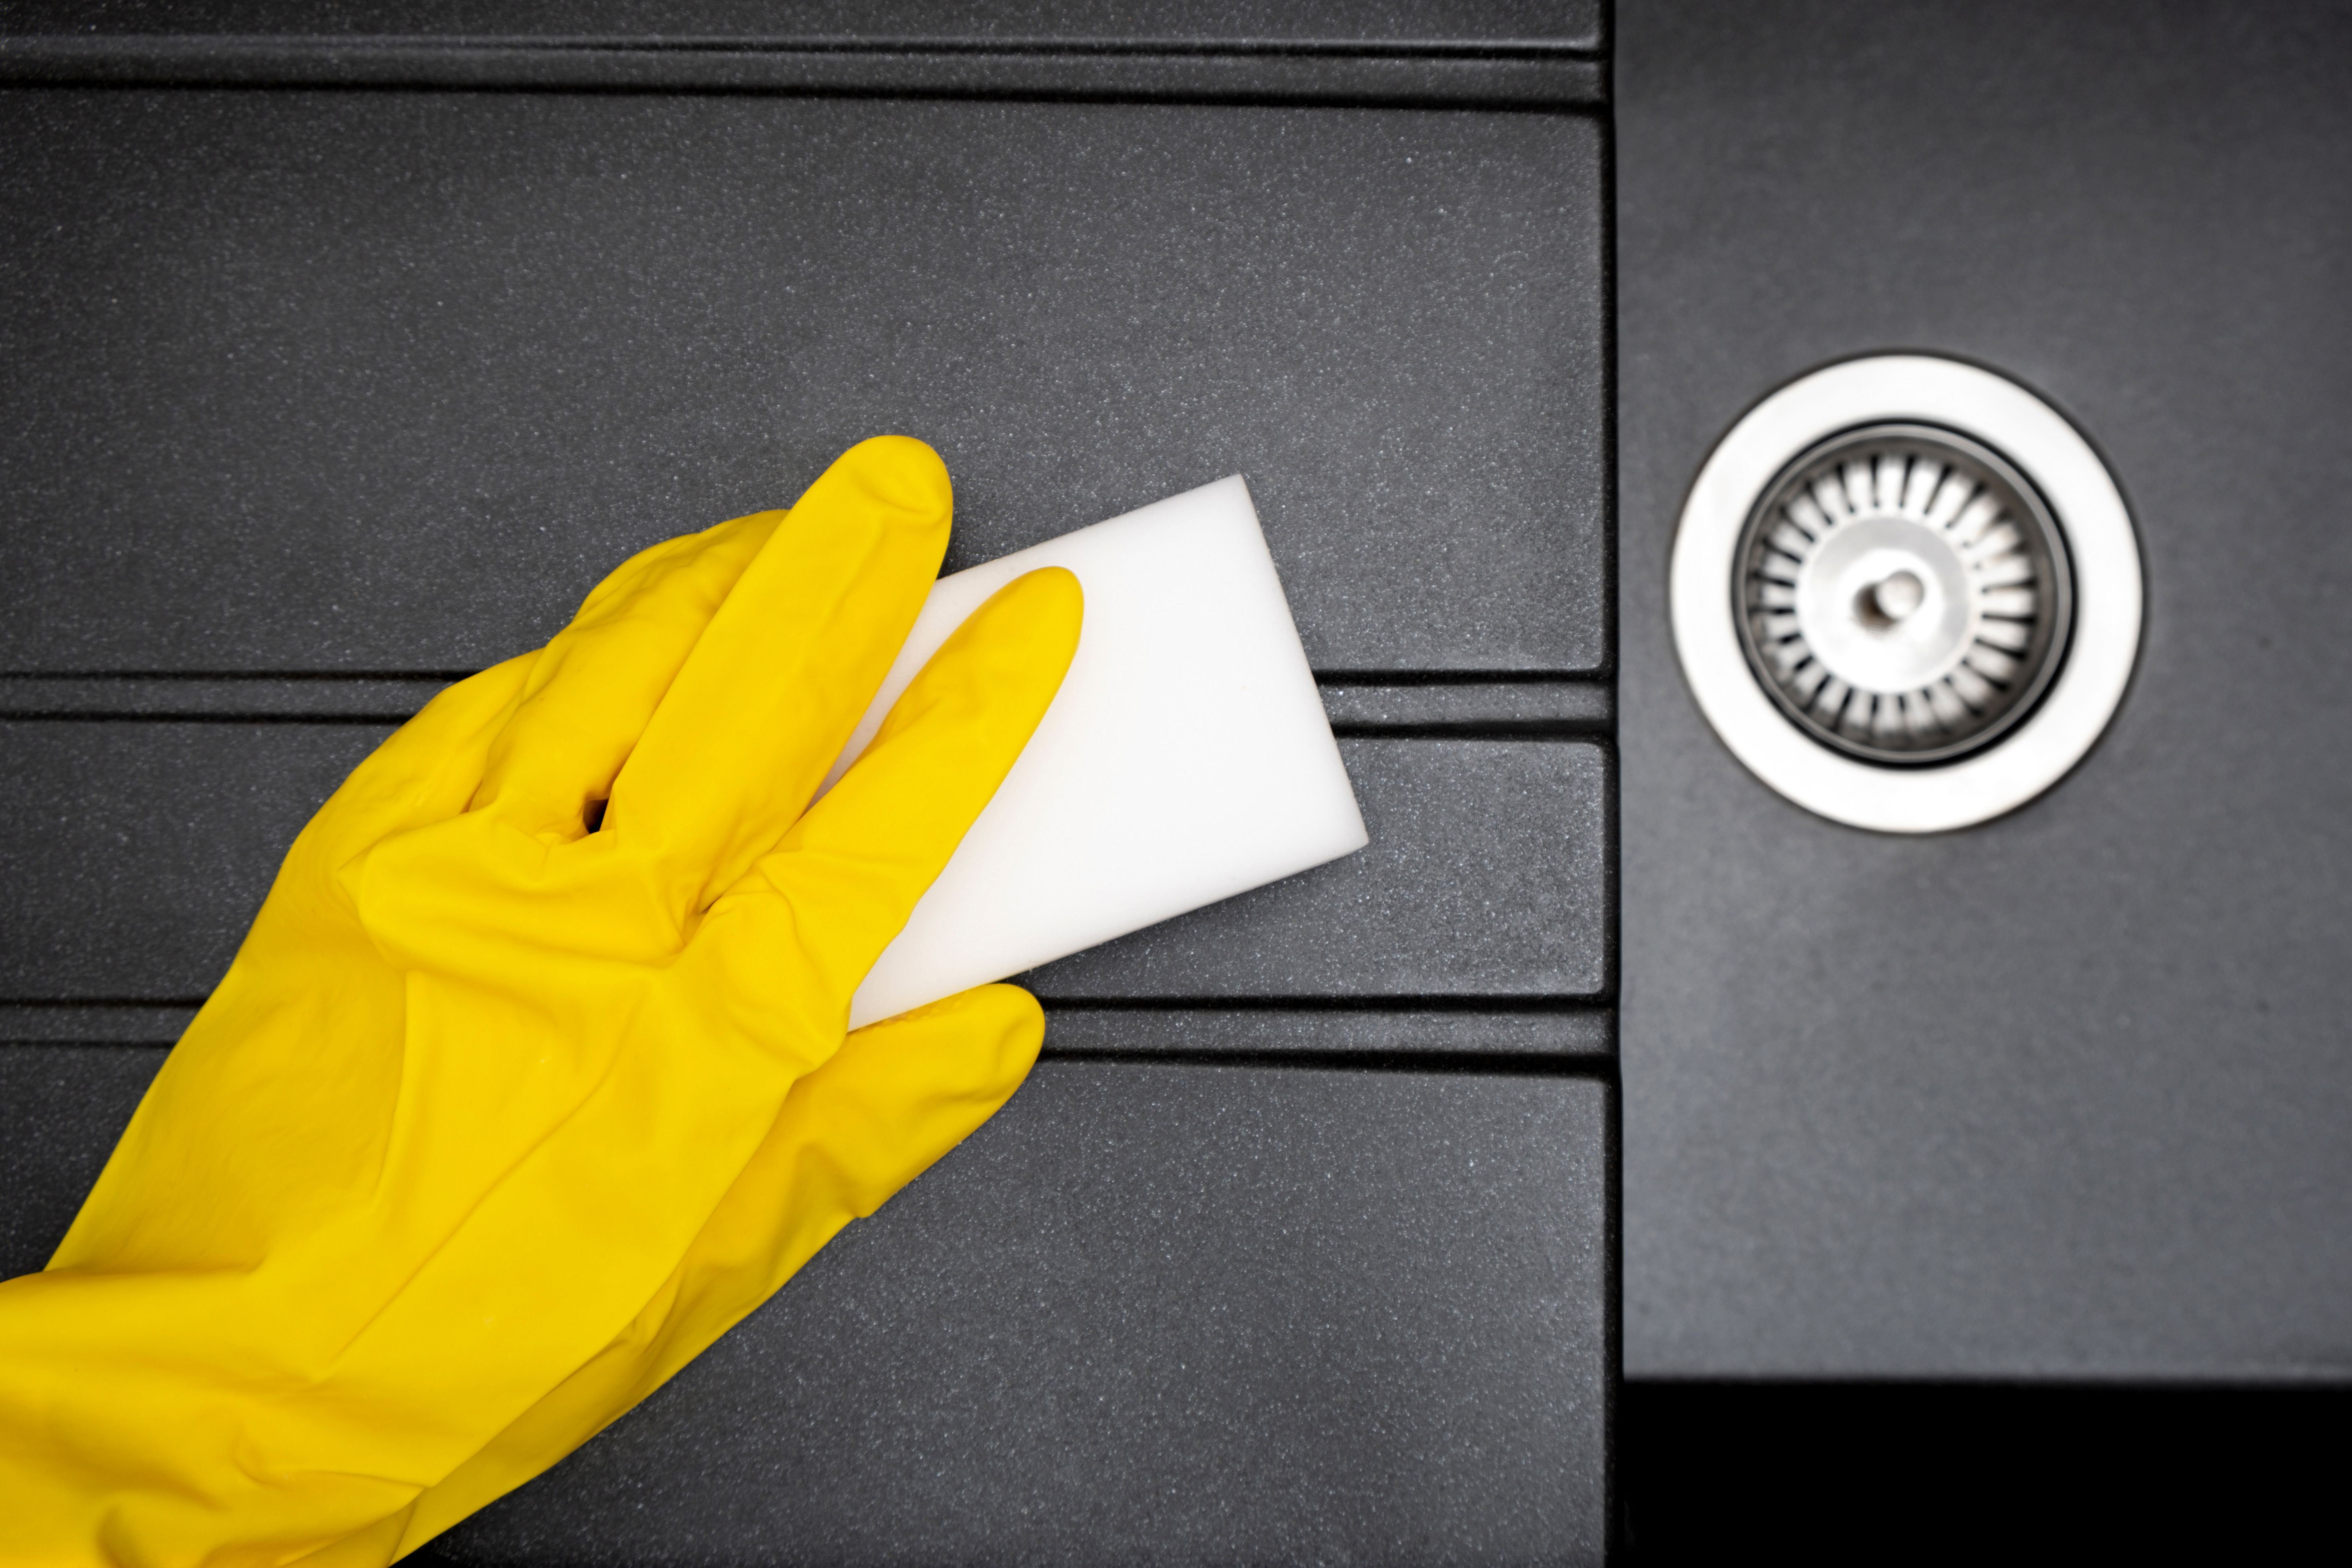
Magic Erasers have earned a heroic reputation in American kitchens and bathrooms. One minute, your sink has mystery stains that look like they signed a long-term lease. The next minute, a little white sponge enters the chat, and the marks vanish like they owe rent. But here is the important question: are Magic Erasers safe for kitchen and bathroom surfaces, or are they secretly tiny sandpaper ninjas wearing innocent sponge costumes?
The honest answer is: yes, Magic Erasers can be safe on many kitchen and bathroom surfaces when used correctly, but they are not safe for every surface. Their strength comes from melamine foam, a material that works like a very fine abrasive. That means it can remove soap scum, grime, scuffs, and stubborn residue without much chemical help. It also means it can dull, scratch, or strip finishes if used on the wrong material or with too much enthusiasm.
In other words, a Magic Eraser is not a universal cleaning wand. It is more like a tiny cleaning tool with a law degree: very useful, but you should read the fine print before letting it touch your countertops.
What Is a Magic Eraser, Really?
A Magic Eraser is usually made from melamine foam, a hard but lightweight material with a microscopic open-cell structure. When dampened, the foam acts like an ultra-fine abrasive pad. Instead of dissolving dirt the way a chemical cleaner does, it physically lifts grime from the surface.
That is why Magic Erasers are so effective on scuff marks, soap scum, dried splatters, sink stains, shower buildup, and those weird gray marks that appear on baseboards even though nobody in the house admits to touching them. The sponge wears down as you use it because it is gradually breaking apart while scrubbing away residue.
Why Water Matters
Most Magic Eraser products are designed to be used with water. Wetting the sponge softens the foam slightly, helps it glide more smoothly, and reduces the risk of harsh scratching. A dry Magic Eraser can be more aggressive, especially on shiny or delicate finishes. The safest routine is simple: wet it, squeeze out the excess water, test a hidden spot, then scrub lightly.
Notice the phrase “scrub lightly.” This is not the moment to attack your backsplash like you are auditioning for a cleaning-product commercial. Gentle pressure is the secret sauce.
Are Magic Erasers Safe in the Kitchen?
Magic Erasers can be useful in the kitchen, especially for durable, nonporous surfaces. They can help remove greasy fingerprints, food splatter, dried sauce, sink marks, and residue from appliance interiors. However, kitchens contain many finishes that are easy to damage, so surface type matters more than the mess itself.
Kitchen Surfaces Where Magic Erasers Usually Work Well
Magic Erasers are often effective on white porcelain sinks, ceramic tile, some backsplashes, microwave interiors, refrigerator interiors, plastic trash cans, and durable laminate spots when used carefully. They can also help with scuff marks on certain hard flooring materials, though you should always test first.
For example, a white porcelain kitchen sink with tea stains or gray utensil marks may respond beautifully to a damp Magic Eraser. A microwave interior with dried tomato sauce splatter may also clean up quickly. The sponge can reach into tiny surface grooves and remove buildup that a soft cloth leaves behind.
Kitchen Surfaces to Avoid
Do not use Magic Erasers on natural stone countertops such as marble, granite, travertine, limestone, or soapstone. These surfaces may have sealants or polished finishes that can be dulled or etched by abrasive cleaning. Even if the stone looks tough enough to survive a dinosaur stampede, its finish can be surprisingly sensitive.
You should also avoid using Magic Erasers on stainless steel appliances. Stainless steel has a visible grain and a finish that can scratch or dull. A Magic Eraser may leave streaks, cloudy patches, or fine scratches, especially on refrigerator doors, ovens, dishwashers, and range hoods.
Nonstick cookware is another hard no. The abrasive foam can wear down nonstick coating over time. Once that coating is damaged, the pan may lose performance and should not be treated like a regular scrub surface. Use a soft sponge and dish soap instead.
High-gloss cabinets, painted cabinets, varnished wood, butcher block, copper, brushed metal, acrylic countertops, and glossy laminate surfaces should also be treated with caution or avoided completely. If the surface depends on a shine, coating, sealant, or finish, a Magic Eraser may remove more than the stain. That is not cleaning; that is accidental remodeling.
Are Magic Erasers Safe in the Bathroom?
Bathrooms are where Magic Erasers often shine. Soap scum, hard-water marks, toothpaste residue, and tub rings are exactly the kind of stubborn messes that make people reach for melamine foam. Used correctly, Magic Erasers can be helpful on many bathroom surfaces, especially smooth, durable, white, nonporous materials.
Bathroom Surfaces Where Magic Erasers Can Help
Magic Erasers can work well on porcelain sinks, white tubs, ceramic tile, shower walls, grout lines, toilet exteriors, and some glass shower doors. They are especially useful for removing soap scum that clings to textured or slightly grooved areas.
For shower doors, a damp Magic Eraser can help remove cloudy buildup. After cleaning, wipe the area with a clean microfiber cloth and rinse thoroughly. For grout, use gentle strokes rather than aggressive back-and-forth scrubbing. Grout can be durable, but old or crumbling grout needs a softer approach.
Bathroom sinks are another great candidate. Toothpaste splatter, mineral marks, and makeup smudges often lift quickly. The Magic Eraser can make a sink look refreshed without a strong chemical cleaner, which is handy when you want your bathroom clean but not smelling like a science lab had an emotional breakdown.
Bathroom Surfaces to Avoid
Be careful with glossy, acrylic, fiberglass, painted, or refinished tubs. Many modern tubs and shower inserts have surface coatings that can dull under abrasive pressure. If your tub has been reglazed or refinished, avoid Magic Erasers unless the refinishing company specifically says they are safe.
Do not use Magic Erasers on natural stone shower walls, marble vanities, polished stone floors, brass fixtures, oil-rubbed bronze, matte black fixtures, or delicate metal finishes. These surfaces can lose their finish, develop cloudy marks, or show scratches.
Mirrors are also risky. While some people use Magic Erasers on glass, abrasive cleaning can leave fine scratches or hazy marks, especially if the glass has coatings. A microfiber cloth and glass cleaner are safer for mirrors.
The Big Safety Rule: Think Like the Surface
Before using a Magic Eraser, ask one simple question: would this surface be damaged by very fine sandpaper? If the answer is yes, maybe, or “I have no idea, but this countertop cost more than my first car,” do not use it.
Magic Erasers are best for hard, smooth, nonporous, durable surfaces. They are risky on anything soft, glossy, coated, sealed, painted, polished, dark-colored, or delicate. Dark surfaces are especially vulnerable because dull spots and scratch marks show more clearly.
How to Use a Magic Eraser Safely
1. Test First
Always test the sponge on a small, hidden area. Wait until the spot dries, then check it in good light. Some damage does not appear while the surface is wet. If the area looks dull, scratched, lighter, or rougher, stop immediately.
2. Use Water Only Unless the Product Says Otherwise
Most basic Magic Erasers need only water. Do not mix them with bleach, ammonia, or other household cleaners. Combining cleaning products is rarely necessary and can be unsafe. Let the sponge do its job without turning your kitchen into chemistry class.
3. Apply Light Pressure
Press gently and use short strokes. If the stain does not come off with light pressure, the surface may need a different cleaner, not a stronger arm workout. Heavy scrubbing increases the chance of dulling or scratching.
4. Rinse Food-Contact Surfaces
If you use a Magic Eraser on any surface that touches food, rinse the area well afterward. This includes countertops, sink basins, refrigerator shelves, and appliance interiors. Wipe with clean water and dry with a microfiber cloth.
5. Do Not Use It on Skin
A Magic Eraser is not a body sponge. It can irritate or abrade skin. Keep it for surfaces, not hands, faces, pets, or any living creature who would prefer not to be exfoliated by industrial-strength enthusiasm.
Magic Eraser Safety by Surface Type
Porcelain Sinks and Tubs
Usually safe when used gently. Porcelain is one of the best surfaces for Magic Erasers, especially white porcelain. Rinse thoroughly after cleaning.
Ceramic Tile
Usually safe on glazed ceramic tile, but avoid aggressive pressure on decorative, handmade, cracked, or highly glossy tile. Test first if the tile has a special finish.
Grout
Often useful, but not a replacement for deep grout cleaning. Avoid using too much force on old, loose, or damaged grout.
Stainless Steel
Not recommended. Use a microfiber cloth and a stainless-steel-safe cleaner instead. Always wipe with the grain.
Quartz Countertops
Use caution. Quartz is durable, but the resin and finish can be affected by abrasive pads. A mild dish soap solution is safer for routine cleaning.
Granite and Marble
Avoid. Magic Erasers can dull sealants and polished stone finishes. Use a pH-neutral stone cleaner instead.
Glass Shower Doors
Use with caution. Some homeowners get good results on soap scum, but coated glass may scratch or haze. Test first and avoid heavy pressure.
Painted Cabinets and Walls
Use extreme caution or avoid. Magic Erasers can remove paint sheen or leave dull patches, especially on flat, matte, dark, or high-gloss paint.
Nonstick Cookware
Avoid completely. The abrasive foam can damage the coating.
Wood Surfaces
Avoid on finished, polished, waxed, or bare wood. The sponge may strip finish and leave rough or dull areas.
What to Use Instead on Sensitive Surfaces
For natural stone, use a pH-neutral stone cleaner and a soft cloth. For stainless steel, use warm water, mild dish soap, and a microfiber cloth, wiping with the grain. For nonstick cookware, stick with a non-abrasive sponge and dish soap. For painted walls or cabinets, try a damp microfiber cloth first. For glass and mirrors, use a glass cleaner or vinegar-water solution if recommended for that surface.
The best cleaner is not always the strongest one. Sometimes the safest tool is the boring one: warm water, mild soap, and a cloth. It may not have “magic” in the name, but it also will not turn your shiny refrigerator into a cautionary tale.
Environmental Considerations
Magic Erasers work by wearing away as they clean, which means they can release tiny particles as they break down. Recent environmental discussions have raised concerns about melamine sponges shedding microplastic fibers during use. For households trying to reduce plastic waste, it is smart to use these sponges only when needed, choose durable versions, avoid unnecessary scrubbing, and rely on washable cloths or natural-fiber brushes for everyday cleaning.
This does not mean you must banish every Magic Eraser from your home like a villain in a kitchen soap opera. It means using them thoughtfully. Save them for stubborn marks where they make a real difference, not for every crumb, drip, or suspicious smudge.
Real-Life Examples: When a Magic Eraser Makes Sense
The Porcelain Sink Rescue
If your white sink has gray metal marks from pans or utensils, a damp Magic Eraser can often remove them quickly. Use light pressure, rinse well, and dry the sink afterward. This is one of the tool’s best kitchen uses.
The Shower Soap Scum Battle
For a shower wall with soap scum, a Magic Eraser can cut through buildup faster than a cloth. Work in small sections, rinse, and follow with a dry microfiber towel. Keeping the shower dry afterward helps prevent the soap scum from making a dramatic comeback.
The Refrigerator Interior Cleanup
Sticky marks inside the refrigerator can be cleaned with a damp Magic Eraser if the surface is durable plastic. Rinse with a clean damp cloth afterward, especially where food may touch.
The Stainless Steel Mistake
A smudge on a stainless steel refrigerator may look like a perfect Magic Eraser job, but it is not. Fine scratches can permanently dull the finish. Use a microfiber cloth instead. Stainless steel wants respect, not a foam sanding session.
Common Mistakes to Avoid
The first mistake is assuming “multi-surface” means “all surfaces.” It does not. The second mistake is scrubbing too hard. If gentle pressure does not work, switch methods. The third mistake is skipping the test spot. The fourth mistake is using Magic Erasers on expensive surfaces without checking manufacturer care instructions.
Another mistake is using the sponge on food-contact items without rinsing afterward. Even when a product uses only water, cleaning residue and loosened particles should be removed. Rinse, wipe, and dry.
So, Are Magic Erasers Safe?
Magic Erasers are safe for many kitchen and bathroom surfaces when used with water, light pressure, and common sense. They are especially helpful on porcelain, ceramic tile, grout, and durable nonporous surfaces. They are not safe for stainless steel, natural stone, nonstick cookware, polished finishes, painted surfaces, wood, delicate metals, or anything with a coating you want to keep.
The best way to use a Magic Eraser is as a targeted problem solver, not a daily all-purpose sponge. Think of it as the cleaning equivalent of a strong espresso: fantastic in the right moment, questionable if you use it for everything.
Extra Experience-Based Tips for Kitchen and Bathroom Cleaning
After using Magic Erasers around kitchens and bathrooms, one pattern becomes very clear: they perform best when you give them small, specific jobs. They are not the ideal choice for wiping down an entire kitchen every night. They are perfect for the annoying spot that survives regular cleaning. That brownish ring near the drain? Good candidate. The mysterious mark on the tub ledge? Probably worth testing. The entire marble vanity? Absolutely not. Put the sponge down and step away from the expensive stone.
In the kitchen, the most satisfying use is often the sink. White porcelain and some durable sink materials collect gray scuffs, coffee stains, and dull patches that ordinary dish soap does not always remove. A damp Magic Eraser can make the sink look brighter in under a minute. The important follow-up is rinsing. After using the sponge, rinse the area with clean water and wipe it dry. This removes loosened grime and helps prevent residue from sitting on the surface.
Another practical kitchen use is inside the microwave. Food splatters can dry into stubborn little dots that seem emotionally attached to the walls. First, loosen the mess by heating a microwave-safe bowl of water for a few minutes, letting the steam soften the splatter. Then use a damp Magic Eraser gently on the remaining spots. This method reduces the amount of scrubbing needed, which also reduces the chance of damaging the plastic interior.
For bathrooms, Magic Erasers are especially handy near sinks and tubs. Toothpaste, soap film, and mineral marks often lift quickly. However, bathroom surfaces vary widely. A basic white porcelain sink is not the same as a custom stone vanity or a refinished tub. If you recently paid someone to reglaze a bathtub, do not assume a Magic Eraser is safe. Refinished surfaces often require non-abrasive cleaners only. When in doubt, the care instructions win.
One of the best habits is cutting the sponge into smaller pieces. A full-size Magic Eraser can be too large for detail work, and using the whole sponge on one small mark wastes material. A smaller piece gives better control, reduces pressure, and makes it easier to clean around faucets, drains, grout lines, and corners. It also helps you avoid accidentally rubbing nearby delicate surfaces.
Another helpful habit is pairing the Magic Eraser with microfiber cloths. Use the eraser only on the stubborn spot, then wipe the whole area with a damp microfiber cloth. This gives a cleaner, more even finish and prevents the “one strangely bright patch” effect. On walls, cabinets, and painted trim, this matters a lot. A Magic Eraser can clean one area so aggressively that it stands out from the rest of the surface.
For shower glass, experience says patience is safer than pressure. If soap scum does not lift quickly, do not grind away at the glass. Use a shower-safe cleaner first, let it sit according to directions, then lightly use the Magic Eraser only if the glass is not coated and a test spot looks fine. Many modern shower doors have protective coatings that can be damaged by abrasive tools.
The final lesson is simple: Magic Erasers are excellent backup dancers, not the whole cleaning show. Use mild soap, warm water, microfiber cloths, and surface-specific cleaners for regular maintenance. Bring in the Magic Eraser for tough, isolated marks on durable surfaces. That approach keeps your kitchen and bathroom clean without sacrificing shine, sealants, coatings, or your security deposit.
Conclusion
Magic Erasers can be safe and effective for kitchen and bathroom cleaning, but only when matched to the right surface. Their melamine foam structure gives them impressive stain-removing power, yet that same micro-abrasive action can damage polished, coated, painted, or delicate materials. Use them on durable surfaces like porcelain, ceramic tile, and some grout. Avoid them on natural stone, stainless steel, nonstick cookware, wood, glossy finishes, and refinished tubs.
The golden rule is simple: test first, use water, apply light pressure, rinse food-contact surfaces, and stop if the finish changes. When used wisely, a Magic Eraser can be a brilliant cleaning helper. When used carelessly, it can become a tiny white regret sponge.











