
Replacing disc brakes sounds like one of those jobs best left to a person wearing a name patch and holding a clipboard. But for many careful DIYers, it is a realistic weekend projectprovided you understand what you are replacing, why you are replacing it, and where your confidence should stop before your car does. Disc brakes are simple in theory: the brake caliper squeezes brake pads against a spinning rotor, creating friction that slows the wheel. In real life, that simple system has bolts, clips, dust, rust, hydraulic pressure, torque specs, and one tiny spring clip that will absolutely try to escape into another dimension.
This guide breaks down 5 ways to replace disc brakes depending on what your vehicle needs: replacing brake pads, replacing pads and rotors together, servicing calipers and hardware, bleeding or refreshing brake fluid, and finishing the job with bedding-in and testing. The goal is not to make you the neighborhood brake wizard overnight. The goal is to help you understand the process, avoid expensive mistakes, and know when to call a certified mechanic before “DIY” becomes “tow truck.”
Before you begin, remember this: brakes are safety equipment, not decorative accessories. Always follow the vehicle service manual, use quality parts that match your exact make and model, support the car with jack stands, and torque bolts to manufacturer specifications. If the brake pedal feels soft, the car pulls, fluid leaks, ABS lights appear, or anything seems questionable after the job, stop driving and get a professional inspection.
What Are Disc Brakes and Why Do They Wear Out?
A disc brake system usually includes the brake rotor, brake pads, brake caliper, caliper bracket, slide pins, clips, shims, brake hose, and hydraulic fluid. When you press the brake pedal, hydraulic pressure pushes the caliper piston outward. The pads clamp against the rotor, converting motion into heat. It is wonderfully effectiveand also why brake parts eventually wear down. Friction is useful, but it is not exactly gentle.
Brake pads normally wear faster than rotors because they are designed as the sacrificial friction material. Rotors can last longer, but they may become too thin, grooved, warped, glazed, rusted, or heat-spotted. Calipers and slide pins can also seize, causing uneven pad wear or dragging brakes. A complete brake replacement is not always just “slap on new pads and celebrate with coffee.” Sometimes the smart repair is pads and rotors. Sometimes it includes hardware. Sometimes it includes brake fluid service. Your car’s symptoms tell the story.
Signs You Need to Replace Disc Brakes
Common warning signs include squealing, grinding, vibration while braking, a pulsing brake pedal, longer stopping distances, a soft or spongy pedal, a burning smell after driving, visible grooves on rotors, uneven pad wear, or a dashboard brake warning light. A high-pitched squeal often comes from brake wear indicators contacting the rotor. Grinding usually means the pads are extremely worn and may already be damaging the rotor. That sound is not your car “being dramatic.” It is your car filing a formal complaint.
Measure pad thickness instead of guessing by vibes. Many manufacturers specify a minimum pad thickness and rotor thickness. If a rotor is below minimum thickness, cracked, heavily scored, or badly rusted, it should be replaced. If pads are worn unevenly from side to side, inspect the caliper slide pins, piston movement, and hardware before installing new parts. New pads on a stuck caliper are like new sneakers on a sprained ankle: technically new, but not solving the real problem.
Tools and Supplies You May Need
A typical disc brake replacement may require a jack, jack stands, wheel chocks, lug wrench, socket set, ratchet, breaker bar, torque wrench, brake cleaner, brake grease, C-clamp or caliper piston compressor, bungee cord or wire to support the caliper, gloves, safety glasses, and the correct replacement pads, rotors, clips, shims, and possibly caliper bolts or slide pin boots. Some rear disc brakes require a special tool to rotate the caliper piston back into the bore, especially vehicles with integrated parking brakes. Electronic parking brake systems may require service mode through a scan tool or dashboard procedure.
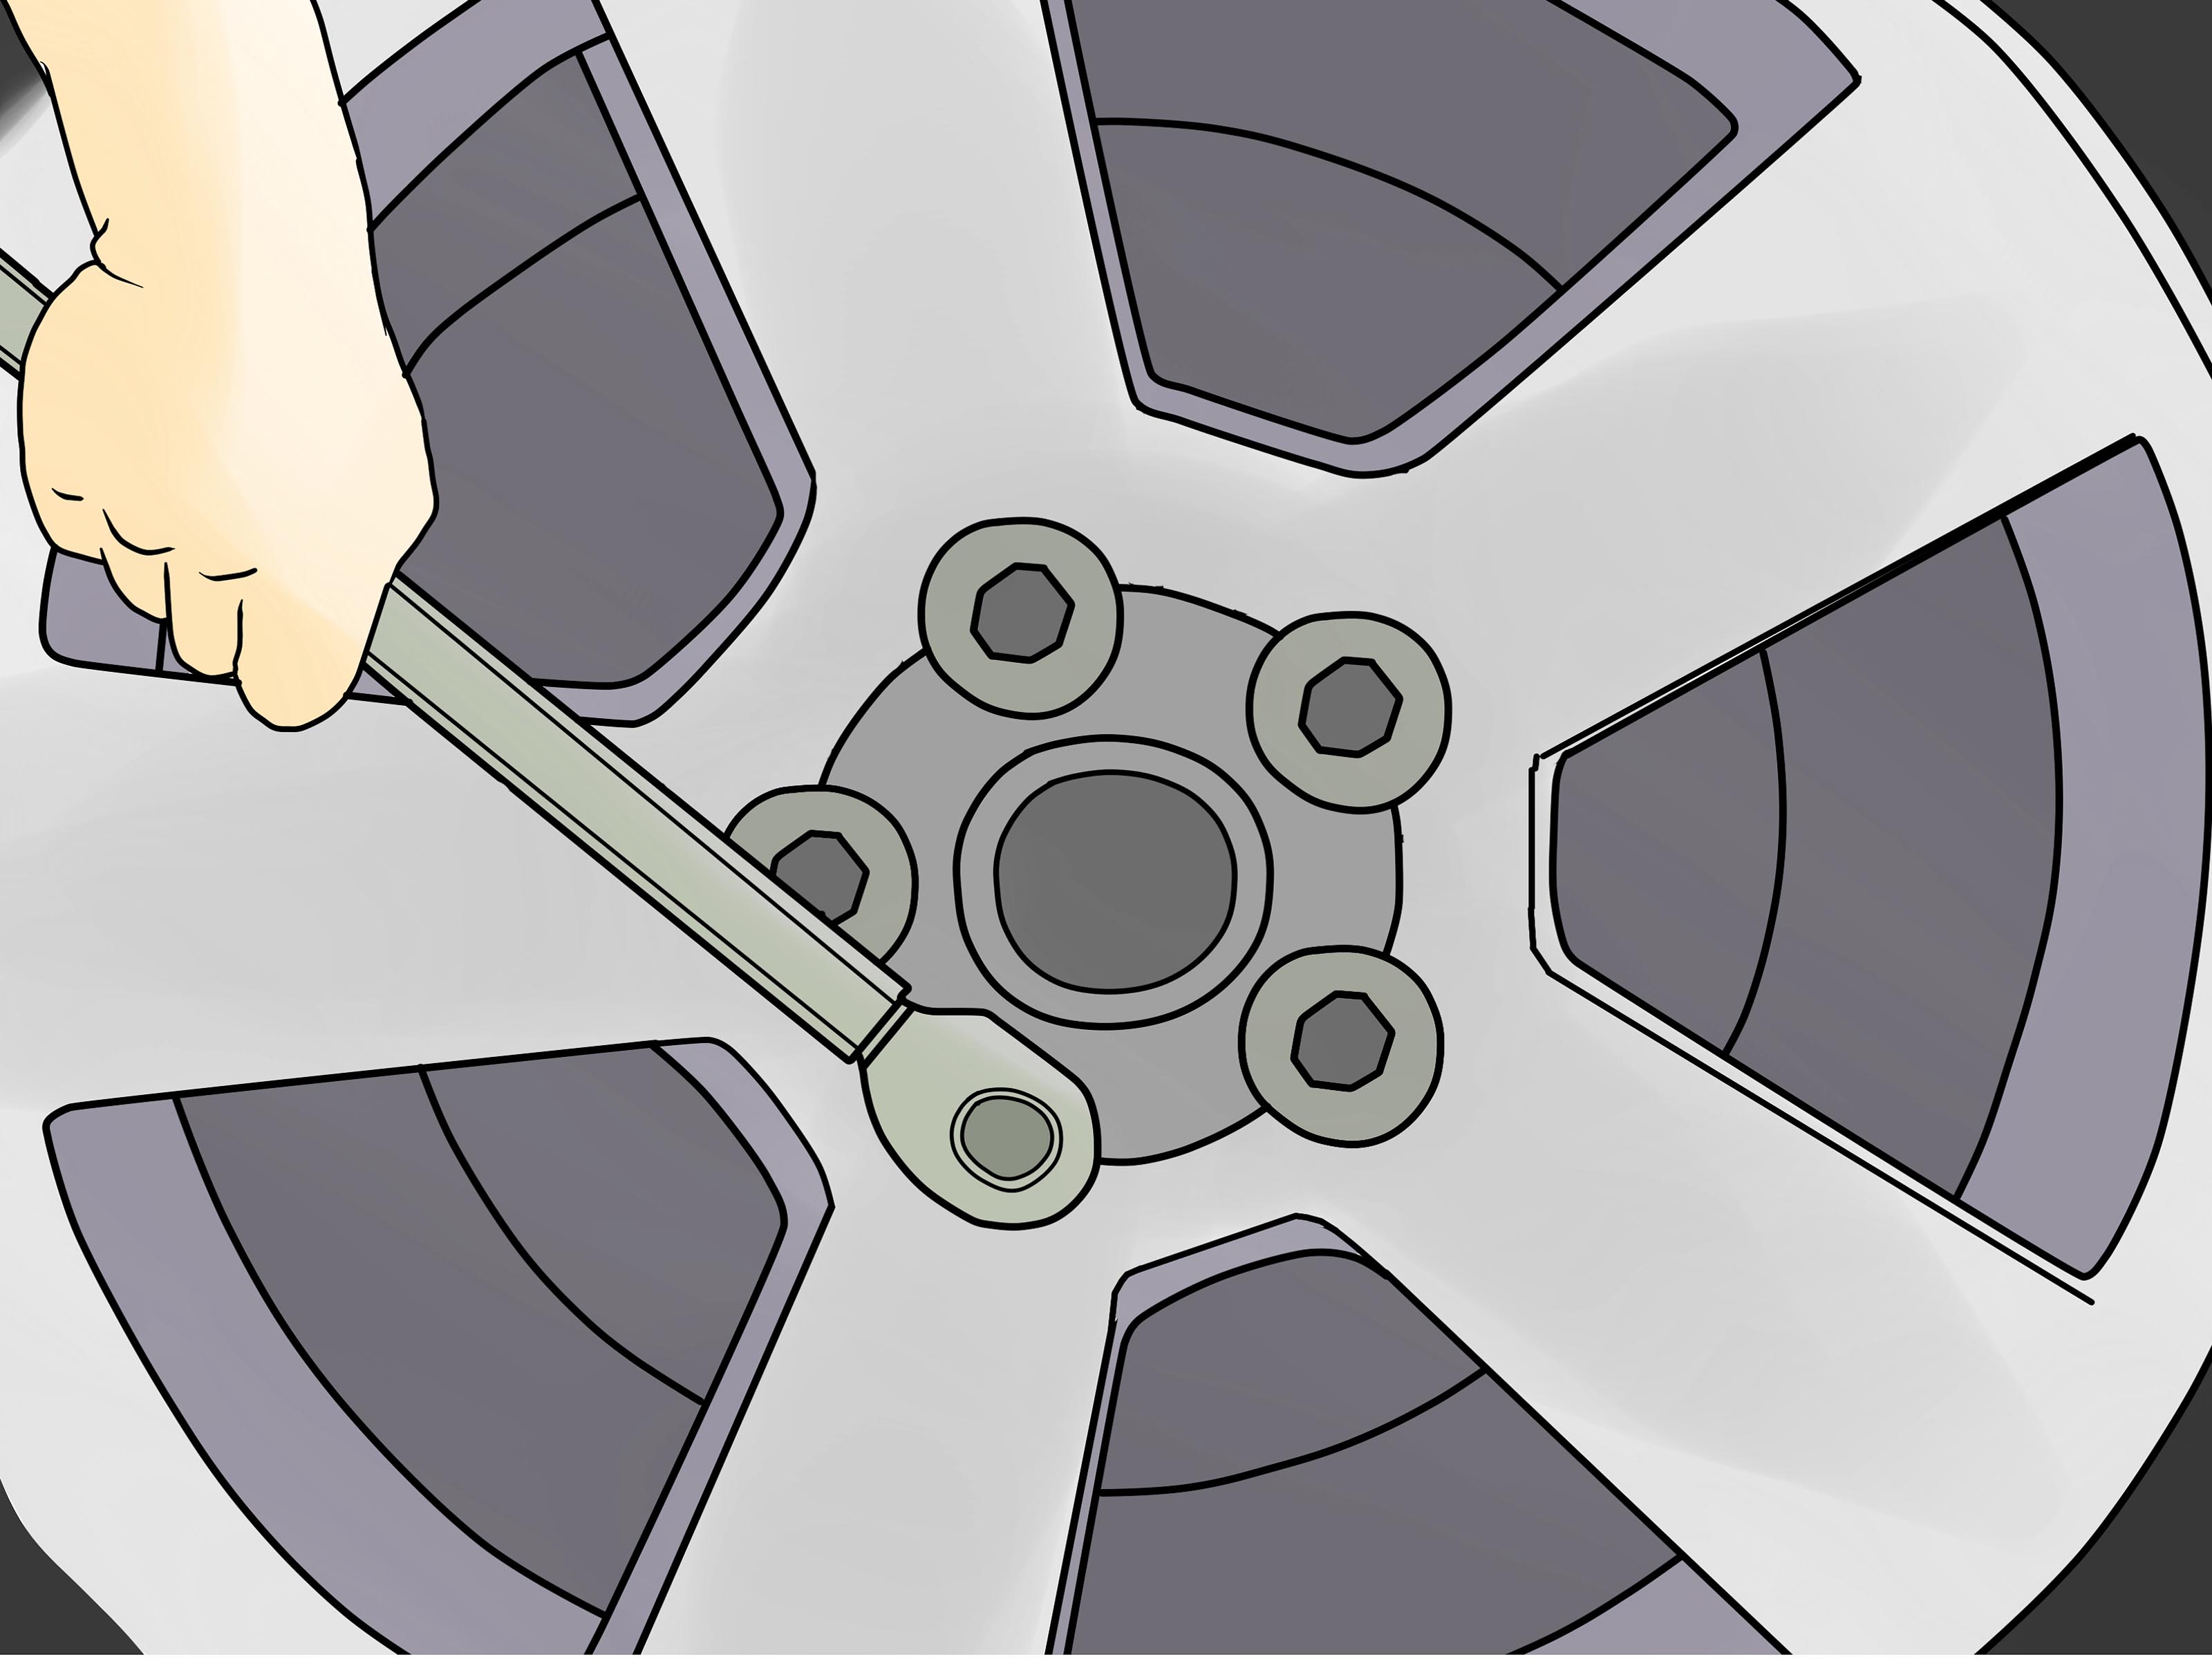
Never rely on a hydraulic jack alone. Use jack stands on approved lift points and keep the vehicle on a flat surface. Loosen lug nuts slightly before lifting, then fully remove them once the wheel is off the ground. Work on one side at a time if you are new to the job; the assembled side can serve as a reference when your memory suddenly turns into mashed potatoes.
Way 1: Replace Brake Pads Only
When This Method Makes Sense
Replacing brake pads only may be acceptable when the rotors are smooth, within thickness specifications, not warped, not cracked, and not heavily grooved. This is usually the most affordable disc brake replacement method, but it should not be treated as a shortcut. The rotor surface must be suitable for the new pads, or you may get noise, vibration, poor stopping performance, and faster pad wear.
Basic Pad Replacement Steps
Park on a flat surface, set the parking brake if appropriate, chock the wheels, loosen the lug nuts, lift the vehicle, secure it with jack stands, and remove the wheel. Remove the caliper bolts, then carefully lift the caliper away from the rotor. Do not let the caliper hang by the brake hose. Suspend it with a bungee cord or wire.
Remove the old brake pads and inspect the inner and outer pads. Uneven wear can indicate sticky slide pins, a binding caliper, poor lubrication, or hardware problems. Clean the caliper bracket contact points with a wire brush and brake cleaner. Install new clips or hardware if supplied. Apply brake lubricant only where recommended, such as metal-to-metal contact points and slide pin areas. Do not put grease on the pad friction surface or rotor face unless you enjoy chaos and poor braking.
Compress the caliper piston slowly to make room for the thicker new pads. Watch the brake fluid reservoir because fluid may rise as the piston retracts. Install the new pads, reinstall the caliper, torque fasteners to specification, reinstall the wheel, lower the vehicle, and torque lug nuts in a star pattern. Before driving, pump the brake pedal until it feels firm. This seats the caliper piston against the pads. Forgetting this step can make the first pedal press feel terrifyingly empty.
Way 2: Replace Brake Pads and Rotors Together
Why Pads and Rotors Are Often Replaced as a Pair
Replacing pads and rotors together is commonly recommended because the new pads receive a clean, flat friction surface. Old rotors can be grooved, glazed, uneven, rusty, or too thin. Even if they look “fine” from a distance, they may cause vibration or noise once paired with new pads. A fresh pad-and-rotor set gives the brake system a better chance of quiet, smooth, predictable performance.
Basic Pad and Rotor Replacement Steps
Follow the same safety steps used for pad replacement. After removing the caliper, remove the caliper bracket if it blocks rotor removal. Some rotors slide off easily. Others are held by small retaining screws or rusted to the hub with the enthusiasm of a barnacle. Use penetrating oil, a rubber mallet, or the threaded rotor removal holes if available. Avoid damaging wheel studs or hub surfaces.
Once the rotor is off, clean the hub face thoroughly. Rust or debris between the hub and rotor can create runout, which may cause pedal pulsation or steering wheel vibration. This is one of the most overlooked details in brake jobs. The new rotor should sit flat against the hub. Clean new rotors with brake cleaner to remove protective oil coatings before installation.
Install the new rotor, reinstall the caliper bracket with the correct torque, install new clips and pads, compress the caliper piston, and reinstall the caliper. After both sides of the axle are completed, torque the wheels properly and pump the brake pedal before moving the vehicle.
Always replace brake components in axle pairs: both front wheels or both rear wheels. Replacing just one side can create uneven braking, pulling, or unstable stopping. Your car does not appreciate asymmetrical enthusiasm.
Way 3: Replace or Service Calipers, Slide Pins, and Hardware
When the Caliper Is the Real Problem
If one pad is worn much faster than the other, the wheel smells hot, the car pulls while braking, the rotor is discolored, or the brake drags after release, the caliper or slide pins may be sticking. Replacing pads without fixing a seized caliper can destroy the new pads quickly. A proper disc brake replacement includes inspecting the caliper piston, slide pins, boots, bracket, clips, and pad contact areas.
Servicing Slide Pins and Hardware
Remove slide pins, clean them, inspect for corrosion or scoring, and lubricate them with the proper high-temperature brake lubricant. Replace torn boots. Make sure the pins move smoothly in their bores. Clean caliper bracket lands where the pads slide and install new abutment clips when available. Hardware may look minor, but it helps pads move correctly and reduces noise.
Replacing a Caliper
Replacing a caliper is more advanced because it opens the hydraulic brake system. You will need to disconnect the brake hose, prevent fluid loss as much as possible, install the replacement caliper with new sealing washers if required, and bleed the brakes afterward. If you are not comfortable bleeding brakes or dealing with brake fluid, this is a good point to bring in a professional. Brake fluid damages paint, absorbs moisture, and has no respect for your weekend plans.
Calipers are often replaced in pairs on the same axle if one has failed from age or corrosion. At minimum, inspect the opposite side carefully. If one caliper seized because of rust, the other may be quietly plotting the same career move.
Way 4: Bleed or Refresh Brake Fluid After Disc Brake Work
Why Brake Fluid Matters
Brake fluid transfers pedal force through the hydraulic system. If air enters the system, the brake pedal can feel soft or spongy because air compresses more easily than fluid. Moisture-contaminated brake fluid can reduce performance and contribute to internal corrosion. Many brake problems blamed on pads are actually hydraulic issues.
When Bleeding Is Needed
You usually do not need to bleed brakes for a simple pad and rotor replacement if the hydraulic system stayed closed. However, bleeding is required if a caliper, brake hose, wheel cylinder, master cylinder, or hydraulic line was opened or replaced. It is also wise to consider a brake fluid exchange if the fluid is old, dark, contaminated, or past the manufacturer’s recommended service interval.
General Bleeding Process
The common two-person bleeding method involves filling the reservoir with the correct brake fluid, attaching a clear hose to the bleeder screw, placing the hose end into a container, having one person press the brake pedal, opening the bleeder briefly to release fluid and air, closing it before the pedal is released, and repeating until clean fluid with no bubbles appears. The exact wheel sequence varies by vehicle, especially with ABS systems, so check the service manual.
Never let the master cylinder reservoir run dry during bleeding. That introduces more air and turns a simple job into a motivational seminar on patience. Use only the specified brake fluid type, commonly DOT 3, DOT 4, or DOT 5.1 depending on the vehicle. Do not mix with silicone DOT 5 unless the system specifically requires it.
Way 5: Bed In the New Brakes and Road Test Safely
Why Bedding-In Matters
Bedding-in, also called burnishing or break-in, helps transfer a thin, even layer of friction material from the pads to the rotor surface. This improves stopping performance, reduces noise, and helps prevent uneven deposits that can feel like warped rotors. Skipping the break-in process may not ruin everything immediately, but it can lead to disappointing brake feel and unnecessary noise.
How to Bed In Disc Brakes
Always follow the pad manufacturer’s instructions because procedures vary. A common approach is to make several moderate stops from around neighborhood or road speeds, allowing time between stops so the brakes do not overheat. Avoid panic stops unless necessary. Avoid sitting still with the brake pedal clamped hard after heating the brakes, because that can imprint pad material onto one spot on the rotor.
After bedding-in, let the brakes cool during normal driving. Then perform a cautious road test in a safe area. Check for pulling, vibration, grinding, soft pedal feel, warning lights, burning smells, or fluid leaks. Recheck the brake fluid level and inspect around the calipers. If anything feels wrong, do not “drive it for a few days and see.” Brakes are not sourdough starter; they should not require mysterious waiting.
Disc Brake Replacement Mistakes to Avoid
Using the Wrong Parts
Brake pads and rotors are vehicle-specific. Match the year, make, model, trim, engine, drive type, and sometimes production date. Some cars have different rotor sizes for the same model year. Compare old and new parts before installation. If the new rotor looks like it belongs on a shopping cart or a monster truck, pause.
Skipping Torque Specifications
Caliper bracket bolts, caliper guide bolts, lug nuts, and rotor screws all have correct torque values. Under-tightening can allow movement. Over-tightening can damage threads, warp components, or make future service miserable. Use a torque wrench, not “two grunts and a prayer.”
Contaminating Pads or Rotors
Brake grease, fingerprints, oil, and dirty shop rags can contaminate friction surfaces. Clean rotors with brake cleaner before installation and handle pads carefully. Keep lubricant on the correct contact points only.
Compressing Pistons Too Quickly
Compressing a caliper piston too fast can force old fluid backward through the system and may overflow the master cylinder. Move slowly and monitor fluid level. On some vehicles, opening the bleeder while compressing the piston is preferred to keep old fluid from traveling backward, but that requires proper bleeding afterward.
Ignoring Electronic Parking Brakes
Many modern cars use electronic parking brakes on rear calipers. These systems may need to be placed into service mode before pad replacement. Forcing the piston back without the correct procedure can damage the caliper motor. The service manual is your friend. It may not be funny, but it is cheaper than a new electronic caliper.
How Much Does Disc Brake Replacement Cost?
Costs vary widely depending on the vehicle, parts quality, labor rates, and whether you replace pads only, pads and rotors, calipers, hardware, or brake fluid. A simple DIY pad replacement may cost far less than a shop visit, while a full professional brake job with rotors and calipers can be much more expensive. The cheapest option is not always the best. Low-quality pads can be noisy, dusty, short-lived, or weak under heat. Poor rotors may rust quickly or develop vibration.
For daily drivers, ceramic pads are popular because they are often quiet and produce less visible dust. Semi-metallic pads may handle heat well and offer strong braking, especially for heavier vehicles or performance use, but they can create more noise and dust. Organic pads may be softer and quieter but can wear faster. The best brake pads depend on the vehicle, driving conditions, towing needs, climate, and budget.
DIY or Professional Brake Service?
DIY disc brake replacement can make sense if you have the right tools, a safe work area, mechanical patience, and access to accurate service information. It is not ideal if your car has severe rust, electronic parking brakes you cannot place into service mode, hydraulic leaks, ABS warnings, seized fasteners, or an uncertain brake pedal. Professional service is also smart if you tow, drive in mountains, carry heavy loads, or simply want the peace of mind of a trained inspection.
A good brake technician does more than replace parts. They inspect pad wear patterns, measure rotors, check caliper movement, clean hubs, lubricate hardware, torque fasteners, bleed systems when needed, and road test the vehicle. That complete process is what separates a reliable brake job from a noisy one that makes you regret buying tools.
of Real-World Experience: What Brake Jobs Teach You
The first thing most people learn when replacing disc brakes is that the job is not technically complicated, but it rewards patience. The difference between a smooth brake job and a three-hour wrestling match is often preparation. Laying out tools, opening the correct parts boxes, reading the service steps, and checking torque specs before the wheel comes off can save a surprising amount of frustration. Brake jobs have a way of exposing anyone who says, “I’ll remember where that clip goes.” Spoiler: you might not.
One useful habit is to take photos before disassembly. A quick picture of the caliper, clips, pad orientation, and wear indicator position can be worth more than a dozen confident guesses later. Many brake pads are shaped similarly but not identically. Inner and outer pads may have different clips, shims, or wear sensors. If a pad does not sit naturally in the bracket, forcing it is usually wrong. Properly installed pads should slide into place with firm control, not with the energy of a medieval siege.
Another lesson is that rust is the unofficial co-author of every brake job. Vehicles in snowy climates or coastal areas often have rotors stuck to hubs, caliper bolts reluctant to move, and bracket lands packed with corrosion. Cleaning those contact surfaces is not cosmetic. It affects how the new parts fit and perform. A shiny new rotor mounted over crusty hub rust can develop runout and vibration. That means the car may come back with a pulsing pedal even though the parts are new. The brake system notices details.
Good lubrication also matters, but more is not better. Brake grease belongs on specific metal contact points and slide pins, not on rotor faces, pad friction material, or random surfaces because “it looked dry.” The correct lubricant must tolerate heat and protect rubber where rubber boots are involved. A tiny amount in the right place can prevent squeaks and sticking. A glob in the wrong place can contaminate the brake surface and create a new problem with a very distinctive smell.
Many DIYers also discover that the brake pedal check is not optional. After compressing caliper pistons and installing pads, the pedal may go low on the first few presses because the piston has not yet moved back out to clamp the pads. Pumping the pedal until it firms up before shifting into gear is essential. It takes seconds and prevents the unforgettable experience of rolling backward in the driveway while making noises not listed in the owner’s manual.
The final lesson is humility. If a bleeder screw snaps, a brake hose looks cracked, the pedal stays spongy, or an ABS warning appears, the smart move is to stop and get help. Replacing disc brakes can be satisfying, money-saving, and even fun in a greasy-fingernail kind of way. But the true win is not bragging that you did it yourself. The win is a quiet pedal, straight stops, properly torqued wheels, and the calm knowledge that your car will stop when askedpolitely or otherwise.
Conclusion
Learning the 5 ways to replace disc brakes helps you choose the right repair instead of guessing. Sometimes your vehicle needs only new brake pads. Sometimes pads and rotors should be replaced together. Sometimes the real villain is a sticking caliper, rusty hardware, old brake fluid, or a skipped bedding-in procedure. A complete brake job is about the whole system: friction surfaces, hydraulic pressure, moving parts, clean mounting areas, correct torque, and careful testing.
If you are confident, prepared, and working from the correct service manual, disc brake replacement can be a rewarding DIY repair. If you are uncertain, dealing with hydraulic problems, or seeing warning lights, professional service is the safer path. Either way, do not ignore squealing, grinding, vibration, or longer stopping distances. Brakes are one of the few car systems where “I’ll get to it later” can become very exciting in the wrong way.
Note: This article is written for general educational purposes. Always follow your vehicle manufacturer’s service manual, use properly rated replacement parts, and consult a certified technician if you are unsure about any brake repair step.











