
Your Build-A-Bear has seen things. Snack crumbs. Blanket forts. Car rides. Maybe even one mysterious sticky patch that nobody in the house wants to claim. The good news is that most furry friends can be cleaned safely if you choose the right method, use gentle products, and dry them properly. The bad news? Tossing every bear into the washer like a gym sock is how plush heartbreak happens.
This guide explains how to wash a Build a Bear using three practical methods: spot cleaning, hand washing, and machine washing. You will also learn how to dry your bear without turning it into a crunchy, lumpy, sad little woodland creature. Whether you are cleaning a well-loved teddy, a holiday plush, a Pokémon plush, or a bear with a voice box, the goal is simple: clean it, protect it, and keep the cuddles alive.
Before You Wash: Check What Kind of Build-A-Bear You Have
Before water enters the chat, inspect your Build-A-Bear carefully. Not every plush should be washed the same way. Some Build-A-Bear friends are plain stuffed animals, while others include sound chips, batteries, scents, lights, or special fabrics. Those extras make the bear fun, but they also make cleaning trickier.
Look for electronics, sounds, scents, and accessories
If your bear has a sound box, heartbeat, light-up feature, or battery-operated part, do not submerge it in water and do not put it in the washing machine. Water and electronics are not friends. They are more like two guests at a party who should never be seated together.
Check the paws, belly, back seam, and clothing. Remove all outfits, shoes, glasses, bows, hats, and accessories before cleaning. Wash the clothing separately according to the care label. Tiny bear jeans may be adorable, but they still deserve laundry boundaries.
Check the fabric and condition
Older bears, limited-edition plushies, long-fur animals, metallic fabrics, sequins, glued-on details, and delicate embroidered areas need extra care. If your bear has loose seams, weak stitching, or stuffing peeking out, repair it before washing. A small opening can become a stuffing escape route during cleaning.
Gather your supplies
For most Build-A-Bear cleaning jobs, you will need a soft white cloth, mild detergent, cold water, a soft towel, a mesh laundry bag or pillowcase, and a soft brush. Avoid harsh cleaners, bleach, strong stain removers, and heavy fragrances. Your bear should smell fresh, not like it just joined a perfume commercial.
Method 1: Spot Clean a Build-A-Bear for Small Stains
Spot cleaning is the safest first step for most Build-A-Bear plush toys. It works well for surface dirt, small spills, sticky fingerprints, dust, and light odors. It is also the best method for bears with sound boxes or other parts that cannot get wet.
When spot cleaning is the best choice
Choose spot cleaning when the bear is not fully dirty, when you only see a stain in one area, or when the plush contains electronics. This method is gentle, fast, and low-risk. It also avoids soaking the stuffing, which is important because damp stuffing can take a long time to dry.
Step-by-step spot cleaning instructions
Start by removing the bear’s clothes and accessories. Shake the plush gently to remove loose dust or crumbs. If needed, use a vacuum hose with a low suction setting and a clean brush attachment. Do not press hard; this is a teddy bear, not a carpet.
Mix a small amount of mild detergent with cold water. Dip a white cloth into the solution and wring it out until it is damp, not dripping. Blot the stained area gently. Avoid scrubbing aggressively because rough friction can damage the plush fibers or make the fur look matted.
After lifting the stain, dampen another clean cloth with plain cold water and blot the area again to remove soap residue. Soap left behind can attract more dirt later, which is basically the cleaning version of inviting the crumbs back for a reunion tour.
How to dry after spot cleaning
Press the cleaned area with a dry towel to remove extra moisture. Then let the bear air dry in a well-ventilated room. Keep it away from direct heat, radiators, and hair dryers on hot settings. Once dry, gently fluff the fur with your fingers or a soft brush.
Spot cleaning is simple, but patience matters. If the stain is still visible after one round, repeat the process lightly. It is better to clean twice gently than once like you are trying to erase a crime scene.
Method 2: Hand Wash a Build-A-Bear for a Deeper Clean
Hand washing is the best middle-ground method when a Build-A-Bear needs more than spot cleaning but is too delicate for the washing machine. It gives you control over water, pressure, and soaking time. This method is especially useful for older bears, special fabrics, and plush toys with long fur.
When to hand wash
Hand wash your Build-A-Bear if it has general dirt, mild odor, or several stained areas, but no electronic parts inside. If the bear once had a sound box and you removed it safely, hand washing may be an option. If you are not comfortable opening the bear to remove electronics, stick with surface cleaning or ask a Build-A-Bear Workshop store for help.
Step-by-step hand washing instructions
Fill a clean sink, basin, or tub with cold water. Add a very small amount of mild detergent and swirl the water with your hand. You want lightly soapy water, not a bubble kingdom. Too much detergent is harder to rinse and can leave the plush stiff.
Place the bear in the water and gently press it down until the fabric gets wet. Do not twist, wring, or scrub hard. Instead, use soft squeezing motions to move soapy water through the fur and outer fabric. Pay extra attention to paws, muzzle, belly, and any areas that collect the most handling.
For stains, use a soft cloth and gently blot the area with the soapy water. If the stain is stubborn, let that area sit for a few minutes before rinsing. Avoid long soaking sessions, especially with older plush toys, because too much water can affect the stuffing and shape.
How to rinse properly
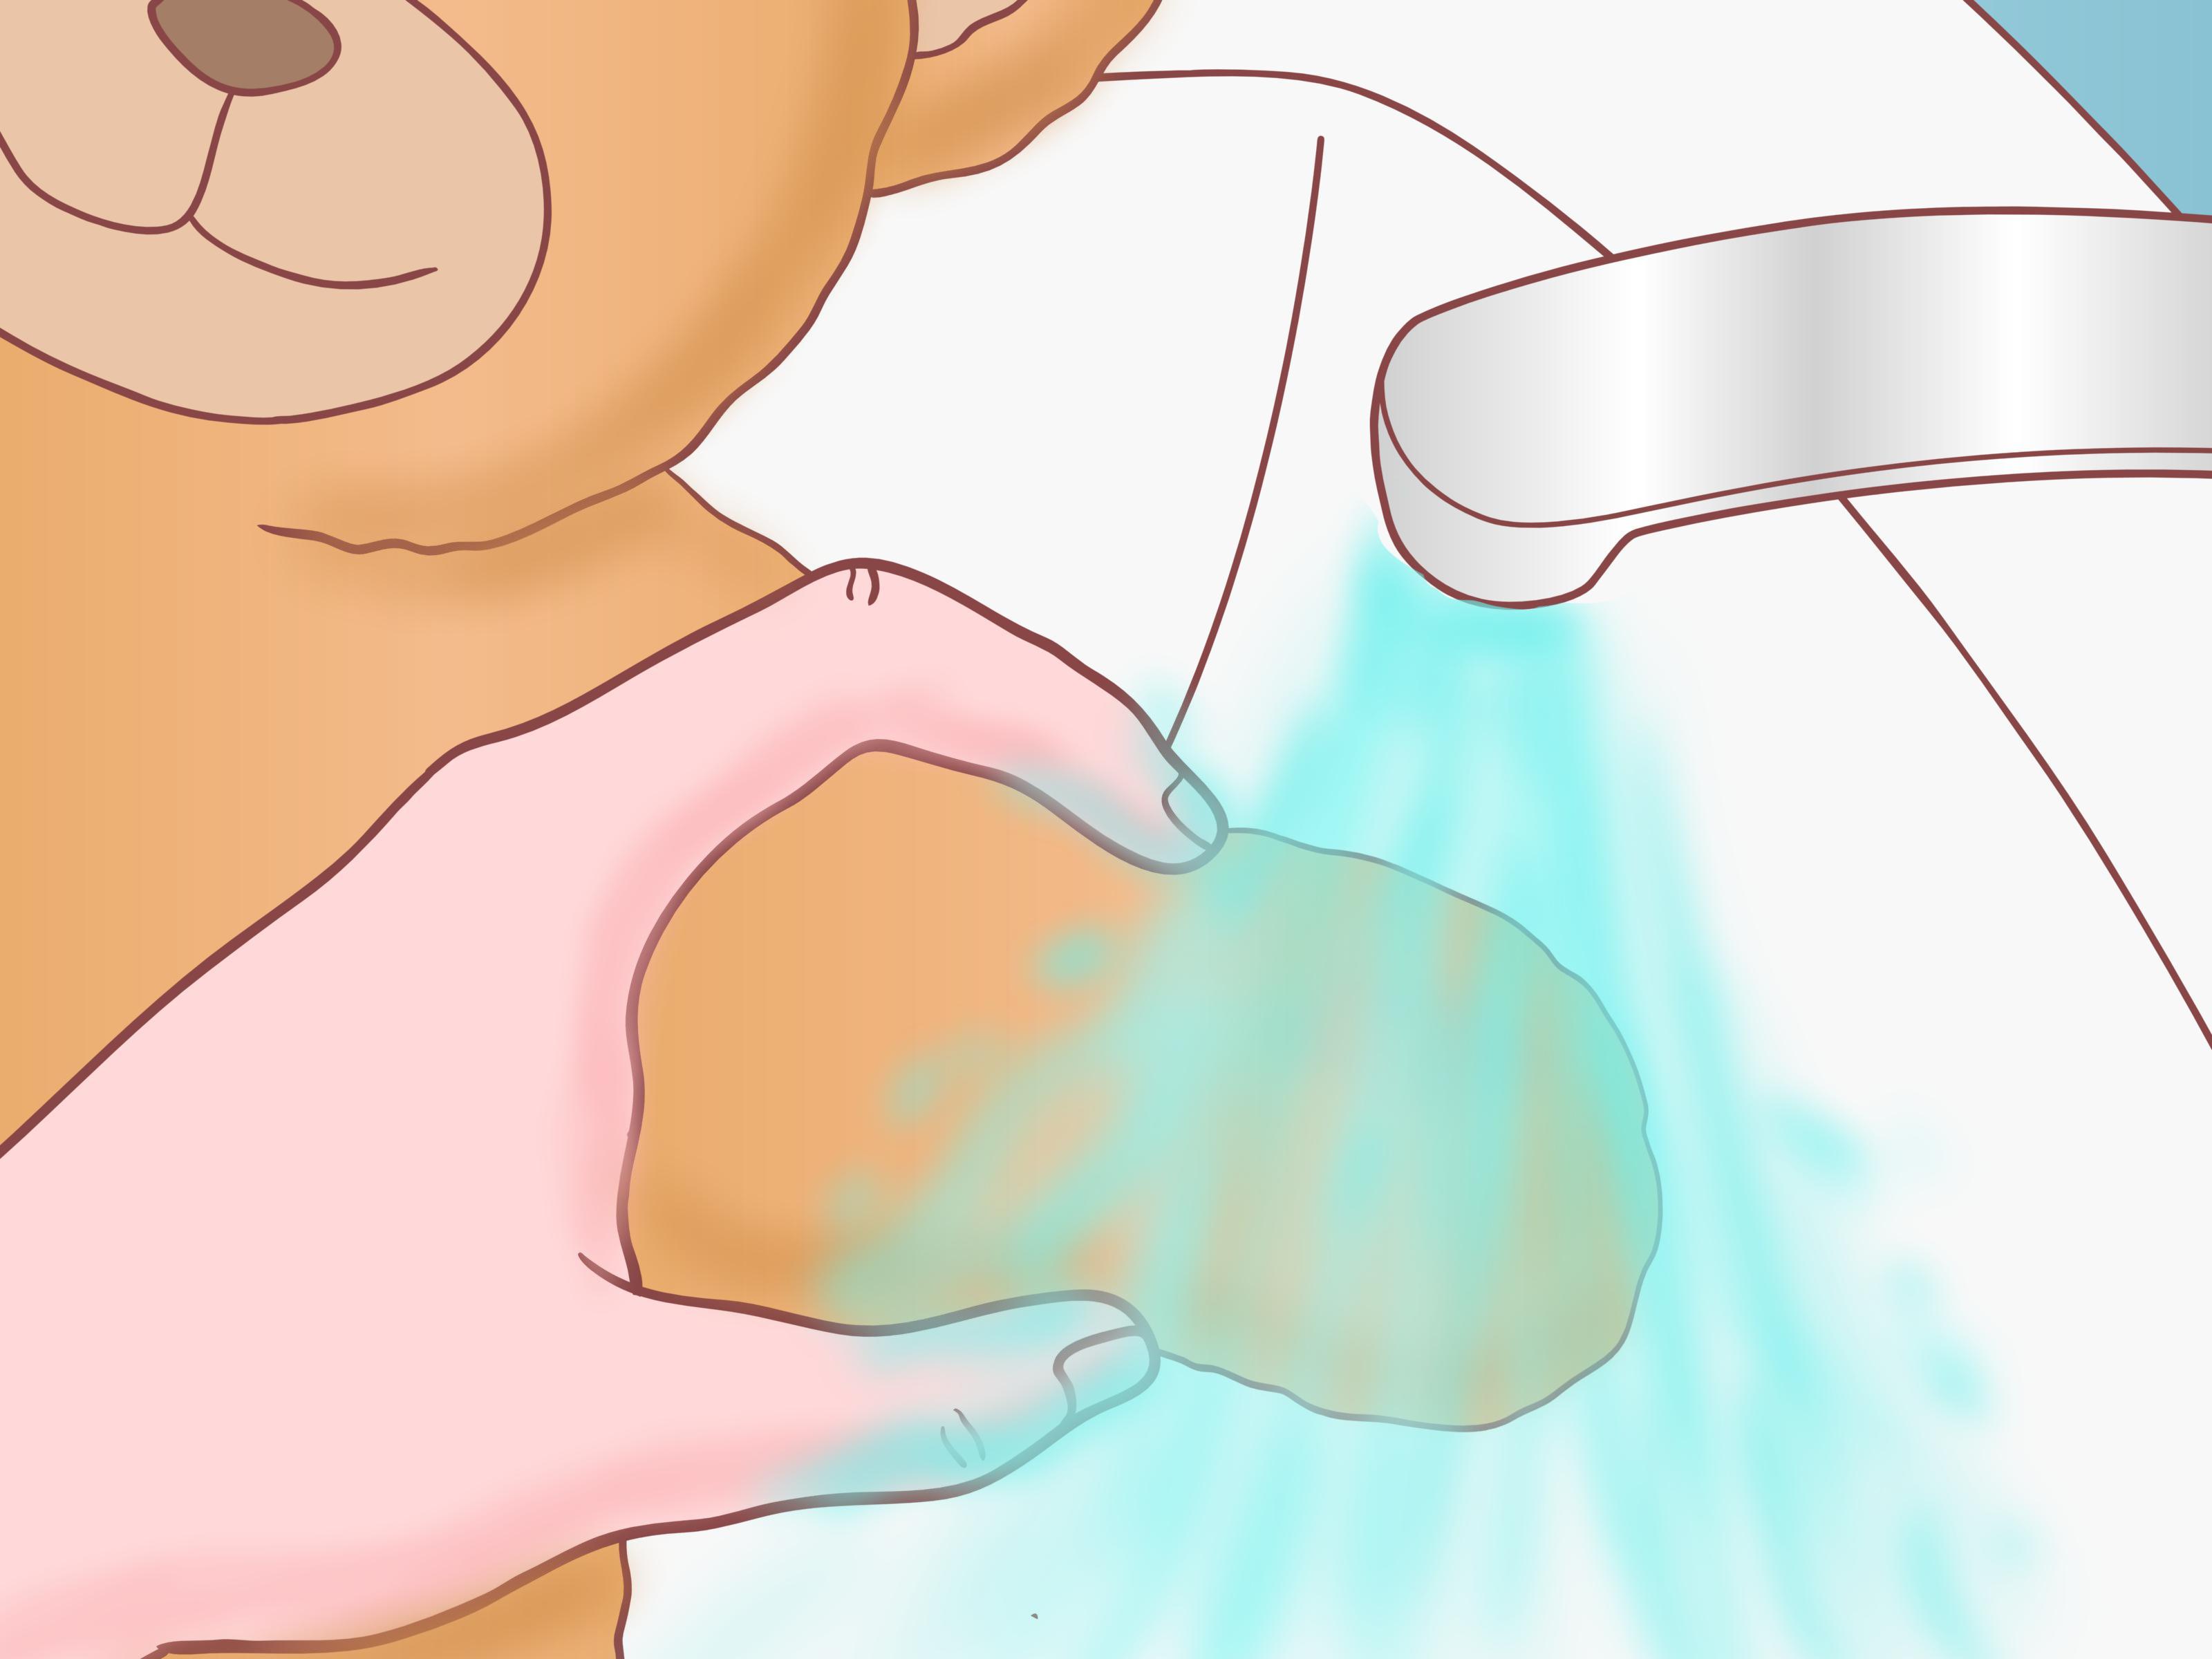
Drain the soapy water and refill the basin with clean cold water. Gently press the bear to release detergent. Repeat with fresh water until the water runs clear and the plush no longer feels slippery. Rinsing well is one of the most important parts of washing a stuffed animal because leftover detergent can make the fur feel rough.
How to dry after hand washing
Never wring your Build-A-Bear like a dish towel. That can twist the stuffing and stretch the seams. Instead, place the bear on a clean towel, roll it up gently, and press to absorb moisture. You may need to repeat this with a second dry towel.
After towel pressing, reshape the bear with your hands. Smooth the ears, paws, face, and belly. Lay it flat on a dry towel in a ventilated area and let it air dry completely. Turn it every few hours so both sides dry evenly. A fan can help move air around the bear, but avoid blasting it with high heat.
Drying may take a full day or longer depending on the bear’s size and stuffing. Do not dress the bear again until it is fully dry. Damp plush trapped under clothing can develop musty odors, and nobody wants a teddy bear that smells like a forgotten gym bag.
Method 3: Machine Wash a Build-A-Bear Safely
Machine washing is the quickest method for a plain, sturdy Build-A-Bear that has no electronics, no batteries, no delicate decorations, and no fragile seams. It can work beautifully when done correctly. The key words are cold water, gentle cycle, mild detergent, and air dry.
When machine washing is safe
Use this method only if the bear is machine washable or sturdy enough for gentle laundering. Do not machine wash a Build-A-Bear with sound, lights, battery packs, glued-on parts, delicate trims, or fragile fabric. When in doubt, choose hand washing or spot cleaning instead.
Step-by-step machine washing instructions
Remove all clothing and accessories. Check the seams and repair any loose areas. Place the bear inside a mesh laundry bag or a pillowcase. If you use a pillowcase, tie it closed securely. This protective layer reduces friction and helps keep eyes, noses, and fur from rubbing directly against the washer drum.
Wash the bear by itself or with a few soft towels to balance the load. Use cold water and a gentle or delicate cycle. Add a small amount of mild detergent. Avoid fabric softener because it can leave residue on plush fibers. Also avoid bleach unless a care label specifically allows it, which is rare for plush toys.
Once the cycle finishes, remove the bear right away. Do not let it sit wet in the machine. Wet plush needs air, space, and a little dignity.
Should you put a Build-A-Bear in the dryer?
Air drying is the safest choice for most Build-A-Bear plush toys. High heat can damage synthetic fur, shrink fabric, loosen glue, or change the texture of the plush. Some stuffed animals may tolerate low heat, but if the care tag is missing or unclear, skip the dryer.
To dry after machine washing, press the bear gently with towels to remove extra water. Reshape it, then lay it flat in a ventilated area. Turn it occasionally. Use a fan if you want to speed things up. When fully dry, brush the fur lightly to restore fluff.
How to Clean a Build-A-Bear With a Sound Box
A Build-A-Bear with a sound box needs special treatment. Do not soak it, hand wash it, or machine wash it while the sound device is inside. Moisture can damage the sound chip and may cause battery problems.
The safest home method is surface cleaning. Use a damp cloth with mild soapy water, carefully clean the outside fur, and avoid saturating the area where the sound box sits. Follow with a cloth dampened with plain water, then towel-blot and air dry.
If the bear needs a full wash, consider taking it to a Build-A-Bear Workshop store and asking whether the sound can be removed before washing. Once the electronic part is out, you can choose a cleaning method based on the bear’s fabric and condition.
How to Remove Odors From a Build-A-Bear
Sometimes the bear is not visibly dirty, but it smells like life happened nearby. For light odors, sprinkle a small amount of baking soda over the plush, let it sit for about 15 to 30 minutes, then brush or vacuum it off gently using low suction. This can help freshen the surface without soaking the toy.
For stronger odors, hand washing or machine washing may be needed if the bear is safe for water. Drying is especially important after odor removal because trapped moisture can create a musty smell. In other words, do not trade “snack smell” for “basement smell.” That is not an upgrade.
How Often Should You Wash a Build-A-Bear?
There is no universal washing schedule because every bear lives a different lifestyle. A display bear on a shelf may only need dusting and occasional spot cleaning. A bedtime bear, travel bear, or child’s favorite daily plush may need cleaning more often.
As a practical rule, spot clean whenever stains appear. Do a deeper clean when the bear smells, feels sticky, looks dingy, or has been exposed to illness. After a child has been sick, clean the plush according to its safest method and make sure it dries completely before returning it to the bed.
Common Mistakes to Avoid
Using hot water
Hot water may seem like the serious cleaning choice, but it can be too harsh for plush fabric. Cold water is usually safer because it helps reduce the risk of color bleeding, shrinking, and texture damage.
Using too much detergent
More soap does not mean more clean. It often means more residue. Use a small amount of mild detergent, especially when hand washing.
Wringing the bear
Twisting a wet plush can damage seams and create uneven stuffing. Press moisture out with towels instead.
Drying with high heat
High heat can make soft fur feel rough or matted. Air drying takes longer, but it is much kinder to your furry friend.
Forgetting the inside parts
Sound boxes, batteries, scents, and mechanical parts change the cleaning plan. Always check before washing. Your bear may be brave, but its electronics are not waterproof superheroes.
Extra Experience: What Actually Works When Cleaning a Build-A-Bear
After cleaning many plush toys, one lesson becomes clear very quickly: the drying process matters as much as the washing process. A bear can come out of the wash looking great, but if it dries poorly, the fur can flatten, the stuffing can clump, and the whole plush can feel different. The best results usually come from slow, patient air drying.
One helpful experience is to plan the wash for a sunny morning or a day when the house has good airflow. Do not wash a favorite bedtime bear at 8 p.m. unless you are prepared for emotional negotiations at bedtime. A damp bear is not ready for cuddling, and explaining that to a sleepy child is a bold adventure.
Another practical tip is to photograph the bear before washing. This sounds dramatic, but it helps you remember the original shape of the ears, paws, bow, or face. After washing, reshape the bear while it is still damp. Smooth the muzzle, adjust the ears, and gently squeeze the stuffing back into place. Plush toys dry better when they are shaped early instead of left in a soggy heap.
For bears with long fur, brushing after drying can make a big difference. Use a soft brush and move gently in the direction of the fur. Do not brush aggressively while the bear is wet because wet fibers are easier to stretch or damage. Once dry, a light brushing can bring back that soft, fluffy look.
For small stains, spot cleaning almost always beats full washing. A tiny chocolate smudge on a paw does not require a full spa day unless the rest of the bear also needs attention. Use a damp cloth, mild soap, and patience. Blotting works better than scrubbing. Scrubbing often spreads the stain or roughens the fibers.
If a Build-A-Bear has a scent disc, be careful with water. Scented bears can lose some fragrance after washing, especially if soaked. If the scent is important, surface cleaning is usually the safer option. If the bear is very dirty and must be washed, understand that the smell may fade. On the bright side, “fresh laundry bear” is still a respectable personality.
For travel bears, create a quick cleaning routine after trips. Remove clothing, shake out crumbs, spot clean paws and face, then let the bear air out overnight. This keeps dirt from building up and reduces the need for frequent deep washing. It is much easier to clean one sticky paw today than an entire mystery-scented bear three months from now.
When machine washing, the pillowcase trick is genuinely useful. It protects the bear from direct friction and helps prevent small details from catching. A mesh laundry bag also works well. Choose the gentlest cycle available and avoid overloading the washer. If the bear is squeezed into a heavy load of jeans and towels, it may come out looking like it just survived a wrestling match.
Finally, trust your instincts. If the bear feels too delicate for the washer, do not force it. Hand washing and spot cleaning are slower, but they are safer for sentimental plush toys. A Build-A-Bear is often more than a toy; it may be a birthday memory, a travel buddy, a comfort object, or a gift from someone special. Cleaning it carefully helps preserve both the plush and the story attached to it.
Conclusion
Learning how to wash a Build a Bear is mostly about choosing the safest method for the specific bear in front of you. Spot cleaning is best for small stains and electronic bears. Hand washing works well for delicate plush toys that need a deeper refresh. Machine washing can be safe for sturdy, plain bears when you use cold water, mild detergent, a gentle cycle, and a protective bag.
The biggest rule is simple: protect the bear from too much water, too much soap, and too much heat. Dry it fully, reshape it gently, and brush the fur after it is completely dry. With the right care, your Build-A-Bear can return to its important duties: sitting on pillows, attending tea parties, guarding the bed, and silently judging anyone who brings snacks too close.
Note: This article is written for general home-care guidance and is based on widely used manufacturer and cleaning-care recommendations for plush toys. Always check the care tag and avoid soaking or machine washing any Build-A-Bear that contains electronics, batteries, sound, lights, or delicate parts.












