
Congratulations: you now own a countertop gadget that can turn “I should cook” into “I already ate” in about the time it takes to argue with yourself about what to watch. A NuWave air fryer (most commonly the basket-style Brio models, but the basics apply across the lineup) is essentially a small, high-powered convection oven. It blasts hot air around your food so you get that browned, crisp finish with far less oil than deep frying.
This guide walks you through setup, the core cooking workflow, smart settings, cleaning, and the most common “why is my food doing that?” momentsplus real-life experiences at the end, so you feel like you’re learning from a friend and not a robot with a timer fetish.
1) Get to Know Your NuWave (Before It Gets to Know Your Smoke Alarm)
Basket-style vs. oven-style: which NuWave are you using?
NuWave makes a few styles of air fryers. The most common is a basket-style unit (like many Brio models): you pull out a base tray with a basket or rack inside. NuWave also sells oven-style air fryer ovens (with a door, racks, and more cooking space). The day-to-day habitspreheat, don’t overcrowd, flip/shake, and cleanare the same. The difference is mainly how you load food (basket vs. racks) and how much you can cook at once.
The key parts you’ll use constantly
- Basket / fry pan basket / rack: where the food sits so air can circulate.
- Base tray / drip tray: catches grease and crumbs (aka “future smoke” if ignored).
- Control panel: temperature, time, start/pause, and often preheat + reminder/notification.
- Heating element + fan: the dynamic duo that makes “crispy” happen.
2) First-Time Setup (Do This Once, Thank Yourself Forever)
Unbox like a pro
- Remove all packaging, stickers, and inserts from inside the cooking chamber.
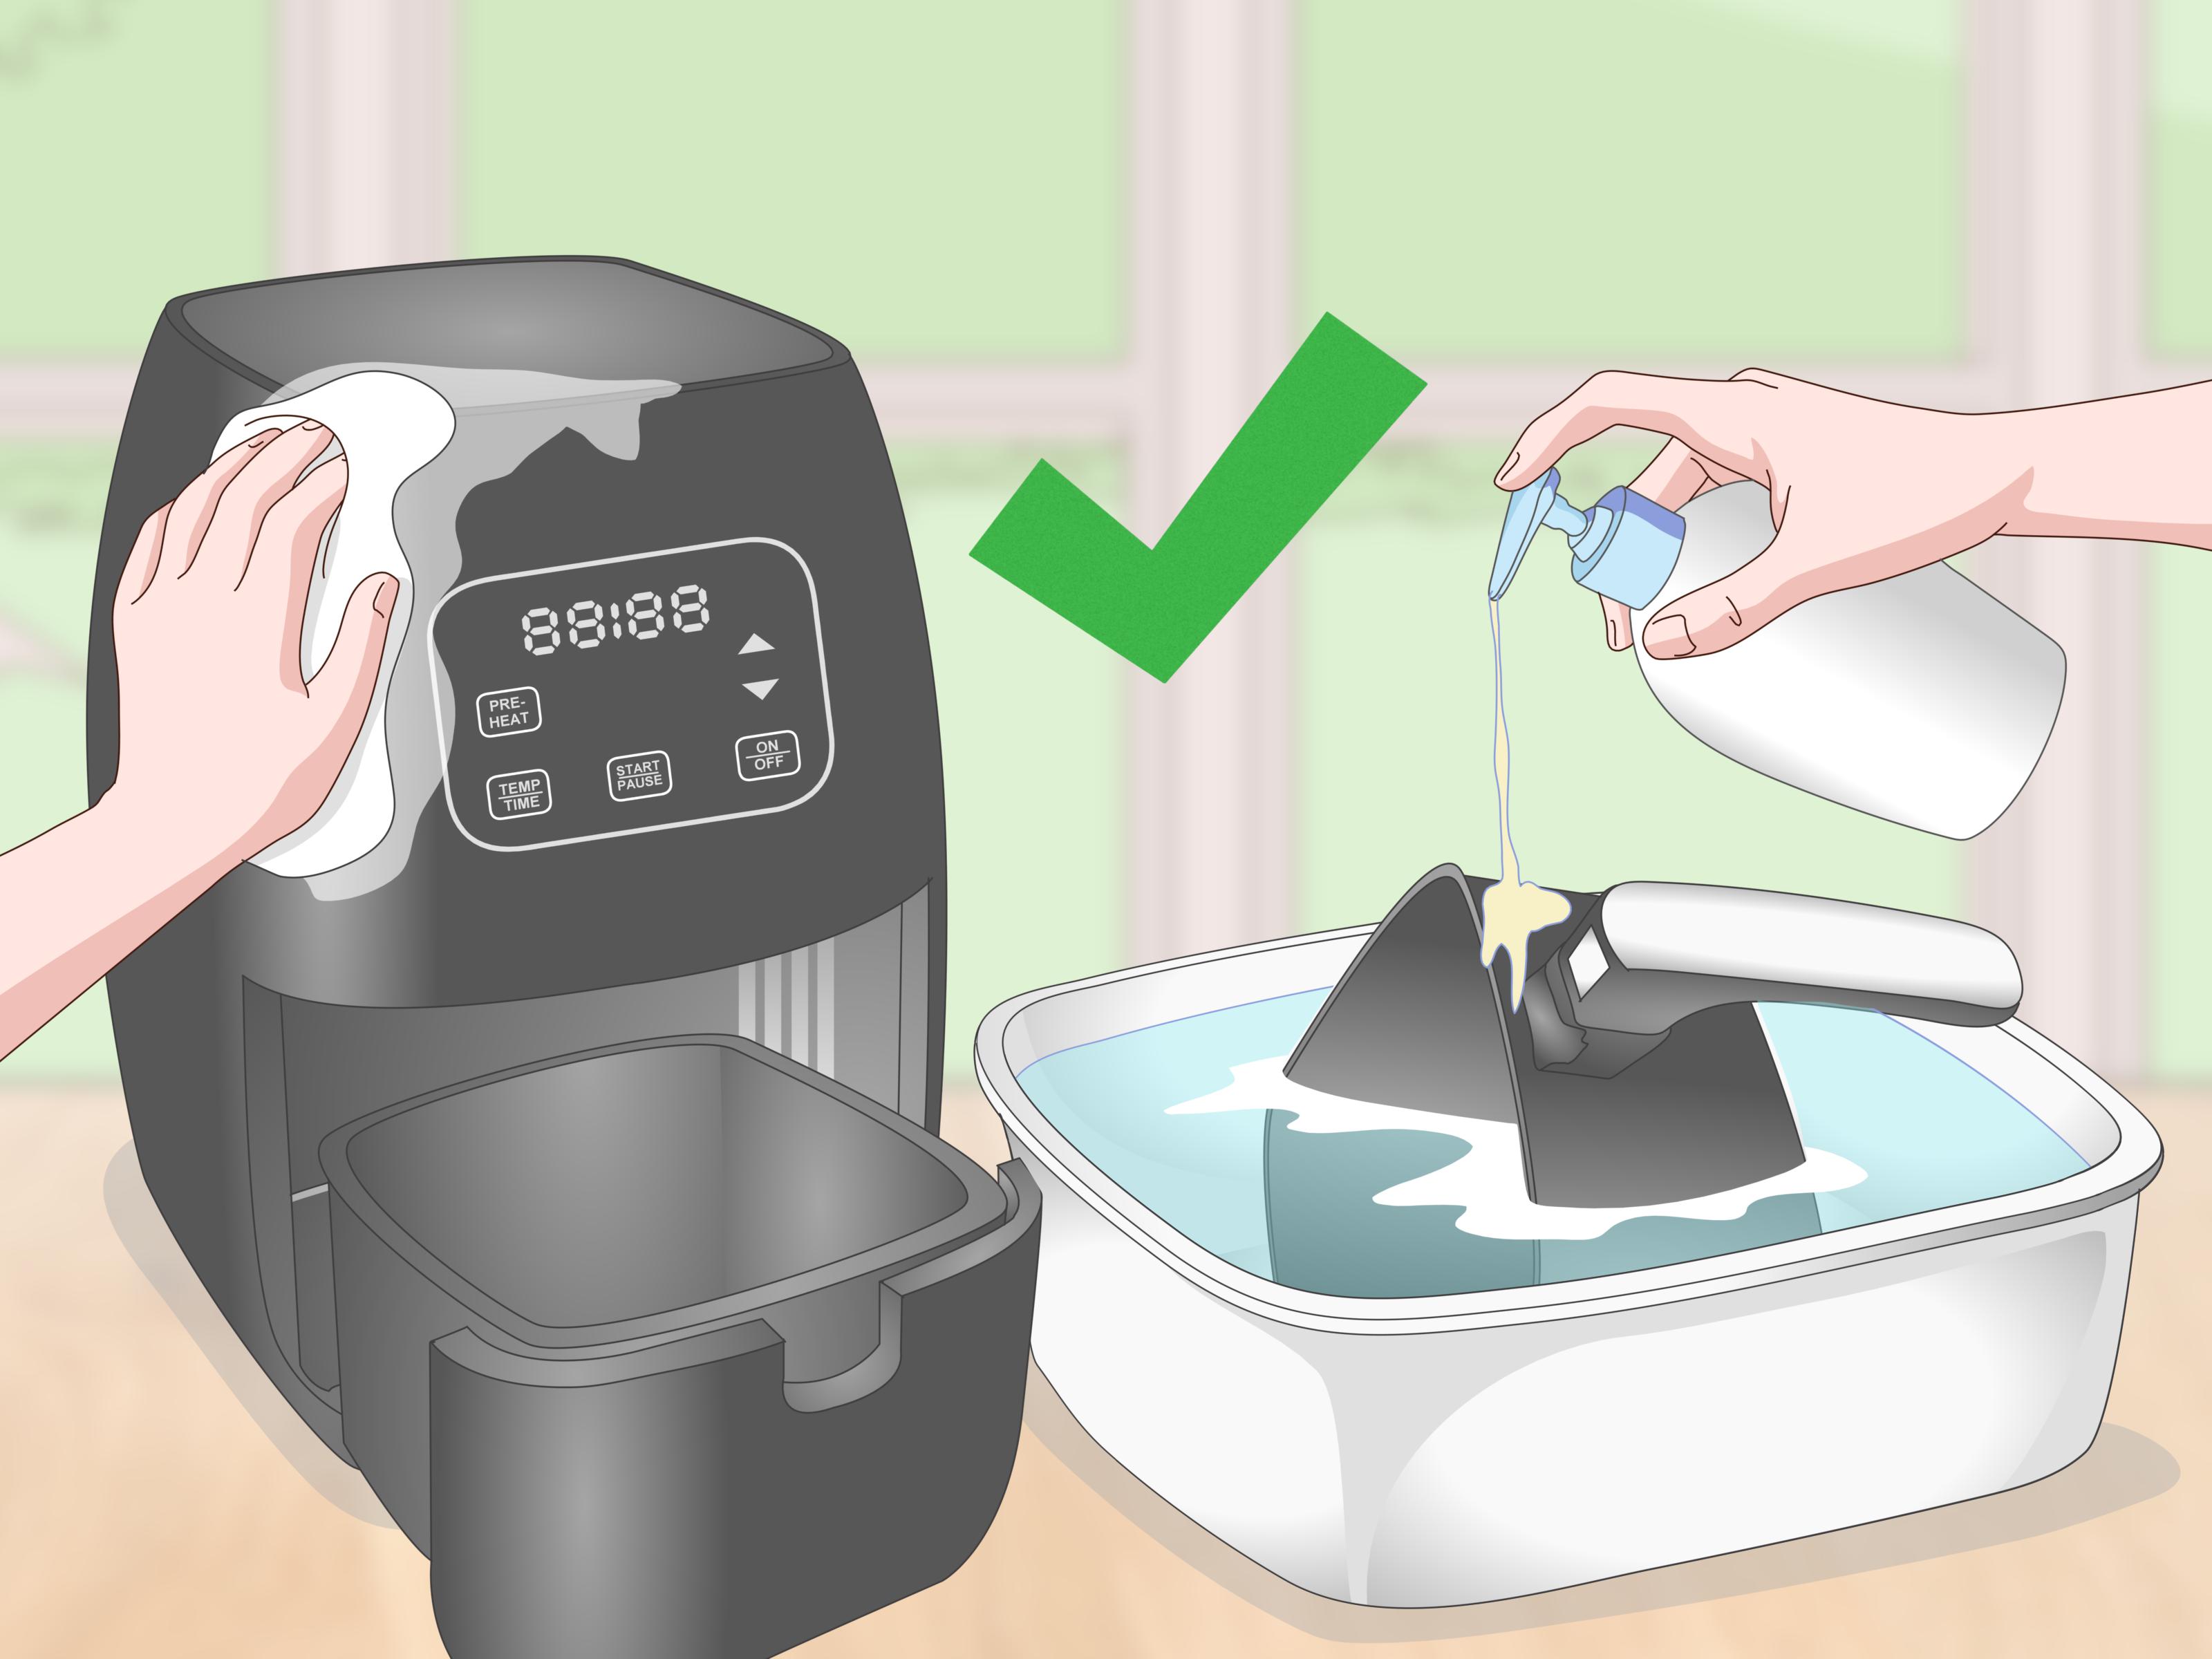
- Wash removable parts (basket/rack and base tray) with warm, soapy water and a non-abrasive sponge. Dry completely.
- Wipe the inside and outside of the unit with a damp cloth (do not immerse the appliance in water).
Pick a safe parking spot on your counter
Air fryers move a lot of hot air. Give your NuWave room to breatheespecially behind it where heat vents. Keep it away from curtains, paper towels, and anything that screams “I am flammable.”
Do a quick “test run”
Many air fryers (NuWave included) can give off a little odor or light smoke the first time they heat up. A short preheat cycle with the basket empty helps burn off manufacturing residues. If you notice a smell, don’t panicjust ventilate the kitchen and let it run briefly, then cool down.
3) The Core Method: The 7-Step NuWave Workflow
If you learn nothing else, learn this: dry + space + heat + a little oil + movement. That’s the secret handshake of great air-fried food.
Step 1: Preheat (Yes, it matters more than you think)
Preheating gives you better browning and crispness because the food hits a hot environment right away instead of warming up slowly and getting steamy. Many NuWave models have a Pre-Heat function (and some have auto-preheat options). If you’re cooking back-to-back batches, you can often skip preheating because the unit is already hot.
Step 2: Prep food for airflow, not for sadness
- Pat food dry: moisture is the enemy of crisp. Paper towels are your best friend.
- Cut evenly: similar sizes cook at the same pace. Uneven pieces = “some crispy, some… questionable.”
- Use a light coating of oil: you’re not deep fryingjust helping browning. A teaspoon or two can go a long way.
- Season smart: add delicate herbs after cooking; use dry rubs before cooking.
Step 3: Load the basket (air needs real estate)
Your NuWave works by circulating hot air. If you pile food in a dense heap, you’re basically steaming dinner. Aim for a single layer when possible. If you must stack, do it loosely and plan to shake/flip more. For bigger models with racks or risers, spread food across levels so air can reach surfaces.
Step 4: Set time + temperature (then don’t overthink it)
Most air-fryer recipes use higher heat than a traditional oven (often 350–400°F). If you’re converting from an oven recipe, a common rule of thumb is to drop the temperature slightly and start checking early. Your NuWave may also have preset menus, but you’re always allowed to override themyour food won’t take it personally.
Step 5: Cookand use Start/Pause like you mean it
Press start, then let the machine do its thing. Avoid opening the basket every 30 seconds “just to look.” Every peek dumps heat and slows cooking. Instead, check at sensible milestones (like halfway through).
Step 6: Shake or flip halfway (the crispness multiplier)
Many NuWave models can beep or notify you halfway through cooking. Use that moment to shake fries, toss vegetables, or flip proteins. This is how you avoid the dreaded “top crispy, bottom soggy” situation.
Step 7: Check doneness (especially for meat)
Color is not a reliable thermometer. If you cook chicken, turkey, or other proteins, use a food thermometer and follow safe internal temperature guidelines. This protects you from both undercooking and from turning chicken breast into a dehydrated sponge.
4) A Quick NuWave Cooking Cheat Sheet (Realistic Starting Points)
Exact times vary by model size, how full the basket is, and whether food is chilled or room temp. Treat these as starting ranges, then adjust based on results.
| Food | Temp | Time | Pro Tips |
|---|---|---|---|
| Frozen French fries | 380–400°F | 12–18 min | Preheat, shake at halfway, don’t overcrowd. |
| Chicken wings | 390–400°F | 20–25 min | Flip/shake halfway; finish with 2–3 min extra for more crisp. |
| Chicken breast (boneless) | 370–380°F | 14–20 min | Thickness matters; pull when safe temp is reached and rest a few minutes. |
| Salmon fillet | 390–400°F | 7–10 min | Light oil + seasoning; avoid overcrowding; check early. |
| Broccoli florets | 375–390°F | 8–12 min | Dry well, toss with a little oil, shake once. |
| Reheating pizza | 320–350°F | 3–6 min | Lower temp keeps cheese from over-browning; check at 3 minutes. |
5) Step-by-Step Examples (So You Can Start Tonight)
Example A: Crispy frozen fries (without the “steamed potato” vibe)
- Preheat your NuWave (especially if you want crisp fries).
- Add fries in a single layer (or as close as you can manage).
- Cook around 380–400°F, shaking at the halfway beep (or set your own reminder).
- If they’re pale at the end, add 2–4 minutes. If they’re browning too fast, drop the temp by 10–15°F next time.
Why this works: fries need hot air contact on the surface. A crowded basket blocks airflow and traps steam.
Example B: Weeknight chicken wings (the crowd-pleaser)
- Pat wings dry. Seriouslythis is where crisp begins.
- Season with salt + pepper + garlic powder (or your favorite dry rub). Add a light oil coating if needed.
- Air fry around 390–400°F for ~20–25 minutes, flipping or shaking halfway.
- Check doneness with a thermometer. If you want extra crunch, finish with 2–3 minutes at the same temp.
Bonus tip: saucy wings? Crisp first, sauce after. Wet sauce during cooking can prevent browning.
Example C: “I should eat vegetables” broccoli that actually tastes good
- Dry the florets well. Water droplets = steamed broccoli.
- Toss with a little oil, salt, pepper, and optional chili flakes.
- Cook around 375–390°F for 8–12 minutes, shaking once.
- Finish with lemon or parmesan after cooking for maximum flavor impact.
6) Cleaning Your NuWave Air Fryer (The Part That Prevents Smoke and Regret)
If your air fryer starts smelling “seasoned” in a bad way or smoking during preheat, it usually means grease or crumbs are hanging out where they shouldn’t. Cleaning is not glamorous, but it is effective.
After each use (the easy routine)
- Unplug and let it cool.
- Remove the basket/rack and base tray/drip tray.
- Wash with warm, soapy water using a soft sponge. Avoid harsh abrasives and metal utensils that can damage nonstick coatings.
- Dry fully before reassembling.
Dishwasher: can you do it?
Many NuWave baskets/trays are dishwasher-safe (often top rack), but hand washing tends to be gentler on nonstick coatings. If you use the dishwasher, keep it on the top rack and avoid harsh cycles when possible.
Deep clean (when it smells, smokes, or looks haunted)
- Soak: if food is stuck, add hot soapy water to the tray/basket and let it soak briefly before scrubbing.
- Heating area: once fully cool, wipe the interior carefully and use a soft brush to remove crumbs near the heating element.
- Don’t immerse the appliance: wipe the exterior and main unit with a damp cloth only.
7) Safety + Common Mistakes (So Your Food Is the Only Thing That Gets “Fried”)
Give it space
Keep clearance around vents and avoid pressing the unit against a wall. Hot exhaust needs room, and your countertop setup should prioritize airflow and safety.
Skip aerosol cooking sprays on nonstick surfaces
It’s tempting to blast the basket with aerosol spray and call it “chef energy,” but many experts warn that aerosol sprays can leave residue and may shorten the life of nonstick coatings over time. If you need oil, use a small amount brushed on, or use a non-aerosol pump sprayer.
Parchment paper and liners: use them the right way
- Don’t preheat with loose parchment inside. It can fly around and contact the heating element.
- Weigh it down with food. Add parchment only when food will hold it in place.
- Choose perforated liners when possible. Airflow is the pointdon’t block it.
Don’t treat it like a deep fryer
Basket-style air fryers aren’t meant to be filled with oil or liquid. Use oil lightly on food, not as a bath.
8) Troubleshooting: Fix the Usual Problems Fast
“My food isn’t crispy.”
- Cause: overcrowding. Fix: cook in batches or spread food out.
- Cause: food is wet. Fix: pat dry; avoid heavy wet marinades during cooking.
- Cause: no oil at all. Fix: add a light coating to encourage browning.
- Cause: skipped preheat. Fix: preheat next time for better texture.
“It cooked unevenly.”
- Fix: shake or flip halfway, and cut pieces evenly.
- Fix: don’t stack tightlyair needs access to surfaces.
“It’s smoking.”
- Fix: clean grease buildup in the basket, tray, and interior.
- Fix: reduce drippy marinades or fatty foods without a catch tray strategy.
“Food sticks to the basket.”
- Fix: lightly oil the food (not necessarily the basket) and preheat.
- Fix: avoid aerosol sprays; consider a perforated liner used correctly.
9) Conclusion: Your NuWave Game Plan
Using a NuWave air fryer well isn’t about memorizing a million settingsit’s about a few reliable habits: preheat when crispness matters, keep food dry, don’t overcrowd, shake/flip halfway, and clean regularly. Do those five things and your air fryer will reward you with fast dinners, better leftovers, and fries that actually deserve the word “crispy.”
Real-Life Experiences: What It’s Like Living With a NuWave Air Fryer (Extra Notes That Make You Better at This)
Here’s the part nobody tells you until you’ve already eaten three experimental batches of “learning fries”: the NuWave air fryer has a small learning curve, but it’s the fun kindlike leveling up in a game, except the reward is edible. The first week usually goes like this: you start with frozen food because it feels “safe,” then you realize the basket can only do its magic when air can actually move. So you cook a packed basket of fries once, get something closer to warm potatoes than restaurant crisp, and immediately understand why everyone keeps chanting “don’t overcrowd.”
Preheating becomes your second “aha” moment. The first time you preheat for fries or wings, you’ll notice the surface browns faster and more evenly. It’s not that the food suddenly becomes gourmetit’s that you stop accidentally steaming it at the beginning. After that, you’ll start using preheat strategically: yes for crispy foods (fries, breaded snacks, wings), and optional for quicker reheats (pizza, leftover nuggets, yesterday’s “I’ll meal prep” chicken).
Then comes the seasoning phase. Early on, most people overdo it with wet marinades, then wonder why nothing browns. Over time, you’ll probably shift to dry rubs and smarter timing: season before cooking, sauce after cooking. Wings are the perfect example. Cook them until crisp, toss in sauce, and if you want that sticky finish, give them a short extra blast. That rhythmcrisp first, sauce secondturns your air fryer into a reliable weeknight hero.
You’ll also develop “air fryer instincts” about size. Thin foods cook shockingly fast. A salmon fillet can go from perfect to “why is it dry?” in a couple minutes if you walk away. Meanwhile, thick chicken breast depends heavily on thickness, starting temperature, and how much you load into the basket. This is where a thermometer quietly becomes your best kitchen purchase: it removes guesswork and helps you stop cooking “just in case,” which is how chicken becomes chewy. Once you get comfortable, you’ll find yourself pulling food a little earlier, resting it, and letting carryover heat finish the job. Your results get juicier, and you feel like you know a secret.
Accessories are another real-life chapter. Many people try parchment liners because cleanup looks easier (and it can be), but you learn quickly that airflow is everything. The “right” liner setup is one that doesn’t block the fan’s work and doesn’t float into the heating element. You’ll likely end up with perforated parchment or a reusable silicone liner, used only when it won’t mess with circulation. And yes, you’ll still need to clean the basketliners reduce mess, they don’t erase it.
Finally, cleaning becomes the habit that separates “my air fryer is amazing” from “why does my kitchen smell like old bacon?” If you clean the basket and tray while they’re still slightly warm (not hot), it’s easier. If you procrastinate, grease hardens and turns into a scrubbing project. The good news is that once you settle into a quick routinewash the removable parts, wipe the interior, let everything dryyour NuWave stays consistent, heats better, and smokes less. That’s the real long-term experience: the air fryer isn’t just a cooking tool, it’s a tiny system. Treat it well, and it makes weekday cooking feel dramatically less dramatic.











