
Setting up a Christmas tree looks easy until the tree leans left, the lights work only on the side facing the wall, and the star threatens to take out a ceiling fan. The good news is that a beautiful, stable, and safer Christmas tree does not require professional decorating credentials. It simply needs the right order of operations.
This step-by-step guide covers fresh-cut, living, and artificial trees. You will learn how to choose a location, secure the trunk, shape branches, hang lights, layer decorations, protect children and pets, and keep the finished tree looking festive instead of frazzled.
Step 1: Measure the Room Before Choosing the Tree
Leave space for the stand, topper, and walking paths
Measure the ceiling height and the width of the area where the tree will stand. Subtract the height of your tree stand and topper before buying or assembling the tree. A seven-and-a-half-foot tree under an eight-foot ceiling sounds reasonable until a twelve-inch angel arrives and develops an uncomfortable relationship with the drywall.
Choose a location near an electrical outlet but away from busy walkways, doors, stairs, and furniture that must be moved every day. Keep the tree at least three feet from fireplaces, radiators, space heaters, heat vents, and other heat sources. Heat can dry a real tree faster, and any tree or decoration placed too close to a flame or heating appliance creates unnecessary risk.
Step 2: Gather Supplies and Protect the Floor
Prepare everything before the tree enters the room
Place a waterproof tree mat, plastic tray, or other protective layer beneath the stand, especially if you have hardwood, laminate, or carpet. For a real tree, keep towels nearby for spills and a small hand broom or vacuum ready for needles. For an artificial tree, gloves and a long-sleeved shirt can save your arms from looking as though you argued with a porcupine.
Useful supplies include a sturdy stand, indoor-rated extension cord, step ladder, ornament hooks, floral wire, pruning shears, tree skirt or collar, and a narrow-spout watering pitcher. Test your smoke alarms as part of the same setup routine.
Step 3: Inspect the Tree, Stand, Lights, and Cords
Replace damaged equipment instead of improvising
Check the tree stand for loose screws, bent legs, cracks, or missing hardware. Inspect artificial tree sections for damaged hinges, exposed wires, unstable connectors, or broken pre-lit sockets. Examine every light strand for frayed insulation, cracked sockets, loose connections, missing bulbs, or heat damage. Use lights bearing a certification mark from a recognized testing laboratory, and follow the manufacturer’s connection limits rather than creating a glowing electrical spaghetti bowl.
Plug in each light strand while it is still on the floor. Replace compatible bulbs or fuses as directed, and discard a set if the wiring is damaged. Untangling lights is annoying; discovering a dead strand after hanging 900 ornaments is a character-building exercise nobody requested.
Step 4: Prepare a Fresh-Cut or Living Christmas Tree
Make a straight fresh cut and provide enough water
For a fresh-cut tree, remove roughly one-half inch from the bottom of the trunk with a straight, perpendicular cut shortly before placing it in the stand. Do not carve the trunk into a point, cut it at an angle, drill a hole in the base, or shave off the outer wood merely to force it into an undersized stand. Those methods can reduce stability or interfere with the tree’s most effective water-absorbing tissue.
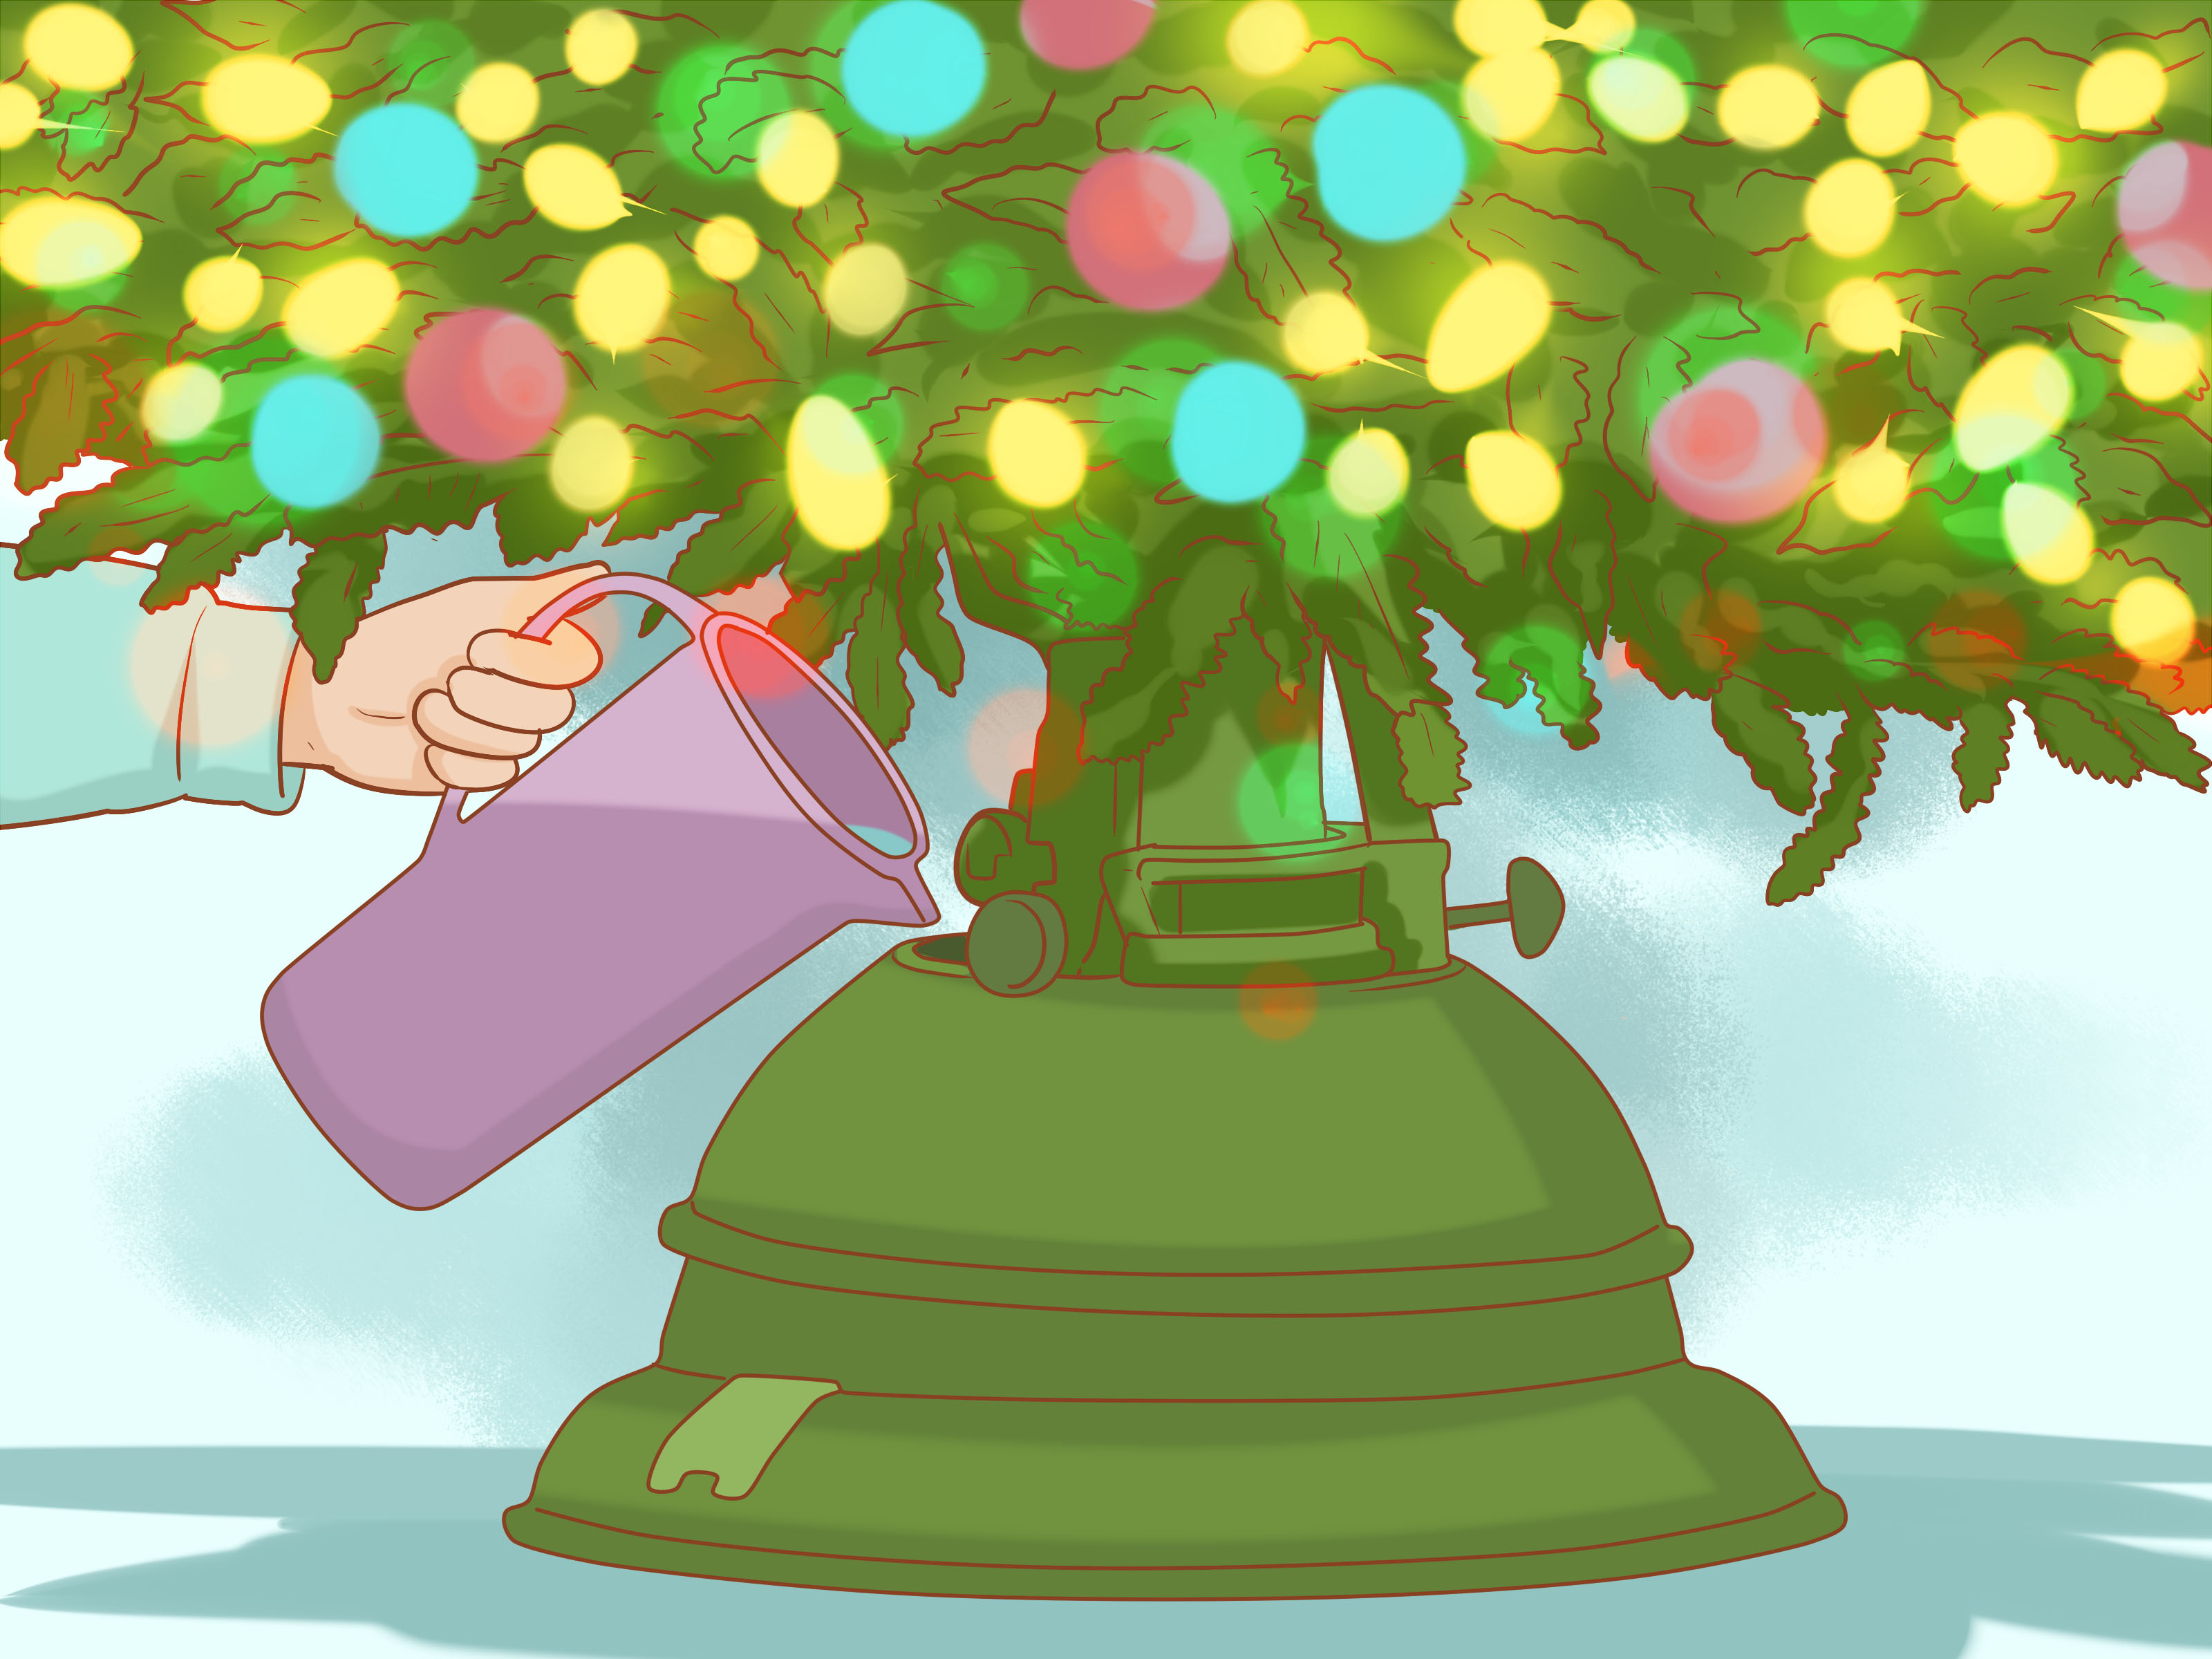
Select a reservoir stand that fits the trunk and holds enough water. A widely used guideline is approximately one quart of stand capacity for each inch of trunk diameter. Fill the reservoir promptly with plain tap water and keep the cut surface submerged at all times; additives such as sugar, aspirin, floral preservatives, or heroic splashes of lemon-lime soda are unnecessary.
For a living tree with roots, use a leakproof container, keep the soil slightly moist, and limit its time in a warm room. A cooler location and gradual transition outdoors help protect winter dormancy.
Step 5: Assemble an Artificial Christmas Tree Correctly
Start with the base and work upward
Set the stand on a flat, level surface and tighten it fully. If the tree has labeled sections, insert the largest bottom section first, followed by the middle and top. Make sure every pole is seated completely before releasing hinged branches. For pre-lit models, connect the plugs or quick-connect trunk sections according to the manual and test each section as you go.
Do not decorate until the entire tree is upright and stable. If it wobbles, stop and correct the stand, floor position, or trunk connection. Ornaments are decorations, not structural engineering.
Step 6: Center and Secure the Tree
Check the tree from more than one angle
With one person holding the tree upright, another person should tighten the stand screws gradually, alternating from side to side. Step back and check the trunk from the front and both sides. Rotate the tree so the fullest side faces the room and any sparse area faces a wall or corner.
Homes with climbing cats, energetic dogs, or toddlers may benefit from a discreet anchor. Clear fishing line or thin safety wire can connect the upper trunk to a secure wall pointnot to a curtain rod or lightweight hook that might join the tree on its journey to the floor.
Step 7: Fluff, Shape, and Prune the Branches
Create the tree’s silhouette before adding decorations
For an artificial tree, begin at the bottom and separate every branch tip. Angle some tips upward, some outward, and some slightly downward to hide the center pole and create a natural, layered outline. This is often the most time-consuming step, but it makes a bigger visual difference than buying another box of ornaments.
For a real tree, remove damaged twigs and a few low branches only if needed to fit the stand, provide access to the water reservoir, or create room for gifts. Avoid aggressive pruning after the tree is indoors. Walk around the tree and look for obvious gaps, but remember that natural trees are allowed to have personality.
Step 8: Choose a Theme and Color Palette
Use a simple plan to prevent visual clutter
Before opening every ornament box, choose a direction. Traditional red, green, and gold creates a classic look. Silver, white, and champagne feels polished. Plaid, wood, pinecones, dried citrus, and burlap suggest a rustic tree. A family tree can ignore design rules completely and proudly display school crafts, vacation souvenirs, tiny handprints, and at least one ornament nobody remembers buying.
A practical formula is one main color, one supporting color, and one metallic or natural texture. Repeat those elements around the tree so the design feels intentional. Your theme should coordinate with the room, but it does not need to audition for a department-store window.
Step 9: Hang the Christmas Lights First
Work from the trunk outward for depth
Lights should go on before ribbon, garland, and ornaments. Begin near the power source. Depending on your preferred method, wrap lights horizontally around the tree, drape them vertically from top to bottom, divide the tree into sections, or wrap individual branches for maximum sparkle. Place some bulbs deeper near the trunk and others toward the branch tips to create dimension rather than a flat ring of light.
Turn the lights on while working so dark spots are easy to see. Hide connectors inside the branches, keep cords away from the water reservoir, and do not run cords beneath rugs or pinch them under furniture. LED lights are a practical choice because they produce less heat than traditional incandescent strings. Turn tree lights off before going to sleep or leaving home.
Step 10: Add Garland, Ribbon, or Decorative Picks
Install broad elements before small ornaments
Garland and ribbon establish movement across the tree, so add them before individual ornaments. Drape garland loosely from top to bottom, allowing slightly wider swags near the base. Wired ribbon can be woven in vertical cascades, wrapped in a relaxed spiral, tied into bows, or cut into shorter sections and tucked into branches.
Use floral wire to secure heavy ribbon, floral stems, berry sprays, pinecones, or oversized decorative picks. Place some pieces deep inside the branches to fill holes and others near the tips for texture. Step back every few minutes. The tree sees you coming, but you still need distance to see the whole design.
Step 11: Hang Ornaments in Layers
Start large, distribute weight, and finish with favorites
Place large ornaments first and spread them around the tree, including several deeper toward the trunk. Their size fills visual gaps and reflects light from within. Add medium ornaments next, then use smaller pieces on branch tips and in remaining spaces. Mix glossy, matte, transparent, textured, and natural finishes so the tree has depth.
Hang heavy ornaments on sturdy inner branches, not on delicate outer tips. Use floral wire for fragile heirlooms or awkward pieces. Keep breakable, sharp, food-shaped, or small detachable ornaments above the reach of young children and pets. Display the most meaningful ornaments at eye level, where people can enjoy them instead of discovering them behind the sofa on January 3.
Step 12: Add the Topper and Finish the Base
Secure the topper without bending the tree
Install the topper with a stable step ladder and a helper holding the ladder or guiding the tree. A heavy star or angel may need floral wire, a topper support, or attachment to more than one branch. Do not stretch from a chair, climb onto furniture, or lean sideways from the ladder. Holiday decorating injuries often involve falls, so the final twelve inches are not the moment to become an amateur acrobat.
Cover the stand with a skirt, collar, basket, or blanket while preserving access to the water reservoir. Keep fabric away from heating equipment and electrical connections. The base should hide hardware without turning daily watering into an excavation project.
Step 13: Perform a Final Safety and Style Check
Inspect the tree daily throughout the season
Walk around the tree, adjust bare areas, remove dangling hooks, and confirm that the stand remains level. Check that cords are intact, plugs are not warm, outlets are not overloaded, and no decoration is near a candle or heat source. Flameless candles are a safer choice around trees and greenery.
For a fresh-cut tree, check the water every daymore than once during the first day if necessaryand never allow the water level to fall below the trunk base. Remove the tree when it becomes dry, brittle, or sheds heavily. For any tree, use a timer or consistent household routine to ensure the lights are off overnight and whenever the house is empty.
What Experience Teaches You About Setting Up a Christmas Tree
The best results come from patience, order, and a few humble corrections
After setting up enough Christmas trees, you learn that the final appearance is decided long before the first ornament is hung. The tree that looks “expensive” is often simply the tree that was measured correctly, centered carefully, and shaped patiently. People are tempted to rush through the boring stages because the ornaments are more fun. Then they spend twice as long trying to disguise a crooked trunk or a flat artificial branch section with ribbon. Ten extra minutes spent on the stand and thirty minutes spent fluffing can save an entire evening of decorative negotiations.
You also learn to test lights in sections, not merely once. A strand can work on the floor and fail after being bent around branches. Plug in the bottom section, inspect it, add the next strand, and inspect again. Before ornaments go on, dim the room lights and view the tree from the doorway; uneven brightness is much easier to correct while branches are still accessible. Keep spare compatible bulbs, fuses, and hooks in a small container near the tree. That tiny “tree repair kit” prevents the annual scavenger hunt through drawers full of batteries, tape, and mystery keys.
Another lesson is that balance matters more than symmetry. A perfectly mirrored tree can feel stiff, while a balanced tree feels natural. Spread colors, large ornaments, and bright reflective pieces around the full circumference, but allow treasured items to cluster where people can see them. Rotate the tree or take a quick phone photo from the main doorway. Photos reveal gaps, leaning toppers, and accidental ornament colonies that your eyes stop noticing after an hour at close range.
Family decorating works better when tasks are assigned by height and durability. Adults can handle the stand, ladder, topper, electrical connections, and fragile ornaments. Children can hang soft or unbreakable decorations on lower branches. Pets can supervise from another room while pretending this arrangement violates their constitutional rights. Put a few safe ornaments at pet level only if they are securely attached and too large to swallow; otherwise, leave the lowest branches mostly undecorated.
Experience also teaches restraint. You do not have to use every decoration you own. Edit the collection, store extras, and let meaningful pieces breathe. If the tree still feels unfinished, add one repeated elementbows, berry picks, metallic balls, or pineconesrather than five unrelated ideas. Repetition creates cohesion faster than shopping does.
Finally, plan for takedown while setting up. Keep original tree-section labels, coil unused lights properly, and store ornament boxes nearby rather than banishing them to the hardest corner of the attic. Photograph the finished tree if you want to recreate the arrangement next year. When the season ends, remove ornaments first, ribbon and garland second, lights third, and the tree last. The future version of you, standing in a room full of needles and tangled wire, will appreciate the courtesy.
Conclusion
Learning how to set up a Christmas tree is mostly about doing things in the right sequence: measure, prepare, stabilize, shape, light, layer, decorate, and inspect. A secure stand and safe electrical setup matter more than any trend, while thoughtful spacing and a simple color plan make even a modest ornament collection look polished.
Whether your finished tree is elegant, rustic, colorful, nostalgic, or delightfully chaotic, it should make the room feel warmer and the season more personal. Follow these 13 steps, keep a real tree watered, switch the lights off when unattended, and leave enough room beneath the branches for giftsand perhaps one cat who has already ignored every rule in this article.
Note: This article synthesizes tree-care, fire-safety, electrical-safety, setup, lighting, and decorating guidance from 12 reputable U.S. organizations and publications, including NFPA, CPSC, the National Christmas Tree Association, university extension programs, ESFI, major home-improvement references, and established home publications.












