
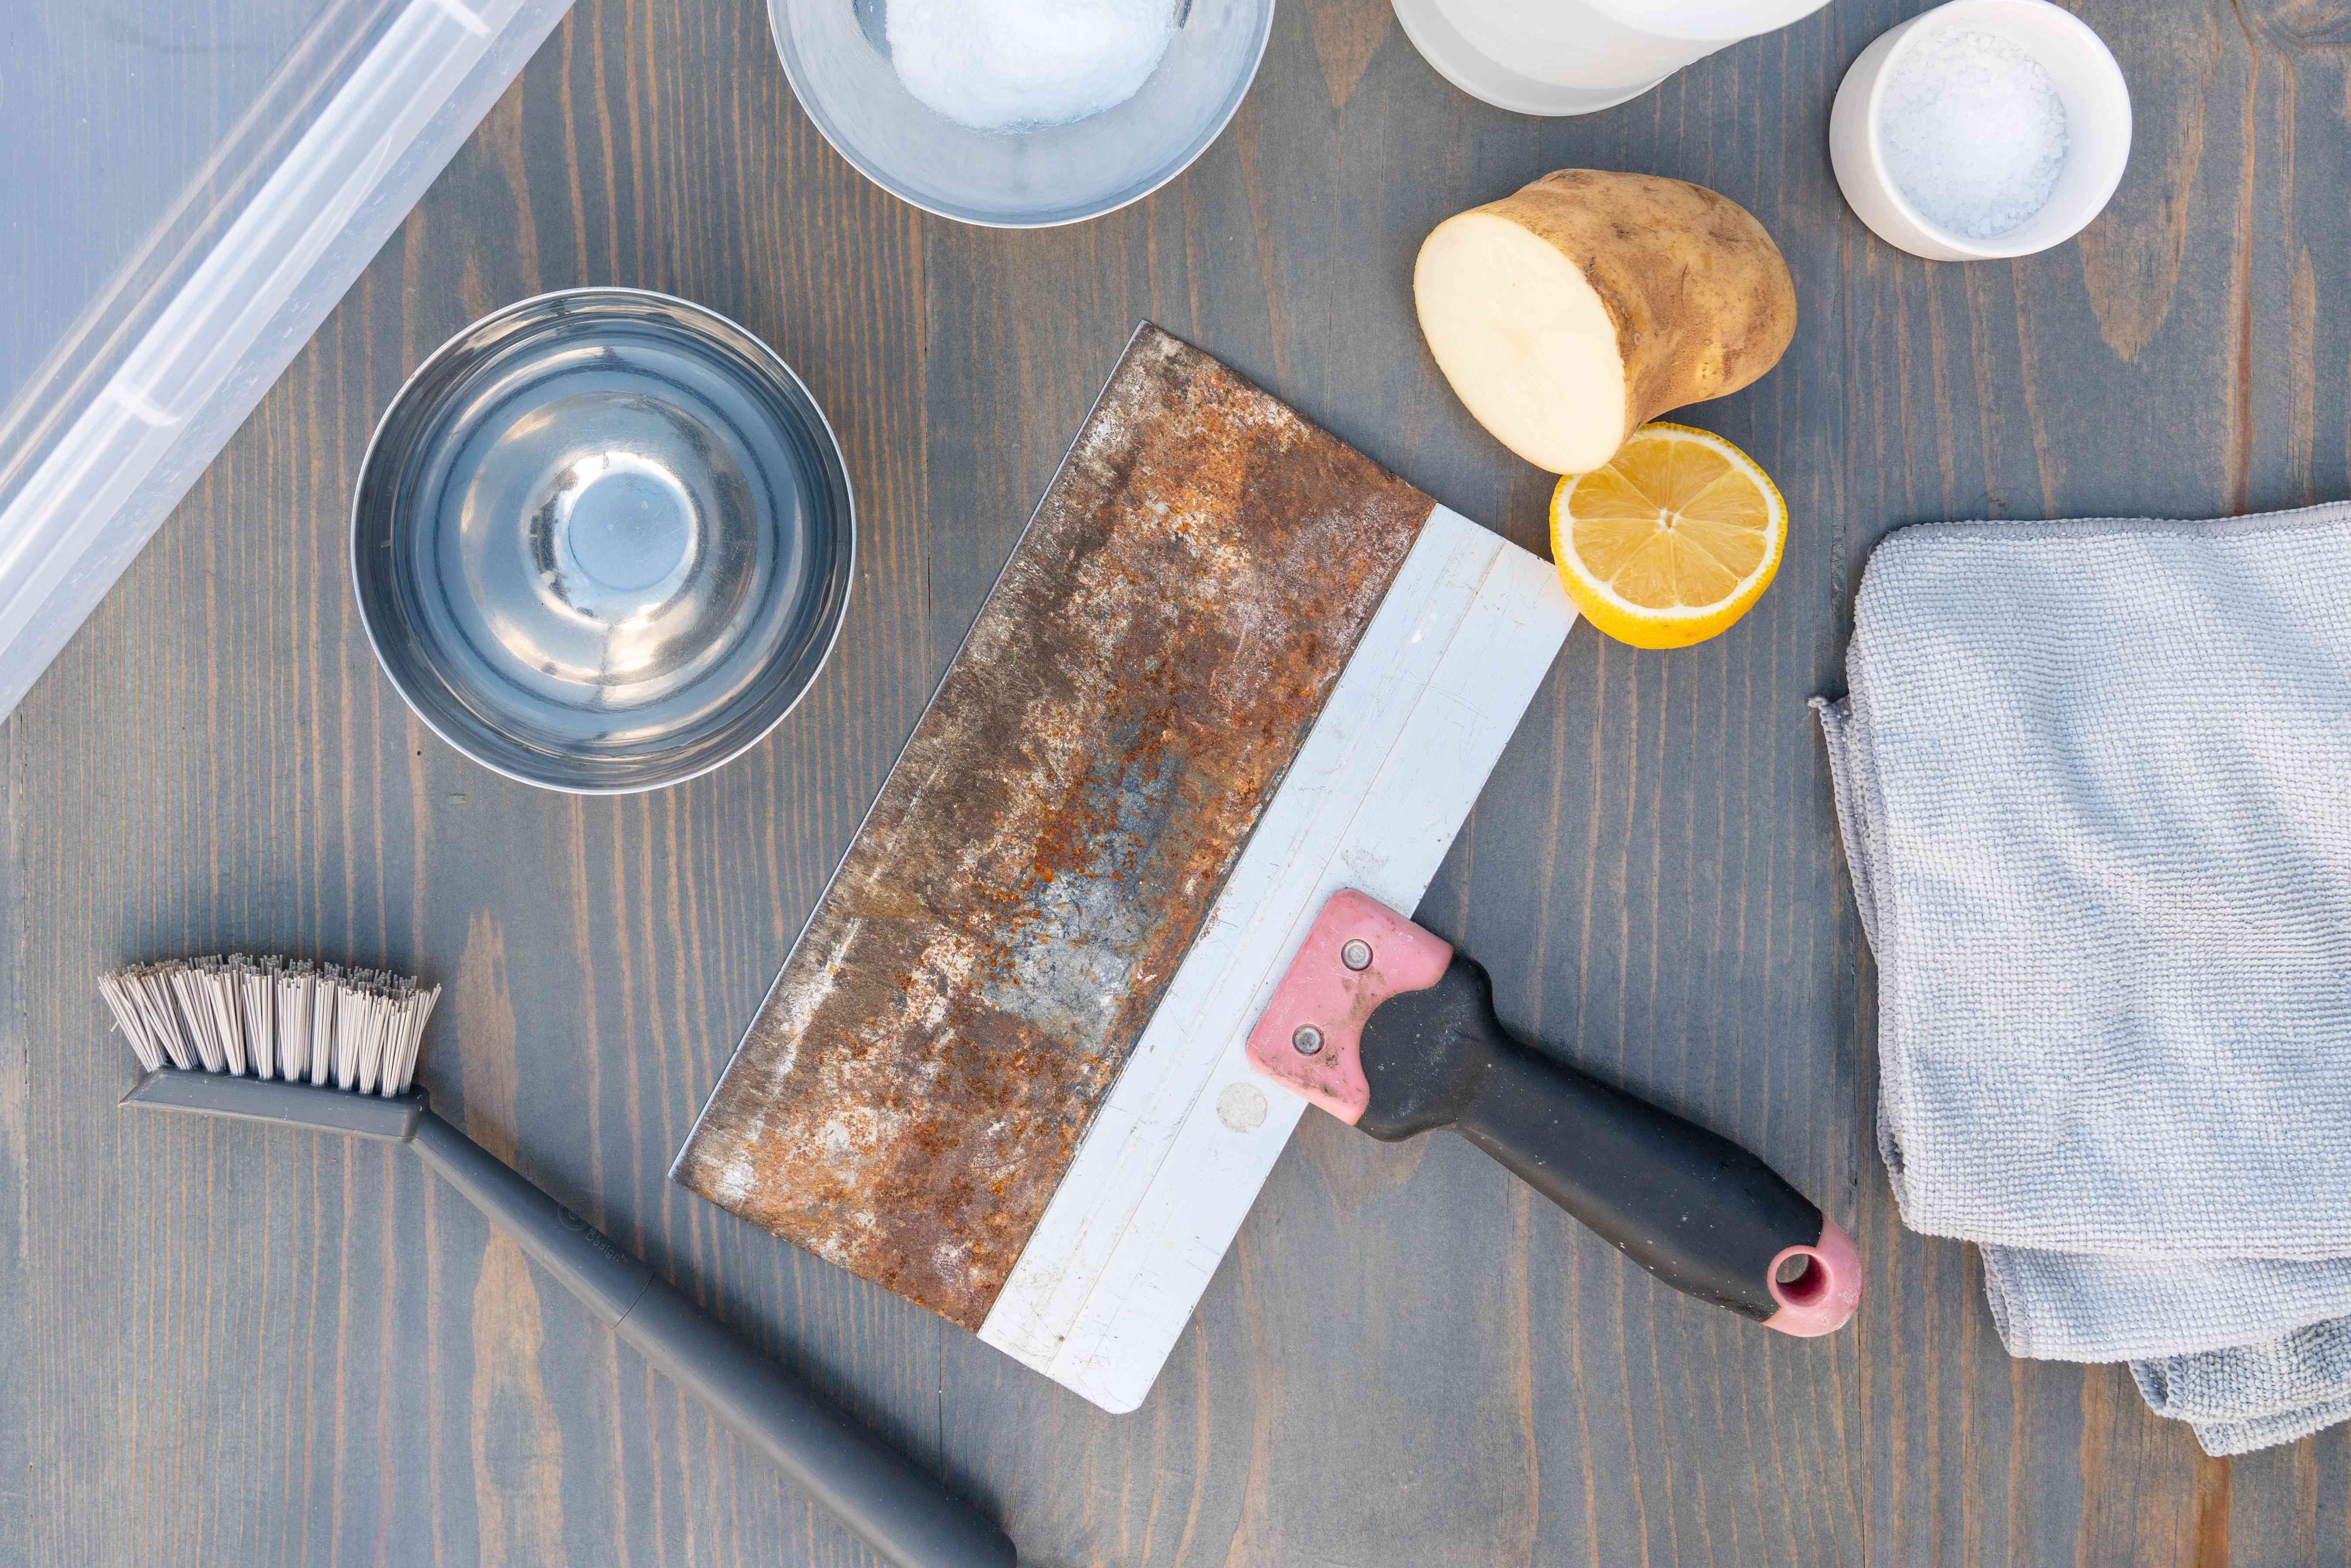
Rust is basically metal’s way of saying, “I’ve been through some stuff.” The good news: in many cases you can reverse the damage, rescue the finish, and keep the object from re-rustingwithout turning your garage into a chemistry lab or your kitchen into a medieval forge.
This guide walks you through practical, proven rust-removal methods (from pantry staples to pro-grade products), how to choose the right approach for your item, and what to do afterward so rust doesn’t come sprinting back like it forgot its keys.
What Rust Is (And Why It’s So Stubborn)
Rust forms when iron (or iron alloys like many steels) reacts with oxygen and moisture. That orange-brown crust isn’t just “dirt”it’s corrosion products that can keep spreading if water and air keep getting access to fresh metal underneath. Rust can be superficial (a surface bloom) or structural (pitting that eats into the metal).
The key insight: removing rust isn’t only about making the surface look better. It’s about stopping the corrosion cycle by removing the oxidized layer and then protecting the newly exposed metal from moisture.
How to Choose the Best Method (Without Guessing)
Step 1: Identify the metal and finish
- Carbon steel / iron tools: Usually safe with scrubbing, vinegar/citric soaks, and many commercial removers.
- Painted metal: Spot-treat rust carefully; aggressive sanding may peel paint beyond the rust.
- Stainless steel: Rust is often from contamination or surface damage. Use gentle abrasives and stainless-safe cleaners.
- Chrome: Can scratch easilystart gentle, avoid harsh acids sitting too long.
- Cast iron cookware: Rust removal is followed by drying and re-seasoning (yes, it’s a thing, and yes, it matters).
Step 2: Grade the rust
- Light: Orange haze, no deep pitting. Often removable with mild abrasion or short soaks.
- Moderate: Flaking, rough texture, some pits. Needs stronger chemistry and/or more abrasion.
- Heavy: Thick scale, deep pitting, frozen fasteners. May need power tools, soaking removers, electrolysis, or replacement.
Step 3: Decide your end goal
Are you trying to (a) restore bare metal for a clean look, (b) prep for paint, or (c) stabilize rust where full removal isn’t practical? Your goal determines whether you use a remover (bare metal) or a converter/reformer (paintable stabilized surface).
Safety Checklist (Aka: Keep All Your Eyebrows)
- Wear eye protection when brushing, sanding, or using chemicals. Rust dust and wire bristles are not a vibe.
- Use gloveseven “mild” acids can irritate skin, and metal edges can bite.
- Ventilate when using commercial removers, rust converters, or sprays. Open garage door, use fans, follow labels.
- Watch out for lead paint on older items or structures (especially pre-1978). Dry sanding and scraping can create hazardous dust. If you suspect lead-based paint, use lead-safe practices and consider professional testing/containment.
- Never mix cleaning chemicals unless a product label explicitly says it’s safe.
- Keep flames away from any process that can generate hydrogen gas (like electrolysis). Hydrogen is extremely flammable.
Rust-Removal Methods That Actually Work
You don’t need every method. Pick the least aggressive option that gets the job done. (Your future selfand your metalwill thank you.)
1) Dry Mechanical Removal (Brush, Sandpaper, Steel Wool)
Best for: light-to-moderate rust on tools, hardware, railings, outdoor furniture, and flat surfaces.
- Knock off loose rust with a stiff wire brush (hand brush) or a nylon abrasive pad for gentler work.
- Sand the area using progressively finer grits (example: 80/120 to remove rust, then 220+ to smooth).
- Wipe clean with a dry rag, then a slightly damp cloth, then dry again.
Tip: A drill-mounted wire wheel speeds things up, but it can gouge soft metals and fling bristles like tiny dartswear eye protection and keep bystanders (and pets) out of the splash zone.
2) Baking Soda Paste (Gentle, Pantry-Friendly)
Best for: small rust spots, stainless steel, delicate areas where you don’t want harsh acids.
- Mix baking soda with a little water until you get a thick paste (think: toothpaste’s tougher cousin).
- Spread over rust and let sit (30–60+ minutes for light rust; longer for tougher spots).
- Scrub with a toothbrush, sponge, or soft abrasive pad.
- Rinse and dry thoroughly.
Why it works: baking soda is mildly abrasive and can help lift oxidation while being relatively gentle on many finishes.
3) Vinegar Soak (Classic Acid Treatment)
Best for: small tools, nuts/bolts, hardware, removable parts. Vinegar is often the easiest “set it and forget it” method.
- Submerge the item in white vinegar (undiluted is common for stubborn rust).
- Soak time depends on severity: a few hours for light rust, overnight or longer for heavier corrosion.
- Remove and scrub with a brush or steel wool.
- Rinse with water and dry immediately.
Pro move: after rinsing, dry with a towel, then use a hair dryer or gentle heat to drive out moisture in joints and seams. Any trapped water is basically rust’s ride-share home.
4) Lemon + Salt (Citrus Chemistry With a Side of Grit)
Best for: light rust on small items, quick spot treatments, or when you want a milder acid than industrial products.
- Sprinkle salt on the rust (it adds abrasion and helps hold liquid in place).
- Squeeze lemon juice over it until damp.
- Let it sit up to a couple hours (shorter for delicate finishes).
- Scrub, rinse, and dry.
Note: lemon juice can be too harsh for some finishes if left too longspot test when in doubt.
5) Cream of Tartar + Vinegar Paste (Fast Spot Treatment)
Best for: rusty patches you can’t soak (like metal legs, brackets, rails).
- Make a paste with cream of tartar and vinegar.
- Apply to rust, let it work briefly, then scrub.
- Rinse and dry completely.
If you’ve never used cream of tartar outside baking: congratulations, you now own a multipurpose powder with the personality of a tiny cleaning assistant.
6) Commercial Rust Removers (Soak or Gel)
Best for: heavier rust, larger batches of parts, or when you want consistent results with less elbow grease.
- Soak-style removers are great for tools and parts you can submerge. Many are designed to dissolve rust without aggressive scraping.
- Gel removers cling to vertical surfaces (think: railings, lawn equipment frames, outdoor fixtures).
Follow the label for timing. Many soak products recommend hours for light rust and overnight for heavy rust; gel products often work best when kept wet on the surface and then rinsed or wiped away afterward.
Important: some removers can strip protective finishes (like bluing on certain tools) or impact coatingscheck product guidance before dunking heirloom items.
7) Phosphoric Acid “Metal Prep” (Rust Dissolver + Paint Prep)
Best for: prepping iron/steel before painting, especially when you want improved paint adhesion and a cleaner substrate.
- Remove loose rust mechanically first (brush/scrape).
- Apply the metal prep per instructions (brush, spray, or wipe depending on product).
- Keep it wet as directed, then rinse/wipe as instructed.
- Dry thoroughly and proceed quickly to primer/paint if that’s your plan.
Watch out for “flash rust”: bare metal can re-oxidize quickly after rinsing. Dry fast and protect the surface immediately.
8) Electrolysis (For Serious Rust on Parts You Can Submerge)
Best for: heavily rusted tools/parts where you want to remove rust without grinding away sound metal. This is a DIY favorite for restorations, but it demands careful setup and safety.
- Use a non-metal container (plastic tub).
- Make an electrolyte solution using water plus washing soda (sodium carbonate). (Not table saltavoid chlorine gas risks.)
- Set up electrodes: connect the negative lead to the rusty item (cathode) and the positive lead to a sacrificial steel electrode (anode).
- Keep electrodes from touching and run the power source as appropriate for the setup.
- Ventilate well: electrolysis can produce hydrogen gas. Keep sparks/flames away.
- Afterward, scrub the loosened rust, rinse, dry, and protect the metal.
If this sounds like a middle-school science fair project with consequences: that’s because it is. Do it outside or with excellent ventilation, and don’t freestyle the chemistry.
9) Rust Converters / Rust Reformers (When You’re Painting)
Best for: metal you plan to paint where fully removing rust is difficult. Converters chemically stabilize rust and leave a paintable surface (often black).
- Remove loose, flaky rust and any grease/dirt first.
- Apply converter/reformer per label (temperature/humidity matter for curing).
- Let it cure fully, then prime/paint if required by the product system.
This method doesn’t “erase” rust like a soakit transforms and seals it as part of a coating system. Great for rails, frames, and automotive touch-ups when you want rust to stop multiplying in the corners.
Special Cases (Because Metal Has Opinions)
Removing Rust From Cast Iron Cookware
Cast iron rust usually happens when seasoning is compromised and moisture lingers. The fix is straightforward: remove rust, dry completely, then restore protection (seasoning).
- Scrub rust with steel wool or an abrasive tool designed for cast iron.
- Wash with warm, soapy water (yes, soap is okaydon’t panic).
- Dry immediately and completely (towel + heat helps).
- Apply a thin layer of oil and re-season if needed (especially if you removed a lot of seasoning).
Example: If a skillet has a few orange freckles, you may only need a focused scrub + oil. If it looks like it spent winter in a lake, plan on full re-seasoning.
Removing Rust From Stainless Steel (Sinks, Appliances, Fixtures)
Stainless is rust-resistant, not rust-proof. Surface rust can come from iron particles (like steel wool debris) or scratches that trap moisture.
- Start with a baking soda paste and gentle scrubbing.
- Scrub in the direction of the grain (especially on sinks and brushed finishes).
- Avoid harsh scratching pads that permanently dull the finish.
Removing Rust From Chrome (Bathroom, Bikes, Car Trim)
Chrome can scratch, so start gentle. A popular low-drama approach is using damp aluminum foil with mild abrasion (often paired with baking soda paste for stubborn spots). Keep pressure light, rinse, and dry.
If the chrome is pitted, you may remove rust staining, but you can’t un-pit metal without refinishing. Think of it like skincare: you can improve things, but you can’t time-travel.
Outdoor Metal Furniture, Railings, and Tools
Outdoors, rust is usually a moisture-management problem. Remove rust mechanically, spot treat with gel removers when needed, and then protect with primer/paint or a corrosion-inhibiting coating. If you skip the protection step, the weather will undo your hard work like it’s getting paid by the hour.
Rust Stains on Nearby Surfaces (Concrete, Stone, Tile)
Sometimes the metal is only half the problemthe rust leaches and stains what’s around it. Mild acids like vinegar are commonly used for rust stains on concrete (test first, scrub, then rinse). If stains are old or stubborn, specialty stain removers may be more effective.
How to Prevent Rust After You Remove It
Rust prevention is where the real win happens. Once you’ve exposed clean metal, you have a short window before moisture and oxygen start round two.
Dry it like you mean it
- Towel dry immediately.
- Use a hair dryer/heat gun on low for seams, hinges, screw heads, and textured surfaces.
- Let the item sit in a dry area before storing (especially tools).
Protect the surface
- Light oil/wax: Great for tools, hardware, and metal that doesn’t get painted.
- Primer + paint: Best for outdoor items, railings, furniture frames, and equipment.
- Rust converters/reformers: Useful under paint when rust is hard to fully remove.
Store smarter
- Keep tools dry (a toolbox with desiccant packs can help in humid climates).
- Avoid leaving metal in contact with damp surfaces (wet concrete, soggy wood, saturated fabric).
- Wipe down metal after exposure to water (especially around pools/coastal air).
Quick maintenance routine (5 minutes)
- Wipe tools after use.
- Check high-rust areas (joints, screws, edges) monthly.
- Touch up chips in paint promptly.
FAQ
Will vinegar damage metal?
Vinegar is mild, but long soaks can affect certain finishes and may darken or etch some metals. It can also strip seasoning from cast iron. Start with shorter soaks and scrub in stages instead of doing a multi-day dunk on everything you own.
Is rust always removable?
Surface rust is often very fixable. Deep pitting is permanent metal loss; you can clean it, stabilize it, and protect it, but you can’t magically replace missing steel without repair (filler, welding, or part replacement).
What’s the fastest method?
For tiny spots: baking soda paste or a quick abrasive scrub. For heavier rust: commercial removers can be faster than DIY, especially for batches of parts. For paint prep: a converter/reformer can save time versus perfect bare-metal restoration.
How do I remove rust from small screws or bolts?
Soak them (vinegar or a commercial soak remover), scrub with a wire brush, rinse, dry, and then add a light oil. If a fastener is frozen, tapping it gently and using a penetrating lubricant can help break the rust bond.
Conclusion
Rust removal is a choose-your-own-adventure story: sometimes it’s a gentle baking soda scrub, sometimes it’s a vinegar soak, and sometimes it’s full “science mode” with electrolysis. The best results come from matching the method to the metal, the finish, and the severitythen protecting the surface so rust doesn’t RSVP again.
If you remember just three things, make them these: remove loose rust, neutralize/clean thoroughly, and protect immediately. Your metal will look better, last longer, and stop quietly plotting its return.
Real-World Experiences: What Usually Happens (And What People Wish They’d Known)
The most common “rust removal experience” isn’t a dramatic before-and-afterit’s the moment someone realizes rust is less of a single problem and more of a recurring subscription. Below are composite, real-world-style scenarios (based on common DIY outcomes) that highlight what tends to go right, what goes wrong, and how to make your next rust-removal session shorter, cleaner, and less likely to involve spontaneous regret.
Experience #1: The “I Soaked It Forever” Tool Rescue
A classic: a box of rusty hand tools gets dropped into vinegar and forgotten. When rediscovered, the rust is softerbut so are some finishes. The tools clean up, but any protective coating (or the nice “aged” look) may be dulled. The lesson is to soak in stages. Pull the tools after a few hours, scrub, check progress, and repeat if needed. You’ll remove rust with less risk of overdoing it, and you’ll also avoid that special smell vinegar develops when it has been working overtime for 48 hours.
Experience #2: The “It Looked Great… Then It Flash-Rusted” Surprise
This one is painfully common: you scrub a metal surface until it’s bright, rinse it off, and step back to admire your work. Ten minutes later, you return andboomnew orange haze. That’s flash rust, and it’s basically rust taking advantage of bare, wet metal. The fix is simple but strict: dry immediately (towel + warm air), then protect right away (oil/wax for tools, primer/paint for outdoor items). People who build a “dry-and-protect” habit into their process stop seeing flash rust almost entirely.
Experience #3: The Chrome Fixture That Got Scratched by “Helpfulness”
Someone spots rust on chrome and reaches for an aggressive padbecause it’s rust, so obviously it needs aggression, right? The rust comes off, but the chrome now looks like it fought a belt sander and lost. The takeaway: chrome is a “start gentle” material. Use mild abrasion first, keep pressure light, and accept that pitting is a finish issue, not a dirt issue. Many people get better results by doing two or three gentle passes instead of one heroic scrubbing session that permanently changes the surface.
Experience #4: The Patio Furniture Makeover That Actually Lasted
The outdoor win happens when someone treats rust removal as prep, not the final step. They brush off loose rust, sand smooth, clean away dust, then prime and paint with the right products. The furniture doesn’t just look betterit stays better through weather swings. The important “experience lesson” is that outdoors, protection is not optional. If water can sit on bare metal, rust will come back. People who add a topcoat, touch up chips quickly, and store cushions/parts so water doesn’t pool tend to get years out of a repair instead of months.
Experience #5: Electrolysis: The Most Satisfying Method… With the Most Rules
Electrolysis often becomes someone’s favorite method because it can lift heavy rust without removing healthy metal the way aggressive grinding can. The “experience” side is that the setup matters. People who use the right electrolyte (washing soda), keep the electrodes separated, and work in a well-ventilated area tend to have a smooth ride. People who improvise (like using table salt or running it in a closed space) quickly discover why safety notes are printed in bold. The best electrolysis experience usually ends with: scrub, rinse, dry, oiland a slightly smug grin.
Experience #6: Cast Iron Rust Isn’t the EndIt’s a Reset
Cast iron rust scares people because it feels permanent, but it’s often one of the most recoverable situations. The “real experience” pattern is: scrub rust, wash, dry completely, then oil and re-season. The big lesson is that cast iron is less fragile than the internet sometimes makes it sound, but it is strict about two things: dryness and protection. People who follow “wash, dry, oil” after each use report dramatically fewer rust issues, even in humid kitchens.
Bottom line: the best rust-removal experiences are the ones where you remove rust and change the conditions that created itmoisture, trapped water, chipped paint, or unprotected bare metal. Do that, and rust goes from “recurring nightmare” to “occasional nuisance,” which is about as much as we can ask from chemistry.












