
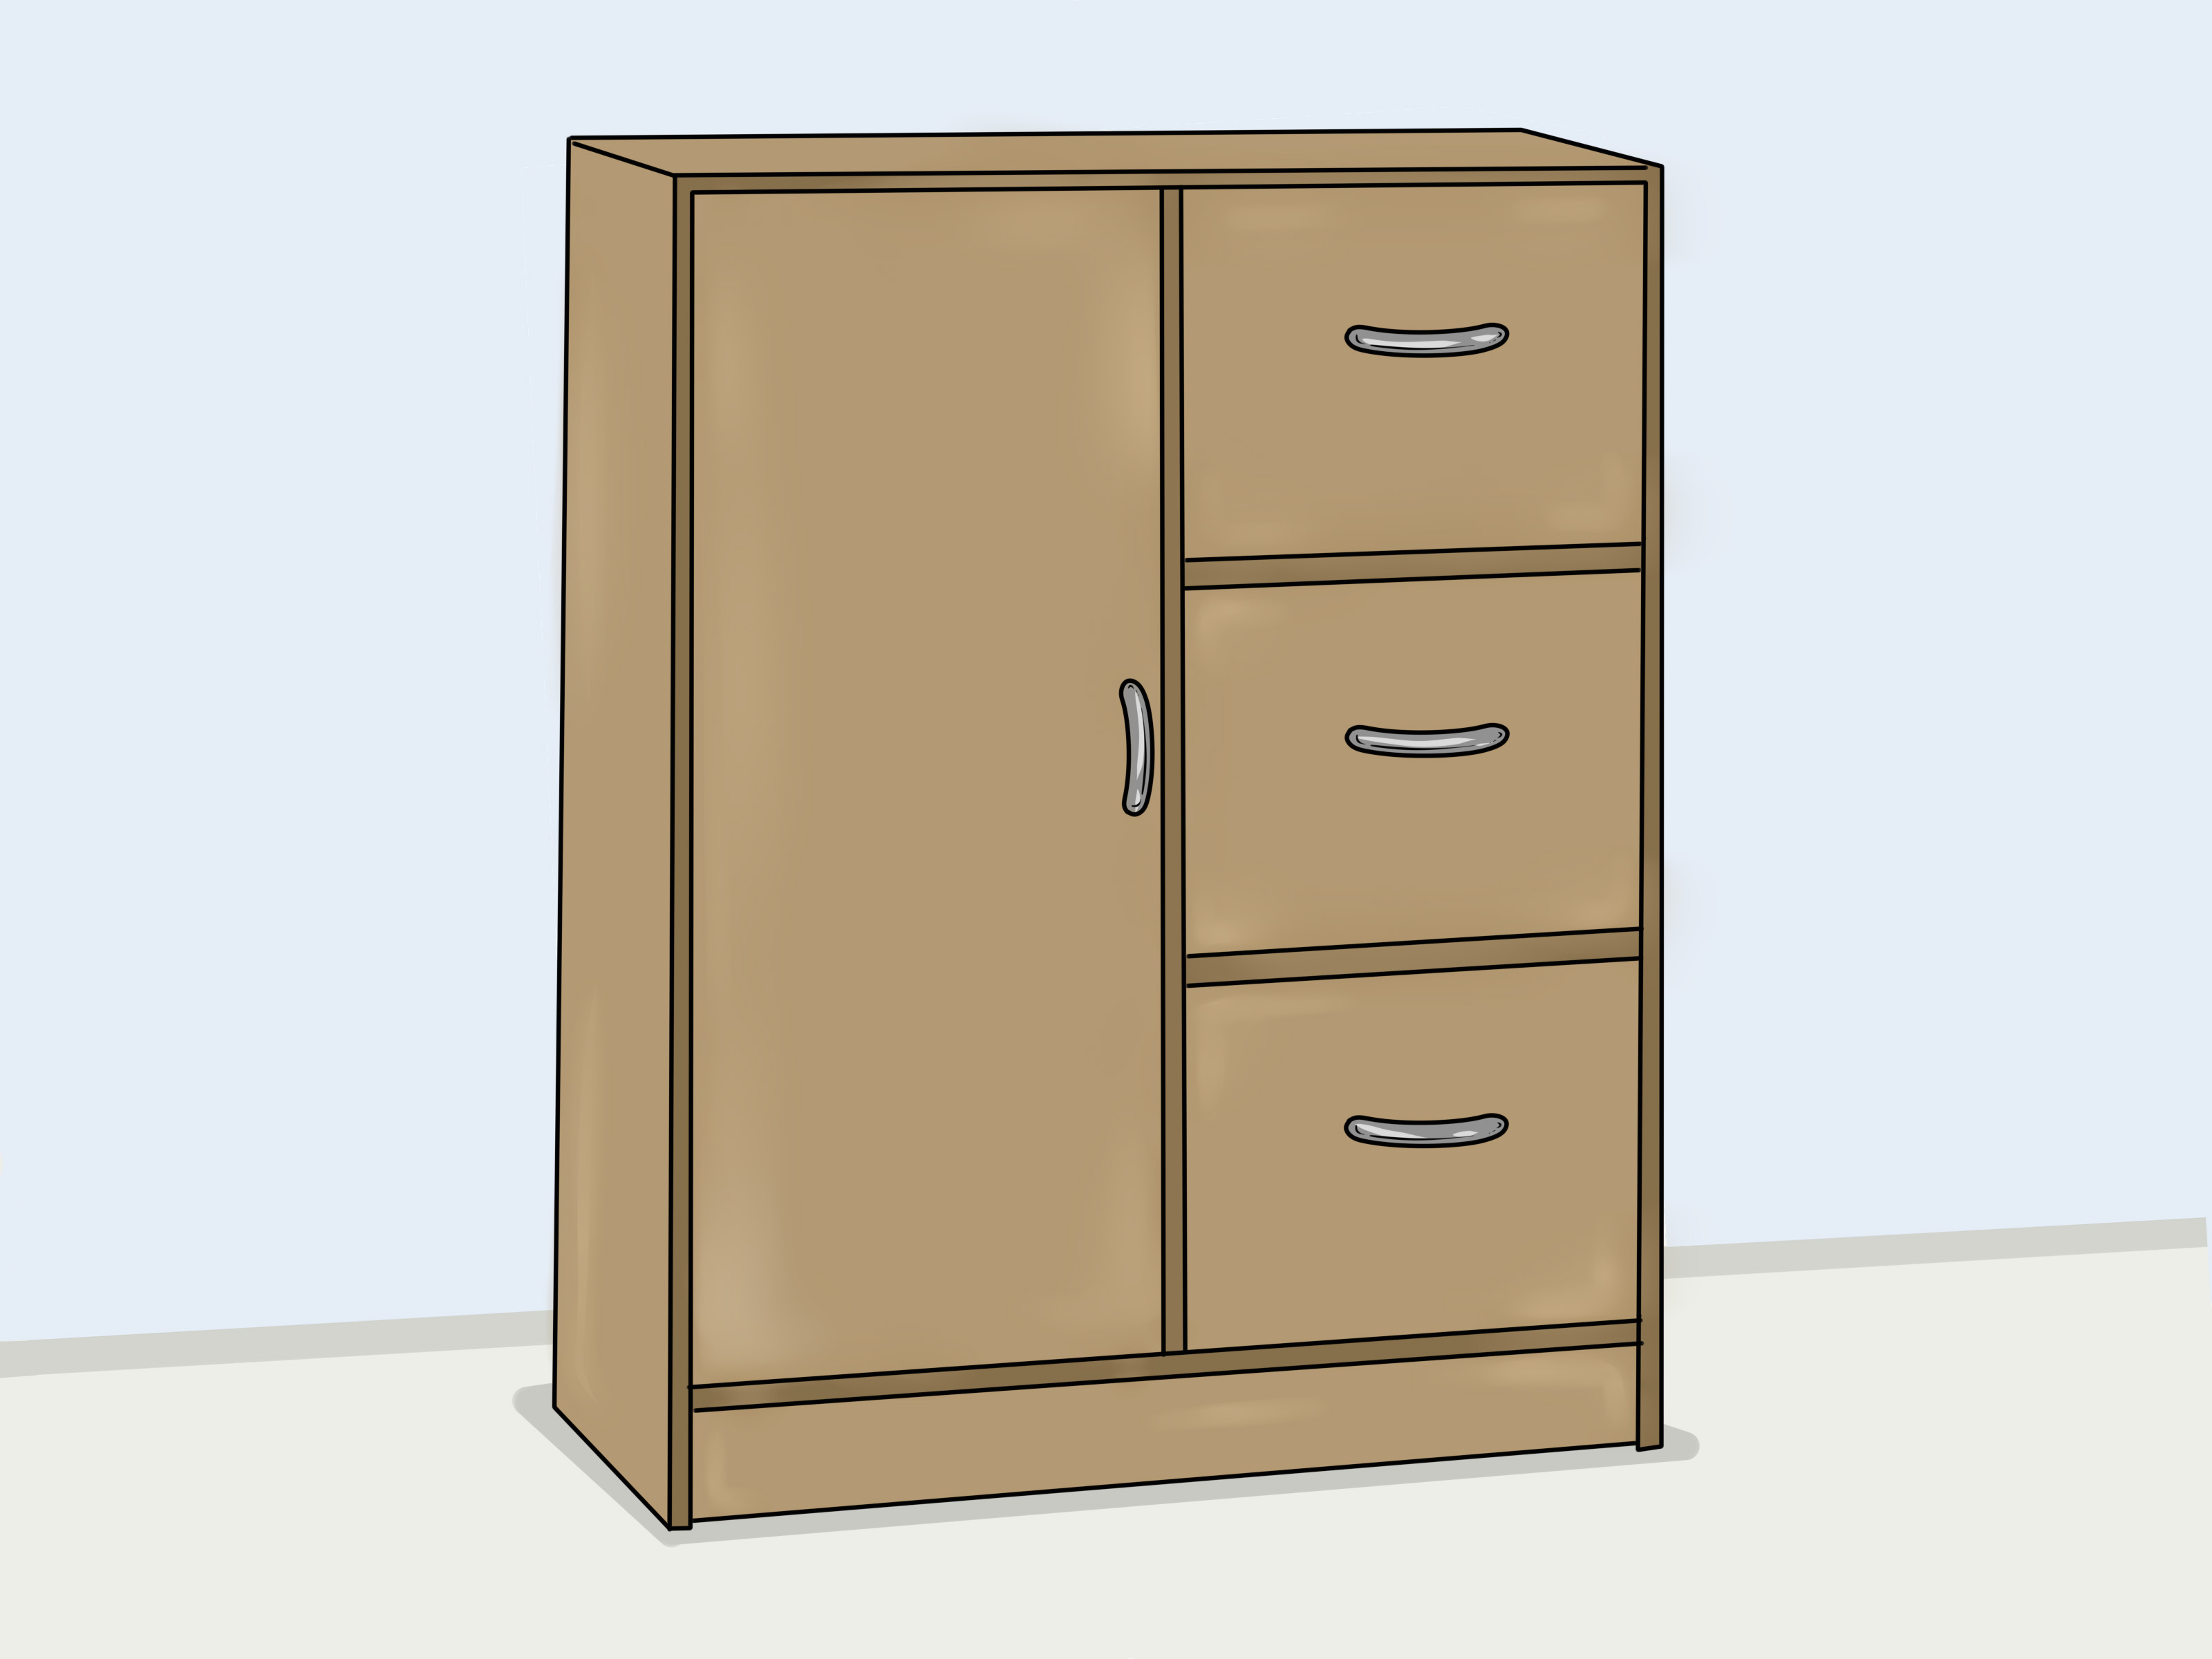
Particle board cabinets are the budget-friendly workhorses of many kitchens, bathrooms, laundry rooms, rentals, and garage storage areas. They are not glamorous in the “solid maple heirloom” sense, but they are surprisingly practicaluntil the finish starts peeling, the edges get fuzzy, or the doors begin to look like they survived a spaghetti-sauce thunderstorm. The good news: learning how to refinish particle board cabinets can turn tired, outdated cabinetry into a clean, modern feature without replacing the entire room.
The catch is that particle board needs special treatment. Unlike solid wood, it is made from wood particles, sawdust, and resin pressed into panels. Most cabinet-grade particle board is covered with laminate, melamine, thermofoil, veneer, or paint. That surface layer protects the core. Once water gets into the exposed edges, the board can swell, crumble, and lose strength. So the goal is not to sand aggressively like a hardwood tabletop. The goal is to clean, repair, lightly scuff, prime for adhesion, and apply a tough cabinet finish.
This guide walks through the full process: what to inspect, what materials to buy, how to repair problem areas, how to paint particle board cabinets, and when replacement is smarter than refinishing. Bring patience, a screwdriver, and the emotional maturity to label every hinge. Your future self will send thank-you notes.
Can You Refinish Particle Board Cabinets?
Yes, you can refinish particle board cabinets if the cabinet boxes and doors are structurally sound. Refinishing works best when the cabinet surface is mostly intact, the laminate or veneer is not peeling everywhere, and the particle board core has not absorbed major moisture. Painting is usually the most reliable refinishing method because particle board does not stain like real wood. If your cabinets have a thin wood veneer, you may be able to stain lightly, but most particle board cabinets are better candidates for paint, new hardware, and sealed edges.
Before you start, check three things: the surface, the edges, and the hardware areas. If the doors close properly, the hinges hold firmly, and the swelling is minor, refinishing is worth trying. If the cabinet floor under the sink is soft, moldy, or puffed up like a biscuit, replacement may be safer and more durable. Paint can improve appearance, but it cannot restore strength to badly water-damaged particle board.
Tools and Materials You Will Need
A successful DIY cabinet makeover depends more on preparation than on magical paint. Do not buy the prettiest color first and hope it behaves. Particle board cabinets need products that bond to slick surfaces and resist daily touching, wiping, bumping, and coffee-making chaos.
Basic Supplies
- Screwdriver or drill for removing doors and hardware
- Painter’s tape and a marker for labeling doors, drawers, and hinges
- Drop cloths or plastic sheeting
- Degreasing cleaner or mild cleaner recommended for painting prep
- Clean microfiber cloths
- Wood filler, two-part wood filler, or all-purpose repair putty
- Putty knife or flexible scraper
- 120-, 180-, and 220-grit sandpaper or sanding sponges
- Tack cloth or vacuum with brush attachment
- Bonding primer made for slick surfaces, laminate, or previously painted cabinets
- Cabinet enamel, trim enamel, acrylic enamel, or urethane-reinforced cabinet paint
- High-density foam rollers, quality angled brush, or paint sprayer
- Optional clear topcoat for extra protection on high-wear areas
- New knobs, pulls, hinges, or soft-close hardware if desired
Safety Gear
- Safety glasses
- Dust mask or respirator for sanding
- Chemical-resistant gloves when using stronger cleaners, primers, or fillers
- Ventilation fan or open windows
If your home was built before 1978, be careful with old painted surfaces. Disturbing lead-based paint can create hazardous dust. In that case, test before sanding, follow lead-safe practices, or hire a certified professional.
Step 1: Decide Whether to Refinish, Repair, or Replace
Start with an honest inspection. Particle board is forgiving in small ways and unforgiving in big wet ways. A small chip near a corner can be filled. A loose strip of laminate can often be glued down. A drawer front with a shallow gouge can be smoothed and painted. But a cabinet side that has swollen, split, and turned soft from a leak is not a good candidate for cosmetic refinishing.
Open every door and drawer. Look under the sink, near the dishwasher, around the toe kick, and along the bottom edges. These are the places where water sneaks in and throws a tiny demolition party. Press gently on suspicious areas. If the board feels spongy, flakes apart, or has a musty smell, replace that section. If the damage is dry, firm, and limited to rough edges, you can usually rebuild it with filler and seal it under primer and paint.
Step 2: Remove Doors, Drawers, and Hardware
Removing the doors may feel like extra work, but it is the difference between a smooth finish and a cabinet that looks like it was painted during a small earthquake. Take off doors, drawer fronts if possible, hinges, knobs, and pulls. Place screws in labeled bags. Label each door with painter’s tape: “upper left,” “sink base right,” “drawer 2,” and so on.
Cabinet doors often look interchangeable until you try to reinstall them. Then suddenly each one has a personality, a slight hinge adjustment, and a personal grudge. Label everything now. You will save time later.
Step 3: Clean Off Grease, Dust, and Old Residue
Cabinets collect cooking oil, handprints, soap residue, hairspray, and mystery grime. Paint does not bond well to grime. It bonds to clean, dry, dull surfaces. Use a degreasing cleaner suitable for painted surfaces or cabinet prep, then wipe with clean water if the product requires rinsing. Avoid soaking particle board, especially exposed edges and screw holes.
Pay special attention to cabinet doors near the stove and trash area. If a surface feels slick after cleaning, clean it again. That shine is often grease pretending to be “character.” Let everything dry completely before sanding or priming.
Step 4: Repair Chips, Peeling Laminate, and Rough Edges
Small defects become more visible after paint, so fix them before primer. For loose laminate or melamine, apply a suitable adhesive under the lifted area, clamp it flat, and let it cure. If the surface layer is missing, feather the edges with sandpaper and fill the depression with wood filler or two-part filler.
For chipped corners, missing chunks, and worn particle board edges, use a filler that dries hard and can be sanded. Apply slightly more than you need because you will shape it later. Once cured, sand the repair smooth and blend it into the surrounding surface. For long exposed edges, consider iron-on edge banding or a thin trim strip before painting. This creates a cleaner line and protects the particle board core from future moisture.
For screw holes that no longer hold hardware, do not simply drive in a bigger screw and hope for the best. Fill the damaged hole with a strong repair filler, let it cure fully, drill a pilot hole, and reinstall the hardware carefully. Particle board can split or crumble when fasteners are forced into weak areas.
Step 5: Degloss and Lightly Sand the Surface
Particle board cabinets often have a slick finish, especially if they are laminate, melamine, or thermofoil. That slick layer is the enemy of adhesion. Light sanding gives primer something to grip. Use 180-grit sandpaper or a sanding sponge for general scuffing. For glossy areas, start with 120-grit only if needed, then smooth with 180- or 220-grit.
The key word is “lightly.” Do not sand through laminate or veneer into the particle board core. Once you expose the core, it can drink primer unevenly and turn fuzzy. Your goal is to dull the shine, not excavate a cabinet archaeological site.
After sanding, vacuum the surface and wipe with a tack cloth or clean damp cloth. Dust left behind can create bumps in the finish. Those bumps will annoy you every time the kitchen light hits them. Remove them now.
Step 6: Apply a Bonding Primer
Primer is not optional when refinishing particle board cabinets. A regular wall primer may not grip slick laminate or melamine well enough. Choose a bonding primer designed for glossy, hard-to-paint, previously finished, or laminate surfaces. If you are covering dark cabinets with a light color, a stain-blocking bonding primer is especially helpful.
Before priming the whole kitchen, test a small hidden area. Let the primer dry according to the label, then scratch lightly with a fingernail. If it peels easily, the surface needs more cleaning, sanding, or a different primer. If it holds, proceed.
Use a high-density foam roller for flat surfaces and an angled brush for corners, grooves, and edges. Apply thin, even coats. Heavy primer can drip, sag, and dry slowly. If the primer raises tiny rough fibers on exposed particle board edges, let it dry, sand gently with 220-grit, wipe clean, and spot-prime again.
Step 7: Paint with a Durable Cabinet Finish
Choose paint made for cabinets, doors, trim, or furniture. These coatings dry harder than standard wall paint and are better suited for high-touch surfaces. Satin and semi-gloss finishes are popular because they balance wipeability with a smooth look. Glossy paint shows imperfections more easily, while flat paint can scuff quickly in a kitchen.
Apply two thin coats rather than one heroic coat. A heroic coat usually becomes a sticky, brush-marked tragedy. Brush into corners first, then roll flat areas in long, even passes. Keep a wet edge and avoid overworking paint as it begins to set. If spraying, use light passes and protect surrounding surfaces carefully.
Let the first coat dry fully, then inspect under good light. Sand lightly with 220-grit if you feel dust nibs or roller texture. Wipe clean before the second coat. Cabinet paint may feel dry in a few hours, but curing takes longer. Treat freshly painted cabinets gently for several days, and avoid scrubbing until the coating has hardened.
Step 8: Seal High-Wear Areas If Needed
A clear topcoat is not always necessary if you use a high-quality cabinet enamel, but it can add protection on bathroom vanities, laundry cabinets, rental units, or busy family kitchens. Use a water-based polyurethane or clear protective finish compatible with your paint. Always test first, especially over white or light colors, because some clear coats can slightly change the color or sheen.
Do not apply a clear coat until the paint has dried as directed. Use thin coats and avoid puddles along edges. The goal is a protective film, not a plastic waterfall.
Step 9: Reinstall Doors, Drawers, and Hardware
Once the finish has dried enough to handle, reinstall the doors and drawers. Use your labels to return each piece to its original location. Adjust hinges so gaps are even. Add new hardware if you want a fast style upgrade. Long bar pulls can make old flat-panel particle board cabinets look more modern, while simple round knobs keep the look classic and budget-friendly.
If your old pulls used two holes and your new pulls use different spacing, fill the old holes before priming and painting. Planning hardware early prevents awkward repairs later.
Common Mistakes to Avoid
Skipping the Cleaning Step
Grease under primer is one of the most common reasons cabinet paint fails. Even the best bonding primer cannot perform well on a dirty surface. Clean first, sand second, prime third.
Using Too Much Water
Particle board and water are not friends. Use damp cloths, not dripping rags. Avoid soaking edges, screw holes, seams, and damaged areas.
Sanding Too Aggressively
Heavy sanding can remove laminate, burn through veneer, or expose the particle board core. Scuff the surface just enough to dull it.
Painting Without Primer
Paint may look fine for a week without primer, then start peeling around handles and edges. A bonding primer is your insurance policy.
Rushing Reassembly
Cabinet coatings need time to cure. If you reinstall too quickly, doors can stick, edges can dent, and hardware can leave marks. Patience is cheaper than repainting.
Best Paint Colors for Refinished Particle Board Cabinets
White remains popular because it makes small kitchens feel brighter, but it also shows dirt and imperfect repairs. Soft gray, greige, navy, sage green, warm beige, and charcoal are forgiving choices. Dark colors can hide minor surface flaws, but they may show dust and fingerprints. If your cabinets are not perfectly smooth, a satin finish in a medium tone often looks cleaner than bright gloss paint.
For a budget kitchen refresh, try painting upper cabinets a lighter shade and lower cabinets a deeper color. This two-tone look can make particle board cabinets feel intentional instead of “we painted what we had and hoped nobody would ask questions.” Add updated hardware and a fresh backsplash, and the whole room gets a new attitude.
How Long Do Refinished Particle Board Cabinets Last?
A well-prepped finish can last for years, especially in low-moisture areas. The lifespan depends on surface condition, cleaning habits, primer quality, paint durability, and how gently the cabinets are used. Kitchen base cabinets near sinks and dishwashers wear faster than upper cabinets. Bathroom vanities face steam, splashes, and toothpaste-related crimes.
To extend the finish, wipe spills quickly, use cabinet-safe cleaners, avoid abrasive scrub pads, and repair chips as soon as they appear. Small chips expose the surface underneath and can allow moisture to creep in. Think of touch-ups as tiny insurance payments.
When Replacement Is Better Than Refinishing
Refinishing is smart when the cabinet layout works, the boxes are solid, and the damage is mostly cosmetic. Replacement is better when the cabinet structure is failing, doors are badly warped, particle board is swollen across large areas, mold is present, or the hardware cannot stay anchored. If you are already changing the layout, moving plumbing, or replacing countertops, new cabinets may be more practical.
Still, for many homes, refinishing particle board cabinets is a cost-effective middle ground. You keep the existing boxes, reduce waste, and get a cleaner look without a full remodel. It is not instant, but it is very doable.
Real-World Experience: What Refinishing Particle Board Cabinets Actually Feels Like
Refinishing particle board cabinets is one of those DIY projects that looks simple in a short video and then becomes a full weekend relationship test. The actual painting is the easy part. The real work is cleaning, labeling, sanding, repairing, waiting, flipping doors over, waiting again, and trying not to touch the “dry” paint that is absolutely not ready for fingerprints.
The first lesson from real experience is that cabinet grime is sneaky. A cabinet door may look clean until you wipe it with degreaser and discover a golden film from years of cooking oil. Areas near the stove usually need extra attention. The same goes for the cabinet above a coffee maker or toaster. Heat and steam can leave residue that interferes with primer. Taking time here makes the final finish much stronger.
The second lesson is that edges matter more than large flat panels. Particle board often fails at corners, bottoms, and seams. If an edge is rough, fuzzy, or chipped, paint alone will not make it disappear. Filling, sanding, and sealing those edges creates the difference between “fresh cabinets” and “painted old cabinets.” On one practical project, the doors looked decent after primer, but the lower edges still looked ragged. A second round of filler and spot primer fixed the problem and made the final coat look far more professional.
The third lesson is to use thin coats even when impatience starts whispering bad advice. Thick paint around cabinet profiles can create ridges and gummy corners. Thin coats dry harder and look smoother. A foam roller can leave a subtle orange-peel texture, while brushing can leave strokes. The best result often comes from brushing corners first and rolling flat areas immediately after. If using a sprayer, practice on cardboard before aiming at the cabinet doors. Sprayers are wonderful, but they can also turn enthusiasm into overspray confetti.
The fourth lesson is to give doors enough room while drying. Laying them too close together makes it hard to paint edges. Leaning them too soon can cause sticking. A simple drying rack, painter’s pyramids, or scrap boards can help. If space is limited, refinish in batches rather than turning the kitchen into a cabinet-door obstacle course.
The fifth lesson is that hardware changes everything. Even a careful paint job can look unfinished with rusty hinges and dated pulls. New knobs or pulls make the project feel intentional. If the cabinet doors are plain, longer pulls can add visual structure. If the doors have raised panels, classic knobs may look better. Measure carefully before buying. Hardware holes are tiny until you drill the wrong ones, at which point they become emotional events.
Finally, expect imperfections. Particle board cabinets are not custom hardwood doors. Some seams may remain faintly visible, and repaired edges may not be perfect under harsh light. That is okay. The point is to create a clean, durable, attractive finish that improves the room without replacing every cabinet. With careful prep, the result can be surprisingly polishedand much cheaper than a full remodel. Plus, every time someone compliments the cabinets, you get to casually say, “Thanks, I refinished them,” which is one of the finest sentences in the DIY language.












