
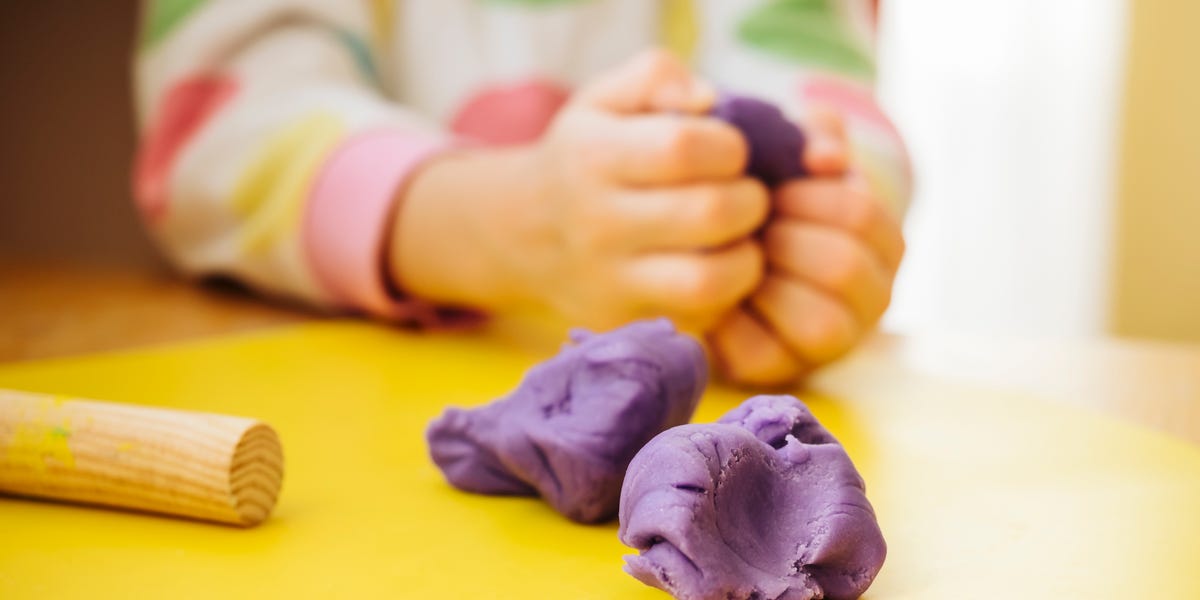
Store-bought playdough is great… until it dries out, gets mashed into the carpet, or your kid demands “the exact shade of unicorn-lava purple” that apparently no brand has ever manufactured. The good news: you can make super-soft homemade playdough with basic pantry ingredients, customize it any way you want, and end up with dough that feels like the “premium” stuffwithout paying “premium” prices.
This guide gives you the best homemade playdough recipe (the classic cooked version with cream of tartar), plus smart variations, storage tips, troubleshooting, and kid-friendly add-ins. It’s written for real lifewhere “measuring cups” sometimes means “whatever is clean,” and children consider flour a decoration.
Why This Is the “Best” Homemade Playdough Recipe
- Soft + stretchy: Cream of tartar helps create that smooth, elastic texture kids love.
- Less sticky, more sculptable: The cooked method reduces tackiness and makes it easy to shape.
- Long-lasting: Stored properly, it can last weeks (sometimes longer), so you’re not remaking it every Tuesday.
- Customizable: Color, scent, sparkle (carefully), texture, themesthis dough can do it all.
The Best Homemade Playdough Recipe (Stovetop, Cream of Tartar)
Quick Recipe Card
| Yield | About 4–5 cups (enough for a small group) |
| Time | 10–15 minutes + cooling |
| Texture | Soft, smooth, stretchy, easy to mold |
| Best for | Sensory play, cutters, pretend baking, fine-motor practice |
Ingredients
- 2 cups all-purpose flour
- 3/4 to 1 cup salt (see “Salt Notes” below)
- 4 teaspoons (1 tablespoon + 1 teaspoon) cream of tartar
- 2 cups warm water
- 2 tablespoons vegetable oil (or light olive oil)
- Food coloring (gel preferred) or color alternatives (see variations)
Salt Notes: Many classic recipes use 1 cup salt, which helps preservation and reduces stickinessbut it can feel a little “salty-gritty” if not fully dissolved. Using 3/4 cup is a sweet spot for many households: still long-lasting, slightly smoother feel. If you want the longest shelf life, keep the full cup and dissolve it well.
Equipment
- Medium saucepan or pot (nonstick helps)
- Wooden spoon or heat-safe spatula
- Measuring cups/spoons
- Airtight containers or zip-top bags for storage
Instructions (Step-by-Step)
- Mix the dry ingredients: In a saucepan, whisk together the flour, salt, and cream of tartar until evenly combined.
- Add the wet ingredients: Pour in the warm water and oil. If you’re making one color, add food coloring now (a few drops of liquid or a small squeeze of gel).
- Cook and stir: Place the pot over medium heat. Stir constantly. In a few minutes, the mixture will thicken, look “lumpy,” and begin pulling away from the sides. Keep stirring until it forms a cohesive ball and looks less shiny/wet.
- Cool safely: Remove the dough ball to a plate or clean counter (use a little oil on the surface if needed). Let it cool until comfortable to handle.
- Knead to perfection: Knead for 1–3 minutes. The texture will go from “meh” to “wow” quickly. If it’s slightly sticky, add a sprinkle of flour; if it feels dry, add a few drops of oil.
Pro tip for multiple colors: Make one plain batch, divide it into portions, then knead color into each piece. Gel coloring is less watery (so it won’t make the dough sticky). If you want to avoid stained hands, use disposable gloves or knead inside a zip-top bag like a tiny, squishy science experiment.
What Each Ingredient Actually Does (So You Can Fix Problems Fast)
- Flour: The structure. Too much = dry/crumbly; too little = sticky.
- Salt: Helps preservation and reduces stickiness. Also makes the dough taste “nope,” which is helpful if toddlers are… adventurous.
- Cream of tartar: A stabilizer that improves elasticity and softness. It’s the difference between “crumbly classroom paste” and “wow, this feels expensive.”
- Oil: Adds softness and helps keep the dough from drying out.
- Heat: The secret weapon. Cooking thickens the dough and helps create a smoother, more consistent texture.
Color, Scent, and Texture: Fun Variations That Don’t Ruin the Dough
Color Options
- Gel food coloring: Bright color, less liquid, less mess.
- Drink mix (unsweetened): Adds color and scent (and makes your kitchen smell like a childhood memory).
- Natural-ish powders: Turmeric (yellow), cocoa (brown), beet powder (pink), spirulina (green). Start smallpowders can dry the dough.
Scent Options (Use Common Sense)
- Kitchen spices: Cinnamon, pumpkin spice, gingerbread spice blendsgreat for seasonal play.
- Baking extracts: Vanilla or almond extract (a few drops). Avoid going overboard; strong scents can be irritating.
- Essential oils: Many families skip these with young kids. If you use them at all, use a tiny amount and keep dough away from mouths.
Texture Add-Ins
- Glitter: Looks magical, but treat it like a “big kid” add-in due to mess and the fact that small pieces can end up in mouths or eyes.
- Sand or fine rice: Makes “construction dough” texturegreat for sensory play, but can scratch surfaces.
- Confetti sprinkles: Cute, but can dissolve and smear color; better for short sessions.
No-Cook Playdough vs. Cooked Playdough
Cooked playdough is the gold standard for texture and consistency. It’s smoother, less sticky, and tends to last longer. Also, from a food-safety standpoint, cooking matters: flour is typically a raw ingredient and can carry germs. Heating the dough helps reduce that risk.
No-cook playdough is faster and great in a pinch, but it’s usually stickier and more likely to dry out. If you go no-cook, be extra mindful about handwashing and supervision.
Emergency No-Cook Playdough (Fast, Works, Not “Best”)
- 3 cups flour
- 1 cup water (add slowly)
- 1/4 cup salt
- 1 tablespoon oil
- Food coloring
Mix flour + salt, then drizzle in colored water and oil until it forms a soft dough. Knead and adjust with flour/water as needed. Store airtight and expect a shorter lifespan than cooked dough.
Gluten-Free and Allergy-Friendly Options
Gluten-Free Homemade Playdough
You can often swap all-purpose flour for a cup-for-cup gluten-free flour blend. The dough may feel slightly different (some blends absorb more water), so add water slowly and be ready to knead longer.
Alternative “Doughs” Without Cream of Tartar
If you don’t have cream of tartar, you can still make playdough, but texture and longevity may drop. Some families use a baking soda + cornstarch style dough. It’s more “clay-like” and can be great for modeling, but it won’t feel exactly like classic Play-Doh.
How to Store Homemade Playdough (So It Doesn’t Turn Into a Brick)
- Cool completely before storing to prevent condensation (which can lead to stickiness or mold).
- Airtight is non-negotiable: Use zip-top bags (squeeze out air) or containers with snug lids.
- Room temp vs. fridge: Some recipes keep well at room temperature for about a week or two; refrigeration can extend life. If your kitchen runs warm/humid, fridge storage often works better.
- Keep colors separate: Especially reds and bluesthey love to “share” when stored together.
How to Revive Dry Playdough
- Knead in a few drops of oil for softness.
- If it’s very dry, add a tiny splash of water and knead (a little goes a long way).
- If it’s sticky, dust with flour and knead again.
Troubleshooting: Fix Common Playdough Problems
“It’s sticky and clings to everything.”
Sticky dough usually needs either (1) a bit more cooking time or (2) a little more flour. Add flour a tablespoon at a time and knead thoroughly. If you used a lot of liquid coloring, that can also increase stickinessgel coloring helps.
“It’s dry, crumbly, or cracking.”
Add a few drops of oil and knead. If it’s still crumbly, add a tiny amount of water (teaspoon by teaspoon), kneading between additions.
“It feels gritty.”
Salt that didn’t dissolve fully can cause grit. Next time, use warm water, whisk dry ingredients well, and cook while stirring steadily. For the current batch, kneading a bit longer sometimes helpsbut grit is hard to completely erase.
“The color is weak.”
Gel coloring is your friend. If using natural powders, you may need more than expectedbut add gradually so the dough doesn’t dry out.
“It smells weird / looks spotty.”
If it smells off, looks moldy, or has spots, toss it. Homemade playdough is inexpensive; replacing it is safer than trying to “save” it.
Play Ideas That Build Skills (Sneaky Parenting Win)
- Letter stamps: Roll “snakes,” form letters, stamp names.
- Counting and math: Make playdough “cookies” and practice adding/subtracting sprinkles (or buttons, supervised).
- Fine motor: Use kid scissors, tweezers, toothpicks, and rolling pins.
- STEM mini-lab: Mix colors, predict outcomes, and talk about texture changes from adding oil/flour.
- Pretend bakery: Menus, “orders,” and storytellinglanguage practice disguised as snacks (that you do not eat).
Safety Notes (Short, Practical, Important)
- Non-toxic doesn’t mean edible: Homemade playdough is usually made from kitchen staples, but it’s not meant to be eaten.
- High salt: The salt that preserves it can also upset tummies if kids eat a lot of it.
- Choking hazards: Small pieces, add-ins (glitter/confetti), and tiny tools should be supervisedespecially for toddlers.
- Handwashing: Encourage washing hands after play, especially before snacks.
- If you skip cooking: Be extra cautious. Flour is typically raw, so treat no-cook dough like raw dough: supervise closely and keep it away from mouths.
Conclusion
If you want the best homemade playdough recipe, go with the classic cooked version with cream of tartar. It’s soft, smooth, and forgivingperfect for everything from “pancake shop” pretend play to serious sculpting sessions. Make a batch, split it into colors, store it airtight, and you’ll have a go-to sensory activity ready whenever the day needs a reset.
And remember: the goal isn’t perfection. The goal is 20–40 minutes of calm, creative play… and maybe a few adorable “playdough cupcakes” that definitely do not taste like cupcakes. (Ask me how I know you’ll be asked to taste one.)
Bonus: of Playdough Real Talk (The “Experience” Add-On)
Here’s what “making playdough” usually looks like in real homesaka the place where spoons disappear, someone is always thirsty, and your child suddenly becomes a tiny courtroom lawyer arguing why the dough should be neon green “because dinosaurs.” First, there’s the optimism phase: you lay out the ingredients like you’re hosting a cooking show. Flour? Check. Salt? Check. Cream of tartar? You feel fancy just saying it. Your kid is hovering nearby with the intensity of a NASA engineer, ready to “help” by pouring in the entire bottle of food coloring if you blink.
Then comes the science phase. The mixture looks like a cloudy soup and your child is mildly offended that you’re calling it playdough. “It’s water,” they say, with the confidence of someone who has never paid rent. But after a few minutes on the stove, the magic starts: it thickens, clumps, and transforms into a doughy ball that looks suspiciously like you’re making a giant dumpling. This is the moment kids tend to lean in for a closer inspection, so it’s also the moment you remember why stirring constantly matters. (Spoiler: burning playdough smells like regret.)
Cooling is where patience is tested. The dough is warm, soft, and incredibly temptinglike the world’s least delicious bread dough. Kids want to poke it, squish it, and announce that it’s “ready” approximately 14 seconds after it leaves the pot. You’ll say, “Not yet,” and they’ll look at you like you just canceled their birthday. But once it’s cool enough to knead, the mood shifts. Kneading is weirdly satisfying: sticky becomes smooth, lumpy becomes silky, and the dough turns into that perfect “store-bought” texture. This is also where color decisions happen. A child will request purple, receive purple, and then immediately request “a purple that’s more purple.” This is normal.
And finally, the play phase: the dough becomes cookies, snakes, pizzas, monster teeth, and the occasional “tiny sculpture that must be preserved forever.” You’ll discover that playdough is basically a parenting Swiss Army knife: it calms big feelings, strengthens little hands, and buys you just enough time to drink coffee while it’s still hot (a small miracle). Yes, there will be crumbs. Yes, someone will try to combine all colors into “sad brown.” But you’ll also hear stories, see creativity bloom, and watch concentration settle in. Homemade playdough isn’t just a recipeit’s a reset button you can keep in your fridge.











