
There is something wonderfully unfair about woodland-inspired rooms: they get to look magical without actually requiring a forest, a cottage, or a friendly deer that delivers your mail. With a few strands of warm twinkle lights, lightweight faux greenery, and some careful ceiling planning, you can create the same enchanted effect right above your head.
A woodland twinkle light ceiling decor DIY combines soft fairy lights with vines, leaves, branches, flowers, mossy textures, and other nature-inspired accents. The result can range from subtle “forest at dusk” to full fairy-tale canopy. Better still, the project is customizable, relatively inexpensive, and possible without permanently remodeling the ceiling.
This guide walks through the entire process, including choosing lights, planning the layout, installing renter-friendly supports, layering greenery, hiding wires, improving the finished look, and avoiding common mistakes.
What Is a Woodland Twinkle Light Ceiling?
Think of it as a decorative canopy suspended close to the ceiling. Fairy lights create tiny points of illumination while greenery provides irregular shapes and shadows reminiscent of branches overhead.
Unlike ordinary string lights arranged around a room’s perimeter, woodland ceiling decor works best when the lights travel across at least part of the ceiling. Vines and foliage are then woven loosely around the strands rather than installed as perfectly straight borders.
The irregularity is important. Real forests have never been accused of owning rulers.
You can adapt the idea for bedrooms, reading corners, nurseries, dorm-style spaces, home studios, gaming rooms, wedding decor, or cozy guest bedrooms. A small installation above the bed can be just as effective as covering an entire ceiling.
Choose the Right Twinkle Lights
Use LED Fairy Lights
LED lights are particularly practical for this project because they use relatively little energy and produce less heat than traditional incandescent decorative bulbs. That matters when the lighting is positioned near artificial foliage or other decorative materials.
Look for lights specifically intended for indoor use and follow the manufacturer’s installation instructions. Inspect the entire strand before installing it. Do not use lights with cracked components, damaged insulation, exposed wiring, loose connections, or questionable repairs held together by the world’s most optimistic piece of electrical tape.
Choose Warm White for a Woodland Atmosphere
Warm-white lighting usually complements a forest theme better than bright cool-white LEDs. A color temperature around 2700K to 3000K creates a softer, more relaxing glow suitable for bedrooms and cozy spaces.
Cool-white lighting can still work if you want a moonlit or winter-forest appearance. You can also mix mostly warm lights with a small number of amber or subtle color-changing LEDs.
Consider Plug-In Versus Battery Lights
Plug-in fairy lights work well for larger permanent-looking installations because you do not have to regularly replace batteries. Plan the installation so the power cord reaches an outlet without stretching across a walkway.
Battery-operated fairy lights make hiding wires easier and can work beautifully for small sections, wreaths, branches, and ceiling corners. The disadvantage is that battery packs must remain accessible.
For either type, a timer or remote control is extremely useful. Nobody wants to climb onto a chair every evening to personally negotiate with a battery pack hidden behind an artificial fern.
Materials and Tools
You do not need every item below. Choose materials according to the size and style of your installation.
- Warm-white LED fairy or twinkle lights
- Artificial ivy, eucalyptus, fern vines, or leafy garlands
- Artificial moss or lightweight Spanish moss accents
- Thin artificial branches or lightweight decorative twigs
- Clear removable decorating hooks or light clips
- Small ceiling hooks for installations where permanent mounting is allowed
- Clear fishing line or thin transparent cord
- Small reusable cable ties or floral wire
- Measuring tape
- Pencil
- Painter’s tape
- Scissors
- Step ladder
- Optional artificial flowers, butterflies, mushrooms, stars, or woodland ornaments
- Optional remote-controlled light timer
Plan the Ceiling Before Hanging Anything
The secret to good-looking ceiling decor is surprisingly boring: planning. Ten minutes with a measuring tape can prevent an hour of standing on a ladder wondering why 30 feet of lights somehow covered only half the ceiling.
Measure the Area
Measure the length and width of the section you want to decorate. Next, decide whether your strands will follow straight parallel lines, loose waves, a zigzag pattern, or an organic branching layout.
For example, imagine decorating a 10-by-12-foot bedroom ceiling. Instead of buying exactly 12 feet of lighting for each pass, allow extra length for curves and drooping sections. Gentle slack creates the dreamy canopy appearance; pulling every strand perfectly tight makes the ceiling look more like utility wiring.
Mark Anchor Points
Use small pieces of painter’s tape to temporarily mark proposed mounting points. Stand back and inspect the pattern from the doorway and from the bed.
Space the anchors closely enough that the lighting does not sag excessively. Lightweight fairy lights need much less structural support than heavy bulb strings, but vines can add unexpected weight.
If you use adhesive hooks, follow their surface preparation and weight instructions carefully. Lightweight removable hooks can be useful for temporary decor when the ceiling surface is compatible with them. If installing permanent hooks, use hardware appropriate for the ceiling material and load.
How to Make Woodland Twinkle Light Ceiling Decor DIY
Step 1: Test Every Light Strand
Plug in or activate every strand while it is still on the floor. Test remotes, timers, dimming functions, and twinkle settings.
This step feels unnecessarily cautious until you finish attaching 80 feet of ivy and discover that Strand Number Two retired sometime during installation.
Also inspect wires and connectors. Replace damaged sets rather than attempting improvised electrical repairs.
Step 2: Install the Main Ceiling Supports
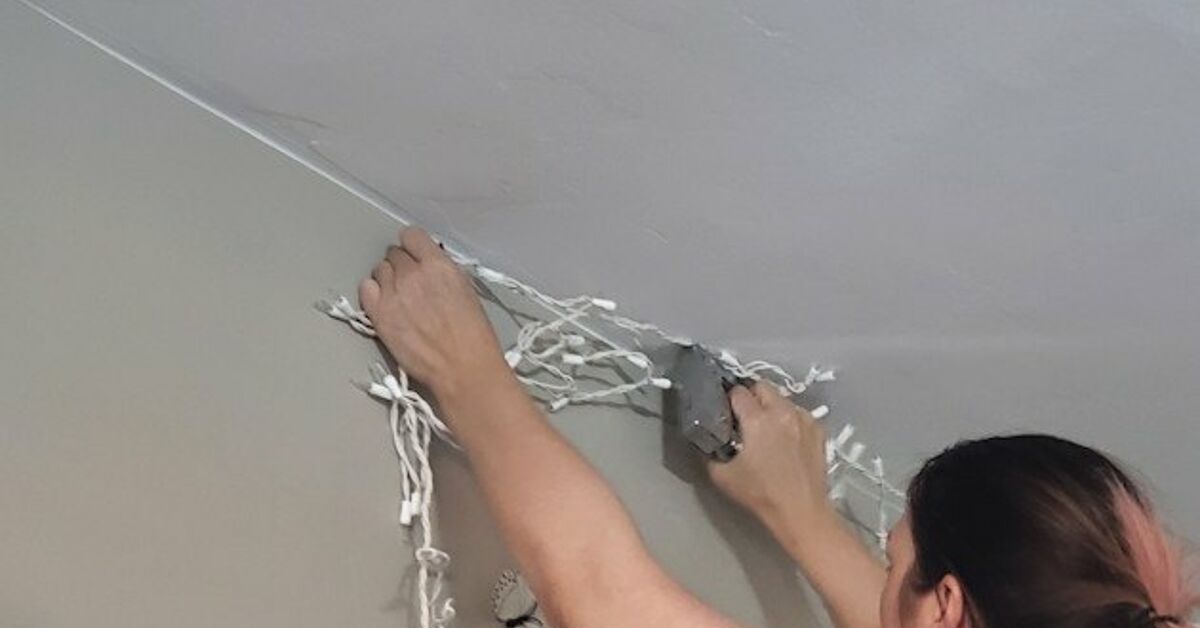
Install removable hooks, decorating clips, or appropriate ceiling hardware according to your planned pattern.
For a renter-friendly installation, use the lightest materials possible so removable supports are carrying only fairy lights and lightweight artificial vines. Clean mounting surfaces as directed by the hook manufacturer and give adhesive products the recommended bonding time before loading them.
Never use ordinary staples directly through electrical wire. Any permanent mechanical fastener should be designed and installed so it cannot puncture, pinch, crush, or damage the light cord.
Step 3: Hang the Fairy Lights First
Begin near your outlet or planned battery-pack location. This prevents the classic DIY tragedy of finishing a beautiful ceiling and discovering the plug ends six feet from civilization.
Work from one anchor point to another. Allow a gentle curve between supports instead of creating perfectly straight lines.
For a natural woodland appearance, vary the spacing slightly. Some sections can contain several nearby lights while other sections remain darker. The differences produce depth.
Step 4: Add the Main Greenery
Once the lights are secure, begin installing artificial vines.
Do not completely wrap the electrical cord in dense foliage. Instead, loosely weave vines beside and around the lighting, attaching greenery independently wherever possible. Clear fishing line, floral wire, small ties, and separate hooks can help support it.
Start with your longest vines. Run them through the major paths of the design before adding smaller pieces.
Let a few vine tips hang down several inches. Those little imperfections make the canopy feel three-dimensional instead of pasted onto the ceiling.
Step 5: Create Woodland Clusters
Uniform greenery tends to look artificial. Create occasional clusters instead.
For example, combine:
- one eucalyptus vine,
- a short fern stem,
- a lightweight twig,
- a few mossy fibers, and
- two or three nearby fairy lights.
Then leave the next section relatively sparse.
The alternating density creates visual rhythm and mimics the irregular layering found outdoors.
Step 6: Add Small Decorative Details
This is where the project develops personality.
You might add tiny artificial mushrooms near greenery clusters, paper or fabric butterflies suspended on transparent line, small flowers scattered through vines, wooden stars, miniature pinecones, faux berries, or translucent leaves.
Use restraint. Woodland decor can travel from “enchanted forest” to “craft store exploded during a thunderstorm” remarkably quickly.
Step 7: Hide the Functional Parts
Pay attention to visible cords, connectors, hooks, battery holders, and extension leads.
Run plug-in cords neatly toward the nearest outlet along an inconspicuous wall or corner rather than loosely across the room. Do not conceal electrical components in ways prohibited by their instructions or trap them where heat cannot dissipate.
Battery packs can sometimes sit inside a lightweight decorative basket, artificial foliage pocket, or another accessible holder near the ceiling edge, provided the arrangement remains safe and does not interfere with operation.
Step 8: Turn Off the Main Room Lights
The true test happens after dark.
Switch off bright overhead lighting and activate the twinkle lights. Look for areas that appear excessively bright, oddly empty, or visibly artificial.
Move a few vines instead of immediately adding more decorations. Often, redistributing what is already installed creates a more balanced appearance.
Three Woodland Layout Ideas
1. Forest Canopy Above the Bed
Instead of decorating the entire room, create a concentrated installation above the bed. Run several strands lengthwise above the sleeping area and weave artificial ivy between them.
This approach saves materials and creates a strong focal point.
Add hanging vine tips around the outer edges while keeping anything suspended well away from faces and normal movement.
2. Enchanted Reading Corner
Create a woodland ceiling only above an armchair, bookshelf, or reading nook. Use warm LEDs, fern-style greenery, and a few artificial branches.
Layer the lighting with a floor or reading lamp rather than expecting fairy lights to provide all necessary illumination. Decorative string lights are excellent mood lighting, but reading The Lord of the Rings by seventeen microscopic LEDs may cause your eyes to begin their own quest.
3. Full Forest Ceiling
For maximum drama, run lights throughout the ceiling in wide waves or irregular zigzags. Add greenery along roughly half to two-thirds of the routes rather than covering every inch.
Leave visible ceiling between sections. Negative space prevents the design from becoming visually heavy.
How to Make the Decor Look More Expensive
The difference between charming DIY decor and an obviously homemade installation is usually not the price of the materials. It is layering and restraint.
First, mix several leaf shapes instead of using 20 identical artificial ivy strands. Combining eucalyptus, fern, delicate vines, and occasional branches creates greater realism.
Second, choose two or three dominant colors. Forest green, sage, brown, and warm white are enough for most rooms.
Third, vary heights. Some greenery should remain close to the ceiling while a few tips descend lower. This creates shadows when the lights are turned on.
Finally, consider a dimmer-equipped light strand. Slightly dim lighting often appears warmer and more sophisticated than LEDs running at maximum brightness.
Important Safety Considerations
Decorative lighting is still electrical equipment, even when surrounded by adorable artificial ferns.
Use lighting certified or evaluated by a recognized safety organization and intended for your planned environment. If the decor will remain installed throughout the year, select lights specifically rated for year-round decorative use rather than assuming seasonal holiday lights are intended for permanent installation.
Inspect strands before use and discard damaged lights with exposed wiring, cracked sockets, or loose electrical connections. Follow manufacturer limits regarding how many strands may be connected together.
If an extension cord is necessary, use one properly rated for the equipment and location. Avoid overloaded outlets and improvised multi-plug arrangements.
Keep decorative materials away from candles, heaters, hot lamps, and other heat or flame sources. Do not block doors or emergency exits with hanging decorations.
LED fairy lights are preferable around decorative greenery because they generally generate much less heat than incandescent decorative bulbs, but that does not mean electrical safety can be ignored.
Turn decorative lighting off when appropriate, particularly when the manufacturer’s instructions recommend doing so. A timer makes this easy.
Common Mistakes to Avoid
Using Too Much Greenery
More foliage does not automatically produce more woodland charm. Dense artificial vines can hide the lights and make the ceiling appear lower.
Begin with approximately half the greenery you think you need. You can always add more later.
Installing the Greenery Before the Lights
Lights should form the underlying structure of the design. Installing vines first makes routing electrical strands unnecessarily difficult.
Stretching Lights Too Tightly
Perfectly straight strands create a rigid appearance. Slight curves look softer and help disguise differences in anchor spacing.
Making Every Section Identical
Nature does not copy and paste. Vary leaf types, vine density, light spacing, and decorative details.
Forgetting How the Installation Looks During Daylight
The room will not always be dark. Artificial foliage that appears mysterious under warm twinkle lights can look surprisingly plastic at noon.
Choose reasonably realistic greenery and hide obvious stems or attachment points.
Experience Notes: What I Learned From Building a Woodland Twinkle Light Ceiling
The most useful lesson from projects like this is that the first version rarely needs more decorations; it usually needs better spacing. It is tempting to unpack every vine, branch, flower, and fairy light and immediately put all of it on the ceiling. The result can become crowded before you realize what happened.
A better approach is to build the installation in layers.
Start with only the lights. Turn them on at night and examine their distribution before attaching greenery. When a 10-by-12-foot bedroom is involved, for example, several loose passes across the focal area can look more intentional than trying to create an exact glowing grid over every square foot.
The second lesson is that greenery looks more convincing when it occasionally crosses the lighting rather than perfectly following it. In an early layout, running ivy directly beside every strand can make the vines appear like decorative cable covers. Separating them creates a surprisingly large improvement. One vine might follow the lights for three feet, drift toward another anchor, and then hang slightly downward.
Another practical discovery is that artificial foliage has more visual weight than physical weight. One leafy vine can cover a surprising amount of ceiling when viewed from below. Before ordering a box that could camouflage a small military installation, test a few garlands in the actual room.
Lighting color also changes everything. Bright cool-white LEDs can create an energetic fantasy look, while warm-white micro lights make green foliage feel softer and more natural. For a bedroom, warm lighting is generally easier to integrate with wood furniture, beige fabrics, cream walls, and earthy colors.
Dim lighting can be even better. At full power, hundreds of LEDs may compete with the greenery. At a lower brightness, individual lights become small points among the leaves and shadows. That is usually when the installation begins to feel like a canopy rather than Christmas decorations left up several months beyond their contractual obligations.
Ceiling height matters too. In a standard room, avoid letting too many vines hang downward. A few strategically placed trailing ends create depth, but dozens can make the room feel smaller. Keep most components relatively close to the ceiling and reserve dramatic hanging sections for corners or areas where people do not regularly walk.
Another worthwhile trick is designing from the room’s main viewing position. If this is bedroom decor, lie on the bed and inspect it. If it surrounds a reading nook, sit in the chair. A ceiling arrangement that appears perfectly balanced from a ladder may look strangely empty from below.
Finally, design for maintenance. Keep plugs, controls, battery compartments, and critical attachment points accessible. A beautiful woodland canopy becomes considerably less charming when replacing two batteries requires dismantling an artificial rainforest.
The strongest version of this DIY is not necessarily the biggest one. A modest cluster of warm lights, several different leafy textures, and a few carefully placed woodland details can transform a plain ceiling with less work, less weight, and often a more polished result.
Final Thoughts
Learning how to make a woodland twinkle light ceiling decor DIY is largely an exercise in layering: install safe supports, build a foundation of soft LED lights, weave in greenery, create irregular clusters, and finish with just enough detail to suggest an enchanted forest without turning the ceiling into artificial shrubbery.
Start small if you are unsure. A glowing canopy over the bed or reading corner can completely change the atmosphere of a room while requiring far fewer materials than a full-ceiling installation.
The biggest visual improvements come from warm lighting, varied foliage, gentle curves, different heights, and negative space. Add remote or timer controls, keep electrical components accessible, and choose appropriate mounting hardware so your magical forest remains on the ceiling rather than unexpectedly relocating itself to the floor at 3 a.m.
Note: Always follow the instructions and load limits supplied with your lights, hooks, mounting products, extension cords, and other electrical components. Ceiling materials and surface finishes vary, so choose attachment methods appropriate for your specific room.












