
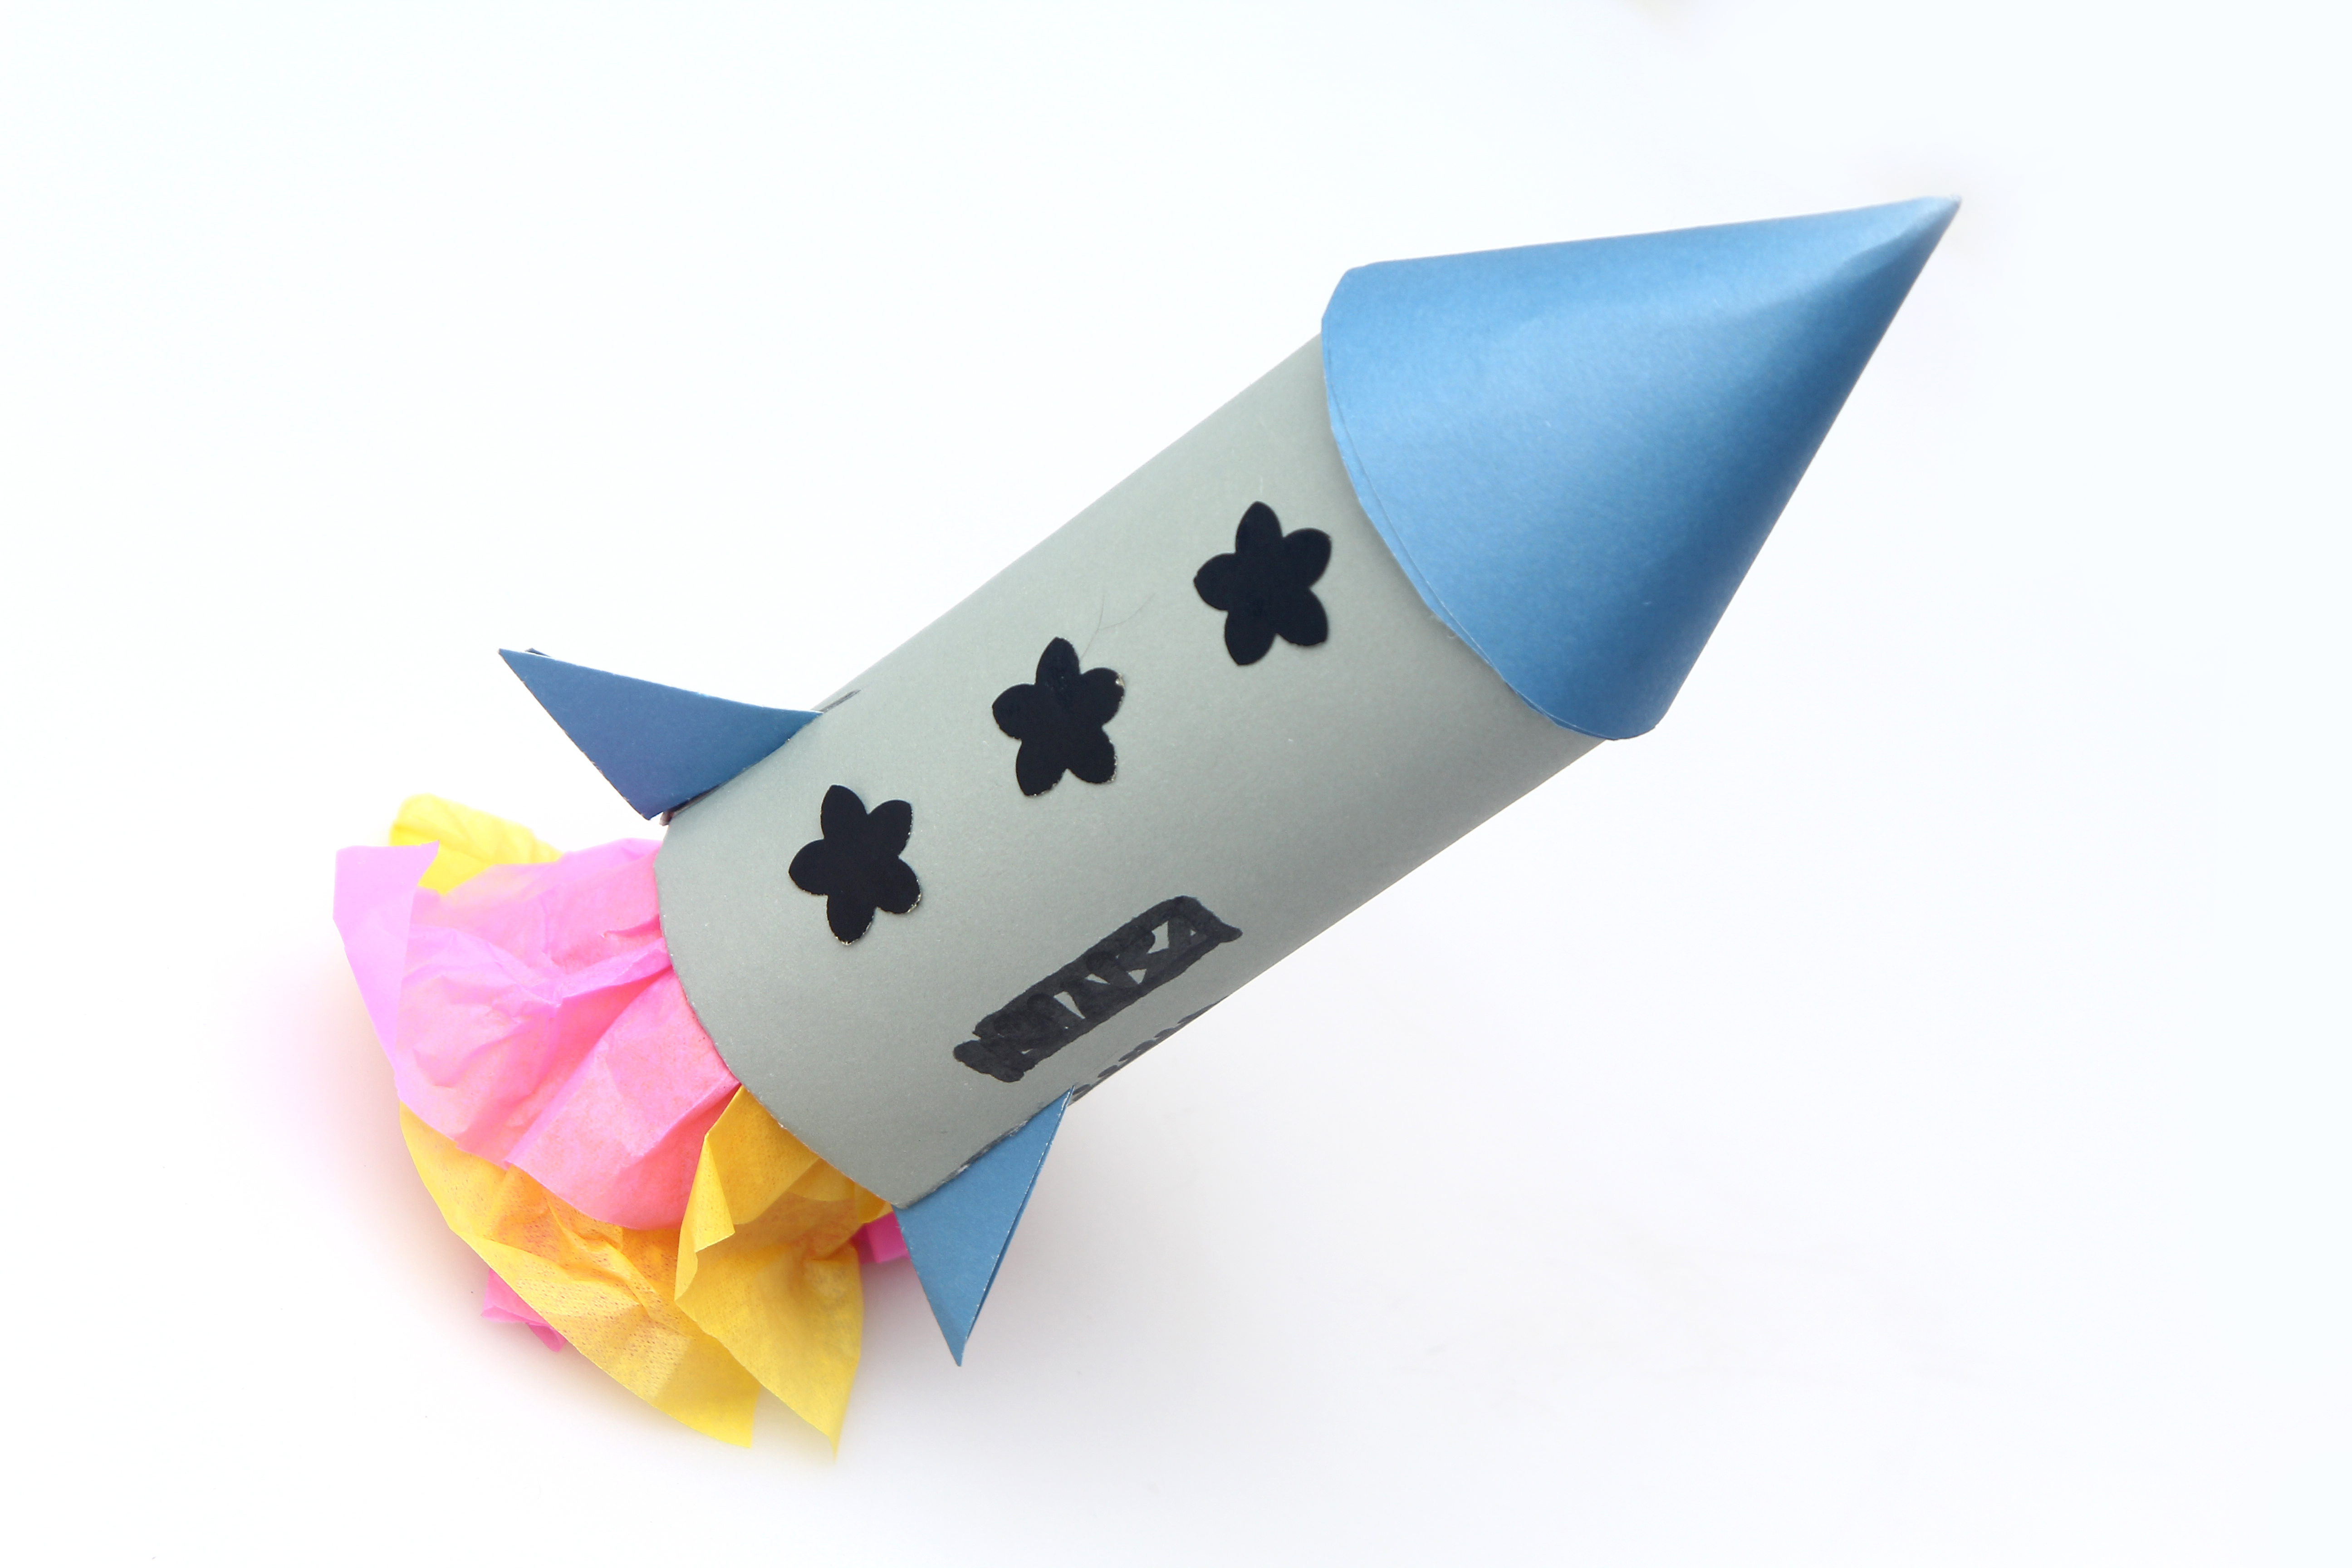
You know that empty paper towel tube you were about to toss? Congratulations you’re holding the
“fuselage” (fancy rocket word) for your next mission. With a little paper, glue, and imagination,
you can turn household “trash” into a rocket ship that looks ready to headline a space parade.
No fire. No fuel. No “why is the living room smoky?” Just a fun, safe, creative craft that also sneaks
in real STEM ideas like stability, drag, and why fins exist in the first place.
This guide walks you through a sturdy, good-looking paper towel roll rocket, plus simple upgrades,
kid-friendly design “tests,” and a longer personal-experience section at the end to help you avoid the
classic mistakes (like “my fins fell off” and “why is my rocket shaped like a tired banana?”).
Before We Launch: What This Project Is (and Isn’t)
This is a decorative rocket craft made from a cardboard tube. It’s meant for play,
display, and learning not for real launching, combustion, pressurizing, or chemical reactions.
If you want something that “flies,” you can try a separate safe add-on activity later (like a small
paper straw rocket that launches by blowing air), but your paper towel tube rocket is the star of the show:
durable, detailed, and proudly non-explosive.
Why a Paper Towel Tube Rocket Is Such a Good Craft
It’s an upcycled win
Cardboard tubes are lightweight, easy to cut, and already shaped like a rocket body. You get a head start
without buying special supplies and you get bonus points for recycling.
It’s secretly a STEM lesson wearing a party hat
Real rockets deal with balance, airflow, and stability. Your craft rocket won’t hit orbit (tragic, I know),
but you can still build it like engineers think: straight body, aligned fins, and a nose cone that looks
fast even when it’s sitting on a bookshelf.
Materials and Tools
Basic supplies
- 1 empty paper towel tube (or two taped together for a taller rocket)
- Construction paper or cardstock (for the nose cone and fins)
- Glue stick or white school glue
- Tape (clear tape works great for reinforcing)
- Scissors (kid-safe scissors if needed)
- Markers, crayons, or paint (for decorating)
Optional upgrades (for extra “wow”)
- Aluminum foil (for a shiny “metal” look)
- Stickers (stars, planets, labels, or “mission patches”)
- Googly eyes (for a silly astronaut vibe)
- Pipe cleaners (as antennas)
- Tissue paper or ribbon (for flame exhaust)
- Hot glue gun (adult use only totally optional)
Step-by-Step: Build Your Paper Towel Tube Rocket
Step 1: Prep the tube (aka “straighten the spaceship”)
-
Check the tube shape. If it’s squished, gently reshape it by rolling it on a table
or pressing it back into a round cylinder. -
Decide your rocket height. One tube makes a compact rocket. Two tubes taped end-to-end
makes a tall “serious” rocket that looks like it has meetings with NASA. -
Optional: If you want a cleaner look, wrap the tube in a single layer of construction
paper. Measure the tube length, cut a rectangle of paper to fit around it, glue, and smooth it down.
Step 2: Choose a color scheme (and commit like a mission commander)
Paint, marker-color, or wrap your tube in colored paper. If you’re painting:
use thin coats and let it dry between layers so the cardboard doesn’t get soggy and sad.
Easy classic designs:
white + black (space program style), silver (foil wrap),
or bright colors (because it’s your rocket and you’re the boss).
Step 3: Make the nose cone
The nose cone is the “top hat” of your rocket and it’s what makes your tube instantly read as “rocket”
instead of “I swear this is a rocket, please believe me.”
-
Cut a half-circle out of cardstock (bigger half-circle = taller cone). A good starting size:
about 8–10 inches across for a standard paper towel tube. - Roll the half-circle into a cone shape. Adjust until the cone base fits over the top of the tube.
- Tape or glue the seam to hold the cone shape.
-
Attach the cone to the tube with glue or tape from the inside edge. If you want it extra sturdy,
add a few small tape tabs inside the tube to “grab” the cone.
Step 4: Cut and attach the fins (the rocket’s stabilizers)
Fins are where your rocket goes from “cute craft” to “this looks legit.” The trick is symmetry.
If your fins are uneven, your rocket will still look fun but it might look like it’s doing interpretive dance.
-
Draw 3 or 4 matching fins on cardstock. Simple triangle fins work best:
about 3–5 inches tall depending on your rocket size. - Cut them out carefully. Stack the paper before cutting if you want truly identical fins.
-
Decide fin placement: evenly spaced around the bottom third of the tube.
(Three fins = space them like a triangle. Four fins = plus-sign spacing.) -
Attach each fin with glue, then reinforce with a small strip of tape along the fin’s base.
If using white glue, hold each fin in place for a minute and let dry before standing the rocket upright.
Step 5: Add an engine “bell” and exhaust flames
Real rockets have engine nozzles. Craft rockets have drama. Let’s add some.
-
Cut a strip of paper and roll it into a short, wide cylinder (slightly wider than the tube).
Tape it into shape. - Glue or tape this “engine bell” around the bottom of the rocket.
-
For flames, cut strips of tissue paper or ribbon in red, orange, and yellow.
Tape them inside the bottom so they hang out like fiery exhaust.
Step 6: Decorate like a mission designer
This is where your rocket gets personality. Add details that make it look engineered, not accidental.
- Windows: Draw circles, or cut them out of paper and glue them on.
- Rivets: Dot markers along seams for a “bolted panel” look.
- Stripes and bands: Wrap thin paper strips around the tube.
- Labels: Add “USA,” “MISSION 07,” or your own space agency name.
- Top antenna: Tape a pipe cleaner inside the cone and let it poke out slightly.
Step 7: Dry, display, and admire your engineering genius
Let everything dry fully. Then display your rocket standing in a cup, on a shelf, or “hovering” from the ceiling
using string. If you made tissue flames, it looks especially cool hanging midair like it’s blasting off.
Make It Look More “Real”: Simple Rocket Design Tips
Keep it straight (rockets love alignment)
A straight body looks faster, cleaner, and more “rocket-like.” If your tube has dents, cover it with a paper wrap.
That one step makes the finished craft look surprisingly polished.
Why fins matter (even on a craft)
In real rocketry, fins help keep a rocket stable by keeping airflow forces behind the rocket’s balance point.
On your craft, fins mainly add realism but they also teach a real idea: symmetry and balance matter in design.
If one fin is higher or tilted, your eye notices immediately.
Nose cones: pointy isn’t just a vibe
Real nose cones reduce drag and help rockets move efficiently through air. Your craft rocket won’t be racing the wind,
but a cone still “reads” as aerodynamic and purposeful like it knows where it’s going (even if it’s just to the kitchen).
Safe STEM Mini-Experiments You Can Do With Your Rocket
These are low-mess, low-risk ways to explore rocket ideas without launching anything across the room.
Experiment 1: Fin shape comparison (a design challenge)
- Make a second set of fins in a different shape: tall triangles vs. shorter triangles.
- Hold the rocket in front of a fan (at a safe distance) and watch how sturdy the fins feel.
- Talk about trade-offs: bigger fins look stable, but also add drag in real flight.
Experiment 2: “Balance point” test (engineer style)
- Rest the rocket gently across two fingers and find the point where it balances.
- Mark that spot with a tiny pencil dot (inside the tube if you don’t want it visible).
- Add decorations (like heavy stickers) and test again. Notice how the balance point shifts.
Experiment 3: Try a separate mini straw-rocket extension (optional)
If you want a flying add-on activity, make a small paper straw rocket (separate from your tube rocket)
that launches by blowing air through a straw. Keep it pointed away from faces and pets, and use gentle breaths.
This is a classic classroom STEM activity because it’s simple, controlled, and doesn’t require heat or chemicals.
Fun Variations (Same Tube, Different Missions)
1) “Retro space program” rocket
Paint it white, add black stripes, and write a bold mission label. Add a small paper flag and call it official.
Bonus points if you give it a dramatic name like “Thunder Pickle I.”
2) Shiny foil rocket
Wrap the tube in aluminum foil for a metallic look. Smooth gently so it doesn’t tear. Add bright paper fins
to make the shiny body pop.
3) Cute character rocket
Add a smiling face in the window, googly eyes, and pipe-cleaner arms. Now it’s less “launch vehicle” and more
“space buddy,” which is a perfectly valid engineering direction.
4) Party centerpiece rocket
Make several rockets in matching colors, tape them to paper “launch pads,” and label each one with a guest name.
Suddenly your craft is also décor. Multi-mission success.
Troubleshooting (Because Glue Has Opinions)
-
My fins keep falling off: Use cardstock (not thin paper), reinforce with tape along the base,
and let the rocket dry on its side so gravity doesn’t bully the fins. -
The tube is getting soggy: Use less glue, spread it thin, or switch to a glue stick for paper wraps.
Let paint dry between coats. -
My cone won’t fit: Adjust the cone by trimming a tiny wedge from the half-circle and re-rolling it.
Small changes make a big difference. - It won’t stand up: Add a cardboard circle base (cut from scrap) or display it in a cup or jar.
FAQ
Can I use a toilet paper roll instead?
Absolutely. A toilet paper roll makes a smaller rocket that’s great for quick crafts or classroom sets.
A paper towel tube gives you a taller, more dramatic build and more space for details.
What’s the best glue?
A glue stick is great for wrapping paper neatly. White glue works well for fins and heavier parts,
but it needs drying time. Clear tape is the fastest “I need this done now” backup.
What age is this good for?
Preschoolers can decorate and help with simple steps (with adult cutting). Older kids can measure, cut fins,
experiment with designs, and add more realistic details.
Experiences Making a Paper Towel Tube Rocket (The Real-World Stuff They Don’t Tell You)
The first time I made a paper towel tube rocket, I thought, “How hard can it be? It’s a tube. Tubes are basically
already rockets.” Ten minutes later, I had glue on my fingers, a nose cone that looked like a wizard hat,
and fins that refused to stay on like they had signed a contract with gravity. That’s the funny thing about simple crafts:
they’re easy to start, but the details are where the magic (and the learning) happens.
The biggest “aha” moment was realizing that cardstock matters. Regular construction paper is awesome for wrapping
the body and adding stripes, but fins need a little backbone. Once I switched to cardstock (or even cereal-box cardboard),
the fins stopped flopping around like tired pizza slices. Reinforcing the fin base with a small strip of tape also felt like cheating
in the best way suddenly the rocket looked cleaner, and it could survive being carried around by an excited kid doing launch countdowns
every 45 seconds.
Another unexpected win: wrapping the tube makes everything look more professional. If your tube has dents or factory seams,
a paper wrap is like rocket makeup not because rockets need to impress anyone, but because yours absolutely deserves to look like it has
a sponsorship deal. I learned to measure the tube’s length first, then cut the wrap slightly wider than needed so I could overlap the seam neatly.
A glue stick helped avoid soggy cardboard, and smoothing the paper with the side of my hand (like you’re applying a phone screen protector) kept bubbles away.
Decorating is where personalities show up. One rocket turned into a “serious” mission with black-and-white stripes and a bold serial number.
Another became a “snack delivery rocket” with a window showing a cartoon cookie astronaut. The funniest part is that adding a few “realistic”
touches like panel lines, rivet dots, and warning labels made the rocket look more convincing than spending extra money on fancy materials.
It’s the same trick movie props use: small details sell the story.
If you’re doing this with kids (or a classroom), the best experience tweak is turning it into a mini mission:
name the rocket, choose a destination (Moon? Mars? Grandma’s house?), and assign roles like “engineer,” “artist,” and “mission control.”
Suddenly you’re not just crafting you’re building teamwork, planning, and storytelling into the activity. And if someone’s fin ends up crooked?
That’s not a mistake. That’s a “custom stabilizer system,” obviously.
My final lesson: don’t rush the dry time. Rockets are patient. People are not. Letting glue dry fully is the difference between a rocket that lasts
a week and a rocket that becomes a sad pile of parts by dinner. If you can, build in stages: wrap and color first, then cone, then fins, then details.
By the time you’re adding flames and stickers, the structure is solid and your rocket is ready for its very important job: making someone grin
during a countdown that ends in “blast off!” and a dramatic run around the room.











