
Let’s hear it for the humble CD: the shiny little time capsule that still holds wedding photos, burned playlists, software backups, and the occasional mystery disc labeled “IMPORTANT FINAL FINAL v2.” If you need to protect one quickly, learning how to make a CD sleeve from paper is one of those old-school skills that feels weirdly satisfying. It is cheap, practical, and just crafty enough to make you feel like a resourceful genius instead of someone rummaging through a desk drawer at midnight.
A good DIY CD sleeve does three things well: it protects the disc from casual scratches and dust, keeps it labeled, and looks a lot more thoughtful than handing someone a bare disc like a tiny reflective pancake. The best part is that you do not need fancy tools. A sheet of paper, a ruler, and two reasonably cooperative hands will do the trick.
In this guide, you will learn a simple no-glue method, a sturdier variation for gifts or presentations, smart decorating tips, and a few disc-care basics so your homemade sleeve is helpful instead of secretly chaotic. Because the goal is “organized and charming,” not “artsy but the CD now lives in a paper trap.”
Why Make a Paper CD Sleeve?
A paper CD case is useful when you want something faster and slimmer than a plastic jewel case. Paper sleeves take up less space, cost almost nothing, and are easy to personalize. They are especially handy for:
- Burned music mixes and party playlists
- Photo discs for family events
- Software or file handoffs
- Class projects and portfolios
- Wedding, recital, or event keepsakes
- Temporary storage while you organize media
There is also a small nostalgic bonus. A handmade CD envelope feels personal in a way store-bought packaging does not. Even a plain folded sleeve says, “I made an effort,” which is a lot nicer than, “Here is your disc, please guard it with your life.”
That said, a paper sleeve is best for short-term storage, gifting, or light organization. If you are archiving a disc for the long haul, a sturdier archival sleeve or a proper jewel case is still the more protective option. Think of paper as the smart casual outfit of CD storage: great for many occasions, just not black-tie preservation.
What You Need
For the easiest version, gather these supplies:
- 1 sheet of letter-size paper (8.5 x 11 inches)
- 1 CD to use as your sizing guide
- A ruler
- A pencil
- Optional: scissors, glue stick, decorative paper, stickers, washi tape, or markers
Standard printer paper works fine for a quick sleeve. If you want a sturdier homemade CD sleeve, try a heavier paper, light cardstock, a file folder, or thin recycled box board. Just remember that thicker stock folds better when you score the crease first with a ruler and a blunt tool. In other words, paper likes a plan.
How to Make a CD Sleeve from Paper: The Simple No-Glue Method
This is the easiest method because the disc itself helps you size the folds. No template, no printer drama, and no hunting for glue that dried shut in 2019.
Step 1: Start with the Paper in Landscape Orientation
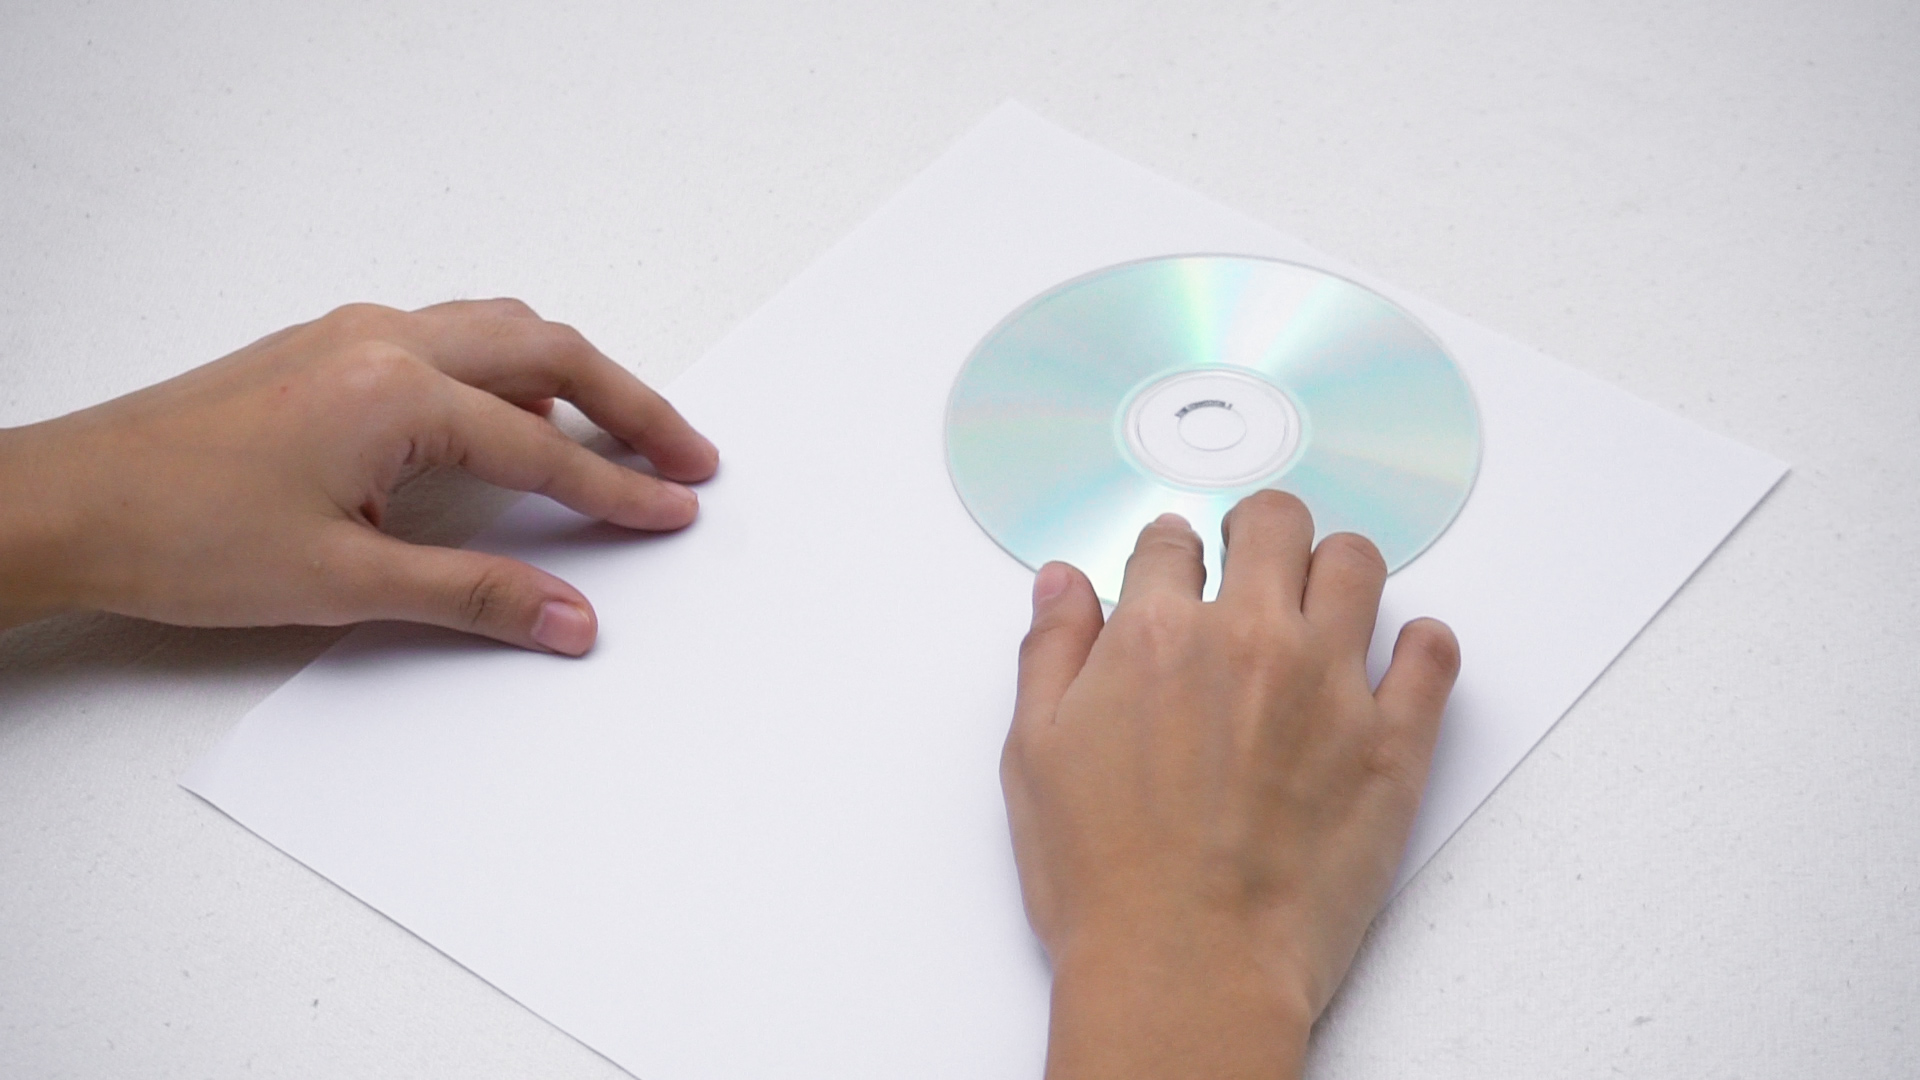
Lay the paper on a flat surface with the long side running left to right. Place your CD roughly in the middle. A standard CD is about 4.75 inches across, so letter-size paper gives you enough room to fold around it without the fit becoming suspiciously tight.
Step 2: Fold the Left Side In
Bring the left edge of the paper inward so it covers part of the disc. Do not press permanently right away. You are test-fitting first. The folded edge should come in far enough to help form the pocket, but not so far that the sleeve becomes cramped.
Once it looks right, press the fold firmly with your fingers or the edge of a ruler to make a crisp crease.
Step 3: Fold the Right Side In
Repeat the process with the right edge. The two sides should overlap the disc area enough to create a centered pocket. Try to keep the disc roughly in place while you work. This is the crafting equivalent of parallel parking: slow, steady, and much easier if you do not panic.
When both side folds look even, crease them well.
Step 4: Fold the Bottom Up
Now fold the bottom section of the paper upward over the lower part of the disc. This creates the base of the sleeve. The fold should rise high enough to hold the disc securely, but not so high that inserting and removing the CD becomes a wrestling match.
Slide the disc slightly if needed and adjust before making the crease final.
Step 5: Fold the Top Down to Create a Flap
Take the top section and fold it down. This becomes the flap that closes the sleeve. You can make it simple and straight, or fold the corners inward first so the flap tucks in more neatly.
If you want a cleaner finish, unfold that top section after the first crease and fold the two top corners diagonally inward. Then fold the flap down again. This gives it a more envelope-like shape and helps it close more gracefully.
Step 6: Check the Fit
Slide the CD in and out carefully. The disc should fit snugly without scraping. If it feels too tight, reopen the folds and give yourself a little more breathing room. If it feels too loose, tighten the side folds slightly.
A good sleeve fit is like good jeans: secure, comfortable, and not threatening to split under pressure.
Step 7: Reinforce the Creases
Remove the disc and press all folds again. Sharp, clean creases help the sleeve hold its shape. If the paper is thick, use the ruler edge to sharpen the fold lines. If it is thin, be firm but not aggressive. You are making a paper sleeve, not auditioning for a martial arts film.
Step 8: Label the Outside, Not the Inside
Write the contents on the front of the sleeve. Add the disc title, date, or a short note. Keep bulky decorations, glitter, raised stickers, and lumpy glue away from the inside pocket. That interior space should stay smooth and clean so the disc slides in safely.
If you need to label the disc itself, use a soft felt-tip marker on the label side only. Skip adhesive labels on the disc. They may sound clever, but they can create problems you do not want.
A Sturdier Version for Gifts, Presentations, or Keepsakes
If regular paper feels too flimsy, make a sturdier paper CD sleeve from a file folder, light cardstock, or thin recycled cereal box board. This version looks more polished and holds up better when passed around.
Option 1: File Folder Sleeve
A plain file folder is great because it is already stiffer than printer paper and easy to decorate. Use the same folding logic as the no-glue method above, but score the fold lines first with a ruler. This helps prevent cracking and makes the sleeve look sharper.
You can also trace a simple sleeve shape onto the folder, cut it out, fold the tabs, and glue the edges for a cleaner finished product. This is the better choice when you want the sleeve to look more like intentional packaging and less like “emergency office origami.”
Option 2: Recycled Cereal Box Sleeve
Thin box board works nicely for a custom CD sleeve with personality. Cut a flat section from the box, turn the printed side inward if you want a plain exterior, and trace a sleeve pattern. Fold and glue the side tabs, then let everything dry under a heavy book for a few minutes.
This version is especially fun for themed gifts. A homemade playlist tucked into a handmade sleeve has strong main-character energy.
Tips for Decorating Your Homemade CD Sleeve
Once the sleeve is built, you can make it look surprisingly good with simple design choices.
Keep the Front Clear and Readable
Write the album name, date, or contents in a way that is easy to spot. If you are sharing family photos or work files, clarity wins over drama. Save the dramatic swirls for your poetry notebook.
Add a Track List or Contents Panel
A handwritten track list on the back or inside flap instantly makes the sleeve feel more complete. For a data disc, list the folders or files included. This is especially useful when you are making several sleeves at once.
Use Flat Decorations
Stamped designs, printed patterns, doodles, and thin stickers work well. Puffy stickers, chunky rhinestones, and anything gritty belong on almost any project except the one designed to hold a scratch-prone disc.
Match the Paper to the Purpose
Plain white or kraft paper looks clean and classic. Patterned scrapbook paper is great for gifts. Matte cardstock usually feels more polished than glossy photo paper because it folds better and is less slippery.
Print Carefully
If you use a printable template or pre-designed art, do not let your printer auto-scale it to “fit page” without checking the settings first. Packaging templates depend on accurate sizing, and even a small scale change can turn a neat sleeve into a paper disappointment.
Common Mistakes to Avoid
Even an easy DIY CD sleeve can go sideways. Here are the most common mistakes and how to dodge them.
Making the Pocket Too Tight
If the disc drags when you insert it, the sleeve is too snug. Loosen the side folds slightly and test again. The CD should slide in, not apply for citizenship.
Using Rough or Dirty Paper
Smooth, clean paper is your friend. Anything dusty, gritty, or damaged can transfer particles to the disc surface.
Decorating the Inside
The inside should stay plain and smooth. Interior texture is cute until it starts acting like sandpaper.
Using Adhesive Labels on the Disc
Label the sleeve instead, or use a suitable marker on the disc’s label side. The sleeve is where your creative energy should really shine.
Ignoring Basic Disc Care
Handle the CD by the outer edge or center hole, not the shiny readable surface. If it gets smudged, wipe from the center straight outward rather than in circles. That simple habit can help prevent extra trouble later.
When a Paper Sleeve Is Enough and When It Is Not
A paper sleeve is perfect when you need a quick, slim, attractive way to package a disc. It is great for:
- Gifts and playlists
- Event handouts
- Temporary organization
- Travel or light storage
- Creative packaging on a budget
But if you are storing valuable archival media for years, a basic folded sleeve is not the final boss of protection. In that case, upgrade to a sturdier archival-quality sleeve or jewel case and store the disc upright in a cool, dry, dark place. A paper sleeve is clever. Preservation is a different hobby.
Real-Life Experiences With Making Paper CD Sleeves
The first time I made a paper CD sleeve, I was trying to package a burned music mix without using one of those clunky plastic jewel cases that always seem to crack if you look at them too hard. I figured the project would take five minutes. Naturally, it took longer because I made the classic beginner mistake: I folded everything too tightly. The disc fit, technically, but removing it felt like trying to pull toast out of a slot with oven mitts on. Lesson one was immediate and unforgettable: always test the fit before you commit to the crease.
My second attempt went much better. I used a plain sheet of printer paper, centered the disc more carefully, and made softer test folds before pressing them down. That sleeve actually worked, and it looked neat enough to give away. Not luxurious, not museum-grade, but definitely better than a naked disc sliding around a backpack like a tiny disaster frisbee.
After that, I started experimenting with sturdier materials. File folders were the first big upgrade. They fold cleanly, they hold shape better than basic paper, and they take ink and handwritten titles really well. A brown kraft folder with black lettering looks surprisingly cool, like something from an indie record store that also sells expensive candles and very serious coffee.
I also tried recycled cereal boxes, which turned out to be fun for custom projects. The trick is choosing a section without too many creases and deciding whether to show the printed side or turn it inward. One sleeve ended up with a weird partial cartoon mascot peeking from the inside, which was not exactly elegant, but it was memorable. If you are making sleeves for party favors, school projects, or family photo discs, recycled packaging can add character without adding cost.
Decorating was another learning curve. I discovered quickly that flat decoration is the hero of this story. Pens, stamps, printed labels for the outside, and thin stickers all worked beautifully. Puffy embellishments? Absolute chaos. Anything bulky on the inside or near the pocket opening made the sleeve awkward and risky. The CD deserves better than a rhinestone ambush.
One of the most useful habits I picked up was writing the contents clearly on the front and adding a date on the back. It sounds simple, but when you make several sleeves at once, labels save you from future confusion. There are few organizational failures more humbling than owning three homemade CD sleeves all marked “photos” and having no idea whether they contain a wedding, a vacation, or twelve blurry images of a dog asleep on a couch.
I also learned that paper weight changes the whole experience. Thin paper is fast and convenient, but it feels temporary. Light cardstock or folder stock gives the sleeve a more intentional look and survives repeated use better. If the sleeve is for a gift, presentation, or keepsake, the heavier material is worth it. If it is just for quick storage, standard paper is fine.
What surprised me most was how personal the finished sleeves felt. A homemade CD sleeve is a tiny project, but it carries a lot of personality. A handwritten track list, a simple doodle, a color choice, or a small note instantly makes it more meaningful. It turns a disc into a little object worth keeping, not just a storage format from a bygone tech era.
So yes, making a paper CD sleeve is practical. But it is also charming, creative, and a little nostalgic in the best possible way. And unlike many supposedly easy crafts, this one actually earns its place in real life. It protects, it organizes, and it gives your disc a home that says, “I did not forget you, shiny little circle.”
Final Thoughts
Learning how to make a CD sleeve from paper is simple, useful, and unexpectedly fun. With one sheet of paper and a few careful folds, you can create a sleeve that protects a disc, looks presentable, and leaves plenty of room for your own style. Use plain paper for speed, cardstock for durability, and flat decorations for personality. Keep the inside smooth, label the outside clearly, and handle the disc like the scratch-prone diva it is.
If you still have CDs worth sharing, storing, or gifting, a handmade sleeve is an easy win. Cheap to make, easy to customize, and oddly satisfying to fold, it is one of those crafty little skills that remains useful long after the plastic jewel case has lost its hinge and its dignity.











