
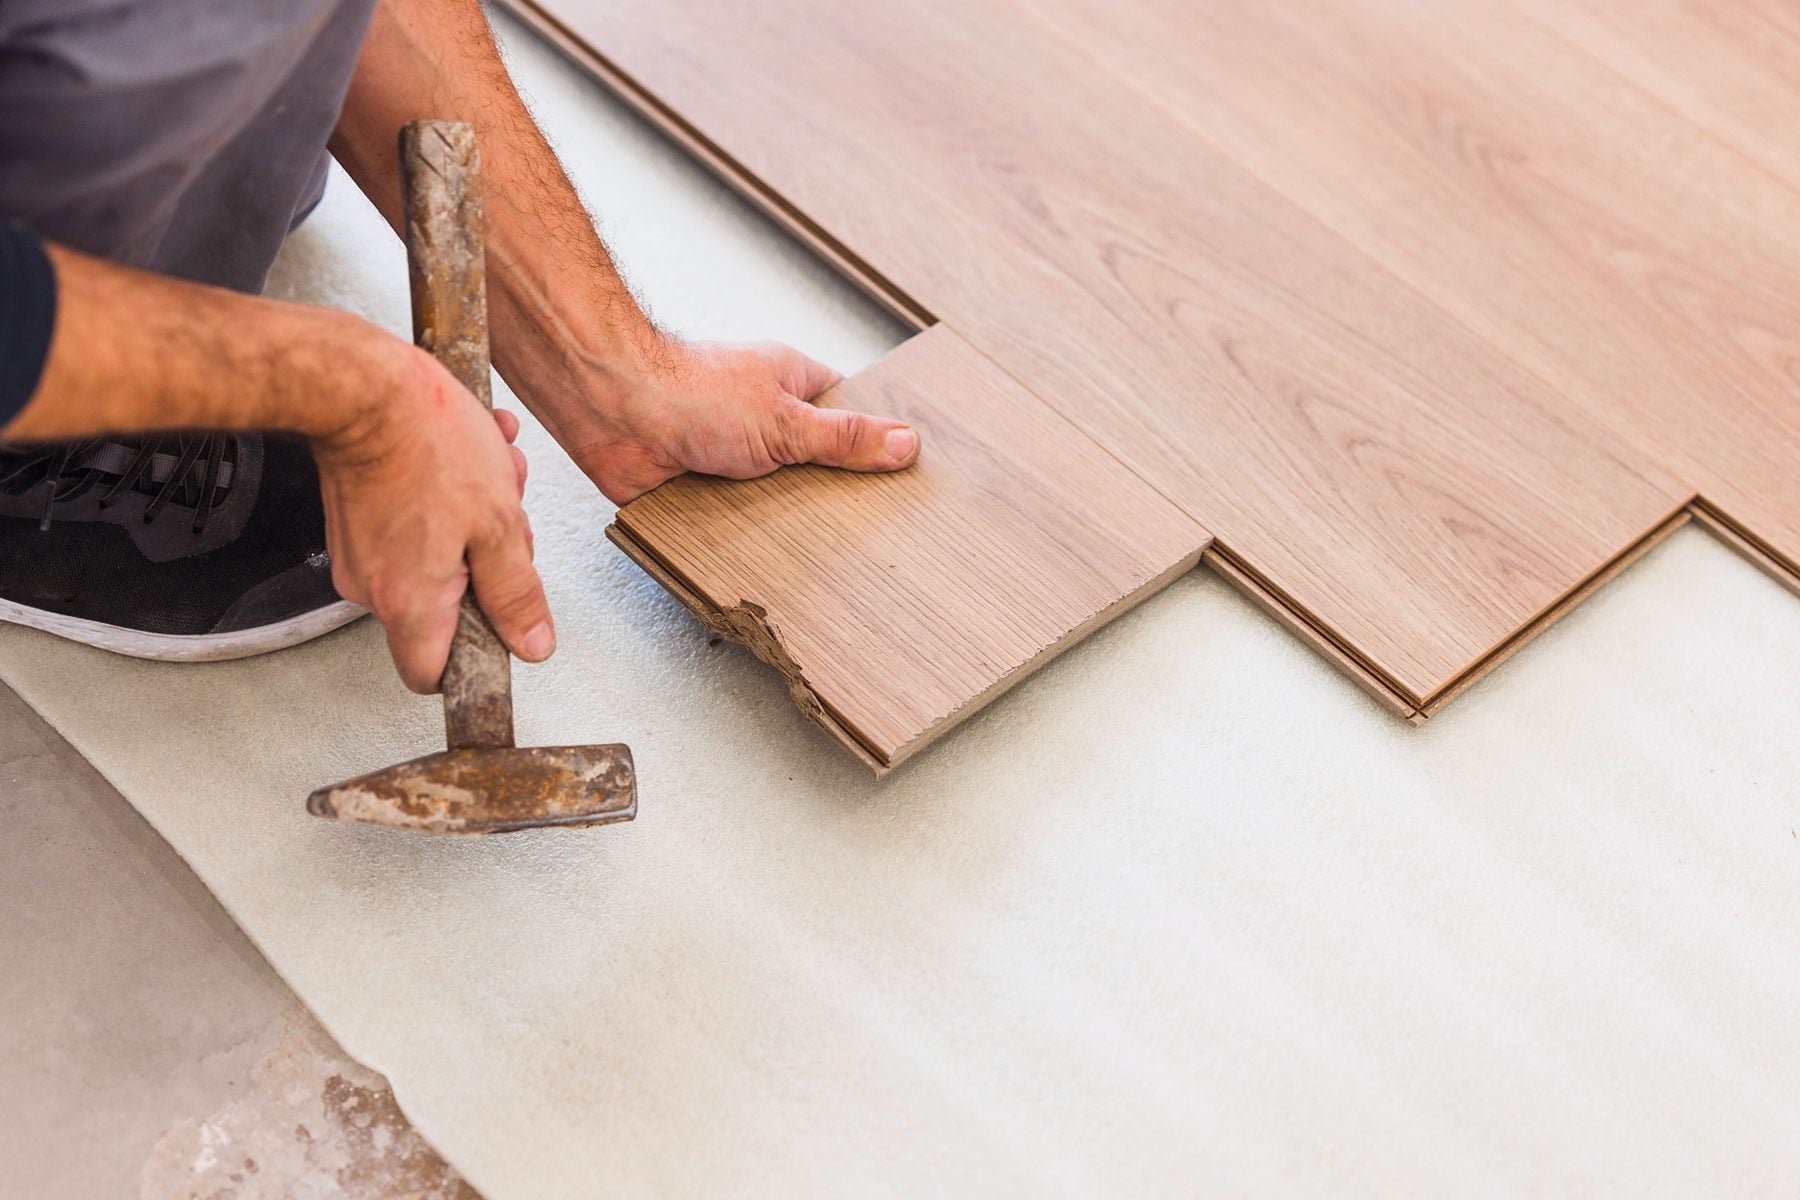
Installing hardwood floors on concrete can make a room look warm, polished, and suspiciously expensivein the best possible way. But concrete is not a typical wood subfloor. It is hard, cool, and capable of holding or transmitting moisture long after it looks completely dry. That means the success of your new floor depends less on how confidently you swing a tapping block and more on how carefully you prepare the slab.
The good news? You can install hardwood flooring over concrete successfully. The key is choosing the right flooring type, testing the slab, correcting uneven areas, and using an installation method approved for both the flooring and the concrete. This guide walks through the process step by step, without pretending that a concrete floor magically becomes friendly just because you gave it a pep talk.
Can You Install Hardwood Floors Directly on Concrete?
Yes, but the word directly needs a tiny asterisk next to it. Most traditional solid hardwood flooring is not designed to be nailed straight into concrete. Concrete does not hold flooring nails the way plywood does, and trying to force the issue is a fast route to frustration, broken fasteners, and language your neighbors may hear through the walls.
For most homes, engineered hardwood flooring is the best choice for concrete slabs. Engineered hardwood has a real wood veneer on top, but its layered core is built to handle minor changes in temperature and humidity more reliably than solid planks.
Best Flooring Choices for Concrete Slabs
- Engineered hardwood: Usually the safest and most practical option for concrete, basements, condos, and slab-on-grade homes.
- Floating engineered hardwood: A DIY-friendly option when the product is approved for floating installation.
- Glue-down engineered hardwood: A durable choice for concrete when you use the manufacturer-approved adhesive and moisture-control system.
- Solid hardwood: Usually requires a plywood subfloor, sleeper system, or another approved wood subfloor assembly over the concrete.
Before buying flooring, read the manufacturer’s installation guide for that exact product. Two engineered oak floors may look nearly identical in a showroom, yet one may be approved for glue-down installation while the other is designed only to float. Flooring instructions are not bedtime reading, but they are much cheaper than replacing 600 square feet of warped planks.
What You Need Before Installing Hardwood on Concrete
Gather your materials before you begin. Stopping halfway through a row because you forgot spacers is annoying. Discovering you forgot the moisture barrier is much worse.
Materials
- Engineered hardwood flooring approved for concrete installation
- Manufacturer-approved underlayment, vapor barrier, or moisture-mitigating adhesive
- Concrete patch or self-leveling compound
- Flooring adhesive, if using a glue-down method
- Flooring spacers
- Transition strips, reducers, and threshold pieces
- Baseboards or quarter-round molding
- Painter’s tape for holding planks together during glue-down installation, if approved
Tools
- Tape measure and pencil
- Chalk line
- Long straightedge or 6- to 10-foot level
- Moisture test kit or concrete relative-humidity testing system
- Shop vacuum
- Utility knife
- Miter saw, circular saw, or jigsaw
- Tapping block and pull bar
- Rubber mallet
- Notched trowel sized for your adhesive, if gluing
- Knee pads, because concrete has no sympathy for knees
Step 1: Check Whether the Concrete Is Ready
Concrete preparation is the unglamorous part of the project, which is exactly why it deserves your full attention. A pretty wood floor can hide a lot of things, but it cannot hide moisture problems forever.
Test the Concrete for Moisture
Do not judge slab moisture by touching the floor with your hand or declaring, “It feels dry.” Concrete can look and feel dry while still releasing enough moisture vapor to damage adhesive, cause cupping, or create gaps in the flooring.
Use the moisture-testing method required by your flooring and adhesive manufacturers. Common options include calcium chloride testing and in-situ relative humidity testing. The acceptable result varies by product and adhesive, so there is no one magic number that applies to every floor.
If the slab fails the moisture test, do not install the flooring yet. You may need additional drying time, a professional moisture-mitigation coating, a different flooring system, or help identifying a drainage issue. Installing anyway is not “taking a calculated risk.” It is more like putting a tuxedo on a raccoon and hoping it handles dinner service.
Inspect the Slab for Flatness
Concrete does not need to be perfectly level for hardwood flooring, but it must be flat within the flooring manufacturer’s stated tolerance. Use a long straightedge across multiple directions. Mark high spots and low spots with a pencil or chalk.
Grind down high areas using proper dust-control equipment, and fill low areas with a compatible patching product or self-leveling compound. Let repair materials cure fully before installing the floor. A floating floor over a wavy slab may click together at first, but it can flex, squeak, separate, or feel like a tiny wooden trampoline underfoot.
Clean the Surface Thoroughly
Sweep and vacuum the slab until it is free of dust, drywall compound, paint flakes, adhesive residue, grease, and loose debris. Glue-down flooring needs a clean surface for the adhesive to bond correctly. Floating floors also benefit from a clean surface because sharp debris can damage an underlayment or create annoying bumps.
Step 2: Let the Flooring Adjust to the Room
Bring the hardwood flooring into the installation area and allow it to acclimate according to the manufacturer’s instructions. Keep the home at normal living conditions before, during, and after installation. That means the heating or cooling system should be operating as it normally would when people actually live there.
Do not store flooring boxes in a damp garage, a cold basement, or a room that feels like a tropical greenhouse. Wood reacts to changes in moisture and temperature. Giving the planks time to adjust helps reduce surprises after installation.
Step 3: Choose the Right Installation Method
There are three common ways to install hardwood flooring over concrete. Your product instructions should make the final decision for you.
Floating Hardwood Floor Installation
A floating floor is not attached directly to the concrete. Instead, the planks lock together and rest on an approved underlayment or vapor barrier. This method is popular with DIY homeowners because it avoids flooring adhesive and does not require nails.
Floating installation works best with click-lock or tongue-and-groove engineered hardwood specifically approved for floating use.
Glue-Down Hardwood Floor Installation
In a glue-down installation, engineered hardwood is bonded directly to the prepared concrete using a wood-floor adhesive. Some premium adhesives also provide moisture-control benefits, but only when used exactly as directed.
This method creates a solid feel underfoot and works well in large open rooms. However, it requires careful timing, correct trowel selection, clean work habits, and a willingness to remove adhesive from your hands before it becomes a permanent personality trait.
Wood Subfloor Over Concrete
If you want traditional solid hardwood flooring, you may need to build an approved plywood or sleeper subfloor over the slab. This is more involved, adds floor height, and can affect doors, transitions, cabinets, and ceiling clearance. It is often best handled by an experienced flooring professional.
How to Install a Floating Engineered Hardwood Floor on Concrete
1. Install the Moisture Barrier or Underlayment
Use the underlayment or vapor barrier recommended by the flooring manufacturer. Some floating systems require a separate polyethylene moisture barrier, while others use an underlayment with a built-in moisture layer.
Roll out the material over the clean slab, following the required overlap and seam-taping instructions. Run it slightly up the walls if directed, then trim the excess later after the floor is installed. Do not improvise with random plastic sheeting unless the flooring instructions specifically allow it.
2. Plan the Layout
Measure the room and calculate the width of the first and final rows. You do not want to reach the far wall and discover that your final row is a one-inch strip that looks like it was added during a flooring emergency.
Plan to install planks so the long direction follows the room’s main visual line. Many homeowners run flooring parallel to the longest wall or toward the primary light source. Dry-lay several boards to see how the floor will look around doorways, hallways, fireplaces, and transitions.
3. Mix Planks From Multiple Cartons
Open several boxes and mix boards as you work. Natural wood has color, grain, and character variation. Blending planks prevents one area from looking unusually dark, light, knotty, or dramatic enough to demand its own reality show.
4. Start the First Row Straight
Use spacers along the wall to maintain the required expansion gap. Wood flooring expands and contracts with changing conditions, so it needs room around the perimeter. The exact gap depends on the flooring instructions, but it is commonly covered later by baseboard or quarter-round molding.
Place the first row carefully. A crooked first row does not magically straighten itself as you continue. It simply invites every future row to participate in the same bad decision.
5. Lock and Stagger the Planks
Install the next rows according to the locking system. Stagger end joints according to manufacturer recommendations to create a natural pattern and avoid weak-looking seams. Use a tapping block only where approved, and never hit the tongue or groove directly with a hammer.
Check frequently for gaps, shifted rows, and planks that are not fully seated. Correcting a problem in row three is easy. Correcting it in row fourteen is a small lesson in regret.
6. Cut Around Doorways and Obstacles
Undercut door jambs so the flooring can slide underneath for a clean finish. Measure carefully around vents, columns, cabinets, and irregular walls. Leave the required expansion space at fixed objects unless the manufacturer says otherwise.
7. Install the Final Row and Trim
Measure and rip-cut the final row as needed. Use a pull bar to lock the final planks into place without damaging the wall or flooring edge. Remove spacers, install transition pieces, and reinstall baseboards or add quarter-round molding to cover the expansion gap.
How to Glue Down Engineered Hardwood on Concrete
Glue-down installation can look beautiful and feel exceptionally solid, but it rewards patience. Read the flooring and adhesive instructions before opening the adhesive container.
- Snap a straight reference line. This keeps your first rows aligned and helps you avoid drifting across the room.
- Dry-fit several rows. Confirm your layout, plank colors, and end-joint pattern before adhesive enters the conversation.
- Spread adhesive in manageable sections. Apply only as much adhesive as you can cover before it skins over. The size of the working area depends on the adhesive’s open time and room conditions.
- Use the correct trowel notch. Adhesive manufacturers specify trowel size because it controls coverage and bond strength.
- Place planks carefully. Set each board into the adhesive, slide it slightly to improve contact, and lock the tongue-and-groove edges as directed.
- Clean adhesive immediately. Keep a manufacturer-approved cleaner and clean cloths nearby. Dried adhesive on prefinished hardwood is an extremely stubborn souvenir.
- Follow rolling or weighting instructions. Some systems require a weighted roller to improve adhesive contact. Others have specific limitations, so follow the written instructions.
Common Mistakes to Avoid When Installing Hardwood Over Concrete
- Skipping moisture testing: This is the biggest avoidable mistake. Moisture can damage flooring long after installation day.
- Choosing solid wood for direct installation: Use engineered hardwood unless your solid hardwood system is specifically approved for concrete.
- Ignoring slab flatness: A floor that rocks, flexes, or squeaks usually started with an uneven substrate.
- Using the wrong adhesive or underlayment: Flooring products and adhesives are designed as systems. Mixing random materials can void warranties.
- Forgetting expansion gaps: Tight flooring can buckle when seasonal conditions change.
- Installing over an active water problem: Fix leaks, poor exterior drainage, plumbing issues, or basement moisture before installing wood flooring.
- Rushing the layout: Plan transitions, doorway cuts, and final-row widths before committing to the first plank.
When to Hire a Flooring Professional
DIY installation can be realistic for a small, dry, square room using a floating engineered hardwood product. Consider hiring a professional when the slab has moisture issues, cracks, major height variations, radiant heat, complicated patterns, large open areas, stairs, or an expensive flooring product with strict warranty requirements.
A professional installer can test the slab, recommend a moisture-control system, prepare the concrete properly, and identify problems before they become expensive. That is not surrendering your DIY badge. It is simply choosing fewer surprises and less adhesive in your hair.
Practical Experience: What Installing Hardwood on Concrete Teaches You
The biggest lesson from hardwood-over-concrete projects is that the flooring itself is rarely the real problem. The slab is the boss of the job. It decides whether the installation will feel smooth and satisfying or turn into a long-running drama involving moisture readings, leveling compound, and a very nervous adhesive manufacturer.
Experienced installers tend to approach concrete differently from wood subfloors. With plywood, you can often see and feel issues quickly. With concrete, the trouble may be invisible. A slab can be clean, hard, and apparently dry while still holding moisture below the surface. That is why testing before installation is not an optional “extra step.” It is the step that protects every other step.
Another practical lesson is that a little floor preparation saves a surprising amount of time later. Homeowners sometimes look at a low spot and think, “The flooring will probably bridge over that.” It may bridge over it for a while, but eventually that unsupported area can create movement, clicking noises, or stress on the locking edges. Filling and flattening those areas before installation feels slow, but it is far easier than taking apart finished rows after the fact.
Layout is another place where patience pays off. The first row sets the personality of the entire floor. If it starts crooked, every row that follows becomes a tiny tribute to that original mistake. Spending extra time measuring walls, snapping a reference line, and planning the final row keeps the room looking intentional rather than “almost straight if you stand near the refrigerator.”
Glue-down projects teach a different kind of discipline. The adhesive has a working time, and it does not care that you need to answer a phone call, move a box, or explain to someone why they should not walk across wet glue. Installers who work in smaller sections usually make fewer mistakes because they can place boards accurately, check alignment, and clean adhesive before it hardens.
For floating floors, the experience is often smoother, but the underlayment and expansion gaps become especially important. A floating floor needs room to move. Pinning it down with trim, cabinets, heavy fixed objects, or overly tight cuts can prevent that movement and lead to buckling. The floor should rest comfortably in the room, not feel trapped like a cat wearing a Halloween costume.
Finally, the best installations usually come from following the exact product instructions rather than relying on generic advice alone. Every flooring line has its own approved adhesives, moisture limits, underlayments, acclimation rules, and expansion requirements. Think of this guide as the map, but treat your manufacturer’s instructions as the address. Using both gives you the best chance of ending up with a floor that looks beautiful, feels solid, and does not start making mysterious noises six months later.
Conclusion
Installing hardwood floors on concrete is absolutely possible when you respect the slab, choose the right flooring, and prepare carefully. Engineered hardwood is usually the best fit for direct installation over concrete, whether you choose a floating system or a glue-down method. Test for moisture, flatten the surface, use compatible materials, leave expansion gaps, and follow the flooring manufacturer’s instructions from start to finish.
A well-installed wood floor can make a concrete-based room feel warmer, richer, and far more inviting. Do the prep work now, and your future self can enjoy the results without wondering why the floor has started acting like a bowl of potato chips.
Note: Always follow the written installation instructions for your specific flooring, adhesive, underlayment, and moisture-control products. Local building codes and product warranties may require additional steps.











