
Note: This guide explains the general process for installing fender flares on trucks, Jeeps, and SUVs. Always follow the instructions that come with your specific fender flare kit, because bolt locations, clips, trimming, side marker wiring, and hardware can vary by vehicle model.
Installing fender flares is one of those upgrades that makes a vehicle look tougher almost instantly. One minute your truck is just sitting there politely; the next, it looks like it owns a trail map and knows how to use it. But fender flares are not only about attitude. They can help add tire coverage, protect paint from road debris, hide minor wheel-arch imperfections, and give wider wheels or off-road tires a cleaner visual fit.
The good news? Many modern fender flare kits are designed as bolt-on or no-drill upgrades that use existing factory mounting points. The slightly less glamorous news? A clean installation still depends on patience, alignment, surface prep, and not treating every screw like it owes you money. Over-tightening plastic flares can crack them, distort the shape, or make the finished job look wavy around the wheel arch.
This 12-step guide walks through how to install fender flares the smart way, from checking your kit to tightening the final fastener. Whether you are adding pocket-style flares, OE-style flares, flat flares, or wide off-road fender flares, the core process is similar: prepare, test-fit, align, attach, inspect, and admire your work like a proud driveway engineer.
What Are Fender Flares?
Fender flares are exterior accessories that mount around the wheel openings of a vehicle. They extend the edge of the fender outward, creating extra coverage over the tires. Some are slim and factory-looking, while others are wide, riveted, and clearly ready to make mud everyone else’s problem.
Most fender flares are made from ABS thermoplastic, polypropylene, or similar durable materials. Many come in textured black finishes, smooth paintable finishes, or rugged off-road styles. Some kits include decorative bolts, rubber edge trim, clips, screws, brackets, double-sided tape, or retainers. Some vehicle-specific kits may also require reusing factory hardware.
Why Install Fender Flares?
Drivers install fender flares for several practical and cosmetic reasons. First, they help provide additional tire coverage, which is especially useful after installing wider tires or wheels with a more aggressive offset. Second, they help shield the body from small stones, dirt, slush, and road debris that can chip paint near the wheel arches. Third, they add style. A clean set of flares can make a stock truck look more finished and an off-road build look less like it skipped leg day.
Fender flares can also refresh the appearance of an older vehicle. If the wheel arch area has light scratches, faded trim, or minor cosmetic wear, flares can frame the area neatly. However, they should not be used to cover serious rust without repairing the metal first. Covering corrosion without fixing it is like putting sunglasses on a raccoon and calling it a security guard: entertaining, but not a real solution.
Tools and Materials You May Need
Before you begin, gather the right tools. Your kit may not require all of these, but having them nearby saves time and prevents the classic mid-project treasure hunt through the garage.
- Vehicle-specific fender flare kit
- Installation instructions from the kit manufacturer
- Socket set or wrench set
- Screwdrivers
- Trim removal tool or plastic pry tool
- Drill and drill bits, if your kit requires drilling
- Painter’s tape or masking tape
- Grease pencil or washable marker
- Microfiber towels
- Mild soap and water
- Isopropyl alcohol for final surface cleaning
- Safety glasses and gloves
- Torque guidance from the kit instructions, if provided
Before You Start: Important Preparation Tips
Work on a clean, level surface with good lighting. If you need to remove wheels for access, use proper lifting points, wheel chocks, and jack stands. Never rely on a jack alone. For many bolt-on flare kits, wheel removal is not required, but turning the front wheels left or right can create more room inside the wheel well.
Unbox the kit carefully and separate the front, rear, driver-side, and passenger-side pieces. Many flares are shaped specifically for one corner of the vehicle. Installing a driver-side rear flare on the passenger front is not “custom”; it is just a confusing afternoon waiting to happen.
How to Install Fender Flares: 12 Steps
Step 1: Read the Instructions First
Start by reading the manufacturer’s instructions from beginning to end. Yes, even the tiny sheet that looks like it was folded by a nervous origami student. Fender flare installation varies widely depending on the vehicle and kit. Some kits use factory holes. Some use clips. Some require edge trim. Some require drilling. Some Jeep-style kits may involve side marker lights or inner fender liners.
Reading first helps you understand the order of installation, identify special hardware, and avoid mounting a flare before installing a seal or decorative bolt that should have gone on earlier.
Step 2: Inspect the Kit and Hardware
Lay out all four flares and compare the hardware against the parts list. Check for screws, clips, brackets, rubber trim, push retainers, alcohol wipes, decorative bolts, and any specialty fasteners. Confirm that the flares match your vehicle’s year, make, model, trim, bed length, and body style.
This is also the right time to inspect for shipping damage. Look for cracks, warped edges, or missing hardware. If something is wrong, stop before modifying or painting anything. Painted or drilled parts are often harder to return.
Step 3: Wash the Fender Area
Clean the wheel arch area thoroughly with soap and water. Remove dirt, wax, road grime, and debris from the painted surface and inner fender lip. Dry everything with a clean microfiber towel. Dirt trapped behind a flare can scratch paint over time, especially if the vehicle sees vibration, gravel roads, or trail use.
After washing, wipe the contact areas with isopropyl alcohol if your instructions recommend it. This is especially important when the kit uses adhesive-backed rubber trim or tape. Adhesive sticks best to clean surfaces, not to a heroic layer of old wax and mystery garage dust.
Step 4: Remove Existing Flares or Trim
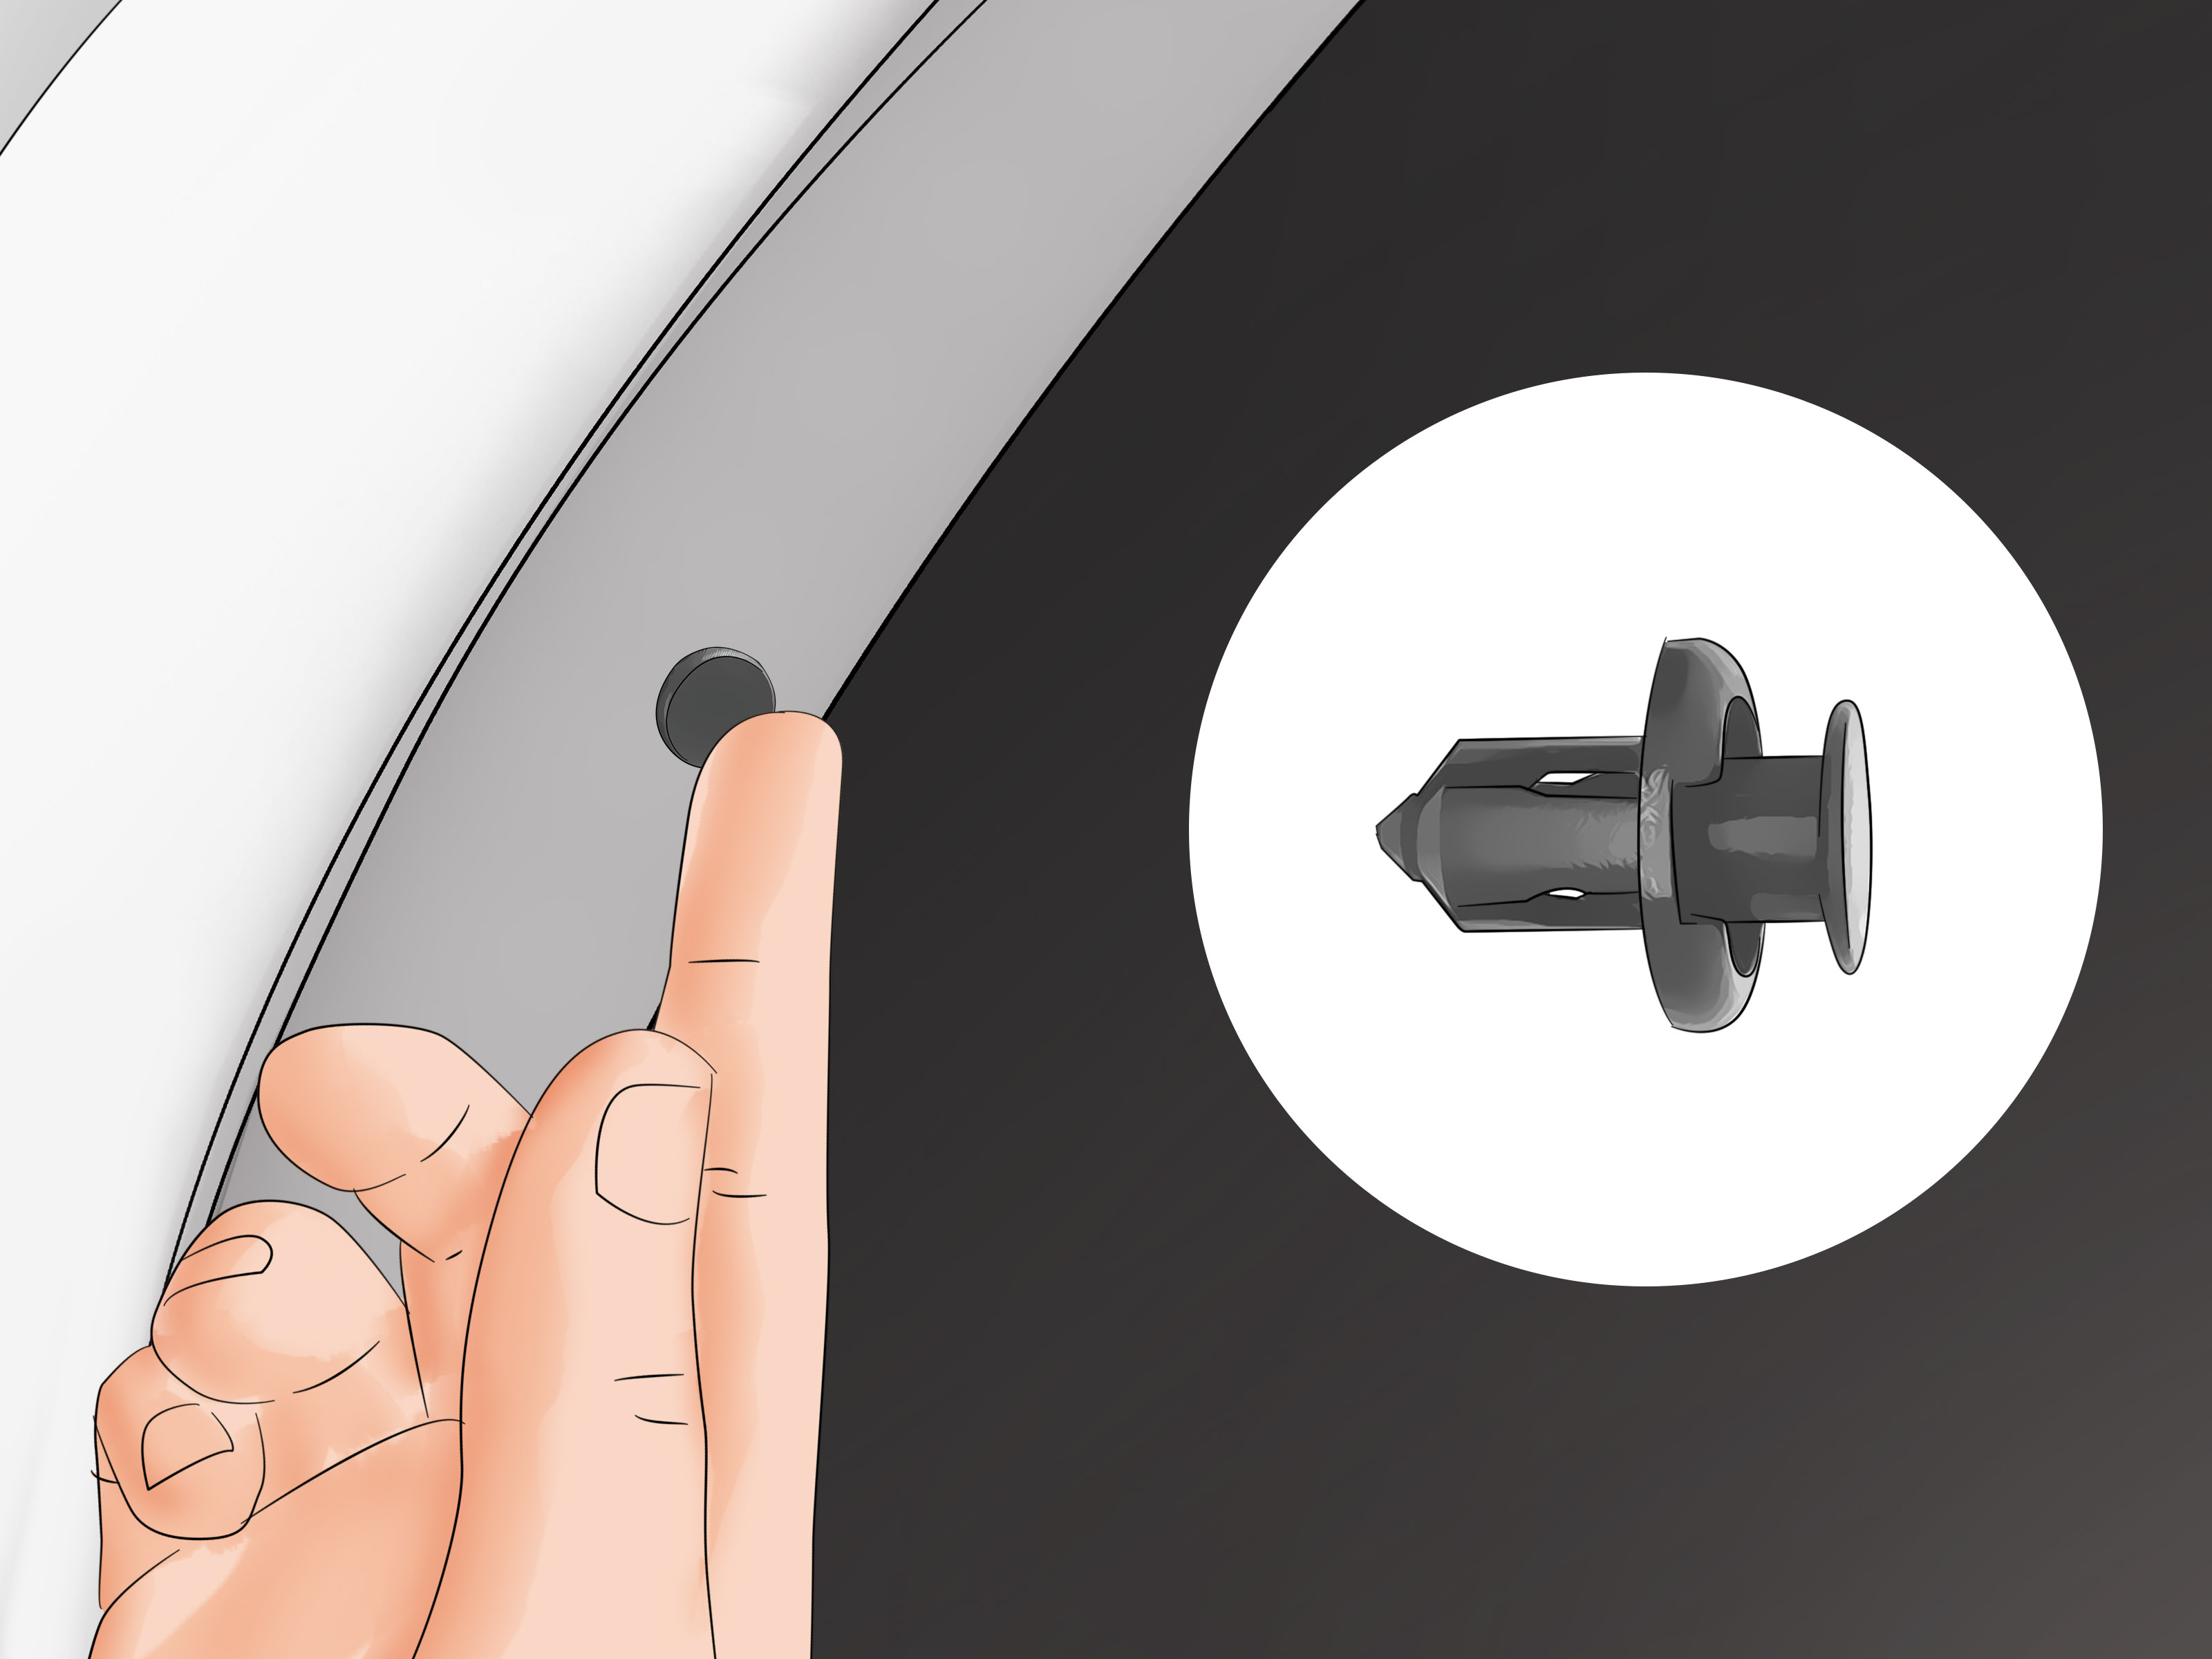
If your vehicle already has factory flares, wheel-arch moldings, mud guards, or trim pieces that interfere with the new flares, remove them carefully. Use a trim removal tool for plastic clips and a socket or screwdriver for bolts and screws. Keep factory hardware organized because some kits require you to reuse it.
On some vehicles, factory flares may be held with a combination of bolts, clips, retainers, and double-sided tape. Work slowly to avoid bending metal or damaging paint. If there are side marker lights or wiring attached to the existing flare, disconnect them according to the vehicle-specific instructions.
Step 5: Install Edge Trim or Rubber Seal
Many fender flare kits include rubber edge trim that sits between the flare and the painted body panel. This trim helps create a finished look and can reduce rubbing. Install it before mounting the flare if the instructions call for it.
Start at one end of the flare and press the trim evenly along the upper edge. If the trim has adhesive backing, peel a small section at a time rather than removing the entire backing at once. This gives you better control and helps prevent the trim from stretching or wandering off course like it has weekend plans.
Step 6: Add Decorative Bolts or Rivet-Style Hardware
Pocket-style and rivet-style fender flares often include exposed bolts for a rugged appearance. In many kits, these bolts are decorative and attach only to the flare, not to the vehicle body. Install them before mounting the flare if directed.
Use the correct Allen key, socket, or wrench and tighten the decorative hardware gently. Do not over-tighten. Plastic flares can crack or deform if the hardware is cranked down too aggressively. The goal is snug and secure, not “ancient castle gate.”
Step 7: Dry-Fit Each Fender Flare
Hold each flare against the wheel opening before installing any permanent hardware. This dry-fit step is one of the most important parts of the entire job. Check that the contour of the flare matches the body line, the ends sit correctly, and the mounting holes line up with factory holes or bracket locations.
Use painter’s tape to protect the surrounding paint and help mark alignment. If the flare does not sit flat, do not force it. Recheck the part location, trim placement, clips, brackets, and any interfering factory molding.
Step 8: Mark and Drill Holes Only If Required
Many vehicle-specific fender flares use existing factory mounting points and do not require drilling. If your kit does require drilling, mark hole locations carefully while the flare is properly aligned. Use a grease pencil or washable marker, then remove the flare before drilling.
Wear safety glasses, use the drill bit size specified in the instructions, and drill slowly. After drilling into metal, protect exposed edges with touch-up paint or rust-preventive coating where appropriate. This small step can help reduce future corrosion around new holes.
Step 9: Attach Brackets, Clips, or Retainers
Some fender flare kits use mounting brackets, spring clips, push retainers, or U-clips along the inner fender lip. Install these pieces exactly where the instructions show. If a clip sits slightly off, the screw may cross-thread or pull the flare out of alignment.
For Jeep-style flares or off-road kits, you may need to work around inner fender liners. Some kits reuse factory liners, while others require trimming or replacing them. Follow the kit instructions carefully so the liner does not rub the tire or block the flare from sitting flush.
Step 10: Mount the Fender Flare Loosely
Position the flare on the vehicle and start all screws, bolts, clips, or retainers by hand before fully tightening anything. This gives you room to adjust the flare so the gaps are even and the body line looks clean.
Work from the center outward or follow the sequence recommended by the manufacturer. Keep checking alignment as you go. A flare can shift slightly as each fastener begins to pull it toward the body. Loose first, final later: that is the driveway wisdom.
Step 11: Tighten Carefully and Evenly
Once everything is aligned, tighten the hardware gradually. Avoid over-tightening screws or bolts, especially on plastic flares. Over-tightening can crack the material, strip clips, crush rubber trim, or create uneven waves along the edge.
If the kit provides torque specs, use them. If not, tighten until the hardware is secure and the flare sits firmly without distortion. Decorative bolts should usually be snug only. Remember, the goal is a clean fit, not a personal strength contest with a 10mm socket.
Step 12: Inspect the Finished Installation
After all four flares are installed, step back and inspect the vehicle from several angles. Check that the flares are centered around each wheel opening, the gaps are consistent, the edge trim is seated correctly, and no hardware is missing.
Turn the front wheels fully left and right to check clearance. If you removed or loosened inner liners, confirm they are secure. Take a short test drive, then recheck the hardware. After a few days of driving, inspect everything again. New parts can settle slightly, especially after vibration, rain, or trail use.
Common Fender Flare Installation Mistakes to Avoid
Skipping the Dry Fit
Dry-fitting may feel like an extra step, but it saves time. It helps you catch wrong-side parts, interfering trim, misaligned holes, and unexpected gaps before screws or adhesive get involved.
Over-Tightening the Hardware
This is probably the most common mistake. Fender flares need to be secure, but they are not engine mounts. Tightening too hard can crack plastic, crush seals, or create an uneven edge.
Installing on a Dirty Surface
Dust, wax, and road grime can prevent adhesive trim from sticking properly. They can also scratch paint if trapped between the flare and body. A clean surface is boring, but it works.
Ignoring Paint Protection
If drilling is required, exposed metal should be protected. If the flare contacts painted surfaces, rubber trim should be installed correctly. Small details help prevent long-term paint damage.
Forgetting About Tire Clearance
Fender flares add coverage, but they do not automatically create more clearance. If your tires rub before installation, flares alone may not solve the issue. Check wheel offset, suspension travel, liner position, and trimming requirements.
Should You Paint Fender Flares Before Installing Them?
If you bought smooth paintable fender flares and want a color-matched look, paint them before installation. Painting after installation is harder and increases the risk of overspray on the vehicle. Paintable flares should be cleaned, scuffed, primed with the correct plastic adhesion promoter, and painted with products compatible with the flare material.
Textured black flares are usually installed as-is. They are popular because they hide light dust, match other exterior trim, and give trucks and SUVs a rugged finish. However, textured flares can be harder to paint smoothly unless properly prepped by someone experienced with automotive plastics.
How Long Does Fender Flare Installation Take?
Simple no-drill fender flare kits may take about one to two hours for a careful DIY installer. Some easy kits can be faster, especially if they use factory holes and basic hand tools. More complex kits involving inner fender liners, side marker lights, drilling, trimming, or aftermarket brackets can take several hours.
Do not rush the job. A fender flare installation is highly visible, and small alignment errors are easy to spot. Give yourself time, lay out the hardware, and work one corner at a time.
Maintenance After Installation
After installing fender flares, clean them with mild soap, water, and a soft cloth. Avoid harsh abrasives or strong solvents unless the manufacturer specifically says they are safe. Periodically check the mounting hardware, especially if you drive on rough roads or trails.
If you live in an area with snow, salt, mud, or heavy rain, remove trapped debris from behind and around the flares when washing the vehicle. Clean wheel arches help protect paint and reduce grime buildup.
Real-World Experience: What Installing Fender Flares Teaches You
Installing fender flares sounds simple on paper: hold the part up, add screws, look cool. In real life, the project teaches you that “bolt-on” can mean anything from “done before lunch” to “why is this clip hiding behind the liner like a raccoon in a mailbox?” The best experience starts with slowing down before the first fastener comes off.
One practical lesson is that organization matters more than strength. When removing factory hardware, place screws and clips in separate containers for each wheel opening. Labeling them front driver, front passenger, rear driver, and rear passenger can save a surprising amount of confusion. Factory screws often look similar but may have different lengths or heads. Mixing them up is how a simple Saturday project becomes a detective show.
Another experience-based tip is to test-fit every flare before installing any one flare permanently. It is tempting to finish one corner completely and move on, but checking all four pieces first confirms that the kit is correct. Sometimes front and rear flares look similar at a glance. Sometimes the driver-side and passenger-side pieces are easy to confuse. The vehicle body will tell you the truth quickly, usually with an awkward gap.
Edge trim is another area where patience pays off. The cleanest results usually come from pressing the trim on slowly and evenly, without stretching it. If you stretch rubber trim during installation, it may shrink back later and leave a gap at the end. Work in short sections, keep the trim seated, and trim the end neatly with a sharp blade or scissors if the instructions allow it.
Alignment is the soul of the job. A fender flare can technically be attached and still look wrong if it sits slightly too high, too low, or too far forward. Use body lines as your guide. Stand back often. Look from the side, front, and rear. The human eye catches uneven spacing quickly, especially around curved wheel arches. A few minutes of adjustment before tightening can make the difference between “professional install” and “installed during a windstorm.”
For kits that require drilling, measure twice and drill once. Actually, measure three times if coffee is involved. Use painter’s tape to protect paint and help mark hole locations. Drill slowly and keep the bit steady. If you drill into metal, touch up the exposed edge to help prevent rust. This detail is easy to skip, but it matters over time.
Finally, the post-install inspection is not optional. After a short drive, recheck every fastener. Listen for rattles. Check that inner liners are not rubbing. Turn the steering wheel fully in both directions and look for tire contact. Fender flares are exterior parts exposed to vibration, weather, and road debris, so a follow-up check helps keep the installation secure.
The biggest takeaway? Installing fender flares is not difficult, but it rewards careful work. Clean surfaces, gentle tightening, proper alignment, and patience create the best result. Do it right, and your vehicle gains protection, style, and a wider, more confident stance. Do it too fast, and you may spend the next weekend fixing what the first weekend invented.
Conclusion
Learning how to install fender flares is a smart DIY upgrade for truck, Jeep, and SUV owners who want better tire coverage, added body protection, and a more aggressive look. Most modern fender flare kits are designed to be manageable with basic tools, especially when they use factory mounting points. The key is not brute force; it is preparation, clean surfaces, accurate alignment, and careful tightening.
Start by reading your kit instructions, inspecting the hardware, and cleaning the wheel arch area. Dry-fit every flare, install edge trim correctly, and drill only if your specific kit requires it. Once mounted, inspect your work and recheck the hardware after driving. A good fender flare installation should look natural, sit flush, and make your vehicle appear like it came that way from the factoryjust with a little extra attitude.












