
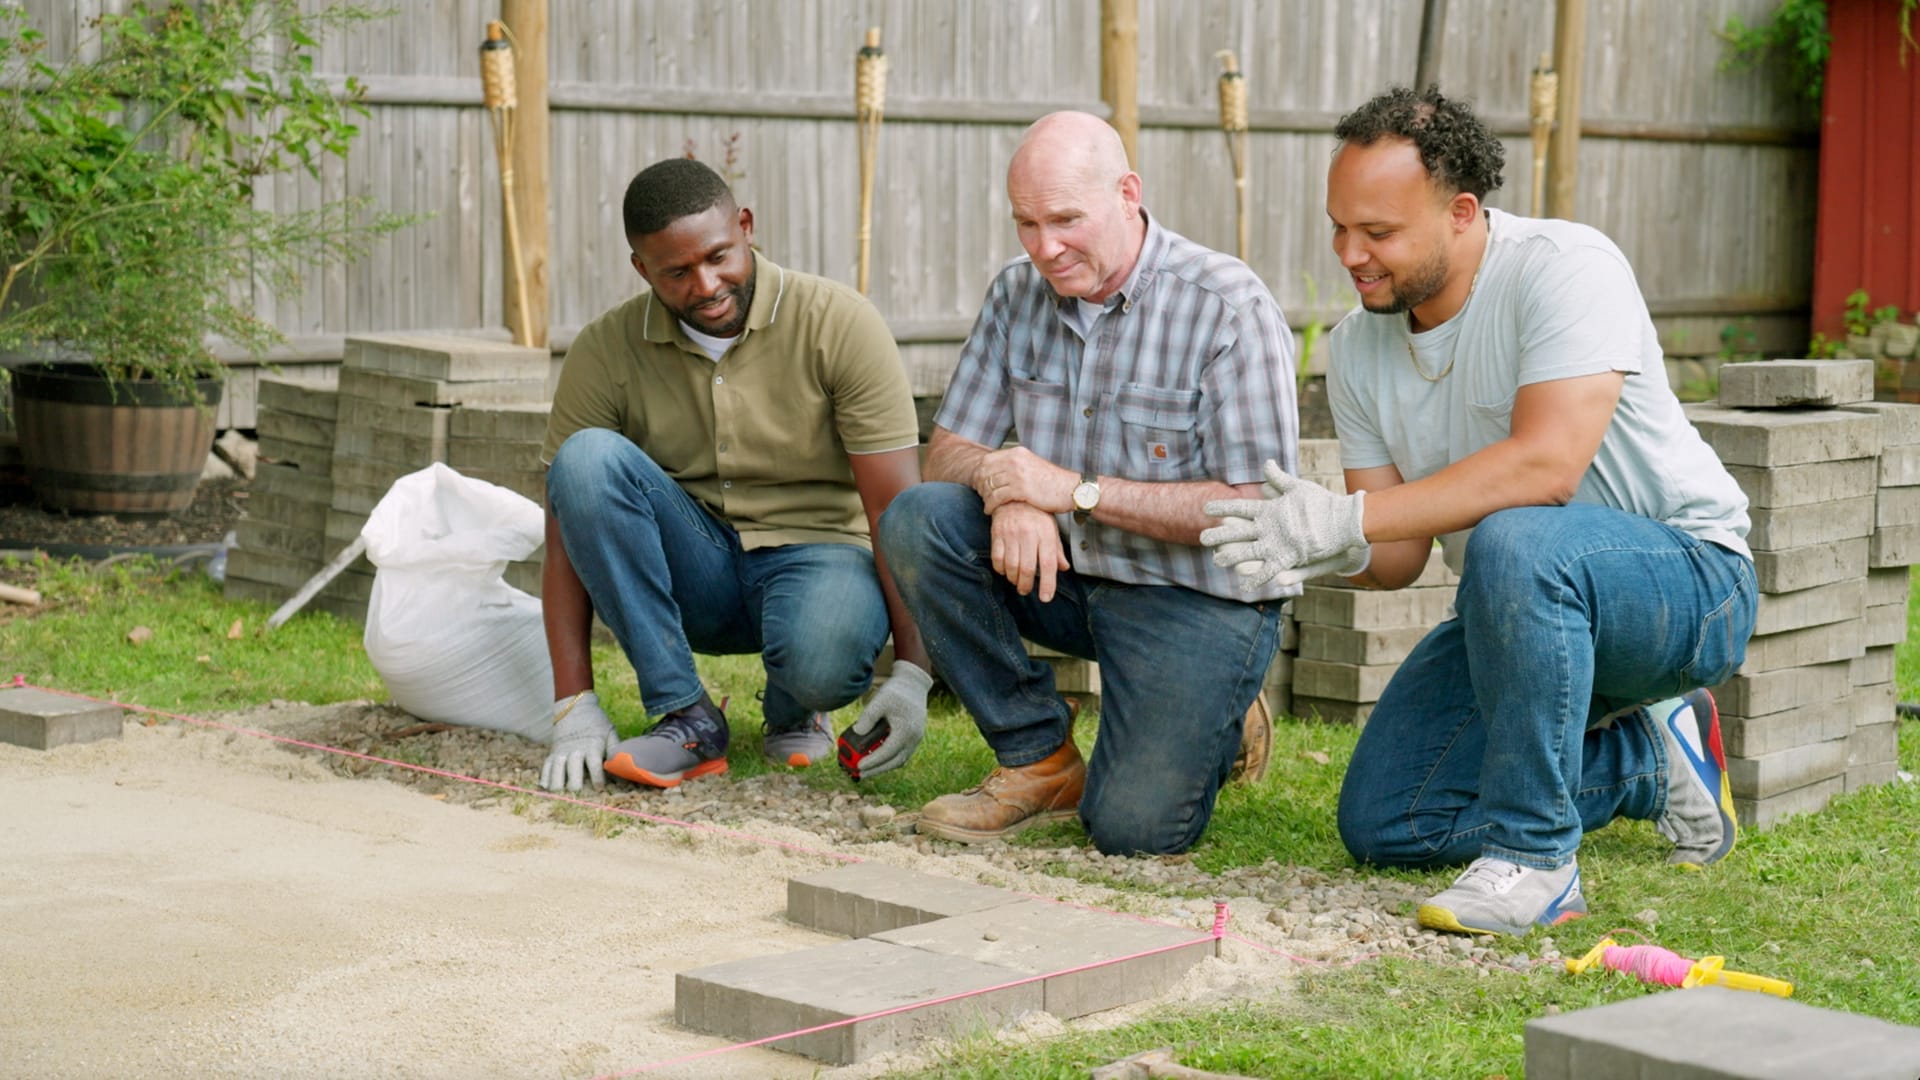
An uneven paver patio has a talent for announcing itself at the worst possible moment. One corner catches your shoe, a table rocks during dinner, and a shallow depression turns into a birdbath after every storm. Fortunately, individual patio pavers can usually be lifted, the foundation repaired, and the same units reinstalled without demolishing the entire outdoor space.
The important part is fixing the reason the patio became uneven. Pouring extra sand beneath a low paver may make it look better for a few months, but it will not correct washed-out gravel, poorly compacted soil, failed edging, tree-root pressure, or improper drainage. A durable repair starts below the surface, where the patio’s less glamorousbut far more importantlayers live.
Why Do Patio Pavers Become Uneven?
A properly constructed paver patio consists of compacted subsoil, a load-bearing aggregate base, a thin bedding course, the pavers, jointing sand, and edge restraints. When one of those components fails, the surface may sink, rise, spread, or develop a miniature roller-coaster profile.
Poorly Compacted Base Material
The most common cause of sinking pavers is an inadequately prepared foundation. Loose soil or gravel contains air pockets. Foot traffic, furniture, rainfall, and seasonal moisture gradually compress those pockets, causing the pavers above them to settle.
Base material should be placed and compacted in manageable layers rather than dumped into one deep excavation and compacted only at the top. The exact base depth depends on soil conditions, climate, paver type, and expected loads, but the principle never changes: a patio is only as stable as the material supporting it.
Water Erosion and Poor Drainage
Water can carry fine particles out of the bedding or base, leaving voids that eventually collapse. This often happens beneath a downspout, beside a roof drip line, near a leaking irrigation pipe, or in a low area where rainwater repeatedly collects.
A patio should generally maintain a consistent slope away from the house. A commonly recommended target is about 2%, or approximately 1/4 inch of drop per horizontal foot. Site conditions may require a different drainage plan, especially around pools, retaining walls, neighboring properties, and foundation entrances.
Too Much Bedding Sand
Bedding sand is intended to create a uniform setting course, not conceal hills and valleys in the gravel base. Thick pockets of loose sand compress differently from thin areas, producing dips, rocking pavers, and the dreaded patio washboard.
For many conventional concrete paver systems, the bedding course is approximately one inch thick. Significant depressions should be repaired with properly compacted base aggregate rather than filled with extra sand.
Failed Edge Restraints
Edge restraints keep the field of pavers from spreading outward. When edging loosens, breaks, or lacks proper support, perimeter pavers can drift. Joints grow wider, sand disappears, and nearby units begin rotating or sinking.
Tree Roots, Burrowing Animals, and Soil Movement
Tree roots may lift sections of a patio, while decaying roots can leave underground voids that cause sinking. Burrowing animals, expansive clay, freeze-thaw cycles, plumbing leaks, and recently disturbed fill soil can also move the foundation.
Is This a Small Repair or a Full Rebuild?
Before pulling up pavers, determine how widespread the problem is. A localized depression involving a few dozen units is usually a realistic DIY project. Broad waves across the entire patio may indicate inadequate excavation, widespread base failure, or a drainage problem that requires professional design.
| What You See | Likely Problem | Probable Repair |
|---|---|---|
| One or two slightly low pavers | Minor bedding irregularity | Lift, adjust the bedding course, and reset |
| A bowl-shaped depression | Base settlement or erosion | Remove a wider area and rebuild the base |
| Raised pavers near a tree | Root growth | Evaluate the root and redesign or rebuild the affected area |
| Loose perimeter pavers | Failed edge restraint | Rebuild the supporting base and replace the edging |
| Recurring puddles near the house | Improper grade or drainage | Correct the slope and possibly install drainage |
| Unevenness across most of the patio | Systemic base or soil failure | Consider a professional rebuild |
Tools and Materials You May Need
- Safety glasses, gloves, knee pads, and sturdy footwear
- Flat screwdrivers, putty knives, a pry bar, or a paver extractor
- Rubber mallet and dead-blow hammer
- Pointed trowel, flat shovel, and garden rake
- Four-foot level, straight board, string line, stakes, and tape measure
- Hand tamper for a small repair or plate compactor for a larger area
- Compatible crushed-stone base material
- Appropriate bedding sand or small open-graded bedding stone
- Jointing sand or polymeric sand approved for your pavers and joint width
- Replacement pavers and edge restraints, if necessary
Match new materials to the patio’s original installation system whenever possible. Traditional dense-graded aggregate, open-graded stone, permeable pavement, porcelain pavers, and natural stone assemblies are not interchangeable recipes. When the existing system is unclear, consult the paver manufacturer or a qualified hardscape contractor before adding mystery gravel from the forgotten corner of the yard.
How to Fix an Uneven Paver Patio Step by Step
1. Inspect the Patio After Rain
Rain is an excellent detective. Look for standing water, soil washing from the patio edge, overflowing gutters, downspouts discharging onto the pavers, and damp areas that remain long after the rest of the surface dries.
Place a long straight board across the uneven section and set a level on top. Mark the low and high areas with removable chalk. Check the direction of the patio’s slope and compare the damaged area with stable sections nearby.
2. Mark and Photograph the Paver Pattern
Take several photographs before removing anything. Mark the outline of the repair and number cut or unusually shaped pavers with chalk. This five-minute step prevents an outdoor version of the world’s least entertaining jigsaw puzzle.
Plan to remove pavers beyond the visible depression. Keeping a border of undisturbed units around the repair gives you reliable references for elevation, pattern, joint width, and slope. Repair guidance commonly recommends opening an area wider than the visibly sunken section instead of working on only the lowest stone.
3. Remove Joint Sand and Lift the First Paver
Scrape or vacuum jointing material from around the first paver. Insert two stiff putty knives or flat screwdrivers along opposite edges and gently rock the unit upward. A paver extractor makes the job easier when joints are narrow.
Do not pry aggressively against a delicate neighboring unit. Once the first paver is out, the remaining pieces usually lift much more easily. Stack them in order on a flat surface, keeping different sizes or colors separated.
4. Remove the Bedding Course
Carefully scrape away the bedding material to expose the aggregate base. Preserve a narrow strip of undisturbed bedding around the perimeter as a height reference.
Examine what you uncover. A thin, even bedding course over firm gravel is a good sign. Deep loose sand, muddy material, obvious voids, roots, insect tunnels, or soft aggregate indicate that the problem extends below the bedding layer.
5. Correct the Underlying Cause
Do not rebuild until you know why the patio moved. Redirect a downspout, repair a leaking pipe, restore failed edging, or correct erosion at the perimeter. When significant excavation could reach buried utilities, contact the local utility-marking service before digging.
Tree roots require special judgment. Cutting major roots can destabilize or harm a tree, while simply covering an active root guarantees that the patio will rise again. An arborist and hardscape professional can help determine whether the root can be managed or whether the patio should curve around the tree.
6. Rebuild and Compact the Base
Remove soft, contaminated, or loose material. Add compatible crushed aggregate in thin layers and compact each layer thoroughly. For a small repair, a hand tamper may be sufficient. A plate compactor produces more consistent results over a larger section.
Compact toward the elevation and slope established by the surrounding patio. Check repeatedly with a straightedge and level. The finished base should be firm and smooth, without soft spots, humps, or deep depressions waiting to become next year’s repair project.
Do not assume that more material automatically means more stability. The right aggregate, moisture condition, lift thickness, and compaction method matter more than creating an impressive pile of gravel.
7. Restore the Bedding Course
Spread the specified bedding material in a thin, uniform layer. Screed it using straight pipes or rails and a rigid board. Remove the guides, fill their channels gently, and avoid walking on the finished bed.
The bedding course should follow the corrected base slope. It should not be compacted before conventional concrete pavers are placed unless the manufacturer specifies a different system. Large-format slabs, natural stone, porcelain pavers, and permeable systems may have specialized requirements.
8. Reset the Pavers
Reinstall the pavers in their original pattern, working from the stable edges toward the open center. Lower each unit vertically rather than sliding it through the bedding material. Maintain consistent joints and periodically check alignment with a string line.
Tap pavers with a rubber mallet until they match the surrounding slope. Before final compaction, repaired units may need to sit slightly above adjacent pavers because the bedding course will consolidate. Avoid creating a sharp lip, and follow the paver manufacturer’s instructions for the specific product.
9. Compact the Repaired Surface
For a larger repair involving standard concrete pavers, compact the surface using equipment suitable for the product. Use a protective pad beneath a plate compactor to reduce scuffing. Fragile clay brick, textured stone, porcelain, and large slabs may require a roller compactor or hand-setting method instead.
Move across the repaired area in overlapping passes while checking that the pavers remain aligned. The finished surface should feel solid underfoot and transition smoothly into the undisturbed patio.
10. Refill the Joints
Sweep the appropriate jointing material diagonally across the pavers until the joints are full. Additional compaction may cause the sand level to fall, so repeat the filling process as necessary.
When using polymeric sand, the patio must be dry and the product must be compatible with the paving material, joint width, drainage system, and climate. Remove residue from the paver faces before activation and follow the bag instructions exactly. Too little water may prevent proper curing; too much can wash binders onto the surface and create a stubborn haze.
Common Paver-Leveling Mistakes
Adding Sand Without Inspecting the Base
A small bedding adjustment may correct one slightly low paver. A broad depression usually needs aggregate-base repair. Building a thick sand pillow beneath the pavers simply delays the return of the problem.
Repairing Too Small an Area
Removing only the lowest paver makes it difficult to blend the repair into the surrounding grade. Open enough space to compact the base and screed the bedding course properly.
Making the Patio Perfectly Level
A patio should look flat, but it usually should not be perfectly level in every direction. Eliminating the intended drainage slope can send water toward the house or create new puddles.
Ignoring Edge Failure
Resetting interior pavers will not solve spreading caused by loose edging. Edge restraints need a properly extended and compacted base beneath them, not a few hopeful landscaping spikes driven into soft soil.
Using the Wrong Sand
Play sand, very fine masonry dust, bedding sand, jointing sand, and polymeric sand perform different jobs. Use materials recommended for the patio’s construction system rather than selecting whichever bag happens to be open in the garage.
How to Prevent the Patio From Becoming Uneven Again
- Keep gutters and downspouts from discharging directly onto the patio.
- Correct puddles before repeated saturation erodes the bedding and base.
- Inspect edge restraints every spring and after severe storms.
- Replenish jointing material when joints become visibly low.
- Prevent soil from washing away along exposed patio edges.
- Avoid driving heavy equipment across a patio designed only for pedestrians.
- Watch for roots lifting pavers near mature trees.
- Use moderate pressure when cleaning so joint sand is not blasted away.
Interlocking pavers are repair-friendly because individual units can be removed and reused. Prompt maintenance helps keep a small low spot from becoming a larger structural problem involving dozens of pavers.
When to Call a Professional
Professional help is sensible when the uneven area covers a large portion of the patio, water drains toward the foundation, a retaining wall is moving, or a pool deck has dangerous elevation changes. It is also wise to hire help when the repair involves buried utilities, major tree roots, expansive soil, accessibility requirements, natural stone with irregular thickness, or expensive large-format slabs.
A qualified installer should investigate the cause, not merely promise to “throw some sand under it.” Ask how the base will be exposed, which materials will be used, how compaction will be verified, and where stormwater will go after the repair.
Experience-Based Lessons From Uneven Paver Patio Repairs
The following practical lessons reflect common patterns encountered by homeowners and hardscape installers. The patios may differ, but the surprises beneath them tend to belong to the same small and annoying family.
The Visible Dip Is Usually Smaller Than the Failed Area
A patio may appear to have four sunken pavers, yet removing them often reveals loose bedding that extends another foot or two in every direction. Water and settlement do not respect the tidy outline drawn in chalk. Opening a slightly wider area makes it easier to reach firm material and create a gradual transition into the undisturbed surface.
The practical lesson is to avoid estimating the repair solely from what can be seen above ground. Purchase extra base and bedding material, and leave enough time to expand the work zone. Discovering a larger void at sunset is a memorable way to learn that outdoor projects do not read schedules.
Drainage Problems Leave Clues
In one common scenario, pavers repeatedly sink near a patio corner. The repair is performed correctly, yet the depression returns because a downspout continues discharging several gallons of water onto the same spot during every storm. The paver repair is not failing; the drainage problem is patiently rebuilding the damage.
Look for dark joint lines, washed-out edge soil, green algae, sediment deposits, and joints that lose sand faster than the rest of the patio. These clues often reveal the water’s route. Redirecting runoff before rebuilding the foundation can be more important than adding another bag of aggregate.
The First Paver Is the Most Stubborn
DIYers often spend more time removing the first tightly locked paver than lifting the next twenty. Digging at the joint with a screwdriver can chip corners, while aggressive prying may damage neighboring units. Clearing the joint material thoroughly and using two broad, thin tools usually creates a cleaner lift.
Once an opening exists, label cut pieces and stack pavers in installation order. This sounds overly organized until the border contains six nearly identical trapezoids and none seems interested in returning to its former address.
Compaction Is Boring Until It Is Missing
The temptation to rush compaction is strongest near the end of a tiring repair. The aggregate looks flat, the pavers are waiting, and the grill is making persuasive arguments. However, loose base material is the main reason many repairs settle again.
Thin lifts are easier to compact consistently than one thick layer. A hand tamper can work for a small opening, but each section needs repeated, overlapping blows. Larger repairs benefit from rented equipment. The goal is not merely to press the surface; it is to reduce voids throughout the repaired layer.
Matching Elevation Requires Patience
Reset pavers often look perfect from one direction and slightly high from another. Checking with a straightedge across multiple angles catches these transitions before joint sand is installed. It also helps to stand several feet away and view the surface under low-angle light, which makes humps and dips easier to see.
Do not chase perfection by tapping one paver repeatedly into loose sand. If a unit remains high or low, lift it and adjust the bedding evenly. Hammering harder is not a leveling system; it is simply frustration with a rubber handle.
Joint Sand Is the Finish, Not the Foundation
Fresh polymeric sand can make a repaired patio look crisp and complete, but it cannot stabilize a weak base. Joint material supports interlock and reduces movement only after the underlying layers are properly repaired.
Careful cleanup matters, too. Residue left on textured pavers may harden after activation. Sweep, blow gently, inspect the surface from several angles, and follow the watering sequence printed on the product. The final ten minutes can determine whether the patio looks professionally restored or lightly dusted with permanent beige frosting.
Conclusion
To fix an uneven paver patio correctly, begin by identifying why the surface moved. Lift enough pavers to expose the full damaged area, repair drainage or edge problems, remove unstable material, and rebuild the aggregate base in compacted layers. Restore a uniform bedding course, reset the pavers to the proper slope, compact them with suitable equipment, and refill the joints.
The job involves more effort than sprinkling sand beneath a low brick, but the deeper repair is what keeps the patio level. Done carefully, it restores a safer walking surface, eliminates rocking furniture and puddles, and lets you reuse the existing pavers. Your patio can return to hosting cookouts instead of auditioning as an obstacle course.
Research note: This guide synthesizes current installation and repair recommendations from U.S. hardscape industry organizations, manufacturers, home-improvement publications, retailers, and university extension guidance.












