
Note: This guide is for sewing, embroidery, quilting, beading, and general craft needles only. Do not sharpen, reuse, or “fix” medical needles, syringes, injection needles, tattoo needles, or any needle used on skin. Those belong in a proper sharps container, not in your craft basket next to the thread that keeps tangling for no reason.
Introduction: When Your Needle Starts Acting Like a Tiny Spoon
A sharp needle is one of those little things you never appreciate until it stops cooperating. One minute you are sewing a neat hem, repairing a button, finishing embroidery, or quilting a cozy masterpiece. The next minute your needle refuses to pass through fabric, snags the fibers, shreds the thread, or makes your stitches look like they were arranged during an earthquake. That, dear stitcher, is usually the dramatic entrance of a blunt needle.
Learning how to fix a blunt needle can save time, protect fabric, and keep your project moving. The key is knowing when a needle can be polished back into service and when it needs to retire with dignity. A slightly dull hand-sewing needle may improve after cleaning and polishing with fine emery. A bent, rusty, burred, cracked, or damaged needle should be replaced. A sewing machine needle that causes skipped stitches, popping sounds, puckering, thread shredding, or fabric damage should almost always be changed rather than sharpened.
This article explains how to fix a blunt needle in four practical steps, using safe, realistic techniques for sewing needles. We will also cover how to identify dullness, what tools to use, what mistakes to avoid, and when replacement is the smarter choice. No panic. No fancy workshop. No medieval blacksmithing. Just useful needle care with a little common sense and a tiny abrasive strawberry if you happen to have one.
What Does “Blunt Needle” Actually Mean?
A blunt needle is a needle whose point is no longer sharp enough to pass cleanly through the material it was designed for. In sewing, this can happen through normal friction, repeated stitching, contact with pins, dense fabric, batting, interfacing, glue, paper templates, or even rough storage. The point may become rounded, slightly flattened, scratched, or coated with residue.
However, blunt does not always mean “fixable.” Some needle problems are minor. A hand needle that feels sticky or slightly rough may simply need cleaning and polishing. Other problems are structural. If the needle is bent, chipped, heavily rusted, cracked near the eye, or has a visible burr, it can damage fabric and thread. That needle is not asking for a spa day; it is asking for retirement.
Signs Your Sewing Needle Is Blunt
Before sharpening anything, confirm that the needle is truly the problem. A dull or damaged needle often leaves clues. It may resist entering fabric, create popping or thudding sounds, pull threads in woven fabric, leave enlarged holes, cause uneven stitches, shred thread near the eye, snag embroidery floss, or make skipped stitches on a sewing machine.
For hand sewing, you may feel the needle drag instead of glide. For embroidery, the floss may fray faster than usual. For quilting, the needle may require more pressure to pass through layers. For machine sewing, a dull needle can cause skipped stitches, broken thread, puckered seams, or a machine that suddenly sounds annoyed with your life choices.
Tools You Need to Fix a Blunt Needle
You do not need a toolbox worthy of a spaceship mechanic. For most sewing needle care, gather a clean white cloth, a magnifying glass if available, a small piece of fine emery, an emery strawberry, a fine-grit needle sharpener, or very fine abrasive paper. You may also use a scrap of the fabric you are working on to test the needle afterward.
A traditional emery strawberrythe little strawberry attached to many tomato pincushionsis filled with abrasive emery material. It is designed to help clean, polish, and lightly sharpen pins and hand needles. It is useful for minor dullness and surface residue, but it cannot restore a badly bent or deeply damaged needle.
How to Fix a Blunt Needle: 4 Steps
Step 1: Inspect the Needle Before You Try to Sharpen It
Start by looking closely at the needle. Hold it under good light and rotate it slowly. Check the point, shaft, and eye. If you have a magnifying glass, use it. You are looking for bends, rust, rough spots, chips, flattened tips, burrs, and cracks. Run the needle gently through a piece of scrap fabric similar to your project fabric. If it slides through smoothly, the problem may not be the needle. If it catches, drags, or leaves visible damage, dullness or roughness is likely.
For a hand-sewing needle, a little roughness can often be improved. For a sewing machine needle, replacement is usually better. Machine needles are inexpensive and engineered for precise timing, size, shape, and fabric type. A machine needle with a damaged point can interfere with stitch formation and may harm delicate fabric or even stress the machine.
Do not try to save a needle that is bent. A bent needle can break, scratch fabric, or hit machine parts. Do not try to rescue a rusty needle either. Rust can stain fabric and weaken the needle surface. If the eye has sharp edges that cut thread, replacement is also the best answer.
Step 2: Clean the Needle to Remove Residue
Sometimes a needle feels blunt because it is dirty, not truly dull. Fabric finishes, fusible interfacing, adhesive stabilizers, wax, lint, hand oils, or thread conditioner can leave residue on the shaft. That buildup creates drag, and drag makes the needle feel like it forgot its job description.
Wipe the needle with a clean, dry cloth. If residue remains, use a small amount of rubbing alcohol on the cloth, then dry the needle completely. Never leave moisture on a needle because moisture encourages rust. Pay attention to the area near the eye, where thread friction and residue often collect.
After cleaning, test the needle on scrap fabric. If it now passes through more easily, you may not need to sharpen it. This is the simplest “fix” and also the least risky. Many sewing problems are solved by cleaning, rethreading, or switching to the right needle type. It is not glamorous, but neither is fighting a needle for twenty minutes and blaming the moon.
Step 3: Polish the Needle With Emery or a Fine Needle Sharpener
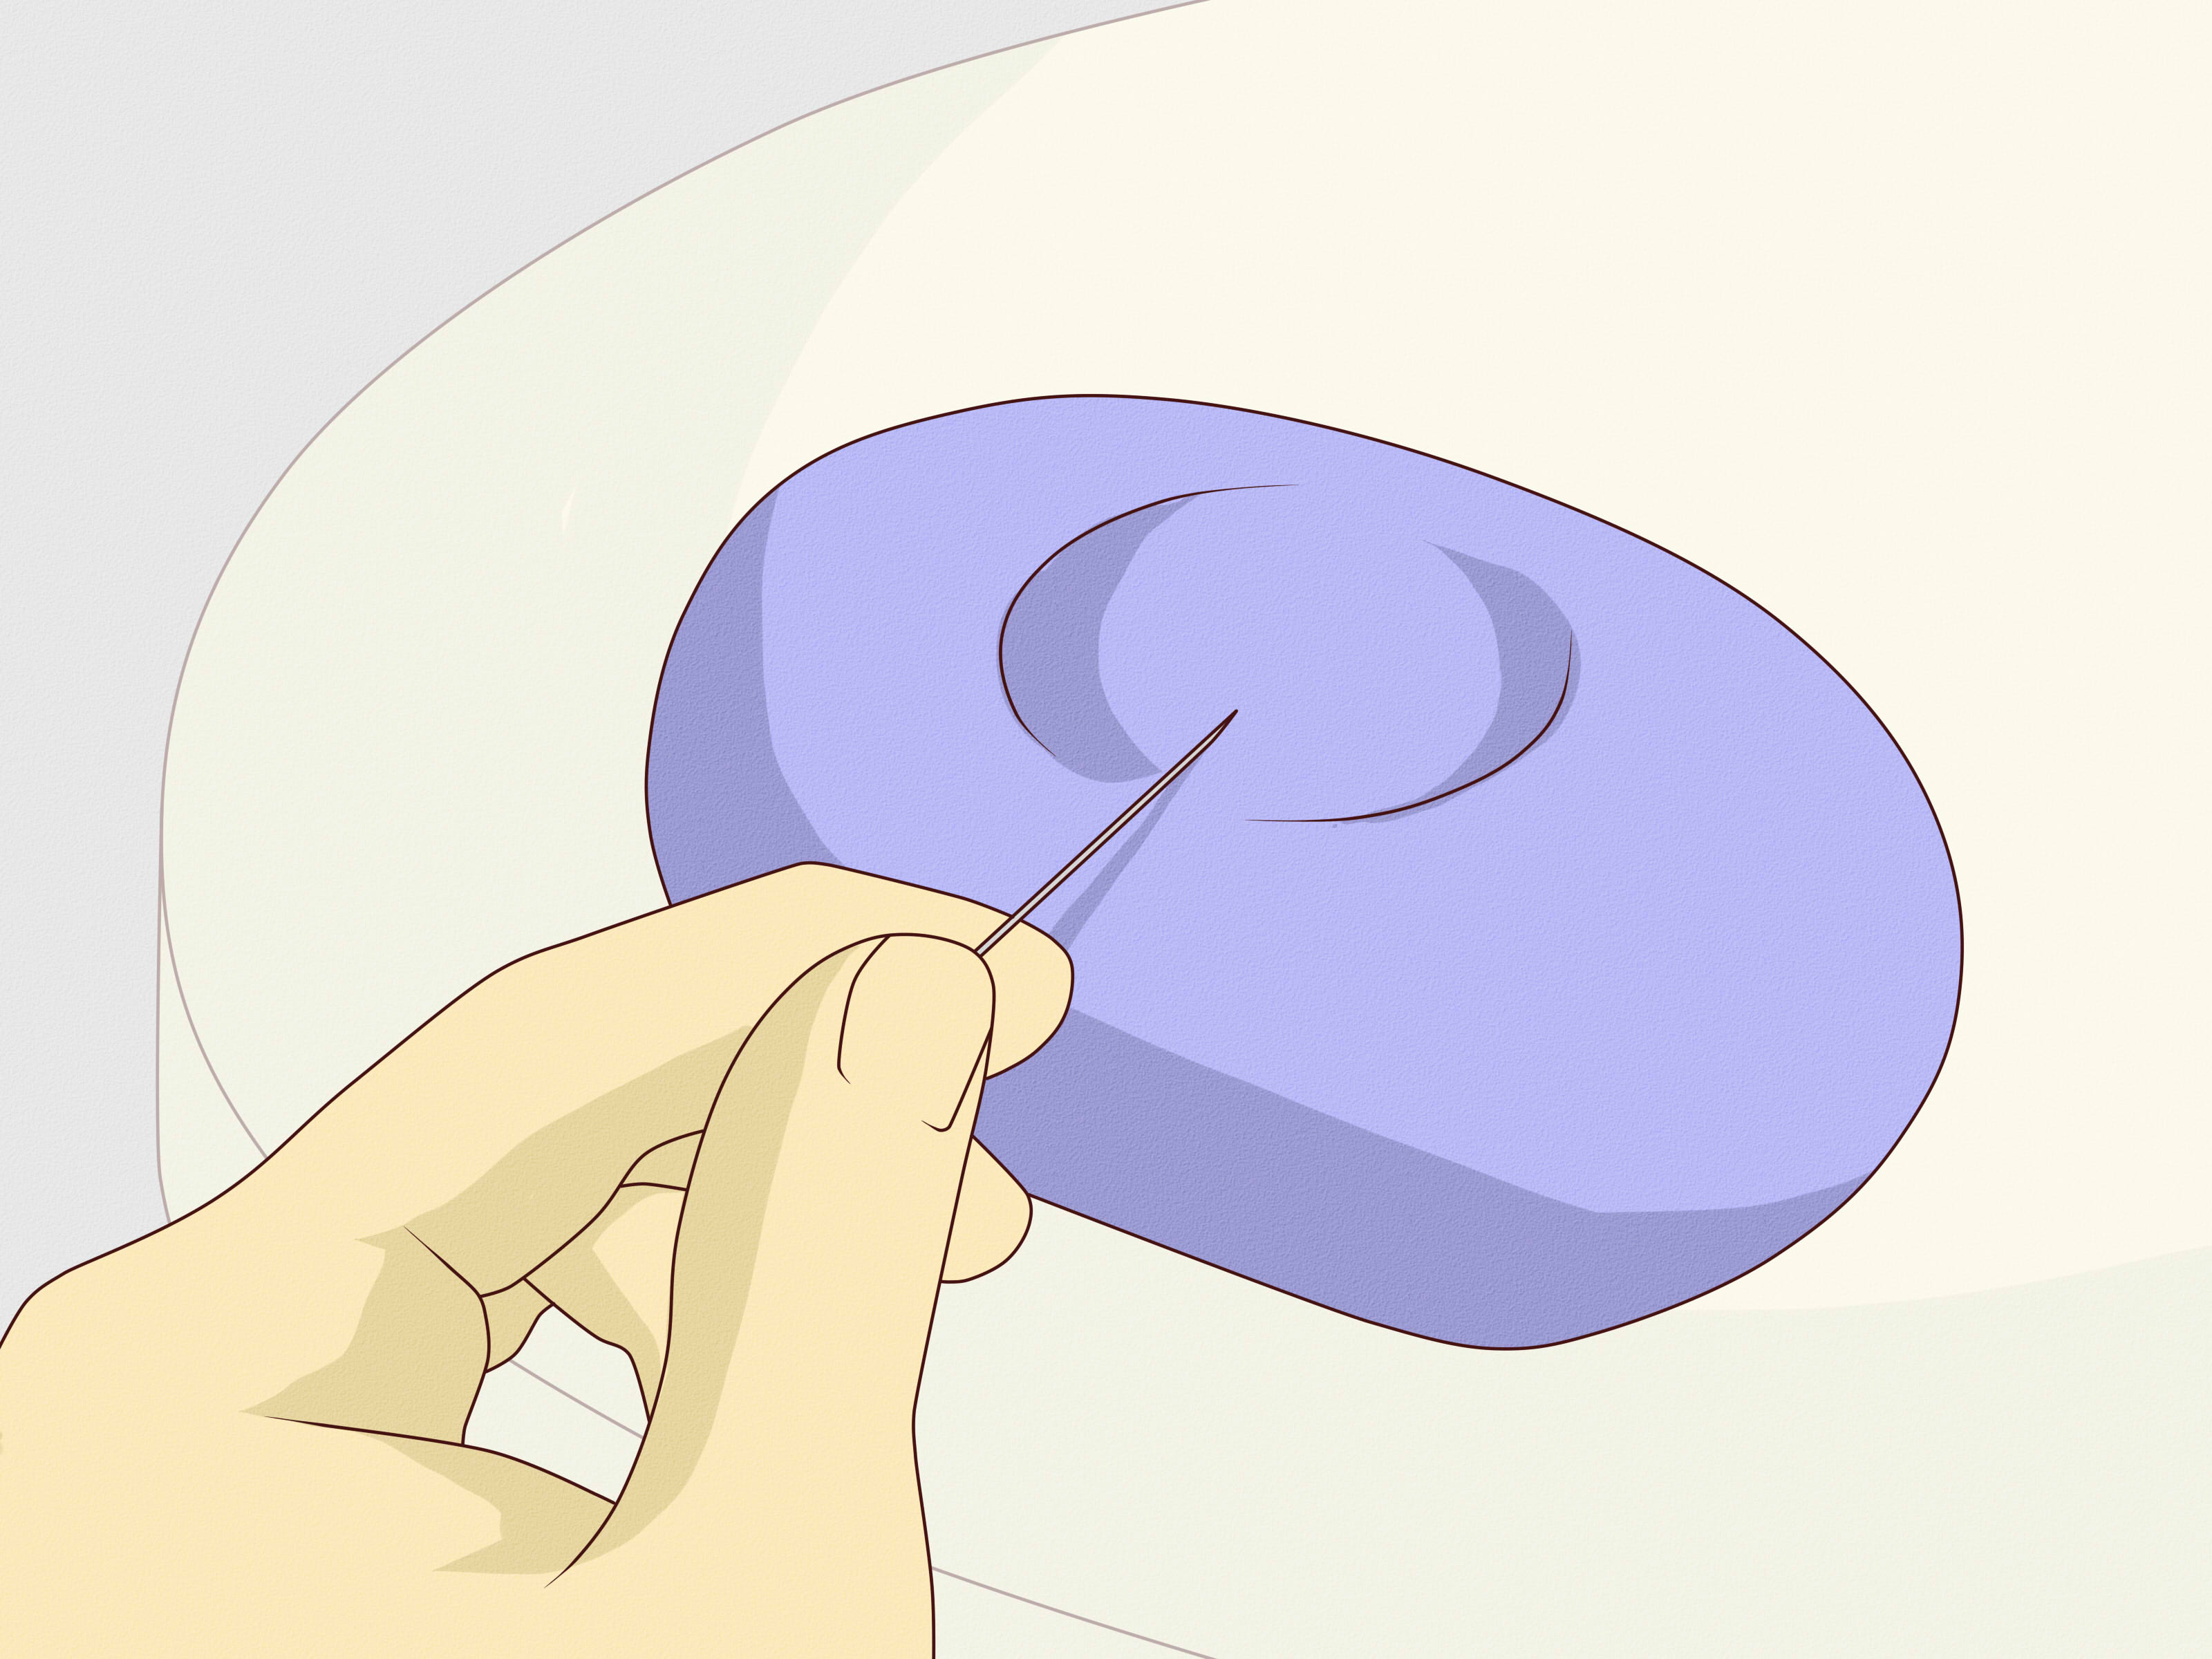
If the needle is clean but still slightly blunt, polish it using an emery strawberry, fine emery cushion, or fine-grit needle sharpener. Push the needle through the emery in one smooth direction several times. Avoid stabbing randomly in and out like the strawberry has personally offended you. A smooth, controlled pass helps polish the shaft and point more evenly.
For a hand-sewing needle, hold it securely and draw it through the abrasive material gently. Rotate it slightly between passes so the entire point and shaft are polished. If using very fine abrasive paper, pull the needle point lightly along the paper at a shallow angle. Use minimal pressure. The goal is not to reshape the needle dramatically. The goal is to remove microscopic roughness and restore a cleaner point.
Be careful not to over-sharpen. Aggressive sanding can change the shape of the point, create uneven scratches, or make the needle worse. Different needles are designed for different tasks. A sharp needle pierces woven fabric. A ballpoint needle parts knit fibers instead of cutting them. A tapestry needle has a blunt point on purpose. A leather needle has a specialized cutting point. Do not sharpen a needle that is supposed to be rounded or specialized unless you are completely sure it is appropriate.
Step 4: Test the Needle and Decide Whether to Keep or Replace It
After polishing, test the needle on scrap fabric. Thread it and sew a few stitches. Watch how it enters the fabric, how the thread moves through the eye, and whether the fabric snags. A fixed needle should glide more smoothly, leave clean holes, and stop shredding thread.
If the needle still drags, catches, squeaks through fabric, or damages thread, replace it. This is especially important for embroidery, silk, lightweight cotton, knits, microfiber, leather, vinyl, and quilting projects where a damaged point can leave permanent marks. A new needle is usually cheaper than replacing ruined fabric, and it will not glare at you from the sewing table.
For sewing machine needles, follow a simple rule: when in doubt, change it. Many sewists replace machine needles after every project or after several hours of stitching. Heavy fabrics, dense seams, quilting, embroidery, and synthetic materials may wear needles faster. If stitch quality suddenly declines, the needle is one of the first things to check.
When You Should Not Fix a Blunt Needle
There are times when sharpening is not worth the risk. Do not fix a blunt needle if it is used for medical purposes, injections, tattoos, piercings, or any skin contact. Do not fix a needle that is rusty, bent, cracked, deeply scratched, or visibly burred. Do not sharpen a sewing machine needle if it is causing repeated skipped stitches, thread breaks, or machine noise. Replace it instead.
Also avoid sharpening needles that are intentionally blunt, such as tapestry needles used for cross-stitch and needlepoint. Their rounded tips are designed to pass between fabric threads rather than pierce them. Sharpening one may make it less useful and more likely to split fibers.
How to Prevent Needles From Becoming Blunt Too Quickly
Needle care is mostly about prevention. Store needles in a dry case, needle book, labeled packet, or pincushion. Keep them away from moisture, glue, and dusty drawers. Avoid sewing through paper, tape, pins, or thick adhesive unless you are using the correct needle for that job. Match the needle to the fabric and thread. Use a fine needle for lightweight fabrics and a heavier needle for denim, canvas, upholstery, or multiple layers.
For hand sewing, use a thimble when working through thick layers. Pushing too hard with bare fingers can bend the needle. For machine sewing, let the feed dogs move the fabric. Pulling or pushing fabric while stitching can deflect the needle, causing bending or breakage. Choose ballpoint needles for knits, sharps or microtex needles for tightly woven fabrics, denim needles for denim, and leather needles for leather or vinyl.
Common Mistakes People Make When Fixing a Blunt Needle
Using Too Much Force
More pressure does not equal a sharper needle. Heavy sanding can create scratches or flatten the tip. Gentle polishing is safer and more effective for minor dullness.
Sharpening the Wrong Needle Type
Some needles are not supposed to be sharp. Ballpoint, tapestry, and certain specialty needles have intentional shapes. Changing the point can ruin their purpose.
Ignoring the Needle Eye
Sometimes the point is fine, but the eye has a rough edge that frays thread. If polishing does not solve thread shredding, replace the needle.
Trying to Save Every Needle Forever
Needles are tools, not family heirlooms. A favorite needle can feel magical, but if it damages fabric, it has crossed over from “trusted helper” to “tiny villain.”
Best Materials for Light Needle Sharpening
The best material for light needle sharpening is fine emery. Emery is abrasive enough to polish and clean sewing needles without being as harsh as coarse sandpaper. Traditional emery strawberries are convenient because they are small, inexpensive, and already designed for this purpose.
Fine-grit abrasive pads can also work, but they must be used gently. Avoid coarse sandpaper, metal files, knife sharpeners, and powered sharpening tools. A sewing needle is small and precisely shaped. Treating it like a garden hoe will not end well.
Hand-Sewing Needle vs. Machine Needle: Fix or Replace?
Hand-sewing needles are easier to polish because you control them directly and they are not part of a timed mechanical system. If a hand needle is only slightly dull, clean it, polish it with emery, and test it.
Sewing machine needles are different. Their point, scarf, shaft, eye, and size all affect stitch formation. A dull or damaged machine needle can cause skipped stitches, puckering, thread breakage, needle breakage, and fabric damage. Because machine needles are affordable and easy to replace, replacement is usually the best fix.
Specific Examples: What to Do in Real Sewing Situations
Example 1: Your Embroidery Needle Is Shredding Floss
First, check the needle eye. If the eye feels rough or the floss frays in the same place repeatedly, polish the needle gently through emery. If the floss still shreds, switch to a new embroidery needle with an eye large enough for the number of floss strands.
Example 2: Your Quilting Needle Suddenly Feels Hard to Push
Clean the needle and test it on scrap quilt layers. If it still drags, replace it. Quilting creates friction through fabric, batting, and backing, so needles dull faster than many people expect.
Example 3: Your Sewing Machine Is Skipping Stitches
Replace the needle first. Make sure it is the correct type and size for the fabric. Insert it fully and correctly. If skipped stitches continue, rethread the machine, check tension, and consider professional service if timing may be off.
Example 4: Your Needle Snags Silk or Lightweight Cotton
Do not risk it. Use a fresh, fine, sharp needle. Delicate fabrics are unforgiving, and one rough needle can leave permanent pulls or holes.
Safety Reminder: Medical Needles Are Not Sewing Needles
This article is about craft needles only. A medical needle should never be sharpened, reused, repaired, cleaned for reuse, or placed loose in household trash. Used sharps can cause punctures and spread infection. Place medical needles and sharps in a proper sharps disposal container according to local guidelines. If you find an unknown needle, do not handle it casually. Safety first; sewing second; dramatic panic never.
Extra Experience Section: What Sewing Teaches You About Blunt Needles
Anyone who sews long enough develops a sixth sense for needle trouble. At first, you blame everything else. The thread must be bad. The fabric must be cursed. The sewing machine must have woken up with a personality disorder. The hoop tension must be wrong. The moon is probably in retrograde. Then, after enough projects, you learn to check the needle before launching a full investigation worthy of a detective series.
One common experience happens during hand hemming. You start with a smooth rhythm: in, out, pull, repeat. Then the needle begins resisting the fabric. Instead of sliding through, it pushes the fabric down like a tiny tent pole. You press harder, your fingertip complains, and the stitches become uneven. A quick wipe and a few passes through an emery strawberry can sometimes restore the glide. If not, a new needle instantly makes the work feel easier. It is almost embarrassing how often the solution is that simple.
Embroidery offers another lesson. A slightly rough needle may not seem like a big deal until it starts chewing up floss. The thread loses its shine, separates, fuzzes, and tangles. Beginners often think their technique is wrong, but the needle may be the real troublemaker. When the eye is too small or rough, every stitch becomes a thread-shredding obstacle course. Switching to the correct embroidery needle, or polishing a lightly rough one, can make the thread behave beautifully again.
Quilters know needle dullness in a very physical way. Several layers of cotton and batting can wear a needle down faster than a simple seam. When a quilting needle becomes blunt, you feel it in your hand, wrist, and patience. The needle needs more pressure, the stitches get less consistent, and the whole project slows down. In machine quilting, a dull needle may make a soft thud, skip stitches, or create tiny fabric pulls. Experienced quilters often change needles regularly because they know a fresh needle is cheaper than frustration.
Another memorable situation is sewing through denim. Denim is sturdy, stylish, and fully prepared to humble you. A regular fine needle may bend or dull quickly, especially across thick seams. The better experience is to use a denim needle from the start, sew slowly over bulky areas, and replace the needle when the stitch quality changes. Trying to “fix” the wrong needle is rarely as effective as choosing the right needle in the first place.
Then there is the famous pincushion lesson. Many people grow up seeing the tomato pincushion with the little strawberry attached and assume the strawberry is decorative. It is cute, yes, but it is not merely there to make the tomato feel emotionally supported. That little strawberry is traditionally filled with emery, which helps polish pins and needles. Once you learn what it does, you may feel betrayed by every sewing kit you owned before. The strawberry was useful all along.
The biggest experience-based takeaway is this: fixing a blunt needle is partly skill and partly judgment. A lightly dull hand needle can often be cleaned and polished. A damaged needle should be replaced. A machine needle causing stitch problems should usually be changed immediately. The goal is not to prove that every needle can be saved. The goal is to protect your fabric, thread, machine, hands, and sanity.
Good sewing often depends on small habits. Check the needle. Match it to the fabric. Store it dry. Replace it before it ruins the project. Polish hand needles when they only need a little help. Do not wait until your stitches look chaotic and your thread has filed a formal complaint. A sharp, smooth needle makes sewing quieter, cleaner, faster, and much more enjoyable.
Conclusion
Fixing a blunt needle is simple when you know what kind of needle you are dealing with. For sewing and craft needles, start by inspecting the point, shaft, and eye. Clean away residue. Polish minor dullness with emery or a fine needle sharpener. Test the needle on scrap fabric. If it still snags, drags, bends, rusts, shreds thread, or damages fabric, replace it.
The most important rule is knowing when not to fix a needle. Never sharpen or reuse medical needles. Do not rescue badly damaged sewing needles. Do not sharpen specialty needles that are intentionally rounded. And do not keep using a needle just because it is already threaded and you are emotionally attached to those last twelve inches of thread.
A good needle should feel almost invisible in use. It should pass smoothly through fabric, carry thread cleanly, and help your stitches look intentional. Keep your needles clean, dry, sharp, and appropriate for the material, and your sewing projects will reward you with fewer snags, fewer skipped stitches, and far fewer tiny sewing-table arguments.












