
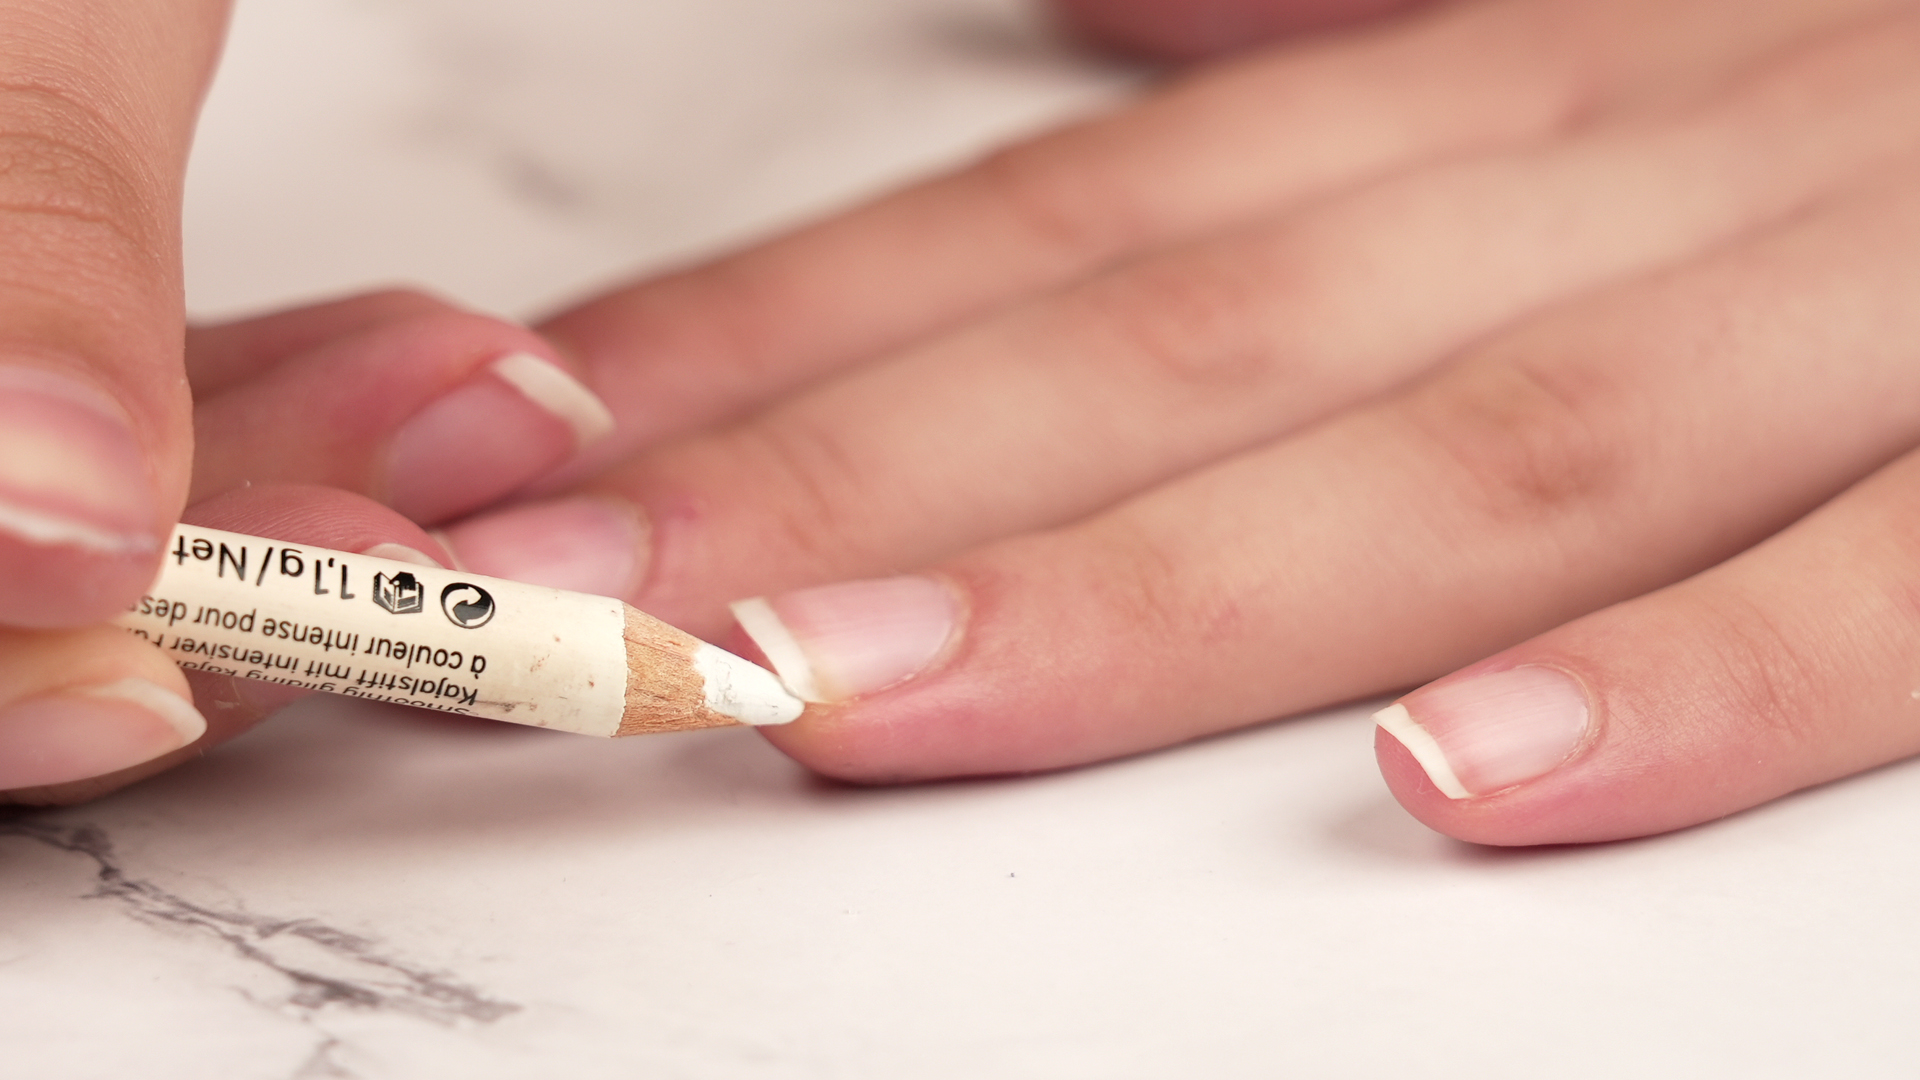
A French manicure is the little black dress of nail looks: clean, polished, and somehow always appropriate. It works for job interviews, weddings, grocery runs, and those random moments when you catch your reflection holding an iced coffee and think, “Wow, I seem to have my life together.” The best part? You do not need a salon appointment, a celebrity manicurist, or supernatural hand stability to pull it off at home.
This easy DIY guide walks you through exactly how to do a French manicure step by step, from prep and polish to crisp white tips and long-lasting shine. You will also learn how to avoid the most common mistakes, how to make your manicure last longer, and how to tweak the look for short nails, modern nails, and beginner-level patience.
What Is a French Manicure, Exactly?
A classic French manicure usually features a sheer pink, beige, or milky nude base paired with a white tip. The contrast is soft, not loud. It looks natural, but in a very “my nails just happen to be perfect” way. Modern versions include micro French tips, angled tips, colorful tips, and barely-there “invisible” French manicures, but the basic idea stays the same: a polished base and a defined tip.
If you are learning how to do a French manicure at home, the classic version is the best place to start. Once you can paint a clean smile line without emotionally spiraling, you can branch out into bolder designs.
What You Need for a DIY French Manicure
- Nail polish remover
- Cotton pads or lint-free wipes
- Nail clippers, if needed
- Nail file
- Buffer
- Cuticle remover or cuticle softener
- Cuticle pusher
- Base coat
- Sheer pink, beige, nude, or milky polish
- White nail polish for the tips
- French tip guides, stickers, or tape if you want training wheels
- Small cleanup brush or pointed cotton swab
- Top coat
- Cuticle oil and hand cream
You do not need every fancy nail gadget on the internet. You just need a few reliable tools, a steady-ish hand, and the willingness to accept that your non-dominant hand may act like it has never met you before.
How to Prep Your Nails Before a French Manicure
1. Remove Old Polish Completely
Start with a clean nail. Any leftover polish, oils, or mystery shimmer from three manicures ago can mess with your application. Wipe each nail thoroughly so your base coat has a smooth surface to grip.
2. Clip and Shape Your Nails
French manicures look great on short, medium, and long nails, but shape matters. Square and squoval nails are classic, while almond nails create a softer, more modern effect. File in one direction rather than sawing back and forth like you are trying to start a campfire. That helps reduce splitting and rough edges.
3. Tidy the Cuticle Area
Soft, neat cuticles make any manicure look more expensive. Apply a cuticle softener, then gently push the cuticles back. Avoid aggressive trimming or cutting unless you really know what you are doing. The skin around the nail is there for a reason, and turning your manicure into a biology experiment is not the goal.
4. Lightly Buff the Surface
A quick buff can smooth ridges and help polish go on more evenly. Keep it gentle. Over-buffing can thin the nail and leave it feeling weaker, which is not cute and not worth it.
5. Clean the Nail Plate
Before polish, swipe nails with remover again or wash and fully dry your hands. You want to remove dust, lotion, and natural oils so the manicure lasts longer. Dry, clean nails are much better for polish adhesion than freshly moisturized slippery ones.
Step-by-Step: How to Do a French Manicure at Home
Step 1: Apply a Base Coat
Base coat is not the boring extra credit assignment of nail care. It helps polish adhere better, can reduce staining, and makes the manicure last longer. Apply a thin, even layer and let it dry. If you want your French manicure to survive real life, do not skip this step.
Step 2: Paint the Base Color
Choose a sheer pink, nude, beige, or milky neutral that flatters your skin tone. Apply one thin coat, let it dry, then add a second if needed. Thin layers are your best friend here. Thick coats take longer to dry and love to smudge the second you think, “I’m sure this is fine.”
For a super natural French manicure, keep the base soft and translucent. For a brighter, more editorial look, choose a milky white or creamy blush tone that gives a cleaner backdrop for the white tips.
Step 3: Create the White Tips
This is the part that separates the bold from the mildly panicked. You have three good options:
Option A: Freehand
Use the polish brush or a thin nail art brush to paint a curved white line along the free edge of the nail. Then fill in the tip. Keep the line thin at first. You can always make it thicker, but trying to shrink a chunky tip after the fact is a very humbling experience.
Option B: Use French Tip Guides or Stickers
If you want crisp, even lines, guides are wonderful. Let the base color dry fully first, place the sticker just below where you want the white tip to begin, then paint the tip. Peel the guide away carefully before the polish gets too set. This method is especially helpful for beginners and people whose hands get stage fright.
Option C: Try the Tape Method
No tip guides? Small strips of tape can work in a pinch. Just make sure the base polish is thoroughly dry, and press the tape down firmly so polish does not sneak underneath.
When painting the tip, follow the natural curve of your nail. That curve is called the smile line, and it is what gives a French manicure its elegant shape. On shorter nails, a micro French tip, basically a very thin white line, often looks more flattering than a thick stripe. On longer nails, you can go a little bolder.
Step 4: Clean Up the Edges
Dip a small brush or pointed cotton swab into remover and tidy any wobbly lines. Cleanup is the secret behind most “salon-perfect” nails. Nobody needs to know you painted one tip three times and negotiated with the fourth.
Step 5: Seal with Top Coat
Once the tips are dry, apply a glossy top coat over the entire nail. This smooths the surface, adds shine, and helps protect the design from chips. If possible, lightly cap the free edge by swiping a tiny amount of polish across the tip of the nail. That little move can help the manicure last longer.
Step 6: Finish with Cuticle Oil
After the nails are fully dry, add cuticle oil and hand cream. This gives the manicure a healthier, glossier finish and keeps the skin around your nails from looking dry and dusty. A gorgeous French manicure loses a bit of its magic when surrounded by cuticles that look like they have been through a desert expedition.
Common French Manicure Mistakes to Avoid
- Using thick coats: Thin layers dry faster and look smoother.
- Rushing dry time: Impatience is the natural enemy of clean nails.
- Making the tips too thick: Especially on short nails, thinner tips usually look more elegant.
- Skipping base coat or top coat: That is how chips and staining RSVP early.
- Cutting or picking at cuticles: It can irritate the skin and make the whole manicure look rougher.
- Ignoring cleanup: A tiny cleanup brush can save an entire manicure.
How to Make Your French Manicure Last Longer
If you want your DIY French manicure to hang on for more than a dramatic 18 hours, focus on prep and maintenance:
- Start with clean, dry nails.
- Use a base coat and top coat.
- Apply thin polish layers.
- Cap the nail tip when possible.
- Let each layer dry before the next one.
- Reapply top coat every couple of days if you want extra shine and protection.
- Wear gloves for dishwashing or heavy cleaning.
- Use cuticle oil daily to keep nails and surrounding skin from drying out.
Regular polish French manicures usually last about five to seven days with careful wear, sometimes longer if you treat your hands like royalty instead of using your nails as tiny screwdrivers.
Best French Manicure Variations to Try
Micro French Tips
This version uses an ultra-thin tip and looks especially chic on short nails. It is subtle, modern, and quietly expensive-looking.
Soft White or Off-White Tips
Bright white is classic, but a softer cream or milky white can look more natural and forgiving if your lines are not perfectly identical.
Colored French Tips
Swap white for red, navy, brown, pastel blue, or metallic gold. You still get the structure of a French manicure with a little more personality.
Diagonal or V-Shaped Tips
These feel fresh and fashion-forward without being difficult to wear. They are also a fun way to camouflage small tip-line mistakes because the design itself is more graphic.
Invisible French
If you love the French manicure idea but want something softer, try a sheer base with barely-there neutral tips. It is the manicure equivalent of whispering instead of shouting.
French Manicure FAQ
Can I do a French manicure on short nails?
Absolutely. In fact, French manicures can look extra polished on short nails. Keep the tip thin and delicate so the nail still looks elongated.
Do I need guides?
No, but they make life easier. If you are new to DIY nails, tip guides or stickers can help you get cleaner lines with much less frustration.
Is regular polish or gel better?
Regular polish is easier to do and remove at home. Gel usually lasts longer, but repeated gel use and removal can be tougher on nails if not done carefully. For most beginners, regular polish is the lower-stress option.
What if my smile lines are uneven?
Join the club. Clean them up with a small brush dipped in remover, or slightly adjust the opposite nail to balance the look. Nail symmetry is often more about overall visual harmony than perfect mathematical precision.
How long should I wait between coats?
Enough time for the layer to set so the next one does not drag. Exact timing depends on the formula, but patience here pays off. Your future self will thank you when your nails are still glossy instead of fingerprint-textured.
Final Thoughts
Learning how to do a French manicure at home is one of those beauty skills that feels oddly powerful. It is affordable, timeless, and surprisingly customizable once you get comfortable with the basics. Start simple: prep well, use thin coats, paint a small clean tip, and seal everything with top coat. That alone gets you most of the way there.
And remember, the goal is not robotic perfection. The goal is pretty, polished nails that make you feel put together. If one line is a little softer than the others, congratulations: you have made art with your non-dominant hand, and that deserves respect.
My DIY French Manicure Experience: What Actually Helped
The first time I tried a French manicure at home, I was wildly overconfident. I had watched a couple of tutorials, lined up my tools like a tiny operating room, and genuinely believed I would emerge 30 minutes later with hands worthy of a magazine close-up. What I actually got was one decent thumb, three nails that looked vaguely elegant, and a pinky finger that appeared to have entered an argument with a bottle of white polish and lost badly.
Still, that first attempt taught me something useful: a French manicure is much less about talent and much more about setup. Once I stopped treating it like a speed challenge and started treating it like a process, everything got easier. The biggest difference came from nail prep. When I shaped my nails carefully, pushed back the cuticles gently, and removed every trace of oil before polish, the manicure looked neater almost immediately. It was not glamorous advice, but it worked.
The second breakthrough was embracing thin coats. I used to assume more polish meant better coverage and a smoother finish. In reality, thick layers turned my nails into slippery little chaos. Thin coats dried faster, looked cleaner, and gave me more control. That was especially true for the white tips. The first time I tried to paint bold, bright smile lines in one pass, the result was less “classic French manicure” and more “tiny correction fluid emergency.” Once I switched to sketching the tip lightly and building it up slowly, the shape looked much more refined.
I also learned that short nails are not a problem. In fact, they can make a French manicure look fresh and modern, especially with a micro tip. One of my favorite versions now is a very sheer pink base with a whisper-thin white line across the edge. It gives that clean, polished effect without shouting for attention. It also has the enormous advantage of being more forgiving when your hand decides to wobble at the exact wrong moment.
My right hand, painted with my left, remains an ongoing character-building exercise. Guides and stickers helped a lot in the beginning. I resisted them at first because I thought using guides somehow did not count as “really” doing my own nails. That was nonsense. Using a guide is still DIY; it is just DIY with better boundaries. Once I accepted that, my manicure improved overnight. Later, after enough practice, I started freehanding more often. But I still keep stickers around because some days you want elegance, and some days you want insurance.
Another thing I did not expect was how much the final look depends on cleanup. A tiny brush dipped in remover can transform a manicure from homemade to genuinely polished. I used to think cleanup was just for perfectionists. Now I think of it as the beauty equivalent of proofreading. Most people do not notice it directly, but they absolutely notice when it has not been done.
What keeps me coming back to French manicures is how versatile they are. They work when I want something bridal and soft, something clean for a workweek, or something trendy with a colored tip or a sharper shape. They feel intentional without being loud. And when the manicure turns out well, there is a small, deeply satisfying sense of victory every time I catch my hands wrapped around a coffee mug or tapping on a keyboard.
So if your first attempt is imperfect, welcome. That is part of the process. Mine certainly was. But with a little patience, a decent top coat, and the willingness to redo one nail instead of pretending it is “abstract,” a French manicure at home becomes surprisingly doable. Maybe even fun. And that is coming from someone who once had to remove and repaint the same ring finger three times while muttering inspirational speeches to it.












