
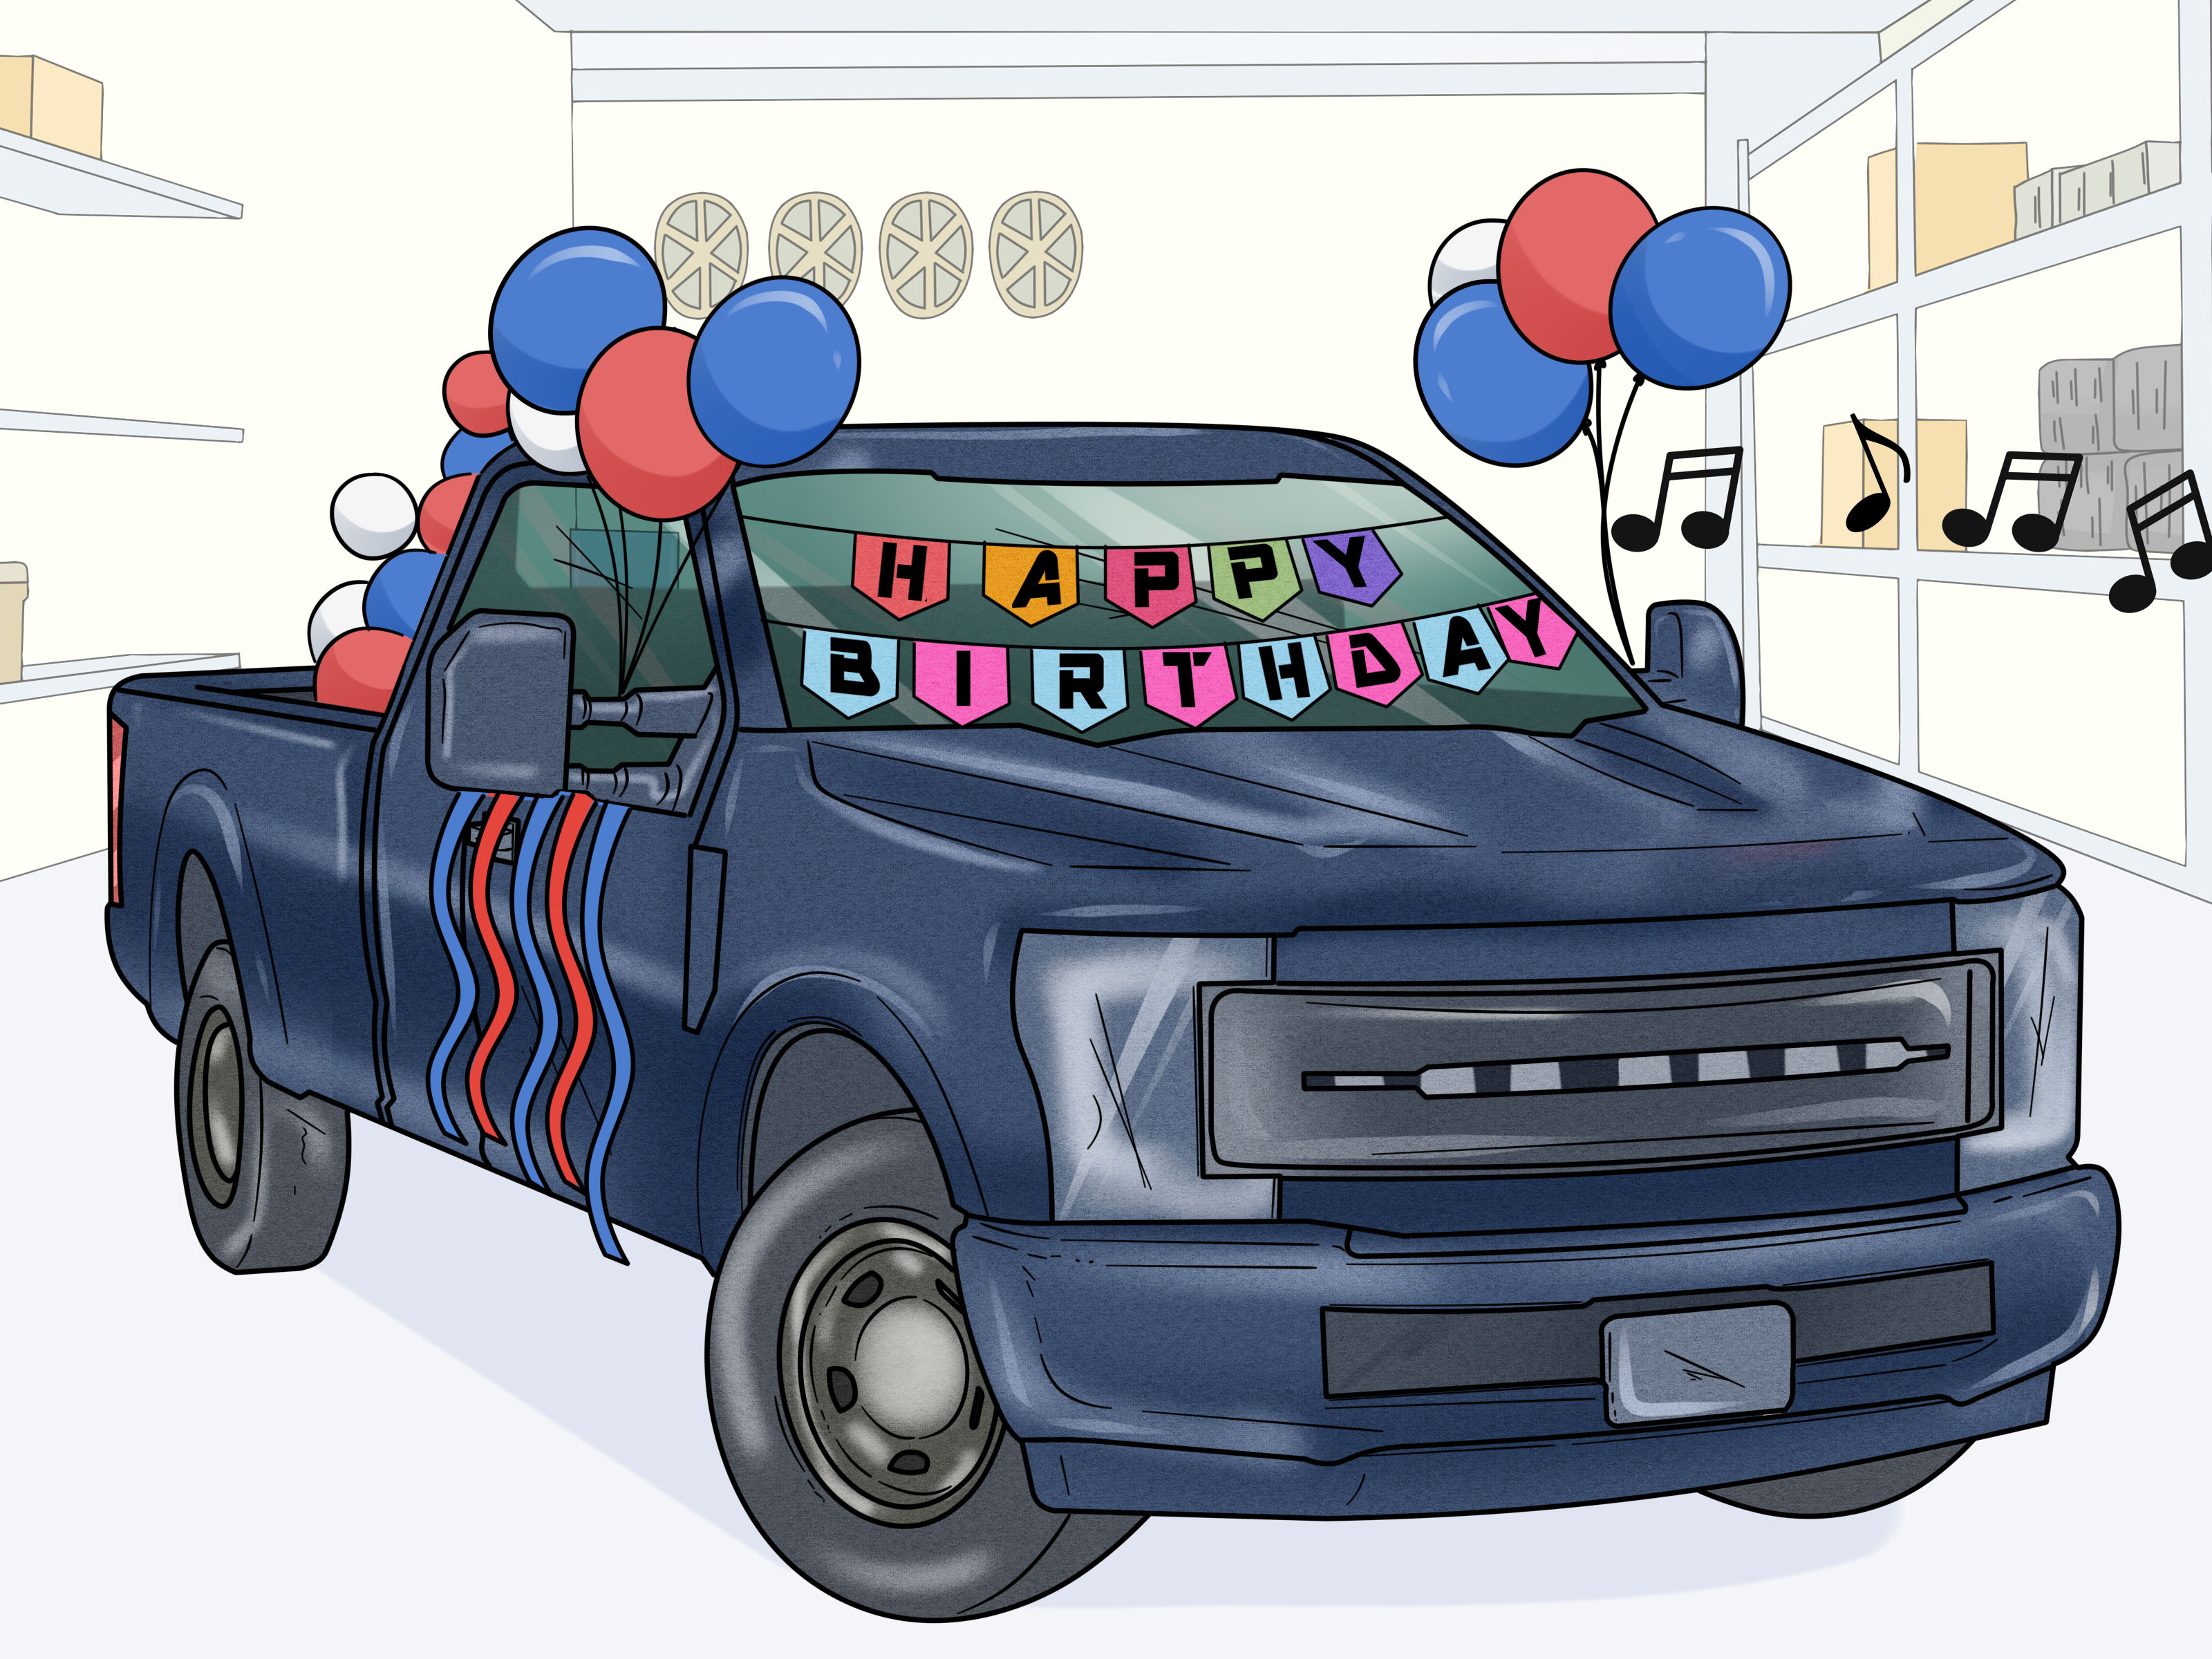
A parade is one of the few occasions when covering a perfectly respectable automobile in streamers, stars, cardboard, and oversized flowers is considered excellent judgment. Whether you are celebrating the Fourth of July, a championship, homecoming, graduation, Christmas, Pride, or a community festival, the right parade car decorations can turn an ordinary sedan into a rolling crowd-pleaser.
The challenge is making your vehicle colorful without damaging the finish, blocking the driver’s view, covering essential lights, or leaving half your decorations scattered down Main Street. This guide explains how to decorate a car for a parade in 14 practical steps, from choosing a theme to surviving the cleanup afterward.
Important note: Parade rules vary by city and event. Read the organizer’s instructions before decorating, and check applicable state vehicle laws if the car will travel on public roads before or after the parade. Municipal parade policies often regulate vehicle dimensions, visibility, rider safety, fire protection, and how giveaways may be distributed.
What You Need to Decorate a Parade Car
Your exact shopping list depends on the theme, weather, and size of the vehicle. Most DIY parade decorations can be made with the following supplies:
- Washable window markers or window crayons
- Poster board, corrugated plastic, or lightweight foam board
- Automotive masking tape or another removable, surface-appropriate tape
- Magnetic hooks, magnetic signs, suction cups, or zip ties
- Streamers, ribbon, fringe, garland, flags, and bows
- Scissors, measuring tape, hole punch, string, and markers
- Microfiber cloths, car-wash soap, and glass cleaner
- Extra fasteners for emergency repairs
Use products according to their labels and test anything adhesive or washable on a small, inconspicuous area first. Window products designed for glass are generally a better choice than improvised paint, and automotive masking tape is designed to conform to curved vehicle surfaces and remove more cleanly than many heavy-duty household adhesives.
How to Decorate a Car for a Parade in 14 Steps
1. Read the Parade Rules Before Buying Decorations
Begin with the parade application, participant packet, or organizer’s email. Look for limits on vehicle height and width, required arrival times, passenger rules, music restrictions, fire-extinguisher requirements, and policies concerning candy or promotional materials.
Do not assume that every community follows the same standards. One event may allow walkers to hand out candy, while another may prohibit distribution entirely. Many organizers do not allow objects to be thrown from vehicles because children may run into the driving lane to retrieve them.
2. Choose One Clear Theme
A parade car looks more impressive when the decorations tell one visual story. Select a theme that matches the occasion, organization, or message you represent. A patriotic car might use stars, stripes, and red, white, and blue fringe. A school entry could feature the mascot, team colors, pennants, and a giant graduation cap.
Other easy car parade ideas include a tropical beach, winter wonderland, outer space, superheroes, garden party, circus, retro diner, or storybook scene. Pick one strong idea rather than attaching every object discovered in the craft closet. Your vehicle should look festive, not as though a party-supply store sneezed on it.
3. Sketch the Design From Every Side
Draw a simple outline of the front, rear, roof, and both sides of the vehicle. Decide where the main sign, decorative borders, names, logos, and three-dimensional props will go. This prevents you from spending an hour creating a six-foot banner only to discover that the rear door is four feet wide.
Identify areas that must remain uncovered, including the windshield, mirrors, door handles, license plates, headlights, turn signals, brake lights, exhaust outlet, cameras, and sensors. A decorated car still needs to function as a car, which is occasionally inconvenient but generally considered important.
4. Set a Realistic Budget
Parade decorations do not have to be expensive. Establish a spending limit before shopping and reuse materials whenever possible. Bed sheets can become banners, pool noodles can become arches, cardboard boxes can become buildings, and leftover gift ribbon can add movement.
Spend money where reliability matters most: removable fasteners, outdoor-rated materials, sturdy sign boards, and weather-resistant lettering. Inexpensive tissue paper may look beautiful in the garage but can become colorful oatmeal during a sudden rain shower. Save delicate materials for protected areas or use them only when the forecast is confidently dry.
5. Wash and Dry the Vehicle
Clean the car before attaching anything. Dust, wax residue, road grime, and moisture can prevent tape, suction cups, and magnetic accessories from holding securely. Wash the exterior with car-safe soap, clean the windows, and dry all attachment areas with microfiber cloths.
Do not apply decorations over loose paint, rust, damaged clear coat, or a freshly repaired finish without consulting the body shop. Clean surfaces improve adhesion, but vulnerable paint may still be harmed by pressure, friction, or residue.
6. Create Large, Easy-to-Read Signs
Parade spectators see your vehicle for only a few seconds, often from across the street. Use short messages, large letters, and high-contrast colors. “Go Tigers!” will be understood immediately. A 47-word mission statement in decorative cursive will be admired mainly by the person who spent three hours lettering it.
Make signs from foam board, corrugated plastic, fabric, or sturdy poster board. Reinforce attachment holes with tape and round sharp corners. Place the group’s name or central message on both sides so spectators do not need to sprint around the vehicle to understand the theme.
7. Decorate the Windows Safely
Washable window markers and crayons are useful for names, stars, numbers, mascots, and short messages. Use them on glass surfaces for which the manufacturer recommends them, and test a small area before covering an entire window.
Keep the front windshield, front side windows, mirrors, and other areas needed for driving visibility clear. State laws may restrict signs and objects placed on vehicle windows, and decorations can also obstruct cameras used by driver-assistance systems. California’s driver handbook, for example, specifically warns against signs or objects that block the driver’s view and requires license plates to remain legible.
8. Attach Streamers, Fringe, Ribbon, and Garland
Add decorative borders along the sides, grille area, rear hatch, or roofline, provided they do not cover functional equipment. Metallic fringe reflects sunlight and creates movement, while wired garland can be shaped around gentle curves. Lightweight outdoor decorations are usually easier to secure than heavy props.
Secure both ends of every streamer. Long loose tails can wrap around wheels, drag near hot exhaust components, strike pedestrians, or disappear dramatically in the first breeze. Trim decorations so they stay comfortably above the road and away from moving parts.
9. Use Balloons With Restraint
Balloons provide instant volume and color, but they are less predictable than ribbon or signs. Heat makes them expand, cold makes them shrink, and wind turns them into enthusiastic little percussion instruments.
Use small clusters rather than a giant balloon wall. Tie each cluster to a secure point away from the windshield, mirrors, exhaust, wheels, and door openings. Inflate balloons shortly before the parade and bring extras. Biodegradable marketing claims do not make litter acceptable, so retrieve broken balloons and never release them intentionally.
10. Add Lightweight Three-Dimensional Props
Large props help a vehicle stand out. Consider cardboard stars, foam-board letters, artificial flowers, papier-mâché shapes, mascot cutouts, or lightweight arches. Build props around a simple framework and keep their center of gravity low.
Avoid heavy objects, glass, metal edges, or anything that could become dangerous during a sudden stop. Use multiple attachment points and shake each prop firmly after installation. If it wobbles in the driveway, it will attempt a solo career on the parade route.
11. Keep Lights, Plates, Mirrors, Doors, and Exhaust Clear
Before admiring the artistic masterpiece, perform a functional inspection. Confirm that the driver can see through the windshield and mirrors. Make sure all doors open, passengers can buckle their seat belts, and the horn, headlights, turn signals, brake lights, and hazard lights remain visible.
Do not cover the license plates, exhaust pipe, air intakes, radiator openings, cameras, or parking sensors. Parade safety guidance commonly requires vehicles to be in good operating condition, maintain adequate visibility, and display functioning brakes and lights. Some rules also prohibit decorations from covering the exhaust system.
12. Prepare the Driver and Passengers
Choose a licensed, insured driver who is comfortable moving slowly through crowds. The driver should focus only on driving, not waving with both hands, managing music, filming the parade, or repairing a cardboard eagle that has begun leaning toward freedom.
Assign a passenger or walking spotter to watch clearances and communicate with parade marshals. Everyone inside the car should use the available seats and restraints. Nobody should sit on the hood, roof, trunk, running board, or window frame unless the event specifically provides an approved arrangement and safety system.
13. Conduct a Low-Speed Test
Test the completed design in a private driveway or parking area before the event. Drive slowly, make gentle turns, brake, and listen for scraping, flapping, rattling, or suspicious silence followed by the disappearance of a decoration.
Check whether signs bend, balloons block mirrors, streamers approach the tires, or props interfere with turning. Inspect every attachment after the test. Also measure the vehicle’s final height and width if large roof decorations are installed, because some parade organizers set strict dimensional limits.
14. Pack a Parade-Day Repair and Cleanup Kit
Bring scissors, extra tape, zip ties, string, window markers, microfiber cloths, trash bags, water, sunscreen, and copies of the parade instructions. Include a small first-aid kit and any fire extinguisher required by the organizer. Some municipal parade rules require an accessible, currently serviced extinguisher and prohibit open flames or fireworks on vehicles.
Arrive early enough for inspection and last-minute repairs. After the parade, remove decorations before driving at normal road speeds. Collect loose material from the staging and unloading areas, then wash away marker residue and adhesive promptly according to the product instructions.
Practical Parade Car Decoration Ideas
Patriotic Parade Car
Use red, white, and blue fringe along the lower doors, removable stars on the rear side windows, and a large “Happy Fourth of July” sign on each side. Add small, securely mounted flags that do not block the driver’s view or touch the vehicle’s paint as they flap.
Homecoming or Sports Parade Car
Cover the rear side windows with washable team-color lettering. Add the mascot name, jersey numbers, pennants, and a roof-mounted foam-board football or megaphone. Use the hood only for low-profile decorations so the driver retains a clear view of the road.
Graduation Parade Car
Display the graduate’s first name, school colors, graduation year, and a large lightweight cap. Photos can be mounted inside the rear side windows, while a banner on each door makes the message visible from both sides of the route.
Holiday Parade Car
Create a wreath on the grille without restricting airflow, outline the side windows with removable garland, and attach oversized bows to secure exterior points. Battery-powered lights may be effective for an evening parade, but confirm that they are allowed and never imitate emergency-vehicle lighting.
Experiences and Lessons From Decorating Parade Cars
The most useful lesson from decorating parade vehicles is that the design rarely fails where you expect it to fail. The carefully constructed roof prop may survive perfectly, while one innocent-looking ribbon spends the entire route slapping the passenger door like it has a personal grievance.
Build the Important Pieces Early
Large signs and custom props should be completed several days before the event. Waiting until parade morning creates avoidable problems: paint remains wet, lettering becomes uneven, and somebody inevitably discovers that the word “celebration” contains more letters than the available poster board can comfortably accommodate.
Early construction also creates time for testing. Hold outdoor decorations in front of a fan, lightly mist weather-resistant pieces with water, and test sign readability from across a driveway. A design that looks enormous on a kitchen table may appear surprisingly small when attached to an SUV.
Simple Designs Usually Look Better From the Street
First-time decorators often try to fill every inch of the vehicle. In practice, a simple color palette, one large message, and two or three repeating decorative elements are easier to recognize. Spectators are viewing a moving object among bands, dancers, floats, and other distractions. Strong shapes beat tiny details.
A useful technique is the “five-second test.” Ask someone who has not seen the design to look at the car for five seconds, then turn away and explain the theme. If the person says, “I think it was about a pirate dentist,” additional editing may be required.
Wind Is the Unofficial Parade Judge
Outdoor decorations must handle airflow even when the parade itself moves slowly. Wind can enter gaps behind signs, lift cardboard corners, and twist balloon clusters. Secure broad panels at all four corners and add a center attachment when possible. Punch holes instead of wrapping string around fragile edges, and reinforce the holes so they do not tear.
Avoid creating large flat surfaces on the roof unless they are supported by a strong, low framework. The goal is visual height without building a sail. Remember that the vehicle may encounter higher speeds while traveling to the staging area, which is why large decorations should be installed near the route or removed before normal driving.
Assign Jobs Instead of Creating a Parking-Lot Committee
Parade morning becomes smoother when everyone has one responsibility. One person can inspect attachments, another can handle passenger supplies, and another can check in with the organizer. The driver should review the route, emergency signals, staging location, and unloading plan.
Without assigned roles, six people may spend ten minutes debating the angle of one bow while nobody notices that the passenger-side sign is still sitting in the trunk.
Prepare for Heat, Rain, and Waiting
Parades involve more waiting than spectators realize. Vehicles may remain in a staging line for an hour or longer. Bring drinking water, sunscreen, hats, and snacks that will not melt across the upholstery. Keep electronic equipment shaded, and do not leave children or pets in a parked vehicle.
For questionable weather, pack towels and clear plastic covers for signs. Avoid covering the driver compartment or operating equipment with plastic. If lightning, extreme heat, or severe weather creates unsafe conditions, follow the organizer’s instructions rather than trying to save the decorations. Cardboard can be rebuilt; people are more difficult to replace.
Make Cleanup Part of the Original Plan
The easiest decorations to install are not always the easiest to remove. Before attaching anything, ask how it will come off and where it will go afterward. Label reusable banners, save sturdy props, and carry trash bags for damaged material.
Remove tape slowly rather than yanking it away from the paint. Wash marker residue from glass and inspect the vehicle for string, wire, or fasteners left near the wheels and underbody. A successful parade car should finish the day colorful, memorable, and still recognizably shaped like the vehicle that started it.
Final Thoughts
Learning how to decorate a car for a parade is largely about balancing creativity with common sense. Start with a clear theme, use lightweight materials, make the message readable, and attach every decoration as though the wind is actively plotting against you.
Most importantly, protect visibility and keep all safety equipment functional. A parade vehicle does not need to be the largest or most expensive entry to attract attention. A coordinated design, a cheerful group, and one delightfully oversized prop can earn more smiles than an overloaded car held together by optimism and twelve rolls of questionable tape.











