
Building a Minecraft base without an elevator is a little like building a castle and forgetting the front door: technically possible, emotionally questionable. Whether your survival world has a sky tower, underground storage vault, mountain mansion, villager trading hall, or “totally normal” secret lair under your starter dirt hut, a good elevator saves time, looks impressive, and keeps you from repeatedly climbing ladders like it is leg day forever.
The good news is that you do not need to be a redstone wizard with a PhD in piston emotions. In this guide, you will learn how to build an elevator in Minecraft using three working designs: a bubble column elevator, a slime block piston elevator, and a scaffolding elevator. Each design fits a different play style. One is fast and survival-friendly, one feels like a dramatic launch pad, and one is so simple that even your inventory-management-disaster friend can build it.
This tutorial works best for vanilla Minecraft in modern Java and Bedrock versions, though redstone behavior can vary slightly between editions. Before decorating your elevator like a luxury hotel lobby, test the mechanism first. Nothing says “architectural regret” like covering a broken redstone machine in quartz, copper, and confidence.
Best Minecraft Elevator Designs at a Glance
| Elevator Design | Best For | Difficulty | Main Materials |
|---|---|---|---|
| Bubble Column Elevator | Survival bases, towers, mines, item transport | Easy | Water, soul sand, magma block, kelp, glass |
| Slime Block Piston Elevator | Redstone builds, launch platforms, dramatic entrances | Medium | Sticky piston, slime block, redstone, button |
| Scaffolding Elevator | Early-game survival, construction sites, temporary towers | Very Easy | Scaffolding, trapdoors, blocks, optional water |
Design 1: How to Build a Bubble Elevator in Minecraft
The bubble column elevator is the king of practical Minecraft elevators. It is fast, clean, easy to expand, and perfect for survival mode. The basic idea is simple: soul sand pushes players upward through water, while magma blocks pull players downward. In other words, Minecraft gave us an underwater escalator and expected us not to abuse it. Naturally, we built skyscrapers.
Materials Needed
- Building blocks or glass for the shaft
- Water buckets
- Soul sand for the upward elevator
- Magma block for the downward elevator
- Kelp
- Doors, signs, trapdoors, or fence gates for entrances
- Optional: sea lanterns, glowstone, copper, or tinted glass for decoration
Step-by-Step Instructions
First, choose where your elevator will go. A bubble elevator works best as a vertical tube. You can make it one block wide, but a two-tube setup is usually better: one side goes up, and the other side goes down. This prevents the awkward moment where you are trying to descend while your elevator insists on launching you into the ceiling like a wet firework.
Build a vertical shaft using glass, stone, deepslate, or any block that matches your base. Glass is popular because it lets you see the bubbles, which is both useful and oddly satisfying. Make the shaft as tall as needed, from your mine level to your storage room, from your base floor to your rooftop farm, or from your basement to your “definitely not suspicious” secret room.
Next, place a temporary block at the bottom of the shaft. Dirt works fine because dirt understands its role in life: useful, temporary, and frequently replaced. Pour water at the top of the shaft so it flows down to the bottom. At this stage, the water may be flowing rather than source blocks, and that is a problem. Bubble columns need water source blocks all the way up.
To fix this, place kelp from the bottom of the water column upward until it reaches the top. Kelp turns flowing water into source blocks as it grows or is stacked. Once the whole shaft is filled with source water, break the kelp. Now replace the temporary bottom block with soul sand. If everything is correct, bubbles will rise, and your elevator will push you upward.
For the downward elevator, repeat the same process in a second shaft, but place a magma block at the bottom instead of soul sand. Magma pulls entities downward. Be careful when standing on it, because magma can damage players unless you crouch or avoid direct contact. A small water exit or safe landing area at the bottom makes the design more comfortable.
Entry and Exit Tips
Use doors, signs, trapdoors, or fence gates to keep water inside the shaft while allowing you to walk in and out. In modern builds, trapdoors look clean and compact, while doors are beginner-friendly. For a polished base, frame the elevator entrance with stairs, slabs, lanterns, or polished blocks. A bubble elevator in plain cobblestone works, but a bubble elevator in glass and sea lanterns says, “Yes, I mine diamonds and have taste.”
Common Bubble Elevator Problems
If your bubble elevator is not working, the most likely issue is that the water blocks are not all source blocks. Use kelp again from bottom to top, then break it. If the bubbles still do not appear, check that soul sand or magma is placed at the bottom of the water column, not under a non-water block. Also make sure there are no flowing-water gaps, slabs, signs, or waterlogged blocks interrupting the column.
The bubble elevator is the best all-around Minecraft elevator design because it is reliable, survival-friendly, and easy to repair. It also works for moving mobs and items, which makes it useful for farms, trading halls, mob grinders, and storage systems. It is not just transportation; it is vertical logistics with bubbles. Fancy? Absolutely.
Design 2: How to Build a Slime Block Piston Elevator
If the bubble elevator is practical, the slime block piston elevator is theatrical. It does not politely carry you upward. It launches you. This design is ideal for redstone bases, futuristic towers, hidden entrances, mini-games, and players who believe stairs are a personal insult.
A basic slime block elevator uses a sticky piston facing upward with a slime block on top. When the piston extends, the slime block pushes the player upward. Depending on the design, you can chain pistons or build launch points at different levels. This is not always the best choice for a 100-block tower, but it is excellent for short vertical jumps, secret base entrances, and stylish movement between floors.
Materials Needed
- Sticky piston
- Slime block
- Redstone dust
- Button, pressure plate, or lever
- Building blocks
- Optional: observers, repeaters, honey blocks, glass, landing platform
Simple Slime Block Launcher Setup
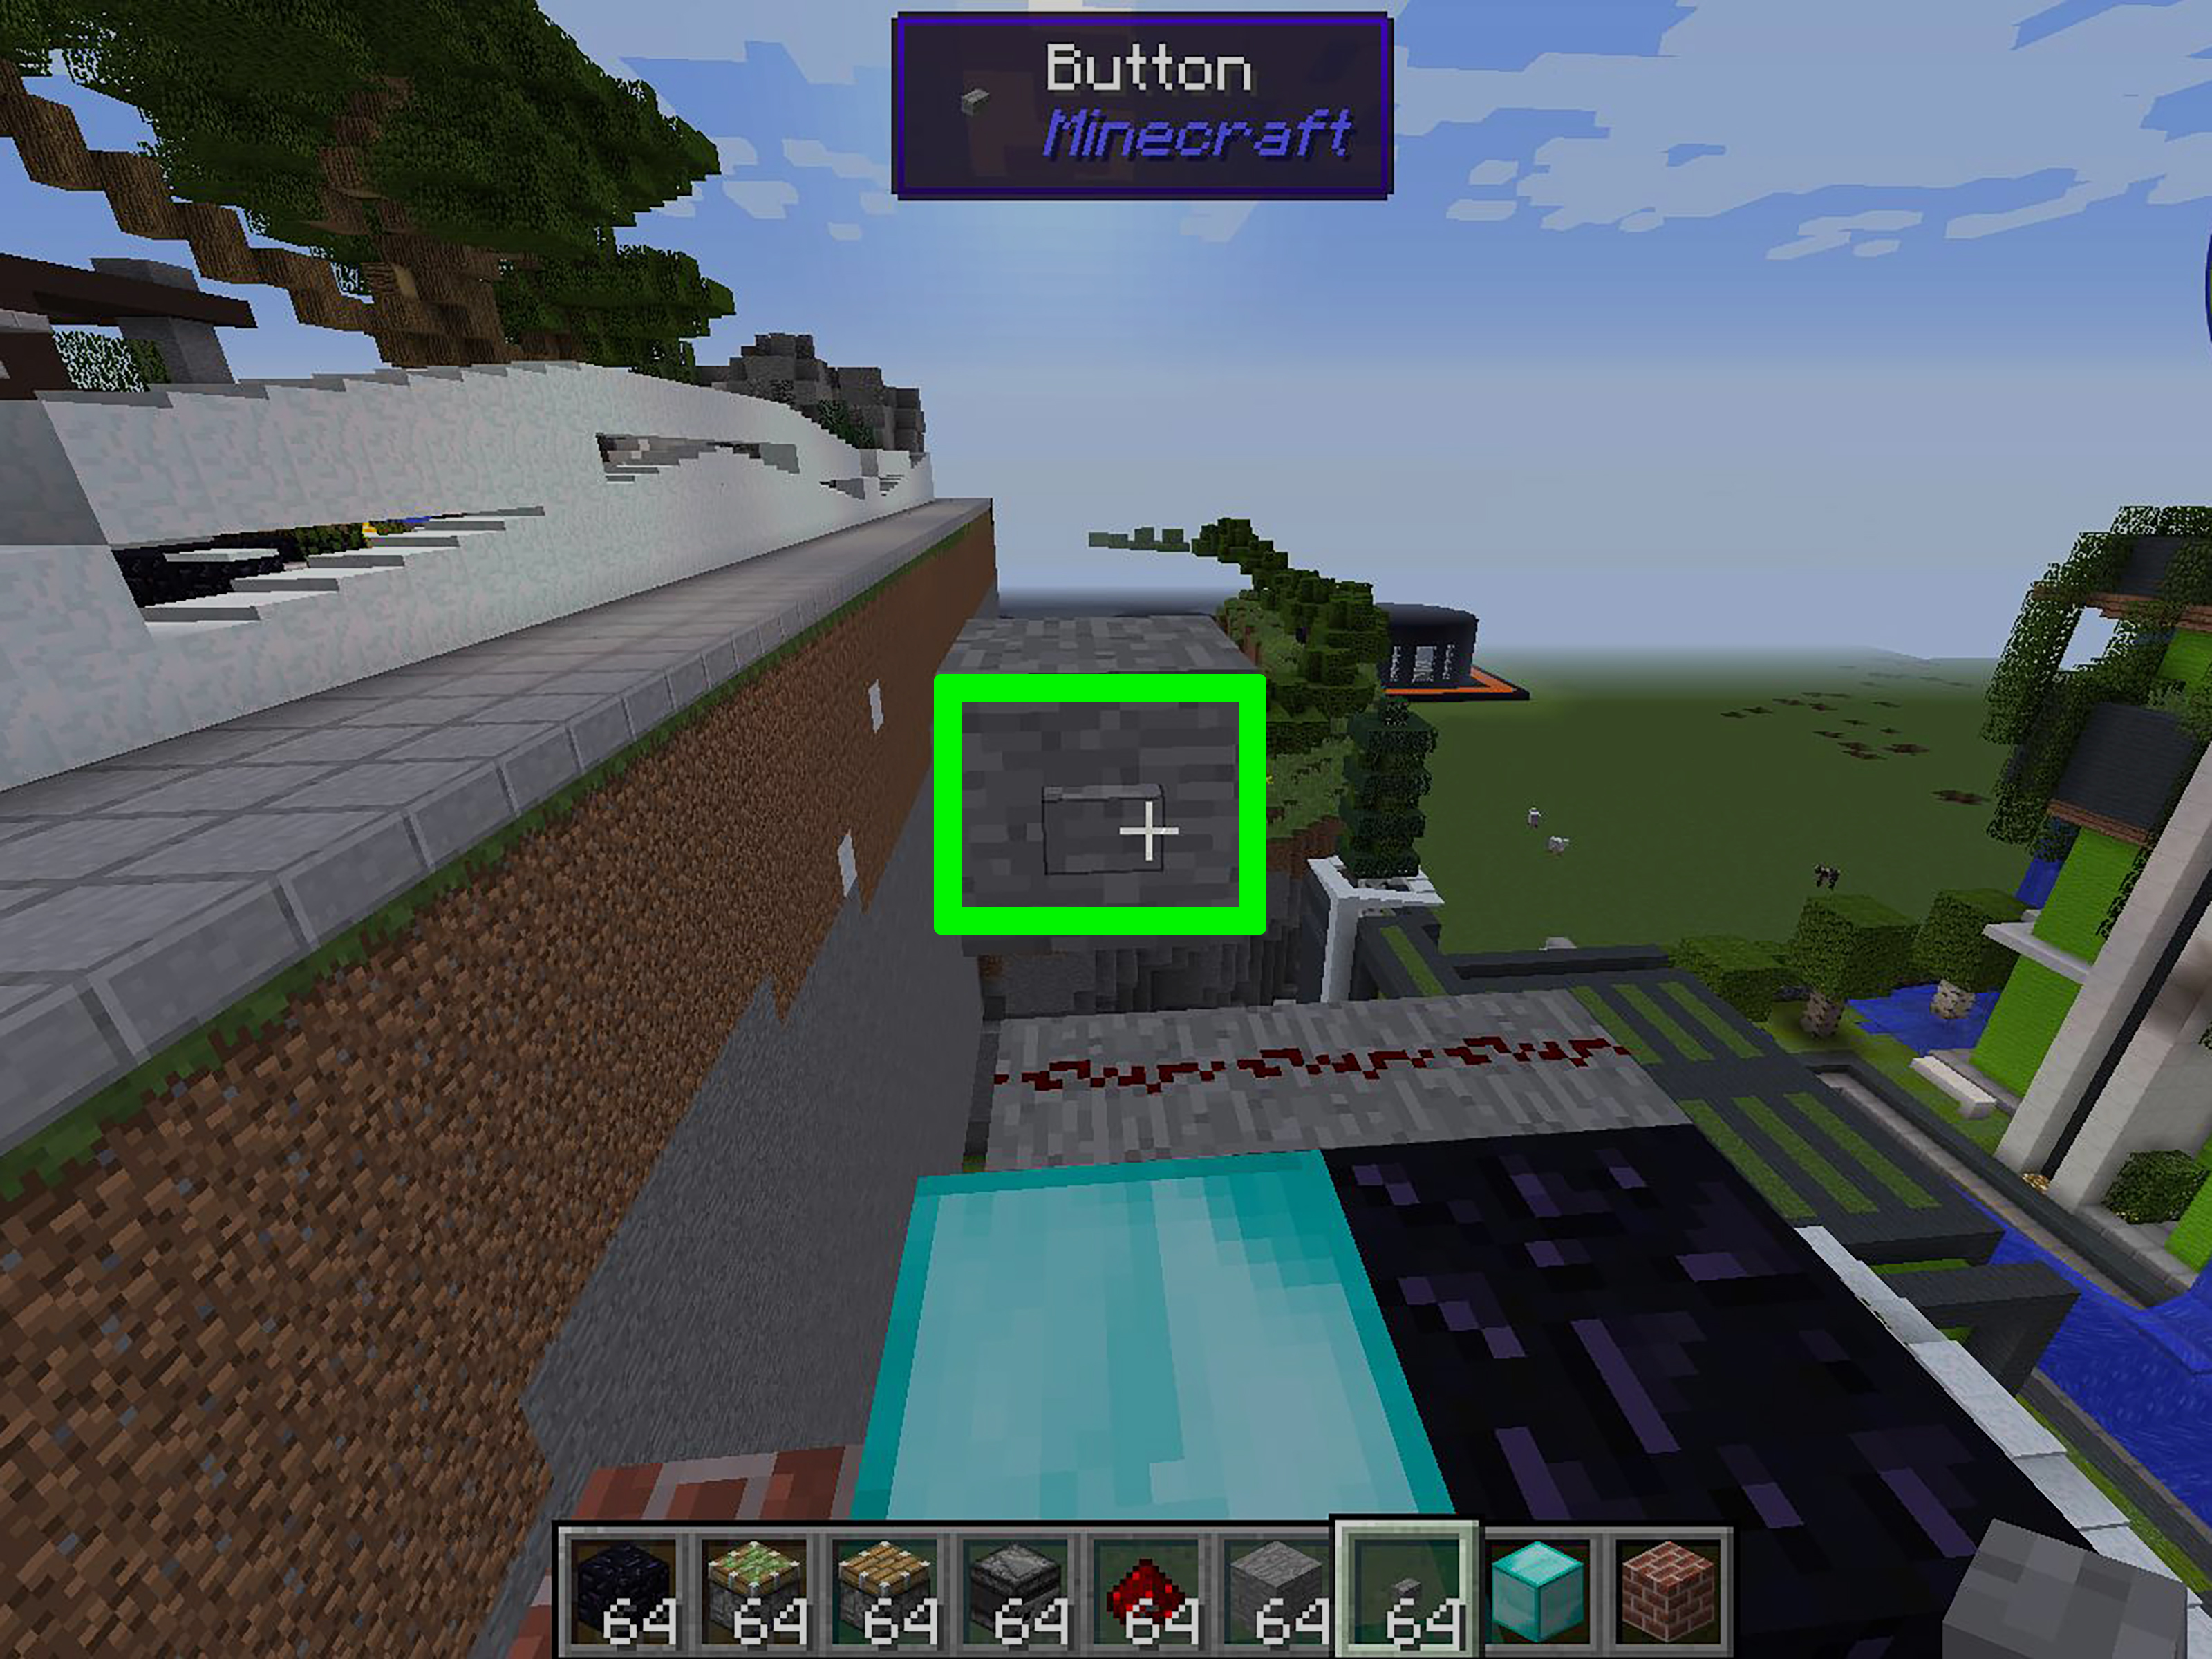
Dig or build a one-block space where the elevator launcher will sit. Place a sticky piston facing upward. Put a slime block directly on top of the piston. Add a button or pressure plate nearby and connect it to the piston with redstone dust. When activated, the piston pushes the slime block upward, and the slime block launches the player into the air.
For a safer design, build a landing platform above the launcher. Test the height before making anything permanent. If the launch sends you too high, adjust the floor height. If it does not send you high enough, you may need a more advanced multi-stage piston elevator or a different layout.
One important rule: slime blocks stick to many adjacent movable blocks. That is useful when building flying machines or piston doors, but it can be chaos in an elevator if your slime block grabs part of the floor. Surround the slime block with non-sticky-safe spacing, immovable blocks, or air gaps so it does not drag your lobby into the ceiling. Nobody wants an elevator that remodels the house without permission.
Making It Look Like a Real Elevator
To make the slime block elevator feel intentional, hide the piston under the floor and leave only the slime block visible. You can frame the launch pad with polished blackstone, smooth quartz, copper blocks, or iron blocks for a futuristic look. Add a button on the wall labeled by context, such as “Up,” “Launch,” or “Do Not Press Unless You Enjoy Surprises.”
You can also place a water landing, honey block cushion, slime pad, or safe platform above. If your elevator connects two floors, build the upper floor so players land cleanly without smacking into a wall. Minecraft physics is forgiving, but not always polite.
Redstone Notes for Java and Bedrock
Redstone timing and piston behavior may differ between Minecraft Java Edition and Bedrock Edition. A simple single-piston launcher usually works in both, but complex flying-machine-style elevators can behave differently. If you follow a Java redstone design in Bedrock, test it before building it in your survival base. Redstone has a personality, and sometimes that personality is “goblin with wires.”
Also remember that pistons have movement limits. They cannot push unlimited blocks. If you attach too many blocks to slime blocks, the piston may fail to extend. Keep the moving platform small and clean. For most players, a single slime block launcher is the easiest version to build and maintain.
Design 3: How to Build a Scaffolding Elevator
The scaffolding elevator is the simplest working elevator in Minecraft. It requires no water, no redstone, no soul sand, no magma, and no emotional negotiation with pistons. You stack scaffolding upward, climb by holding jump, and descend by sneaking. That is it. It is the elevator equivalent of “plug it in and hope.” Except this one actually works.
Materials Needed
- Scaffolding
- Building blocks for walls or frame
- Trapdoors or doors for floors
- Optional: water at the bottom for fall safety
- Optional: lanterns, signs, glass, or slabs for decoration
Step-by-Step Instructions
Place scaffolding on the ground where you want the elevator shaft. Continue stacking scaffolding upward until it reaches the desired height. You can place scaffolding from the bottom, and it will extend upward as long as you keep adding pieces. This makes it extremely useful during construction, especially when building towers, roofs, walls, and giant statues that seemed like a good idea at 2 a.m.
Once the scaffolding column reaches the top, build floors around it. Leave a one-block opening so players can enter and exit. You can surround the scaffolding with glass or decorative blocks to make it look like an elevator shaft. If you want a cleaner entrance, use trapdoors or doors at each level.
To go up, stand inside the scaffolding and hold jump. To go down, sneak. This makes scaffolding elevators excellent for early-game survival bases and temporary construction projects. They are especially useful before you visit the Nether and collect soul sand, or before you have enough slime for piston builds.
When to Use a Scaffolding Elevator
A scaffolding elevator is perfect for treehouses, watchtowers, starter bases, farms, and build sites. It is not as fast or flashy as a bubble elevator, but it is cheap and dependable. If you are building a massive wall, castle, or mountain base, scaffolding will probably become your best friend. Not your most glamorous friend, but the one who shows up with snacks and helps you move furniture.
You can also combine scaffolding with other elevator designs. For example, use scaffolding as a temporary elevator while constructing a bubble column shaft. Later, remove the scaffolding and replace it with glass, water, kelp, and soul sand. This is a smart survival workflow because it prevents you from falling repeatedly while building upward.
Which Minecraft Elevator Design Should You Choose?
Choose the bubble column elevator if you want the best long-term elevator for a survival base. It is fast, reliable, and easy to decorate. It also works beautifully in modern bases, underwater bases, mountain bases, and mega-builds.
Choose the slime block piston elevator if you want a cool redstone feature. It is not always the most practical option for very tall builds, but it is fun, compact, and great for secret entrances or short floor-to-floor jumps.
Choose the scaffolding elevator if you need something simple, cheap, and quick. It is ideal for early-game survival or temporary construction access. It may not impress your redstone friends, but it will quietly do its job while they are still trying to debug an observer clock.
Helpful Building Tips for Better Minecraft Elevators
Build the Mechanism First, Decorate Later
Always test the elevator before you decorate it. This is especially important for redstone builds. A bubble elevator is easy to fix after decoration, but a piston elevator hidden behind walls can become a nightmare if one repeater faces the wrong direction. Build, test, ride, test again, then decorate.
Use Signs or Color Coding
If you build separate up and down elevators, label them clearly. Use green blocks, emerald blocks, or lime concrete for “up,” and red blocks, magma-themed blocks, or dark blocks for “down.” Your future self will appreciate this when sprinting through your base while carrying thirty-seven shulker boxes and one suspiciously important potato.
Plan Floor Exits Carefully
A good elevator is not just a vertical shaft. It also needs smooth entrances and exits. Make sure players do not get stuck in water corners, land on magma blocks, or launch into ceilings. For bubble elevators, place exits one block away from the water stream so players can step out naturally. For slime launchers, leave enough headroom.
Light the Shaft
Use torches, lanterns, glowstone, sea lanterns, froglights, or redstone lamps to light your elevator. Dark elevator shafts are not just ugly; they can also become accidental mob apartments. Creepers do not pay rent, and they are terrible neighbors.
Personal Experience: What Actually Works Best in Real Minecraft Builds
After building all three elevator types in survival worlds, creative test worlds, and bases that started organized but slowly turned into storage crimes, the bubble elevator remains the most useful overall. It is the design I would recommend for most players because it balances speed, cost, reliability, and style. Once you understand the kelp trick, it becomes almost effortless. Build the shaft, pour water, grow kelp, break kelp, place soul sand, and suddenly your base has vertical transportation that feels smoother than most public elevators in real life.
The biggest lesson with bubble elevators is to build two shafts whenever possible. A single shaft can work if you only need upward travel and do not mind dropping down with water or elytra, but two shafts make the base feel complete. One soul sand tube goes up, one magma tube goes down. I like placing them side by side behind glass, with sea lanterns or glowstone hidden in the corners. It gives the base a clean, futuristic look without requiring complicated redstone.
The slime block piston elevator is more fun than practical, but that is not an insult. Minecraft is not only about efficiency. Sometimes you want to press a button and get launched through a secret hatch like a blocky superhero with questionable safety standards. This design works especially well for hidden entrances. For example, you can place a slime launcher under a carpeted room, connect it to a hidden button, and use it to jump into a second-floor chamber or escape tunnel. The key is testing the launch height several times before building the final room. One block too low and you bump your head; one block too high and you miss the landing like a confused salmon.
The scaffolding elevator is the one I use most while building, even if it is not always the one I keep forever. It is unbeatable during construction. When working on a tall tower, castle wall, mob farm, or roof, scaffolding lets you move up and down without wasting rockets, ladders, or dirt pillars. It also helps you avoid the classic Minecraft building method known as “pillar up, fall down, repeat until humbled.” Once the build is finished, you can either leave the scaffolding as a service elevator or replace it with a more polished bubble column.
For beginners, my honest recommendation is this: start with scaffolding, upgrade to a bubble elevator, and experiment with slime pistons once you feel comfortable with redstone. That path teaches you useful building habits without overwhelming you. Scaffolding helps during construction, the bubble elevator becomes your daily transportation, and the slime block launcher adds personality. Together, they cover almost every elevator need in Minecraft.
One final practical tip: never build your elevator too far from your main storage room. Minecraft bases grow over time, and the places you visit most often should be close together. Put your elevator near storage, farms, enchanting rooms, villager halls, mines, or Nether portals. A beautiful elevator hidden at the far end of your base may look impressive, but after your fiftieth trip, it will feel less like luxury transportation and more like a punishment hallway.
Note: This guide is written for modern vanilla Minecraft mechanics. Because Java and Bedrock redstone can behave differently, always test piston-based elevators in your own world before building the final decorated version.












