
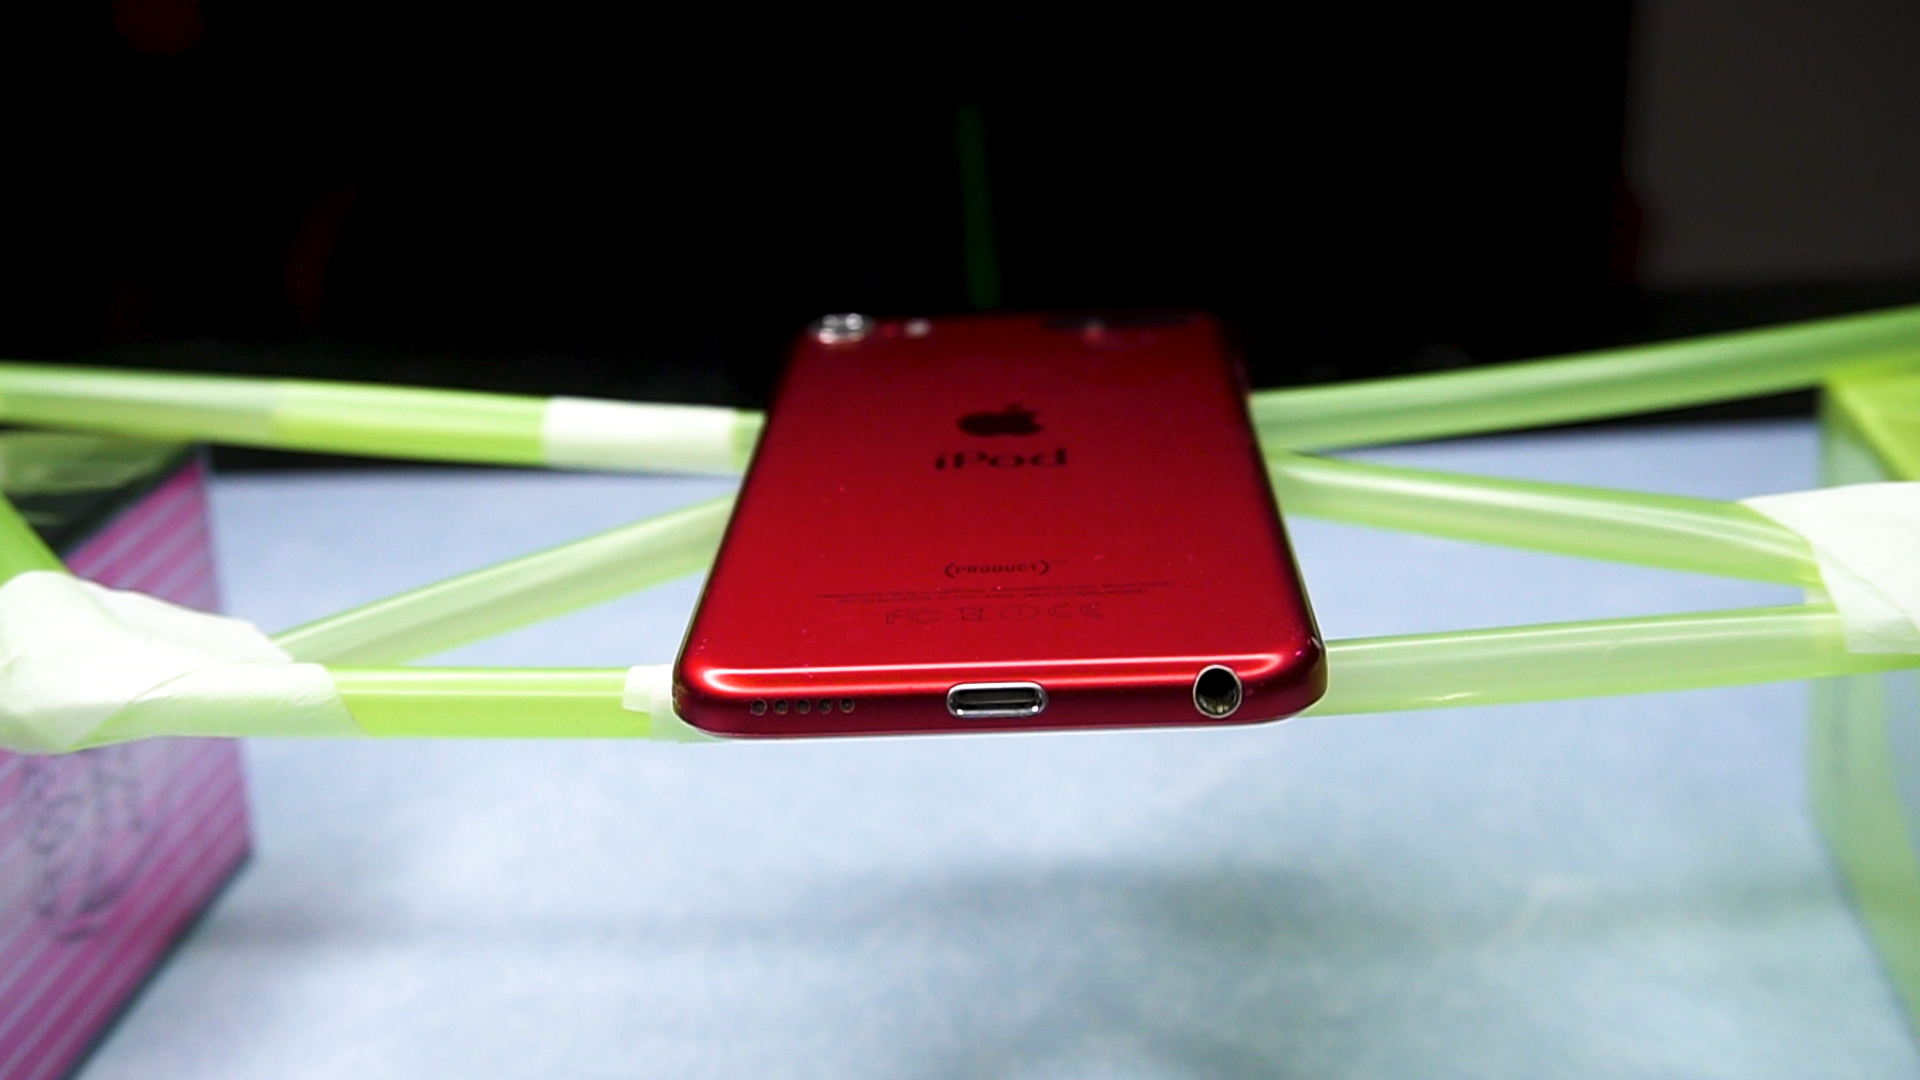
Building a straw bridge sounds like the kind of thing you do five minutes before class starts, armed with panic, tape, and a deep belief in miracles. But done right, it is actually a smart little engineering project. A good straw bridge teaches you how real bridges work: how they carry loads, why triangles matter, and why one tiny weak joint can turn your masterpiece into a dramatic slow-motion flop. The best part is that you do not need a giant workshop or a civil engineering degree. You just need a plan, a few materials, and the willingness to test, tweak, and rebuild.
If you want to learn how to build a straw bridge that is lightweight, stable, and strong enough to hold real weight, this guide walks you through the process step by step. We will cover the materials, the science, the best shapes, common mistakes, and practical testing tips. By the end, you will not just have a bridge. You will have a tiny structural lesson sitting between two books, looking oddly proud of itself.
Why a Straw Bridge Is More Than a Craft Project
A straw bridge is a classic STEM challenge because it combines creativity with real engineering ideas. You are not simply gluing random tubes together and hoping for the best. You are designing a structure that must span a gap, carry a load, and stay standing under pressure. That means your bridge has to handle compression, tension, and bending while using limited materials efficiently.
In plain English, the goal is simple: make something light act tough. That is why straw bridges are so useful in classrooms, science fairs, and home projects. They turn abstract ideas like load distribution and truss geometry into something you can actually build, test, and improve without needing a hard hat or a construction loan.
What You Need to Build a Straw Bridge
You can keep the materials list simple. For most straw bridge projects, these basics work well:
- 20 to 50 straight drinking straws, preferably non-bendy
- Clear tape or masking tape
- Scissors
- Ruler or measuring tape
- Two books, boxes, or desks to act as supports
- Coins, washers, small books, or other weights for testing
- Paper and pencil for sketching your design
Non-bendy straws are usually easier to work with because they stay straighter and transfer force more predictably. Flexible straws can still work in a pinch, but their bendy neck is basically a built-in weak spot. That is not ideal when your bridge is trying to look brave in front of a pile of pennies.
The Science Behind a Strong Straw Bridge
Tension and Compression
Every bridge deals with two big structural forces: tension and compression. Compression pushes parts together. Tension pulls parts apart. When a bridge holds weight, some pieces get squeezed while others get stretched. If your design does not manage both forces well, the bridge will sag, twist, or collapse.
Straws can handle a surprising amount of force when used the right way. A straw placed in a smart position inside a truss can help resist compression or tension. A straw placed badly can buckle like it has suddenly forgotten its job.
Why Triangles Win
If you remember one thing from this article, make it this: triangles are your best friends. Squares and rectangles can deform easily unless they are reinforced. Triangles hold their shape much better, which makes them perfect for bridge design. That is why many strong straw bridges use triangular trusses along the sides.
When weight is added to the bridge, the triangular pattern helps spread that force through the structure instead of dumping all the stress in one weak middle section. Think of triangles as the overachievers of geometry. They do not wobble, they do not whine, and they show up ready to work.
Beam vs. Truss Design
A flat straw bridge made from a few straws laid side by side is basically a beam. It may span a short distance, but it will sag quickly under load. A truss bridge adds side structures made of connected triangles. That design is much stronger because it distributes forces more efficiently and resists bending better.
For a beginner project, a truss bridge is usually the smartest choice. It gives you strength without requiring fancy materials, and it is easier to improve through trial and error.
How to Build a Straw Bridge Step by Step
Step 1: Decide the Span
Set the distance your bridge must cross. Many classroom challenges use a gap of about 10 inches, but your project may vary. Put two books or boxes that far apart. This is your testing space, and everything about your design should be built around that span.
Before you touch the straws, decide on the project rules. How many straws can you use? What kind of tape is allowed? Where will the weight be placed? Engineers call these constraints. Students usually call them “the reason my first idea no longer works.”
Step 2: Sketch a Simple Truss Bridge
Draw your bridge before building it. A quick full-size or near-full-size sketch helps you keep the parts consistent and prevents the classic problem of one side looking organized while the other side looks like it was assembled during an earthquake.
A strong beginner design includes:
- A flat bottom deck
- Two side trusses
- A top horizontal chord on each side
- Diagonal braces that create triangles
- Cross braces connecting the two sides
You can use a simple Warren-style pattern with repeating triangles or a Howe-style pattern with vertical and diagonal members. Both can work well in a straw bridge challenge.
Step 3: Build the Two Side Trusses First
Start by making two matching side panels. Each panel should include a bottom chord, a top chord, and a repeating triangular pattern between them. Tape joints carefully, but do not wrap the tape like you are mummifying the bridge. Too much tape adds weight and can make connections sloppy.
The goal is clean, snug joints. If one straw is too short, replace it instead of stretching the connection. Tiny alignment mistakes add up fast, and a crooked truss can transfer force unevenly.
Step 4: Add the Deck
Once your two trusses are done, stand them upright and connect them with horizontal straws across the bottom to form the deck. Make sure the width stays consistent from one end to the other. A deck that narrows or twists can throw off the whole structure.
For extra support, use a few parallel straws on the deck and tape them neatly together. This helps spread the load instead of concentrating it on one skinny line.
Step 5: Connect the Top and Add Cross Bracing
Now connect the tops of the two side trusses using horizontal straws. Then add diagonal cross braces between the sides if your rules allow it. These braces help keep the bridge from racking sideways, which is a fancy engineering way of saying “leaning weirdly and collapsing when nobody is emotionally prepared.”
This stage matters more than people think. Many straw bridges fail not because the side trusses are weak, but because the overall structure twists under load. Cross bracing gives the bridge three-dimensional stability.
Step 6: Check Symmetry and Joint Quality
Set the bridge on a flat surface and inspect it from the front, side, and top. Are both sides the same height? Is the deck level? Are any straws bent, crushed, or barely attached? Fix those problems before testing.
A strong bridge is not just about shape. It is also about consistent construction. One loose joint can become the point where the entire structure starts to fail.
Step 7: Test It Gradually
Place the bridge across the supports and add weight slowly. Start with light objects, then increase the load one step at a time. Put the weight in the center first, since that is often the most demanding position. Record how much the bridge holds and where it starts to bend.
Do not treat the first test like a final exam. Treat it like research. If the bridge holds a little weight, great. If it folds like a sad taco, that is still useful data.
Best Straw Bridge Design Tips
- Use triangles everywhere you reasonably can. They create stiffness without requiring lots of extra material.
- Keep the structure light. A bridge that weighs too much wastes material on itself instead of saving strength for the load.
- Make both sides identical. Symmetry helps the bridge share force evenly.
- Reinforce joints, not everything. Strategic taping beats giant tape blobs every time.
- Increase height carefully. Taller trusses can improve strength, but only if they are braced well.
- Spread the load. A wider deck or support plate can keep one point from taking all the stress.
Common Mistakes That Make Straw Bridges Fail
One of the biggest mistakes is building a flat bridge with no real truss support. It may look neat for about six seconds, then gravity will introduce itself. Another common issue is using squares without diagonal bracing. Squares love turning into parallelograms the moment the load gets serious.
Over-taping is another sneaky problem. Tape feels like strength, but it is also weight. If you use too much, you may make the bridge heavier without making it smarter. Weak joints, uneven sides, and rushed testing are also frequent culprits.
And then there is the classic error: changing five things at once after a failed test. If you redesign everything, you will not know what actually improved the bridge. Tweak one or two variables at a time so your results mean something.
How to Improve Your Straw Bridge After Testing
The strongest builders are usually not the ones with the best first design. They are the ones who pay attention. If your bridge sags in the middle, the deck or lower structure may need reinforcement. If the sides bow outward, add better cross bracing. If one joint tears, rebuild that connection more cleanly.
Keep notes for each version. Write down the span, number of straws, bridge height, truss pattern, and maximum load held. That turns your bridge from a one-off craft into an actual engineering experiment. It also gives you something impressive to talk about if this is for a class, contest, or science fair.
Example of a Strong Beginner Straw Bridge
A reliable beginner model is a two-sided truss bridge with a 10-inch span, a deck width of about 2 to 3 inches, and repeated triangles on both sides. The bridge should have a bottom deck made from parallel straws, two matching side trusses, a top chord along each side, and several cross braces connecting left to right.
This kind of design balances simplicity and strength. It is easy to measure, easy to repeat, and easy to improve. Once that version works, you can experiment with taller trusses, different diagonal patterns, or layered deck supports.
Real-World Experiences and Lessons From Building Straw Bridges
Anyone who has built a straw bridge with classmates, kids, or even overly competitive adults knows the experience follows a familiar pattern. First comes confidence. Someone says, “This is easy.” Then the first bridge goes up, a few coins are added, and the whole thing caves in with the emotional energy of a tiny engineering tragedy. That is when the real learning begins.
One of the most useful experiences people have with straw bridge projects is discovering that neatness matters. At the start, many builders focus only on the big idea: add more straws, use more tape, make it look complicated. But the bridges that perform best are often the cleanest, not the messiest. Careful measurements, matching side trusses, and tidy joints consistently beat chaotic “more is more” designs. It is a great lesson because it mirrors real engineering. A smart plan usually outperforms brute force.
Another common experience is underestimating the power of triangles. Beginners often build square frames because they are simple to picture. Then they test the bridge and watch it twist sideways under even a small load. After adding diagonal braces, the difference can feel almost magical. The bridge suddenly behaves like a structure instead of a noodle sculpture. That moment sticks with people because it turns geometry from a textbook concept into something visible and practical.
Builders also learn quickly that the middle of the bridge is where the drama happens. During testing, the center often begins to sag first, especially if the deck is flat and poorly supported. After seeing that happen, many people redesign by strengthening the side trusses, raising the height of the bridge, or improving how the deck connects to the frame. Those changes usually lead to a much stronger second version. In other words, failure stops being embarrassing and starts being useful.
Group projects add their own flavor. In team settings, one person usually becomes the “measurement enforcer,” one becomes the “tape minimalist,” and one becomes the “creative genius” whose ideas are either brilliant or structurally illegal. Surprisingly, that teamwork can be one of the best parts of the challenge. People debate designs, test ideas, defend their choices, and learn to explain why one bridge works better than another. That communication piece is a real engineering skill, too.
There is also a satisfying moment at the end of a successful build when the bridge holds more weight than expected. Even if it is only a stack of coins or a few small books, it feels impressive because you know exactly how flimsy each individual straw seemed at the beginning. A bundle of weak parts, arranged intelligently, becomes strong. That is the whole lesson in a nutshell.
So yes, building a straw bridge is fun. It is also sneaky. It teaches patience, design thinking, careful observation, and the value of testing your ideas instead of just believing in them really hard. Not a bad return for a pile of straws and a roll of tape.
Conclusion
If you want to know how to build a straw bridge that actually works, the secret is not fancy materials. It is smart design. Use triangles, build matching side trusses, keep joints neat, brace the structure in three dimensions, and test your bridge like an engineer instead of guessing like a game show contestant. A strong straw bridge is proof that even ordinary materials can do impressive things when structure and strategy work together.
Whether you are building for a classroom challenge, a science fair, or just for the fun of seeing how many coins your tiny bridge can survive, the process is the real win. Sketch, build, test, redesign, and repeat. That is how bridges get stronger, and honestly, it is how builders do too.











