
You open your GE dishwasher expecting shiny plates and emotional closure, but instead you find a shallow swamp lurking at the bottom. Not ideal. The good news is that a GE dishwasher not draining is often caused by a very fixable problem: a clogged filter, a kinked drain hose, a blocked air gap, a backed-up garbage disposal, or a cycle that never finished properly. In other words, your dishwasher may not be broken. It may just be having a dramatic moment.
This guide walks through the most common reasons a GE dishwasher won’t drain, the easy DIY fixes worth trying first, and the signs that mean it’s time to stop playing appliance detective and call a professional. Whether you’re staring at standing water, hearing a weird hum, or wondering why your dishes now smell like a wet science project, you’ll find a practical answer here.
What Counts as “Not Draining” on a GE Dishwasher?
Before you assume total disaster, know this: a small amount of clean water in the sump area can be normal on many GE dishwashers. That little bit of water helps keep seals from drying out. But if water is covering the bottom of the tub, pooling after every cycle, smelling foul, or slowly creeping back in over time, that is not normal. That is your dishwasher waving a soggy little flag for help.
A true GE dishwasher drain problem usually looks like one or more of these:
- Standing water in the bottom after the cycle ends
- Dishes coming out dirty because old water never fully left
- Gurgling sounds near the sink or disposal
- Bad smells from trapped food and stagnant water
- Water backing up after you run the sink
Why Your GE Dishwasher Is Not Draining
1. The cycle was interrupted
Sometimes the simplest answer wins. If the dishwasher was stopped mid-cycle, lost power briefly, or got stuck before the drain portion of the program, the water may still be sitting there because the machine never got to finish the job. This is especially common if someone tapped buttons like they were trying to launch a spaceship instead of start a wash cycle.
2. The filter or sump area is clogged
Food scraps, labels, broken glass, pasta, seeds, and mystery gunk can collect around the filter or sump area. On many newer GE models, the ultra-fine and fine filters do a solid job of trapping debris, but only if they are cleaned regularly. If they get packed with sludge, water can’t move through the drain system the way it should.
3. The garbage disposal is blocked
If your dishwasher drains through the garbage disposal, that shared drain path can cause trouble. A clogged disposal can stop water from leaving the dishwasher. And if a new garbage disposal was installed recently, one classic mistake causes instant drainage failure: the installer forgot to remove the knockout plug where the dishwasher hose connects.
4. The air gap is clogged
If your sink has a little chrome cylinder near the faucet, that is the air gap. Its job is to prevent dirty sink water from backing up into the dishwasher. Helpful? Yes. Capable of collecting gross debris? Also yes. If it’s clogged, the dishwasher may not drain properly.
5. The drain hose is kinked, clogged, or installed wrong
The dishwasher drain hose can get bent under the sink, pinched behind the machine, or packed with greasy buildup. Installation matters too. If the hose does not have a proper high drain loop or air gap, dirty water can flow backward into the dishwasher. On GE installations without an air gap, the hose should be looped high under the countertop.
6. The drain pump or drain valve has a problem
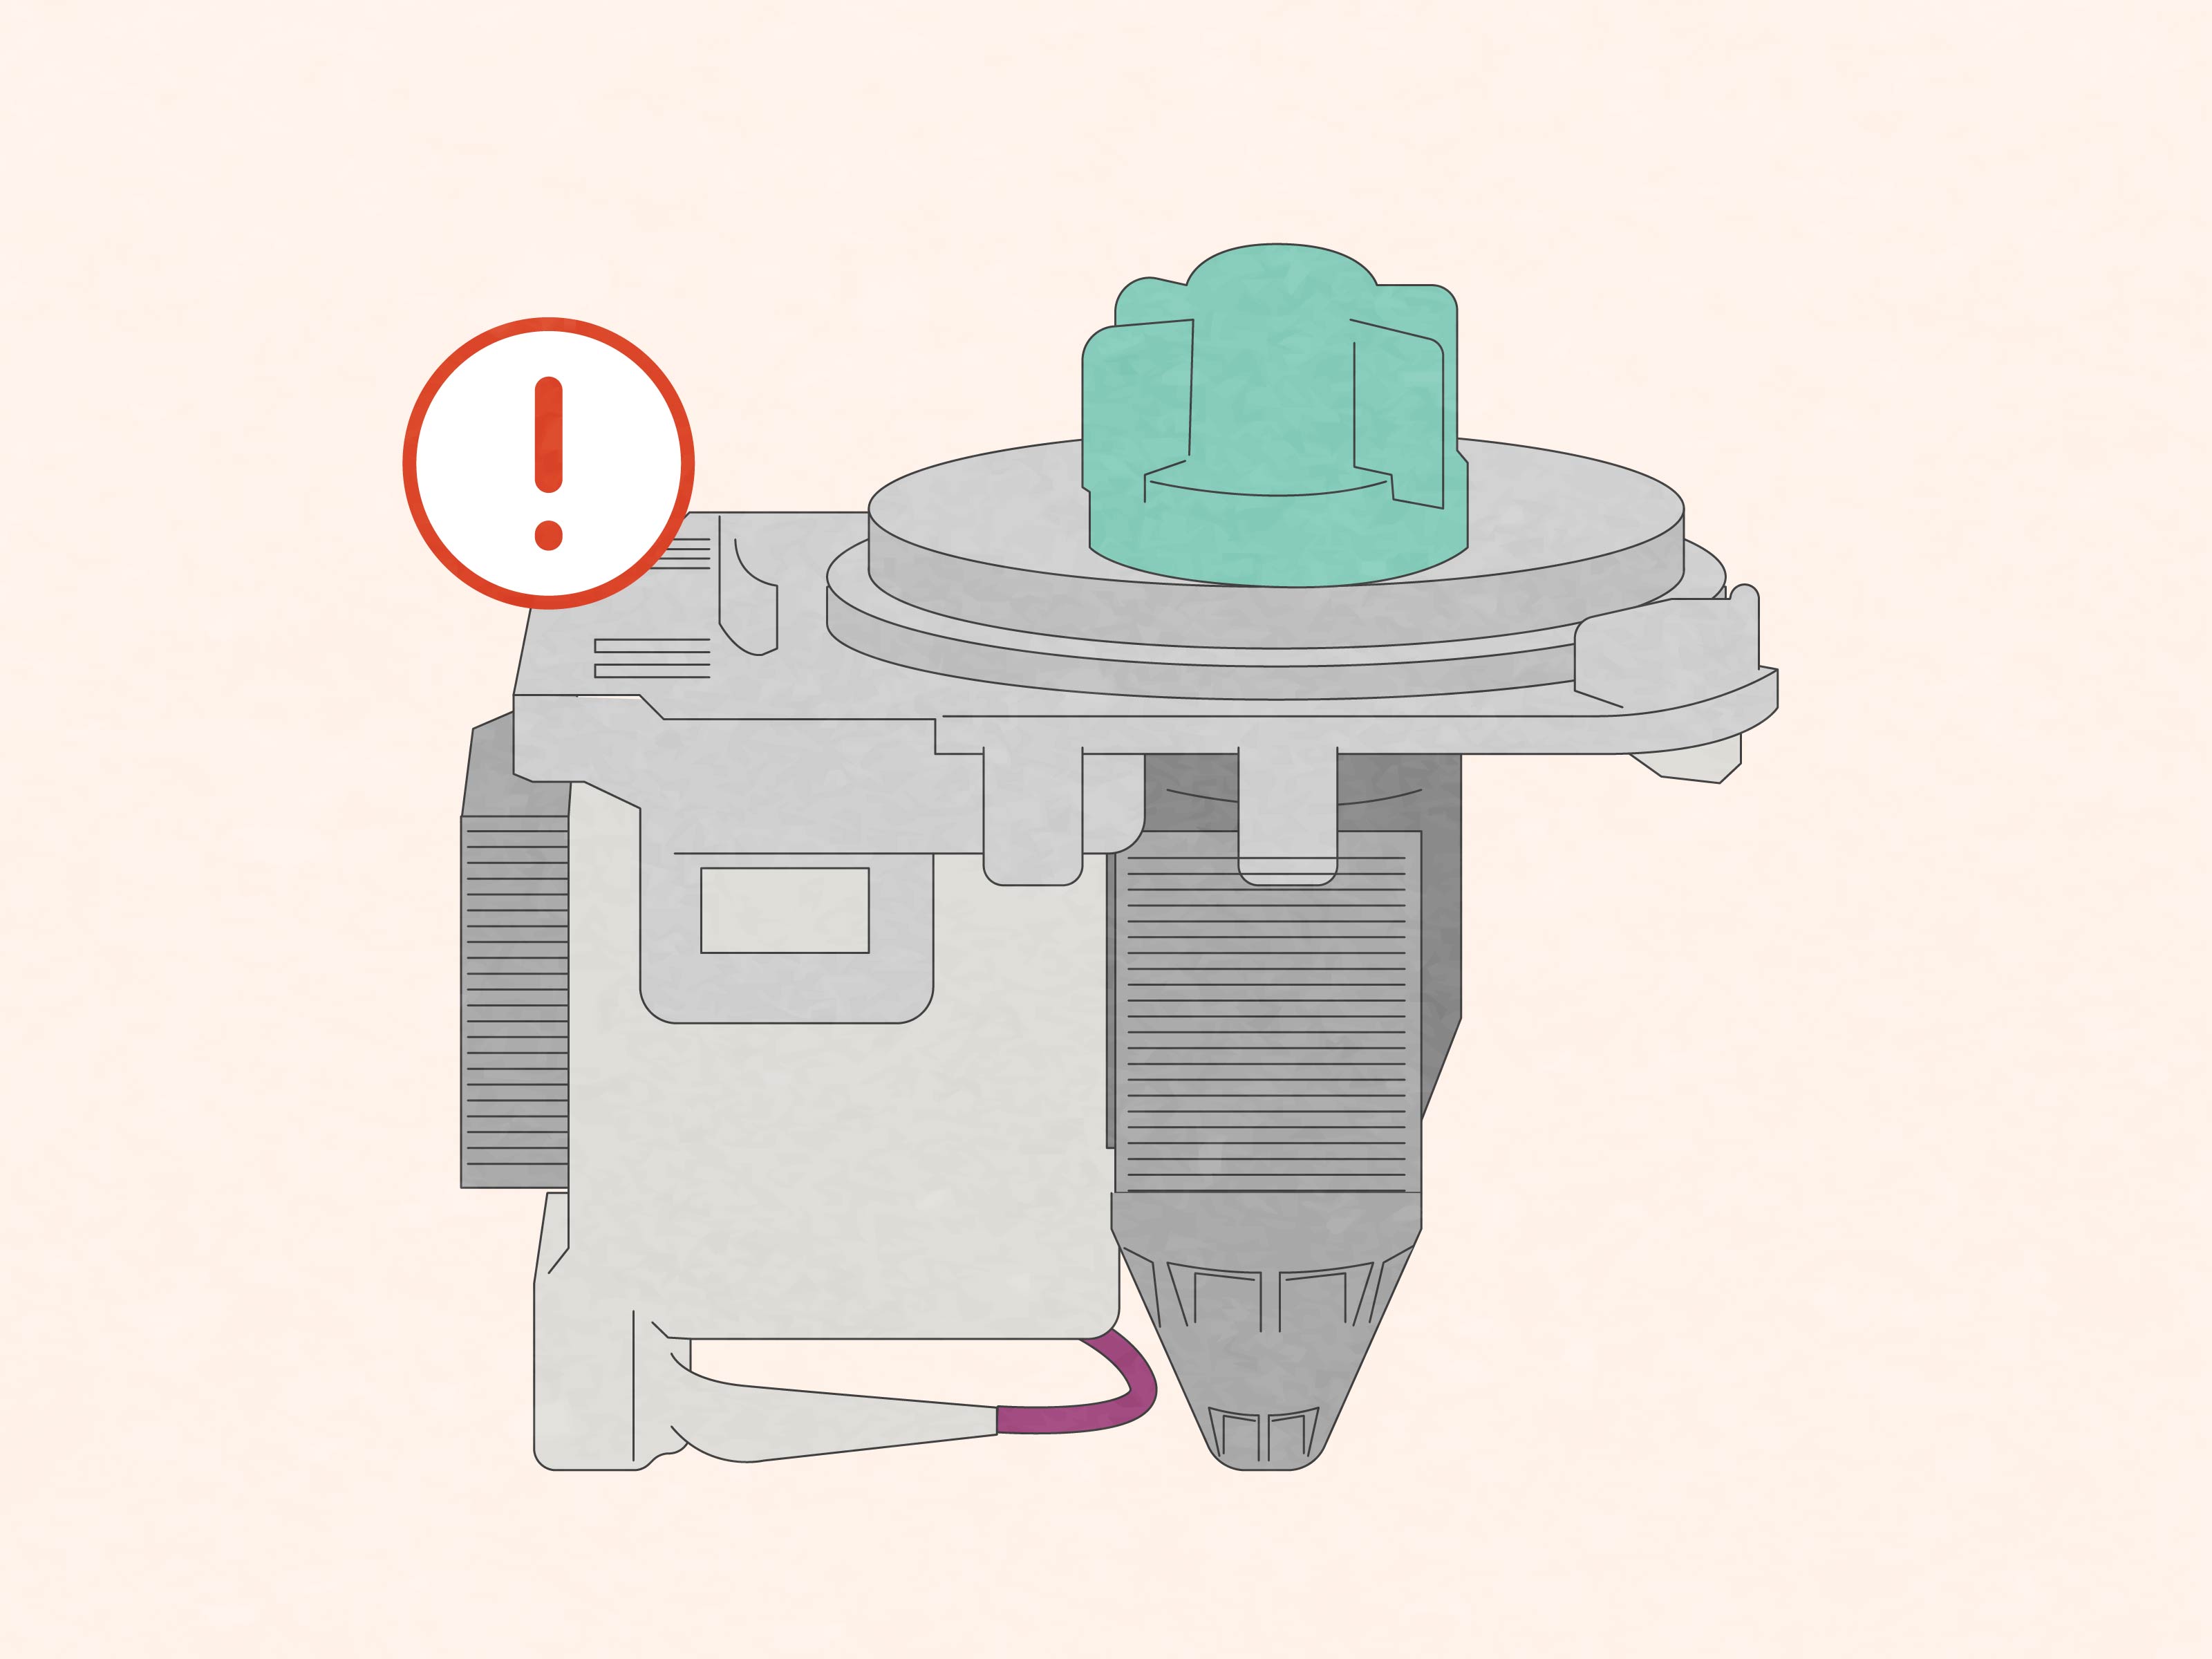
If the easy fixes do not solve the issue, the problem may be mechanical. A blocked pump, damaged impeller, stuck valve, or failed drain pump motor can all stop the dishwasher from draining. This is where the repair moves from “Saturday afternoon project” to “maybe let’s not turn the kitchen into a troubleshooting documentary.”
7. Too much detergent or the wrong detergent caused oversudsing
Believe it or not, soap can be part of the problem. Using the wrong detergent or too much of it can create excess suds, and that can interfere with proper draining. Dishwashers are picky creatures. They like dishwasher detergent, not hand soap, not random cleaner, and definitely not a chemistry experiment.
Easy DIY Fixes to Try First
Before you start taking parts apart, begin with the low-effort, high-payoff checks. These fix a surprising number of GE dishwasher drainage problems.
Step 1: Run Cancel/Drain or Reset the dishwasher
If your GE dishwasher has a Cancel, Drain, Start/Drain, or Reset function, try that first. In some cases, the machine simply needs to be pushed back into finishing the drain cycle. If that does not work, turn the dishwasher off, cut power at the breaker or unplug it if accessible, wait a few minutes, and restart it.
Step 2: Check whether the sink and garbage disposal are draining normally
Run the kitchen sink and the garbage disposal. If the sink is slow or the disposal is jammed up, the dishwasher may be innocent by association. Clear the disposal and try another drain cycle. If a new disposal was installed recently, inspect the dishwasher connection for the forgotten knockout plug.
Step 3: Remove standing water
If there is a pool of water in the tub, scoop out as much as you can with a cup, then soak up the rest with towels. This makes it much easier to inspect the drain area. Put old towels around the base first so your kitchen floor does not become collateral damage.
Step 4: Clean the filter and remove debris from the bottom
On many GE models, the filter sits at the bottom of the tub beneath the lower rack. Remove the rack, twist out the ultra-fine filter if your model has one, and rinse it with warm soapy water. Clean the fine filter as well if it is removable. Use a soft sponge or brush, not a harsh scouring pad. Then check the sump area for noodles, labels, seeds, bones, and other tiny troublemakers that can block drainage.
Step 5: Inspect the air gap
If your sink has an air gap, pop off the chrome cover, unscrew the plastic cap, and clear out any debris inside. Also inspect the hose that runs from the air gap to the disposal or drain. A clogged air gap is one of those problems people miss because the part looks decorative, like a tiny metal hat. It is not decorative. It is sneaky plumbing.
Step 6: Check the drain hose under the sink
Look for obvious kinks, pinches, or sagging sections. Straighten any bends. If the hose looks crushed or repeatedly kinks, replacement may be smarter than wrestling with it every few weeks. Also make sure the hose connection is secure and free of visible buildup.
Step 7: Confirm the high drain loop
If your setup does not use an air gap, the drain hose should be secured in a high loop under the countertop. This helps prevent dirty sink water from flowing backward into the dishwasher. A low, droopy hose can create repeat drainage issues even when the dishwasher itself is fine.
Step 8: Try a light maintenance flush
If the machine drains slowly but is not dealing with a major blockage, some homeowners use a gentle baking soda and vinegar treatment followed by a hot rinse cycle to loosen mild grease or residue. This can help with light buildup, but it is not a miracle cure for a clogged hose, blocked pump, or bad drain motor. And one important warning: do not pour harsh chemical drain cleaners into a GE dishwasher. That can damage internal rubber and plastic parts.
How to Clean a GE Dishwasher Filter the Right Way
Because filter trouble is so common, it deserves its own section. On many GE dishwashers, cleaning the filter is not difficult, and it can make a huge difference.
- Remove the bottom rack.
- Twist the ultra-fine filter counterclockwise and lift it out.
- Rinse it with warm soapy water.
- If your model also has a fine filter plate, remove the retaining posts and lift that out too.
- Clean with a soft sponge or brush.
- Reinstall everything securely and lock the filter back into place.
If your GE dishwasher model uses a self-cleaning filtration system, you may not have a removable filter in the same style. In that case, consult the owner’s manual for your exact model before forcing anything. Appliance repair should never start with, “Well, I yanked on it, and then…”
Signs the Problem Is the Drain Pump
After you have cleaned the filter, checked the disposal, inspected the air gap, and verified the drain hose, the next likely culprit is the GE dishwasher drain pump. Watch and listen for these clues:
- The dishwasher hums or buzzes but water does not move
- You hear unusual clicking or grinding during the drain cycle
- The tub stays full even though the hose and filter are clear
- The machine repeatedly leaves dirty water after every cycle
Sometimes the pump is blocked by a small foreign object. Sometimes the pump motor has simply failed. If you are very comfortable working with appliances, you may inspect the pump after disconnecting power and water. But for many homeowners, this is the point where a professional repair makes more sense.
When to Call a Pro
DIY is great right up until it becomes DI-Why-Did-I-Take-This-Apart. Call a technician if:
- You have tried the basic fixes and the GE dishwasher is still not draining
- The pump or motor sounds abnormal
- You suspect a failed drain valve, drain pump, or control issue
- There are leaks, electrical concerns, or a burning smell
- The dishwasher keeps backing up even after the hose and air gap are cleaned
A technician can test the drain pump, inspect wiring, diagnose control board issues, and confirm whether a part replacement is worth the cost. That is much better than ordering three random parts online and hoping one of them magically fixes everything.
How to Prevent a GE Dishwasher Drain Problem in the Future
The best fix is the one you do not need next month. A little maintenance goes a long way.
- Scrape large food scraps off dishes before loading
- Clean the filter about once a month if your model has removable filters
- Run the garbage disposal before starting the dishwasher
- Check the air gap occasionally if your sink has one
- Use the correct dishwasher detergent and the right amount
- Make sure the drain hose stays high-looped and unkinked
- Run hot water at the sink before starting a cycle if your plumbing tends to run cold at first
These habits are simple, but they help keep grease, debris, and sink backflow from turning your dishwasher into a tiny indoor pond.
Final Thoughts
If your GE dishwasher is not draining, start with the boring stuff before assuming the worst. A reset, a cleaned filter, a cleared disposal, a cleaned air gap, or a corrected drain hose setup solves many drain issues without a service call. That is the good news.
The less-good news is that if the drain pump, valve, or controls are failing, the machine will not be fixed by wishful thinking and a pep talk. Still, checking the easy items first can save real money, real time, and a very real argument with a sink full of dirty plates. In many cases, the fix is not glamorous. It is just a little cleaning, a little inspecting, and a little respect for the mighty dishwasher hose.
Real-World Experiences With a GE Dishwasher Not Draining
Talk to enough homeowners and you start noticing a pattern: most GE dishwasher not draining stories begin with confusion, proceed to denial, and end with someone saying, “Wow, it was just the filter.” That is not an insult to anyone’s intelligence. Dishwashers are designed to hide the messy stuff, so when they stop draining, the problem is often tucked away in a place no one thinks to check first.
A common experience goes like this: the cycle finishes, the dishes look a little grimy, and there is cloudy water in the bottom of the tub. The owner assumes the machine is dying and starts pricing new dishwashers online before even opening the filter area. Ten minutes later, they pull out a wad of pasta, a sticker from a jar, and enough greasy sludge to qualify as a science fair exhibit. The machine drains perfectly after that. Humbling? Yes. Effective? Also yes.
Another very real scenario happens after a brand-new garbage disposal is installed. Suddenly the GE dishwasher will not drain at all, even though it worked fine the day before. People understandably blame the dishwasher because that is where the water is sitting. But the real villain is often the disposal knockout plug that was never removed. Once that plug is knocked out, the dishwasher comes back to life like nothing happened, leaving everyone in the kitchen quietly rethinking their earlier theories.
Then there are the under-sink storage accidents. Someone stuffs a giant bottle of cleaner, a stack of trash bags, and maybe a rogue slow cooker lid into the cabinet. The drain hose gets bent into a shape it was never meant to achieve. The next wash cycle ends with standing water and a homeowner muttering that appliances are made worse than they used to be. Sometimes that is true. Sometimes the hose is just being body-slammed by a bulk pack of paper towels.
Plenty of people also describe the air gap as the part they ignored because they did not know what it was. It sits there on the sink looking mildly important and vaguely decorative. Then one day they pop the cap, clean out the gunk, and suddenly the dishwasher drains like a champ. It is not the most dramatic repair story ever told, but it is deeply satisfying in a very adult, very practical way.
And of course, some experiences do end with a real repair. A few homeowners get all the way through the DIY checklist, clean everything, reset everything, inspect the hose, and still hear that ominous hum from the bottom of the machine. In those cases, the drain pump often turns out to be the issue. The lesson is not that DIY failed. The lesson is that DIY helped narrow the problem quickly, which makes a service call smarter and less expensive.
The big takeaway from all these experiences is simple: a GE dishwasher drain issue usually feels worse than it is at first. Start calm. Start basic. Check the parts most likely to clog. And do not underestimate how much chaos can be caused by one noodle, one label, or one forgotten installation step. Homeownership is beautiful, but sometimes it is also just you, a flashlight, and a suspiciously damp dishwasher at 9:30 p.m.











