
Chia is one of those plants that makes gardeners feel clever with very little effort. You sprinkle tiny seeds, keep them lightly moist, give them sun, and suddenly you are the proud landlord of a mini Salvia neighborhood. The same seed famous for puddings, smoothies, and “wait, did this just turn into gel?” kitchen experiments can also grow into an attractive annual herb with textured leaves, spikes of flowers, and harvestable seeds in the right climate.
Botanically, common chia is Salvia hispanica, a member of the mint family. It is native to Mexico and Central America and prefers warm weather, bright light, and well-drained soil. In mild regions, it can grow outdoors with little drama. In cooler climates, it may still grow beautifully as a leafy plant, microgreen, or container experiment, though seed production can be trickier because chia is sensitive to day length and frost. Translation: chia is easy, but it still has opinions.
This guide explains how to grow chia from seed in 11 practical steps, including soil preparation, watering, spacing, harvesting, container growing, and beginner mistakes to avoid. Whether you want a backyard patch, a sunny patio pot, or a tray of chia microgreens on the kitchen counter, these steps will help you grow chia with confidenceand without turning your garden into a soggy seed swamp.
What Is Chia, and Why Grow It?
Chia is best known for its edible seeds, but the whole plant has garden appeal. Mature plants can reach several feet tall depending on climate and growing conditions. They produce green, slightly textured leaves and flower spikes that can attract pollinators. In warm, dry regions, chia can be surprisingly low-maintenance once established. It prefers soil that drains well and does not need heavy feeding, making it a good candidate for gardeners who enjoy plants that are useful without behaving like spoiled houseguests.
There is one important distinction: common edible chia, Salvia hispanica, is different from desert chia, Salvia columbariae, a related native species found in parts of the American Southwest. Both belong to the mint family and produce edible seeds, but most grocery-store chia seeds come from Salvia hispanica. For home growing, choose seed clearly labeled for planting or sprouting whenever possible, especially if you plan to eat the sprouts or microgreens.
Quick Growing Facts for Chia
| Plant name | Chia, Salvia hispanica |
|---|---|
| Plant type | Warm-season annual; may behave as a short-lived perennial only in frost-free microclimates |
| Light | Full sun is best; partial shade may work in hot climates |
| Soil | Well-drained, moderately fertile soil |
| Water | Keep evenly moist during germination; water lightly once established |
| Best climate | Warm, frost-free, long-season areas; outdoor seed harvest is most reliable in warmer zones |
| Indoor option | Microgreens or sprouts can be grown indoors with careful hygiene |
Easy Ways to Grow Chia: 11 Steps
Step 1: Choose the Right Chia Seeds
Start with high-quality chia seeds from a reputable source. If your goal is to grow plants outdoors, look for seeds sold specifically for planting. Grocery-store chia seeds may germinate if they are raw and untreated, but they are not always tested or handled for sprouting and garden use. For microgreens or sprouts, choose seeds labeled for sprouting because food safety matters when young greens are eaten raw.
Avoid seeds that look dusty, smell musty, or come from a package that has been sitting open since the last presidential administration. Chia seeds are tiny, but they should still look clean and dry. Good seed is the foundation of good growing, and bad seed is just compost with ambition.
Step 2: Pick a Sunny, Warm Location
Chia grows best in full sun. Aim for a location that receives at least six hours of direct sunlight per day. In very hot desert climates, a little afternoon shade can help reduce stress, but too much shade leads to weak, stretched plants with fewer flowers.
Temperature is just as important as light. Chia is frost-sensitive, so do not plant it outdoors until the danger of frost has passed and the soil has warmed. In colder regions, start seeds indoors and transplant them after the weather settles, or grow chia as microgreens instead of trying to force a full seed crop before autumn frost arrives.
Step 3: Prepare Well-Drained Soil
Chia does not like wet feet. Choose soil that drains quickly after rain or irrigation. Sandy loam, light garden soil, or raised beds are excellent options. If your soil is heavy clay, improve drainage with compost and grow chia in a raised bed or container. Do not plant chia in low spots where water collects after every storm. That is less of a garden bed and more of a tiny chia-themed lake.
Moderately fertile soil is enough. Chia can tolerate relatively lean conditions and does not need rich, nitrogen-heavy fertilizer. Too much nitrogen can encourage leafy growth at the expense of flowers and seeds. Before planting, loosen the top few inches of soil, remove weeds, and mix in a light layer of mature compost if the soil is poor.
Step 4: Sow at the Right Time
For outdoor growing, sow chia after the last spring frost. Gardeners in warm climates can direct-sow seeds into prepared beds. In cooler regions, start seeds indoors four to six weeks before transplanting, then move seedlings outside once nights are consistently warm.
Chia seeds are small, so they should not be buried deeply. Sprinkle them over the soil surface and press them gently into place. A very light dusting of soil or seed-starting mix is enough. If you bury them like treasure, they may never find their way back to daylight.
Step 5: Keep Seeds Moist Until They Germinate
Chia seeds need steady moisture to sprout. Use a spray bottle, gentle watering can, or mist setting on a hose so the seeds do not wash away. Keep the seedbed damp but not soaked. If the surface dries out completely during germination, the tiny seedlings may fail before they get a fair chance.
For indoor trays, cover the container loosely with a humidity dome or plastic wrap until germination begins, then remove the cover to improve airflow. Chia creates a gel-like coating when wet, which is perfectly normal. That gel helps hold moisture, but it also means you should avoid overwatering. Moist is good. Slimy and swampy is not.
Step 6: Thin Seedlings for Airflow
Once chia seedlings are a few inches tall, thin them so each plant has room to grow. For garden plants, leave about 12 to 18 inches between plants, or more if you expect them to grow large. Crowded chia plants compete for light and airflow, making them more vulnerable to mildew and weak stems.
If thinning feels painful, remember that crowded seedlings do not become a lush forest of success. They become a dramatic reality show where everybody loses nutrients. Use small scissors to snip extra seedlings at soil level instead of yanking them out and disturbing nearby roots.
Step 7: Water Wisely
Chia needs more water while seedlings are establishing, but mature plants prefer lighter watering. Once plants are growing strongly, allow the top layer of soil to dry slightly between waterings. In dry climates, deep occasional watering is better than constant shallow watering. In humid climates, be especially careful not to overdo it.
Overwatering can lead to root problems and weak growth. A simple test works well: stick your finger about an inch into the soil. If it feels dry, water. If it feels damp, wait. Gardening technology does not always need batteries.
Step 8: Control Weeds Early
Young chia plants are small and can be overwhelmed by fast-growing weeds. Keep the area clean during the first few weeks. Once chia plants are established, they can compete better, but early weeding makes a big difference.
A thin layer of mulch can help conserve moisture and reduce weeds, especially in outdoor beds. Keep mulch slightly away from the stems to prevent excess moisture around the crown of the plant. Straw, shredded leaves, or fine bark can work well as long as they do not mat down and block airflow.
Step 9: Feed Lightly, If at All
Chia is not a heavy feeder. In average garden soil, it may not need additional fertilizer. If growth looks pale or weak, apply a mild balanced organic fertilizer at half strength. Avoid piling on high-nitrogen fertilizer, which can produce lush leaves but fewer flowers and seeds.
Compost is usually enough for home gardeners. The goal is steady growth, not a chia plant trying to win a bodybuilding competition. Healthy chia should look green, upright, and sturdy, not floppy and overfed.
Step 10: Watch for Flowers and Seed Heads
In warm, long-season climates, chia may flower and form seed heads. The flowers appear on spikes and eventually dry as seeds mature. Timing depends on climate, day length, and variety. Traditional chia types are short-day plants, meaning they may flower later in the season as days shorten. In northern climates, frost can arrive before seeds fully mature, so outdoor seed harvest is not guaranteed everywhere.
If your plants flower, reduce overhead watering to keep seed heads dry. Watch the flower spikes closely as they begin to brown. Waiting too long can lead to seed shattering, where the plant drops seeds before you collect them. Chia may self-seed in favorable climates, which can be charming or annoying depending on your garden personality.
Step 11: Harvest and Store Chia Seeds
Harvest seed heads when they are mostly dry but before they crumble completely. Cut the spikes and place them in a paper bag. Keep the bag in a warm, dry, well-ventilated area for one to two weeks. When the seed heads are fully dry, shake or rub them gently to release the seeds.
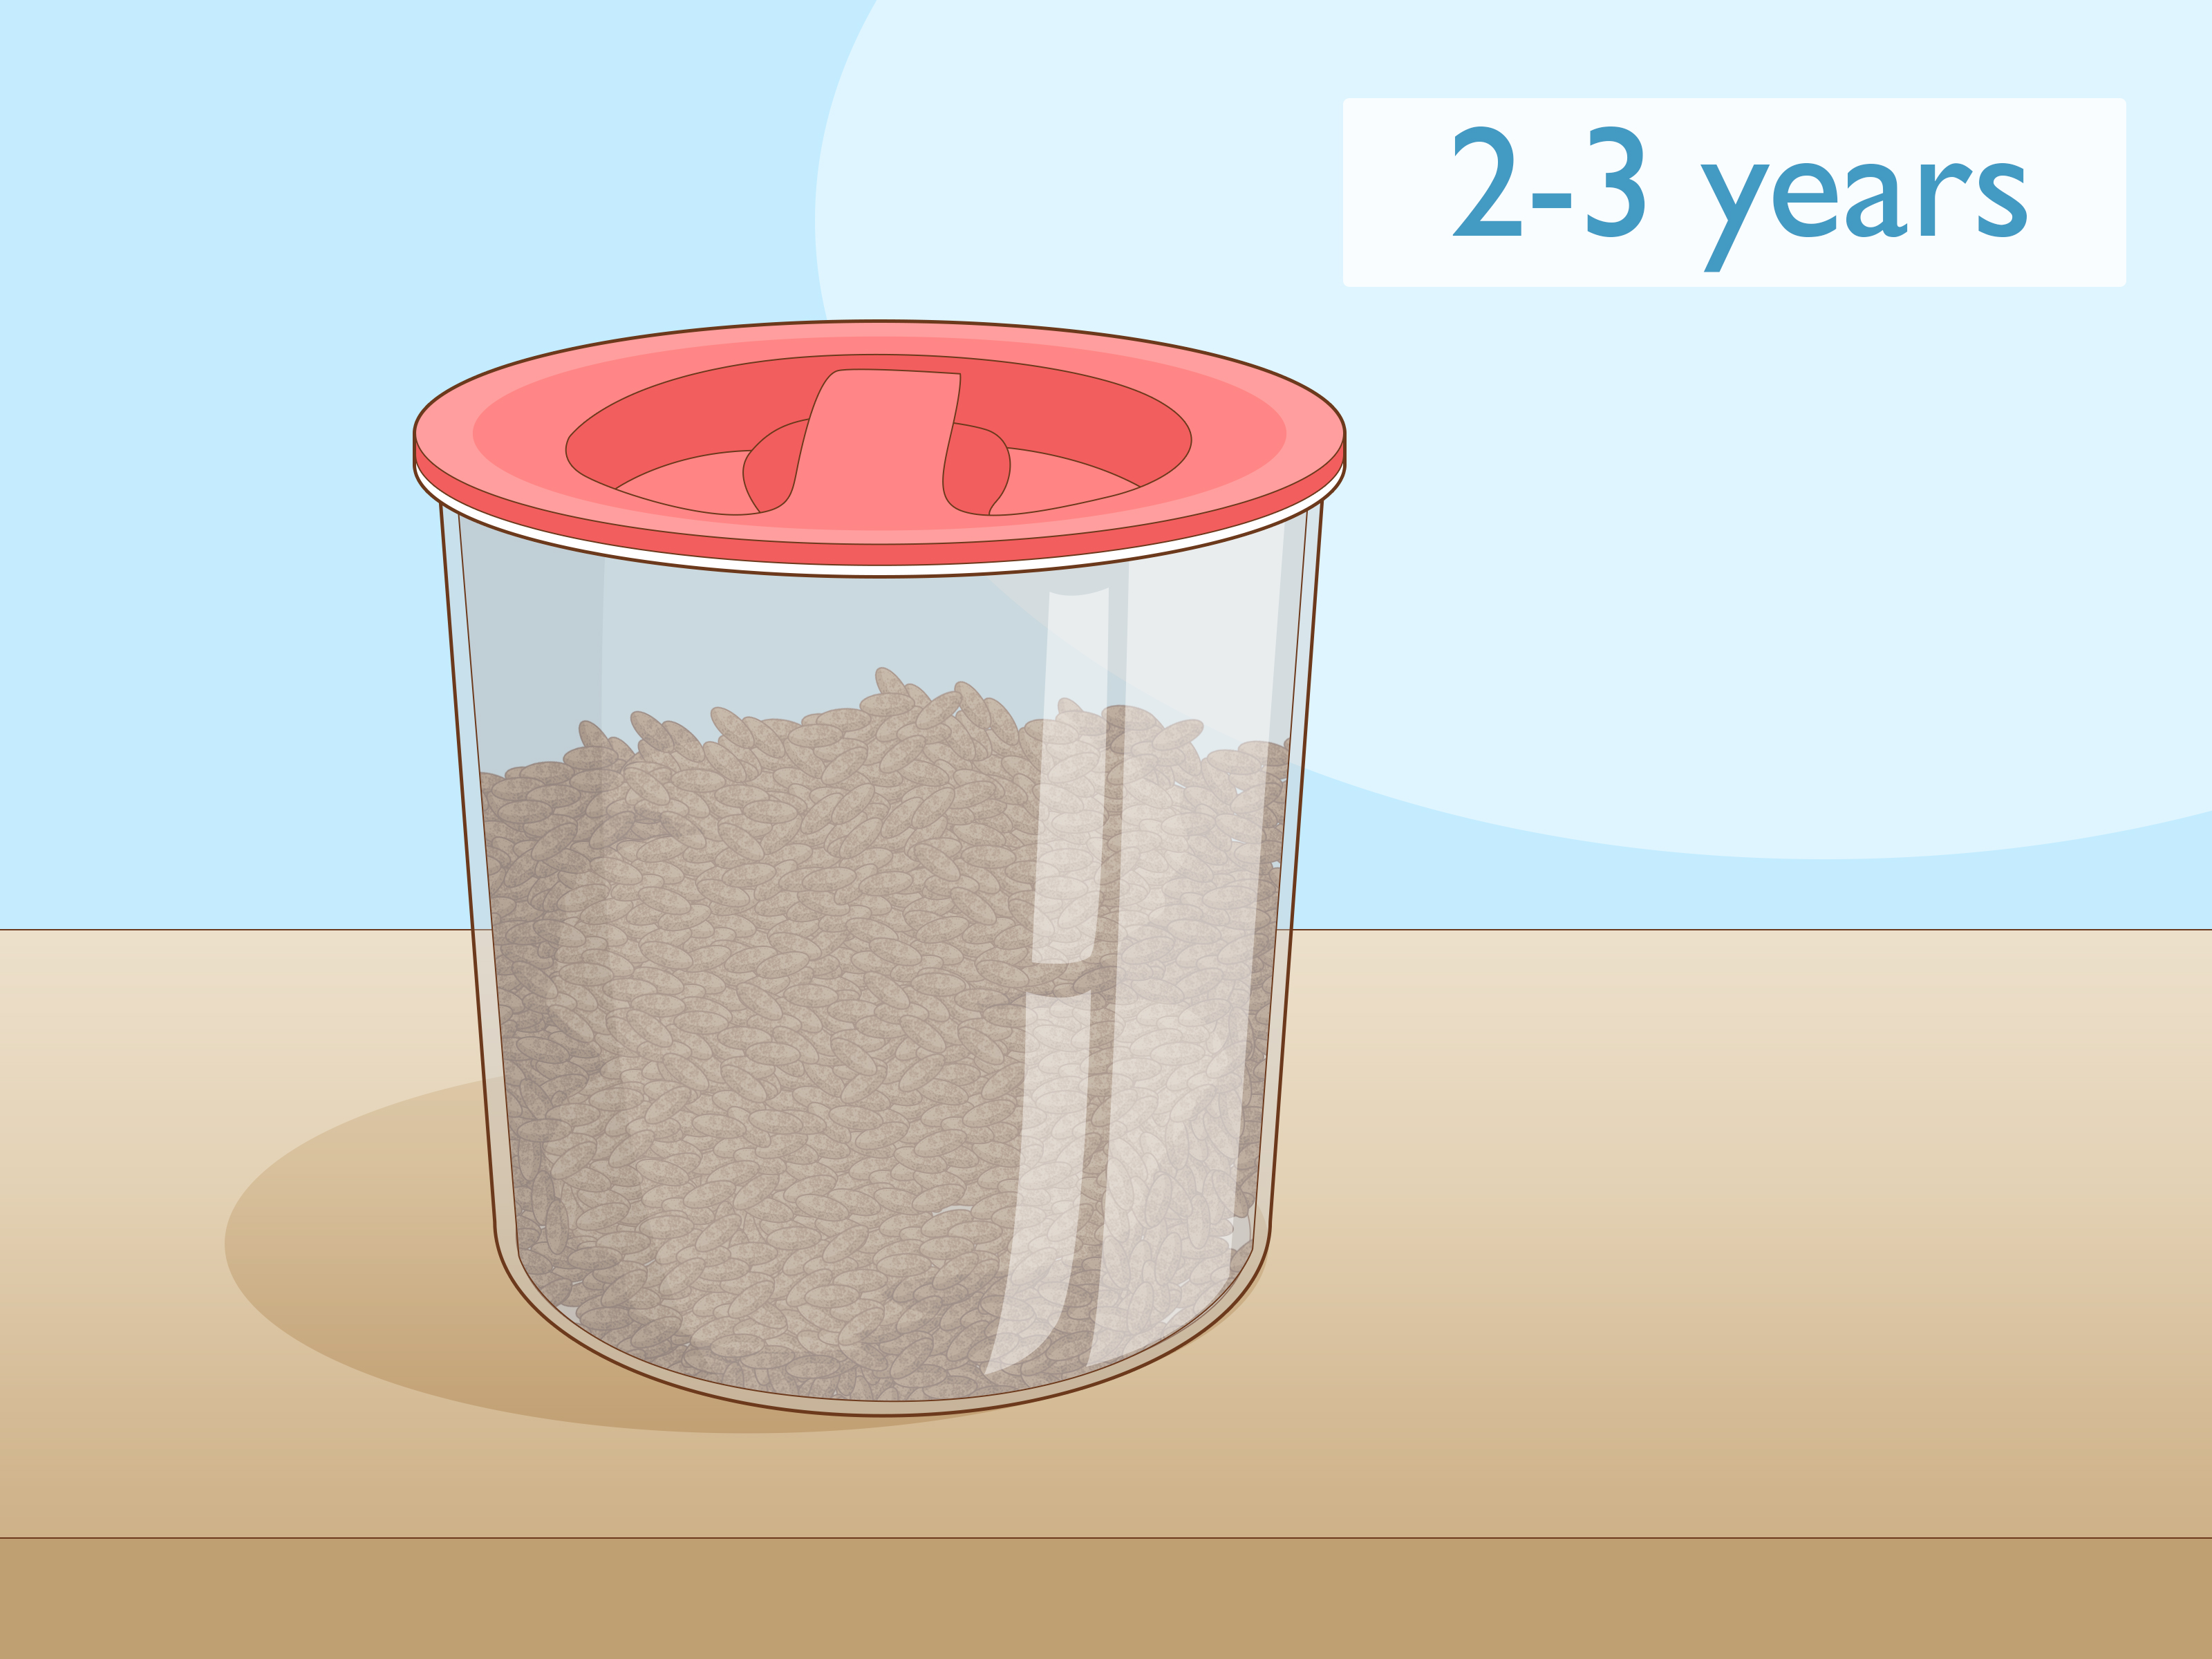
Separate seeds from chaff using a fine sieve or by carefully winnowing in a light breeze. Store dry chia seeds in an airtight container in a cool, dark place. Label the container with the harvest date, because mystery jars are how pantries become archaeological sites.
How to Grow Chia in Containers
Container growing is a smart option for patios, balconies, and gardeners with heavy soil. Choose a pot at least 12 inches deep with drainage holes. Fill it with a light, well-draining potting mix. Sprinkle seeds thinly, press them into the surface, and mist gently until they sprout.
Place the container in a sunny location and rotate it every few days if the plants lean toward the light. Container soil dries faster than garden soil, so check moisture often. Still, do not let the pot sit in standing water. Chia in a container wants drainage, sunshine, and basic respectnot a permanent foot bath.
How to Grow Chia Microgreens Indoors
Chia microgreens are a fun indoor project because they grow quickly and do not require a full garden season. Use a shallow tray with drainage, clean seed-starting mix, and seeds labeled for sprouting or microgreens. Wash your hands, use sanitized containers, and keep pets away from the growing tray. Because microgreens are often eaten raw, cleanliness is not optional.
Spread seeds evenly over the moist growing surface. Do not pile them too thickly, because crowded wet seeds can develop mold. Mist lightly, cover briefly to maintain humidity, and uncover once germination begins. Place the tray under a bright window or grow light. Harvest with clean scissors when the seedlings are a few inches tall and have developed their first small leaves.
Common Mistakes When Growing Chia
Planting Too Early
Chia dislikes cold weather. Planting before the soil warms can slow germination or kill seedlings. Wait until spring weather is stable before sowing outdoors.
Using Soil That Stays Wet
Poor drainage is one of the fastest ways to disappoint a chia plant. Raised beds and containers solve many drainage problems.
Overcrowding the Seedlings
Chia seeds are tiny, so it is easy to sow too many. Thin seedlings early so plants have airflow and space.
Expecting Seeds in Every Climate
Gardeners in cool northern regions may grow healthy chia plants but still miss the seed harvest because frost arrives too soon. In those areas, try containers, microgreens, or start seeds early indoors.
Ignoring Food Safety for Sprouts
Warm, moist sprouting conditions can also encourage bacteria. Use clean equipment, safe water, reputable seed, and good hygiene. People with higher food-safety risks should be cautious with raw sprouts and microgreens.
Practical Experience: What Growing Chia Teaches You
The first thing many gardeners notice about chia is how tiny the seeds are. They look harmless, almost like specks of pepper with big dreams. Then water touches them, and they develop that famous gel coating. This is helpful for moisture, but it also teaches the first real lesson: do not drown them. A light mist works better than a heroic waterfall from a watering can. If you water too aggressively, the seeds drift into little clumps, and suddenly your neat planting tray looks like a chia traffic jam.
Outdoor chia growing is easiest when you treat the plant like a drought-tolerant herb rather than a thirsty vegetable. During the seedling stage, chia appreciates consistent moisture. After that, it becomes much more independent. Gardeners who are used to babying basil or lettuce may overwater chia out of habit. The better approach is to let the soil guide you. When the surface begins to dry, water deeply but not constantly. In raised beds, chia often performs better than expected because the roots are not sitting in heavy, wet soil.
Another useful experience is learning how much sunlight matters. In a bright, open location, chia grows upright and confident. In a shady corner, it can stretch, lean, and generally behave like it is searching for better life choices. If you are testing chia for the first time, try two small plantings: one in full sun and one in partial shade. The difference will teach you more than a paragraph ever could.
Growing chia also teaches patience with seed production. In warm regions, plants may flower, dry, and produce harvestable seed with little trouble. In cooler areas, the plant may grow beautifully but run out of season before seeds mature. That does not mean you failed. It means chia is following its biology, not your calendar. For gardeners in short-season climates, microgreens offer a reliable backup. You still get the satisfaction of growing chia, just on a smaller and faster scale.
Container growing is especially useful for beginners. A pot lets you control the soil, drainage, and placement. If a storm is coming, you can move the container. If the sun angle changes, you can rotate it. If the plant self-seeds, the volunteers stay mostly inside the pot instead of staging a surprise garden takeover. The main container lesson is simple: drainage holes are non-negotiable.
Harvesting chia seeds is a slow, slightly messy, oddly satisfying job. The dry flower spikes need time to finish drying in a paper bag, and separating seed from chaff can feel like miniature farming. Do it on a calm day, use a fine sieve, and expect a few seeds to escape. Chia seeds are tiny; they have the survival instincts of glitter. Once you finally store your own homegrown seeds in a labeled jar, though, the process feels worth it. You grew something useful from something small, and that is the quiet magic of gardening.
Final Thoughts
Growing chia is simple when you respect its basic preferences: warmth, sunlight, drainage, gentle watering, and room to breathe. It is a forgiving plant for warm-climate gardeners and a fun experiment for cooler regions, especially in containers or microgreen trays. The key is to match your expectations to your climate. If you live where the growing season is long and frost arrives late, you may harvest seeds. If not, you can still enjoy chia as a leafy annual, patio plant, or fast indoor green.
Start small, observe closely, and avoid the classic beginner mistake of overwatering. Chia does not need royal treatment. It needs a sunny spot, sensible soil, and a gardener who can resist fussing every five minutes. Give it those things, and this tiny seed can become one of the easiest and most interesting plants in your growing routine.
Note: This original article synthesizes practical horticulture and food-safety guidance from reputable U.S. agriculture, university extension, and public gardening resources. Source links are intentionally omitted as requested for clean web publishing.













