
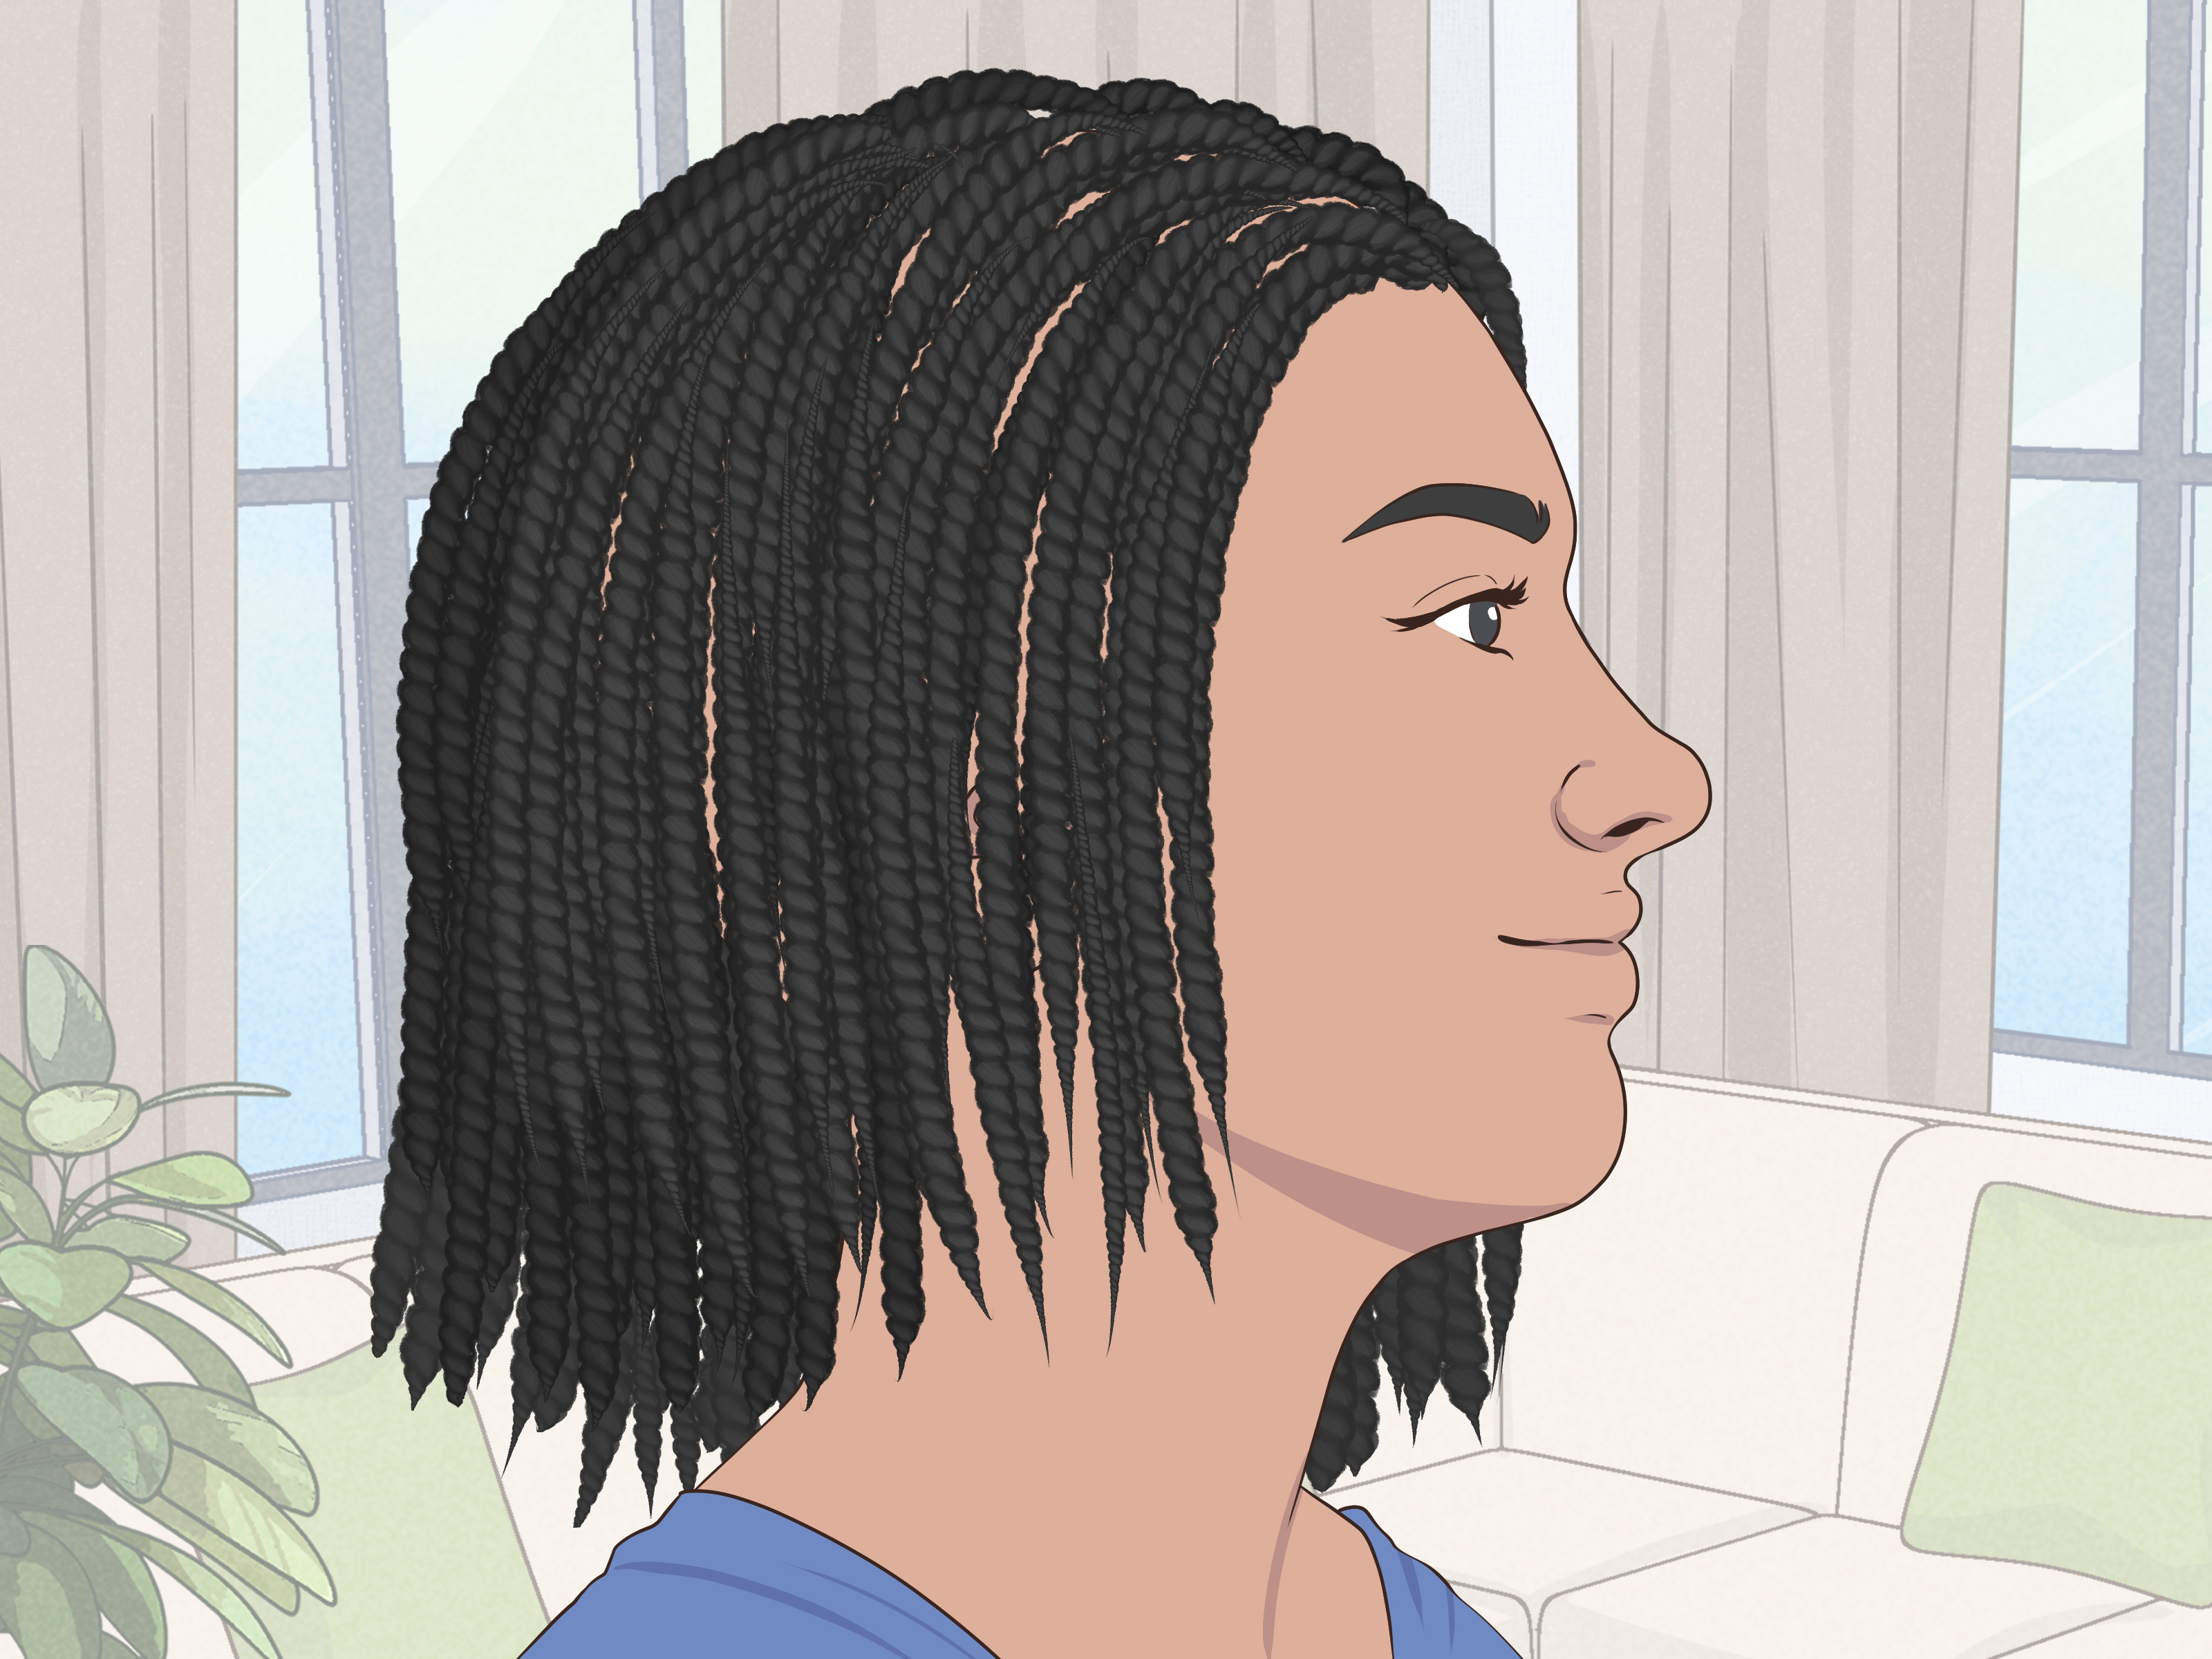
Mini twists are the hairstyle equivalent of a well-packed suitcase: neat, practical, surprisingly stylish, and ready to go anywhere. Whether you are trying to give your natural hair a break, stretch your wash day, protect your ends, or simply wake up looking like you made an effort without actually making one, mini twists deserve a spot in your beauty routine.
In this easy DIY hair tutorial, you will learn how to do mini twists at home, what products and tools you need, how to make your twists last, and how to avoid common mistakes like frizz, puffiness, dry ends, and the dreaded “why did this take six hours?” panic spiral. The good news: mini twists are beginner-friendly. The honest news: they require patience. Bring a show to binge-watch, a snack, and the confidence of someone who believes sectioning clips can solve most of life’s problems.
What Are Mini Twists?
Mini twists are small two-strand twists usually done on natural, curly, coily, or kinky-textured hair. Unlike chunky twists, mini twists use smaller sections, which gives the style more movement, definition, and longevity. They can be worn loose, pinned up, pulled into a ponytail, styled into buns, accessorized with cuffs, or eventually unraveled into a defined twist-out.
Mini twists are often considered a protective hairstyle because they reduce daily manipulation, help keep the ends tucked or controlled, and make it easier to maintain moisture. They do not magically make hair grow overnight, sadly. If they did, we would all be walking around like shampoo-commercial mermaids. But they can support length retention by helping reduce breakage when installed and maintained properly.
Why Mini Twists Are Worth Trying
They Are Low-Maintenance
Once installed, mini twists can simplify your mornings. Instead of detangling, styling, and negotiating with your hair before coffee, you can fluff, mist, shape, and go. For many people, mini twists last two to four weeks depending on hair texture, product choice, lifestyle, and how well they are cared for at night.
They Are Versatile
Mini twists can look casual, polished, playful, or elegant. Wear them with a middle part for a clean everyday look, sweep them to the side for volume, create a half-up style, add beads or gold cuffs, or tuck them into a low bun. They work on short natural hair, medium-length curls, and longer coils.
They Help Reduce Manipulation
Curly and coily hair can be fragile, especially at the bends and curves of the strand. Constant combing, brushing, heat styling, and tight hairstyles can lead to breakage. Mini twists help keep your hair organized in small sections, making it easier to moisturize and protect without daily tugging.
What You Need Before You Start
You do not need a salon station, a ring light, and ten mysterious jars with gold lids. You only need a few reliable tools and products that make your hair easier to work with.
Tools
- Wide-tooth comb or detangling brush
- Rat-tail comb for clean parts
- Hair clips or sectioning clamps
- Spray bottle with water
- Microfiber towel or cotton T-shirt
- Satin scarf, bonnet, or silk pillowcase
- Small mirror to check the back of your head
Products
- Moisturizing shampoo
- Hydrating conditioner or deep conditioner
- Leave-in conditioner
- Twisting cream, curl cream, or styling butter
- Lightweight oil for sealing ends, if your hair likes oil
- Optional gel or edge control for neater roots and parts
Product choice matters, but technique matters more. A simple leave-in conditioner and twisting cream can work beautifully if your hair is clean, detangled, moisturized, and twisted with consistent tension.
Should You Do Mini Twists on Wet, Damp, or Stretched Hair?
This depends on the look you want. Damp hair usually gives juicy, defined twists with more shrinkage. Stretched hair creates longer-looking twists, smoother roots, and less tangling during installation. Blow-dried hair can make parting easier, but you do not have to use heat. You can stretch your hair with braids, banding, African threading, or large twists after washing.
For beginners, slightly damp and stretched hair is often the sweet spot. It gives control without making the hair slippery or overly shrunken. If your hair dries while you work, lightly mist each section before twisting. The key word is lightly. You want moisture, not a surprise indoor rainstorm.
How to Do Mini Twists: Step-by-Step DIY Tutorial
Step 1: Start with Clean Hair
Wash your hair with a gentle moisturizing shampoo, focusing on the scalp. Clean hair helps mini twists last longer and prevents buildup from turning your fresh style into a flaky little drama. Follow with conditioner, then detangle carefully from ends to roots.
Step 2: Deep Condition for Softness
Mini twists look better and feel better when your hair is hydrated before installation. Use a deep conditioner or rich conditioner, especially if your hair has been dry, tangled, or exposed to heat. Rinse thoroughly so your twists do not feel coated or sticky.
Step 3: Stretch or Partially Dry Your Hair
Gently squeeze out excess water with a microfiber towel or cotton T-shirt. Avoid rough towel rubbing because it can encourage frizz before you even begin. If you want elongated mini twists, stretch your hair first using heatless methods or a blow-dryer on low heat with a heat protectant.
Step 4: Divide Hair into Large Working Sections
Split your hair into four to eight large sections. Clip each section away. This keeps your hair organized and prevents the classic DIY moment where one side is perfectly parted and the other side looks like it was mapped during an earthquake.
Step 5: Create Your First Small Section
Working from one large section, use a rat-tail comb or your fingers to create a small square, triangle, or brick-layered part. Smaller sections create a fuller mini twist look and last longer, but they also take more time. Medium-small sections are ideal if this is your first attempt.
Step 6: Apply Leave-In and Twisting Cream
Add a small amount of leave-in conditioner, then a twisting cream or butter. Smooth the product from root to tip. Pay special attention to the ends because dry ends can unravel, frizz, or tangle. Avoid using too much product; overloaded twists can feel heavy, greasy, or slow to dry.
Step 7: Split the Section into Two Equal Pieces
Divide the small section into two even strands. If one strand is much thicker than the other, your twist may look lumpy or unravel faster. Equal pieces create a smoother, more uniform finish.
Step 8: Twist from Root to End
Cross one strand over the other, then continue twisting all the way down. Keep the tension firm but gentle. You should not feel pulling, pain, or scalp tightness. Mini twists should protect your hair, not challenge your pain tolerance like an extreme sport.
Step 9: Seal and Coil the Ends
When you reach the bottom, add a tiny bit of cream or oil to the end if needed. Twirl the end around your finger to encourage it to coil and stay closed. If your ends are straight, heat-damaged, or relaxed, you may need perm rods, flexi rods, or small rollers to help them hold.
Step 10: Repeat Until Finished
Continue section by section until your whole head is twisted. Take breaks. Stretch your shoulders. Hydrate. Remind yourself that every twist brings you closer to two weeks of easier mornings.
How Long Does It Take to Do Mini Twists?
Mini twists can take anywhere from two to eight hours depending on hair density, length, section size, skill level, and whether you stop to check your phone every seven minutes. Short or fine hair may take less time. Thick, long, high-density hair may turn this into a full-day beauty project.
If you are new to mini twists, do not aim for microscopic sections. Start with small-to-medium twists. You will still get the look without needing a calendar invite, a meal plan, and emotional support.
How to Make Mini Twists Look Fuller
If your mini twists look thinner than expected, try brick-layer parting instead of straight grid parts. Brick-layer parting helps the twists fall between one another, creating the illusion of more volume. You can also avoid making parts too large or too perfect at the scalp, especially if you prefer a fluffy, natural look.
Another trick is to twist on stretched but not bone-straight hair. A little texture gives mini twists body. Once finished, gently shake your twists, separate the roots slightly with your fingertips, or style them in a side part to create lift.
How to Maintain Mini Twists
Moisturize Lightly
Use a water-based mist, leave-in spray, or diluted conditioner when your twists feel dry. Focus on the length and ends. Follow with a light oil or cream if your hair needs sealing. The goal is soft, flexible hair, not twists so coated they could survive a rainstorm untouched.
Protect Your Hair at Night
Sleep with a satin bonnet, satin scarf, or silk pillowcase. Cotton pillowcases can absorb moisture and create friction, which may lead to frizz and dryness. For longer twists, loosely band or pineapple them before bed to reduce tangling.
Care for Your Scalp
Keep your scalp clean and comfortable. If your scalp gets itchy, sweaty, or flaky, use a diluted shampoo in an applicator bottle and gently cleanse between twists. Massage with your fingertips, rinse carefully, and dry thoroughly. Avoid scratching with nails because that can irritate the scalp.
Refresh Frizzy Twists
Frizz is normal. Your hair is alive, expressive, and occasionally rebellious. To refresh, lightly mist the twist, smooth on a small amount of cream, and retwist the section. You do not need to redo your whole head unless the style has truly retired itself.
How Long Can You Keep Mini Twists In?
Most people keep mini twists for two to four weeks. Some can stretch the style longer, but leaving mini twists in too long may increase tangling, matting, buildup, and difficulty during takedown. If your roots are locking together, your scalp is irritated, or your twists are hard to separate, it is time to remove them.
Mini twists are protective only when they are cared for properly. A style that causes pain, excessive dryness, breakage, or matting is not protecting much of anything except your denial.
Common Mini Twist Mistakes to Avoid
Twisting Too Tightly
Tight roots may look neat at first, but they can stress the scalp and edges. Keep your tension gentle, especially around the hairline and nape. If a twist hurts, redo it looser.
Skipping Detangling
Mini twists on tangled hair are harder to install and much harder to remove. Detangle thoroughly before twisting, and smooth each small section before you begin.
Using Too Much Product
Heavy product can cause buildup, dullness, and flakes. Start with a small amount and add more only if needed. Your twists should feel moisturized, not marinated.
Neglecting the Ends
The ends are the oldest and most delicate part of your hair. Smooth them carefully, add moisture, and coil or rod them if they unravel easily.
Leaving Twists in Too Long
Mini twists are not permanent locs unless you accidentally allow them to audition for the role. Remove them before matting begins, and take your time during takedown.
How to Take Down Mini Twists Without Breakage
Never rush takedown. Apply a little oil, conditioner, or detangling spray to your fingers and gently unravel each twist from the end upward. Once a section is loose, lightly finger-detangle shed hairs before moving on. Shed hair is normal, especially after weeks of low manipulation, but it should slide out with patience.
After removing all twists, detangle in sections before shampooing. This prevents loose shed hair from tangling into knots during wash day. Follow with a moisturizing shampoo, deep conditioner, and a gentle trim if your ends need attention.
Mini Twists Styling Ideas
- Classic middle part: simple, balanced, and clean.
- Deep side part: adds volume and drama without extra work.
- Half-up ponytail: great for keeping hair off the face.
- Low bun: polished enough for work, dinner, or pretending you have your life organized.
- Space buns: playful, cute, and perfect for weekends.
- Twist bob: beautiful on shorter natural hair.
- Accessorized twists: add cuffs, beads, ribbons, or clips for personality.
Who Should Try Mini Twists?
Mini twists are especially popular for natural hair types ranging from curly to coily, including 3C, 4A, 4B, and 4C textures. However, the style can be adapted for different curl patterns. If your hair is looser or has straight ends, you may need extra hold, smaller sections, or rods at the ends.
This style is a great option if you want a break from daily styling, are transitioning from relaxed to natural hair, want a defined twist-out later, or need a protective style that does not require added hair. If your scalp is currently irritated, inflamed, or experiencing hair loss, consider speaking with a dermatologist or licensed stylist before installing any long-term protective style.
Real-Life Experience Notes: What Doing Mini Twists Actually Feels Like
The first thing most people learn when doing mini twists at home is that the word “mini” sounds adorable until you are three hours in and still working on the back left section. Mini twists are not difficult, but they are repetitive. The process is almost meditative once you find a rhythm: part, moisturize, smooth, split, twist, coil the end, repeat. Put on a movie or a long playlist, and suddenly the job feels less like a chore and more like a self-care appointment you did not have to pay salon prices for.
One helpful experience-based tip is to start in the back. The back sections are usually harder to see, so doing them first while your energy is high makes the whole process easier. Save the front for last because that is the area everyone sees first, and by then your twisting technique will be warmed up. It is like pancakes: the first one may be questionable, but by the third or fourth, you are basically a brunch professional.
Another practical lesson is that perfect parts are optional. If you want a sleek, salon-style look, use a rat-tail comb and take your time. If you want fuller mini twists, finger parts can actually work better because they hide scalp lines and create more volume. Many DIY mini twist fans eventually stop obsessing over perfect boxes and focus instead on even twist size, moisturized ends, and comfortable tension.
Product amount is another trial-and-error moment. Too little cream can leave twists dry and fuzzy. Too much can make them sticky, heavy, or flaky by day three. A good rule is to apply less than you think you need, smooth it through well, and add a tiny bit more only to the ends. Your hair should feel soft and lightly coated, not like it has been frosted like a cupcake.
The best part of mini twists is the freedom after installation. Mornings become easier. Workouts feel less complicated. Humidity is less personally offensive. You can refresh your hair with a quick mist, shake it into shape, and move on with your day. The style also gives you a chance to learn your hair better: which areas dry fastest, which sections frizz first, which products give hold, and how your ends behave when properly moisturized.
The takedown experience teaches patience. Do not remove mini twists when you are tired, rushed, or already annoyed by life. Add oil or conditioner to your fingers, unravel slowly, and detangle shed hair as you go. The reward is usually soft, stretched hair and, if you choose, a beautiful twist-out with definition that looks like you planned it all along. Mini twists may take time, but they give plenty back: convenience, versatility, protection, and the quiet satisfaction of saying, “Yes, I did these myself.”
Conclusion
Mini twists are one of the best DIY protective hairstyles for natural hair because they are stylish, flexible, and practical. With clean hair, good moisture, careful sectioning, gentle tension, and a little patience, you can create mini twists at home without needing professional-level skills. The secret is not perfection. It is consistency: smooth each section, protect your ends, care for your scalp, sleep with satin, and remove the twists before tangles take over.
Whether you wear your mini twists for a week or stretch them closer to a month, this style can help make natural hair care easier while giving you plenty of room to play with different looks. And yes, your arms may complain during installation. But once you are waking up with your hair already done, they will understand.











