
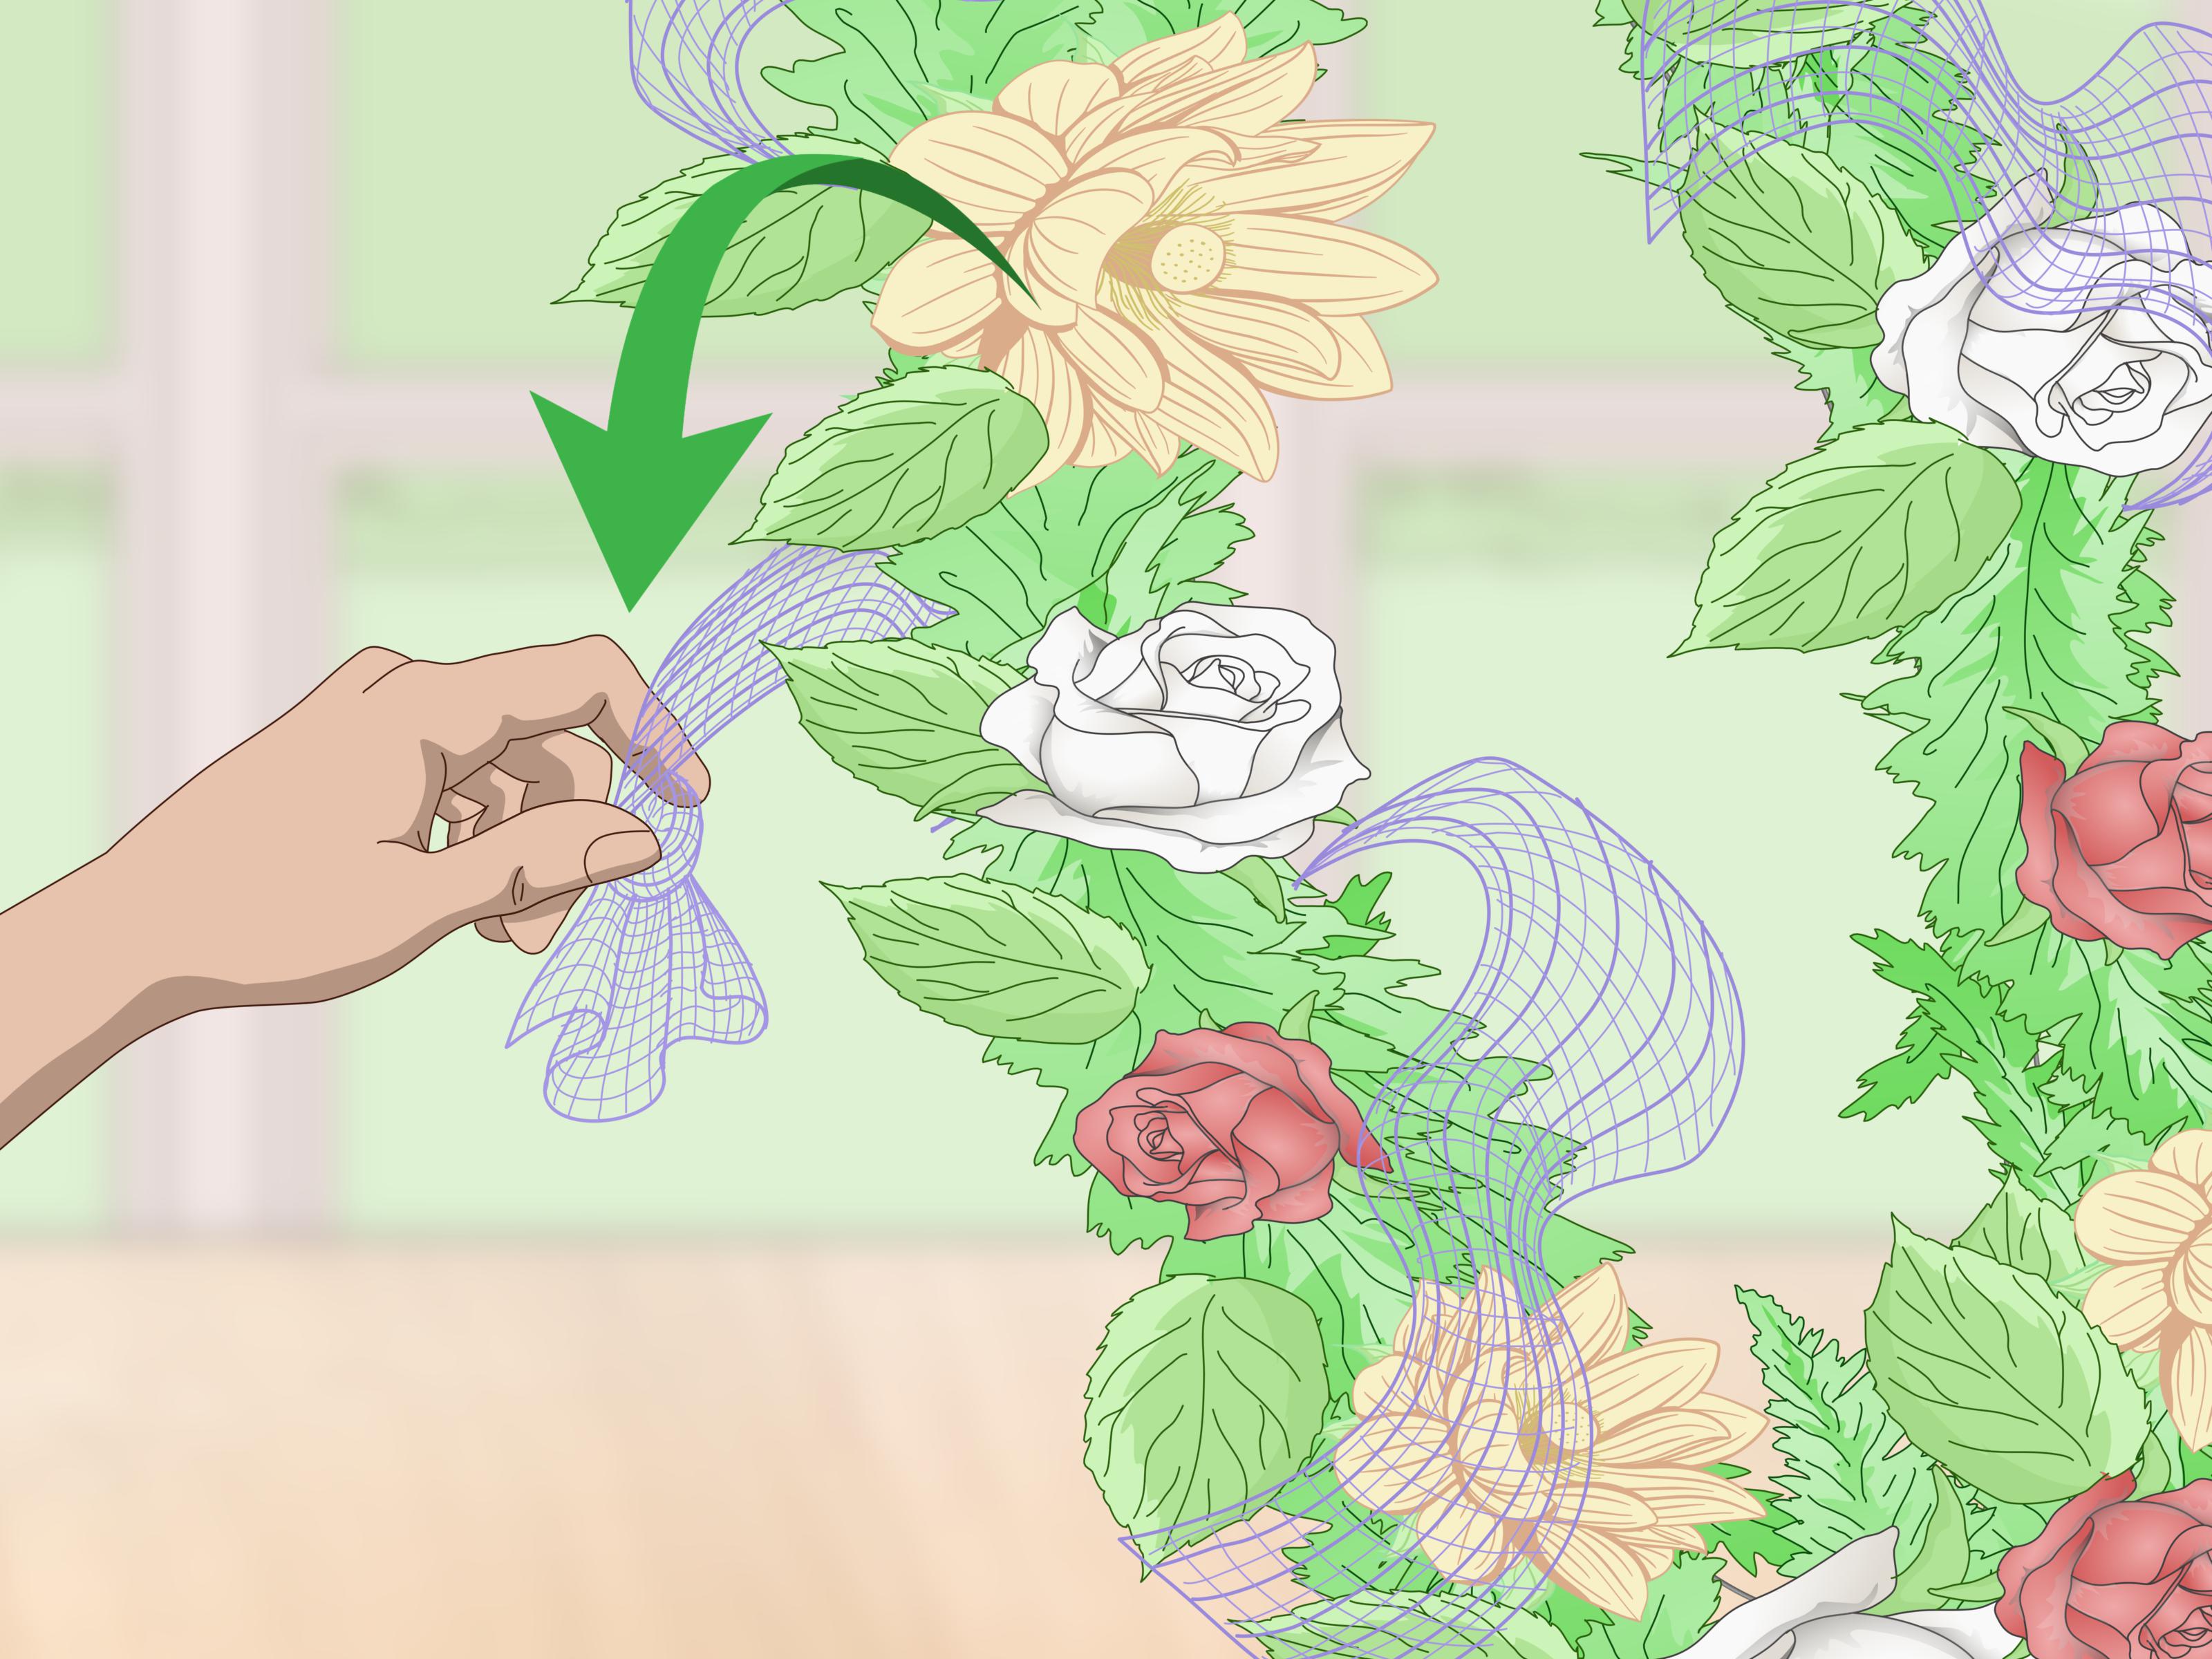
Deco mesh is the confetti cannon of the crafting world: bright, bouncy, dramatic, and just a little bit chaotic. It can turn a plain wire wreath frame into a front-door masterpiece, wrap a garland with holiday sparkle, or give a party centerpiece that “I totally meant to be this fabulous” look. But there is one tiny problem that every wreath maker eventually meets: fraying.
If you have ever cut a strip of deco mesh and watched the edges unravel like they just heard bad news, you are not alone. Deco mesh, also called decorative mesh, poly mesh, or mesh ribbon, is usually made from woven synthetic strands such as polypropylene. That woven structure gives it volume and flexibility, but it also means the cut ends can loosen when handled, pulled, twisted, or exposed to wind.
The good news? You do not have to accept messy edges as the price of crafting glory. While no method can make deco mesh completely fray-proof forever, the right cutting technique, edge treatment, and wreath-building habits can dramatically reduce unraveling. Below are three practical, crafter-approved ways to keep deco mesh from fraying, along with tips, examples, and experience-based advice that will help your wreaths look polished instead of politely attacked by a squirrel.
Why Deco Mesh Frays in the First Place
Before fixing the problem, it helps to understand why it happens. Deco mesh is not a solid sheet of material. It is a woven grid of plastic-like fibers. When the factory edges are intact, the strands hold together fairly well. But once you cut across the weave, the newly exposed strands have nothing locking them in place. The more you tug, fluff, curl, or reposition the mesh, the more those strands can slide loose.
Fraying is especially common when using regular scissors, dull blades, loose-weave mesh, bargain rolls, or designs that require lots of handling. Outdoor wreaths may fray faster because wind moves the mesh, sunlight can weaken some materials over time, and doors are not exactly gentle environments. Every time the wreath bumps against a storm door, mailbox, wall, or enthusiastic guest, those cut ends get another tiny test.
That does not mean deco mesh is bad. In fact, it is popular because it is lightweight, weather-resistant, affordable, and wonderfully forgiving. You can make beginner-friendly wreaths, holiday swags, bows, garlands, table decorations, and seasonal door decor with it. You simply need to treat the edges with a little respect. Think of deco mesh as a drama queen with excellent stage presence: give it structure, and it performs beautifully.
Way 1: Cut Deco Mesh Cleanly with the Right Tool
The first and most important way to keep deco mesh from fraying is to improve your cut. A clean cut gives the strands less opportunity to separate. A jagged cut creates tiny weak points, and those weak points become the frayed “hairs” that make your wreath look unfinished.
Use a Rotary Cutter Instead of Regular Scissors
A sharp rotary cutter is one of the best tools for cutting deco mesh. Unlike scissors, which pinch and lift the material while cutting, a rotary cutter rolls across the mesh and slices it more evenly. This creates a flatter, cleaner edge. For best results, place the deco mesh on a self-healing cutting mat, line it up with a ruler or grid, and cut in one confident pass.
Here is a simple cutting setup:
- Lay the deco mesh flat on a self-healing cutting mat.
- Use an acrylic ruler to measure the length you need.
- Hold the ruler firmly so the mesh does not shift.
- Roll a sharp rotary cutter along the ruler edge.
- Avoid sawing back and forth, which can rough up the fibers.
If your rotary cutter skips, drags, or leaves connected threads, replace the blade. A dull blade is basically a tiny pizza wheel of disappointment. It may look like it is helping, but it is quietly making the edge worse.
Try a Wood-Burning Tool or Hot Knife for Synthetic Mesh
For poly deco mesh or poly burlap mesh, some crafters use a wood-burning tool, soldering iron, or hot knife to cut and lightly seal the edge at the same time. Because many deco mesh products are made from plastic-based fibers, controlled heat can melt the cut edge just enough to reduce unraveling.
This method can be very effective, especially for flower wreath petals, ruffle wreaths, and designs where the cut ends remain visible. However, it requires patience and safety. Work on a heat-safe surface such as tempered glass, not directly on a regular cutting mat. Keep the room ventilated, avoid breathing fumes, and never leave the hot tool unattended. Test on a scrap piece first because different mesh types melt differently.
To use a heated tool safely:
- Place a heat-safe glass board on your work table.
- Lay the mesh flat and measure the desired length.
- Use a metal ruler as a guide, not a plastic ruler.
- Move the hot tool slowly along the line.
- Let the edge cool before touching or shaping it.
The goal is to seal the strands, not scorch the mesh into crispy craft bacon. If the edge gets hard, brown, clumpy, or smoky, lower the heat if possible or move the tool a little faster. A sealed edge should look tidy, not like it survived a tiny campfire.
Cut Larger Pieces When Possible
Another smart trick is to reduce the number of cut edges in your project. Every cut creates two potential fraying points. If your design allows it, use longer strips, continuous poofs, or fewer pieces. For example, a poof wreath made from one continuous roll may fray less than a wreath made with dozens of short cut curls.
This does not mean short pieces are off-limits. Curl wreaths, woodland ruffles, and petal wreaths often require cut sections. Just remember that more cuts mean more edges to manage. Plan your project so the cut ends can be tucked, hidden, sealed, or secured.
Way 2: Seal, Fold, or Hide the Cut Edges
Once the mesh is cut, the second way to prevent fraying is to protect the exposed edges. This can be done with sealants, glue, folding techniques, or clever placement. The best method depends on the wreath style, the mesh type, and how visible the ends will be.
Use a Fabric Fray Sealant
Fabric fray sealants are made to stop woven edges from unraveling. Products such as clear liquid seam sealants or anti-fray fabric adhesives can be applied thinly to the cut edge. They dry clear and help lock the fibers together. This is a good option for small projects, ribbon accents, bows, or areas where you need a little extra insurance.
To use a fray sealant on deco mesh, apply a thin line along the cut edge and let it dry fully before shaping the mesh. Do not soak the material. Too much liquid can make the edge stiff, shiny, sticky, or visible. A light touch is better. Test first on a scrap piece, especially if your mesh has metallic foil, glitter, or a painted finish.
Sealants are useful, but they are not always practical for huge wreaths with dozens of pieces. If you are cutting 120 mesh petals, applying sealant to every edge may test your patience, your playlist, and possibly your life choices. For larger projects, combine sealant with better cutting and folding methods.
Apply Clear Craft Glue Carefully
Clear craft glue, fabric glue, or strong flexible adhesive can also help reduce fraying. This works best when you need to secure a specific edge or repair a small area that has already started to unravel. Put a small amount of glue on a toothpick, cotton swab, or fine-tip applicator and run it lightly across the edge.
Avoid thick glue lines because they can create stiff, crunchy edges. Deco mesh should still look airy and full, not like it has been laminated by an overachiever. Let the glue dry completely before adding the piece to your wreath. If the mesh is still wet when you twist it into a pipe cleaner, the glue can smear or bond in odd places.
Fold the Ends Under
One of the easiest no-product methods is folding the cut edges under before attaching the mesh. This works beautifully for ruffle, curl, and cruffle-style wreaths. Instead of leaving the raw edge on display, roll or fold the end inward so the cut strands are tucked inside the shape.
For a curl method, roll the mesh so both cut ends are tucked into the curl or positioned toward the back of the wreath. For a ruffle method, scrunch the mesh down the center while keeping the raw edges slightly turned under. For a woodland ruffle, roll the ends inward first, then gather the middle. This gives the piece a finished look and keeps the most vulnerable edges from being front and center.
This method is fast, free, and beginner-friendly. It will not completely stop fraying, but it hides much of it and reduces handling of the raw edge. In wreath making, sometimes the secret is not eliminating every flaw; it is arranging the fluff so the flaws are too busy being fabulous to be noticed.
Cover Edges with Ribbon or Decorative Accents
Ribbon is not just pretty; it is also a strategic disguise. Layering wired ribbon over mesh pieces can cover cut ends and reduce movement. Signs, bows, ornaments, florals, picks, greenery, and tubing can also hide areas where the mesh looks messy.
For example, if the inner ring of a wreath shows too many frayed mesh ends, add a bow, sign, or cluster of florals. If the outer edge looks fuzzy, add ribbon tails or decorative tubing around the perimeter. The wreath police will not show up and demand to inspect your cut lines. They are too busy admiring the bow.
Way 3: Handle, Secure, and Store Deco Mesh the Smart Way
The third way to keep deco mesh from fraying is to change how you build and care for the project. Even perfectly cut mesh can fray if it is overhandled. Deco mesh likes to be shaped, but it does not love being yanked, re-scrunched, unrolled, re-rolled, stepped on, flattened, and then asked to look cheerful.
Handle the Mesh as Little as Possible
Before you start assembling, cut all your pieces, organize them by size or color, and decide on your pattern. This helps you avoid repeatedly picking up the same piece and fussing with it. The more you touch the cut edges, the more likely they are to loosen.
When shaping mesh curls or ruffles, use gentle pressure. If a piece does not look right, adjust the center or the overall placement rather than pulling on the edges. Once a section is attached to the frame, fluff it lightly and move on. Over-fluffing is real. It begins with “just one more adjustment” and ends with a wreath that looks like it got into a pillow fight.
Secure Mesh Firmly with Pipe Cleaners, Floral Wire, or Zip Ties
Loose mesh moves more, and movement encourages fraying. Secure each section firmly to the wreath frame with chenille stems, floral wire, or small zip ties. Pipe cleaners are popular because they are easy to twist, inexpensive, and can blend into the mesh. Zip ties create a stronger hold and are useful for outdoor wreaths, heavier designs, or thick mesh bundles.
Do not pull so tightly that you cut into the mesh, but make sure each bundle is snug. A secure center keeps the cut ends from shifting around. After attaching a bundle, turn the raw ends toward the back or tuck them beneath nearby ruffles. This keeps the front clean and reduces exposure to wind and handling.
Choose Wreath Methods That Hide Fraying
Some deco mesh techniques naturally hide frayed edges better than others. The poof method uses fewer cuts, which can mean less fraying overall. The woodland ruffle method rolls the ends inward, helping conceal raw edges. The curl method can work well if the cut ends are rolled to the inside. Petal wreaths may need more sealing because the mesh pieces are often cut individually and arranged with visible tips.
If you are a beginner, start with a method that is forgiving. A poof-and-ruffle wreath, curl wreath, or woodland ruffle wreath can look full and polished without requiring every cut edge to be perfect. Save the highly detailed flower wreaths for when you have made peace with your rotary cutter.
Store Finished Wreaths Properly
Storage matters more than many crafters realize. Tossing a deco mesh wreath into a closet under three winter coats is a bold choice, but not a wise one. Mesh can flatten, crease, and fray when crushed. Store wreaths in a wreath storage bag, plastic wreath container, or large box that allows the mesh to keep its shape.
Keep wreaths in a cool, dry place away from direct sunlight. Heat can affect some synthetic materials, and sunlight may fade colors over time. If you display a deco mesh wreath outdoors, choose a covered porch or protected door when possible. Wind, rain, and harsh sun will shorten the life of any handmade decoration, even one built with care.
Best Tools and Supplies for Preventing Deco Mesh Fray
You do not need a professional craft studio to make neat deco mesh projects. A few reliable tools can make a big difference. Here are the essentials worth keeping in your wreath-making kit:
- Sharp rotary cutter: Creates cleaner cuts than most scissors.
- Self-healing cutting mat: Protects your table and helps with measuring.
- Acrylic ruler: Keeps cuts straight and consistent.
- Wood-burning tool or hot knife: Cuts and heat-seals synthetic mesh when used safely.
- Tempered glass cutting board: Provides a heat-safe surface for hot-tool cutting.
- Fray sealant: Helps lock fibers on small areas or visible edges.
- Clear craft or fabric glue: Useful for touch-ups and repairs.
- Pipe cleaners, floral wire, or zip ties: Secure mesh tightly to the wreath frame.
If you only buy one tool first, choose a rotary cutter with replacement blades. It is useful for deco mesh, ribbon, fabric, felt, and many other crafts. If you work with deco mesh often, add a heat tool later and practice on scraps until you find the right speed and pressure.
Common Mistakes That Make Deco Mesh Fray Faster
Even experienced crafters sometimes make small mistakes that lead to fuzzy edges. Here are the most common ones to avoid:
Using Dull Scissors
Dull scissors chew the mesh instead of slicing it. The edge may look acceptable at first, but the strands loosen quickly once you start shaping the piece. If scissors are your only option, use the sharpest pair you own and cut with long, smooth strokes.
Cutting Without Measuring
Uneven pieces often require extra trimming, and extra trimming creates more raw edges. Measure first, cut once, and spare yourself the tiny blizzard of plastic threads.
Overhandling Each Piece
Repeated rolling, unrolling, twisting, and repositioning can loosen the weave. Decide on the shape, attach it securely, fluff gently, and let it be.
Leaving Raw Edges Facing Forward
Whenever possible, turn cut edges toward the back of the wreath or tuck them inside curls and folds. A small change in direction can make the finished piece look much cleaner.
Using the Wrong Mesh for the Project
Loose-weave mesh may fray more than tighter-weave mesh. Fine-weave or higher-quality deco mesh often behaves better, especially for wreaths that will be handled, shipped, or displayed outdoors.
Quick Fixes for a Deco Mesh Wreath That Is Already Fraying
If your wreath is already fraying, do not panic. Many frayed areas can be improved without rebuilding the whole project. Start by trimming long loose strands with sharp scissors. Do not pull them, because pulling can unravel more of the mesh. Then apply a tiny amount of clear glue or fray sealant to the worst edges.
If the fraying is visible on the front, rearrange nearby curls or ruffles to cover the spot. Add ribbon tails, a bow, ornaments, florals, greenery, or a sign. If one piece is badly damaged, remove that section and replace it with a fresh piece. Most wreaths are forgiving because they are full, layered, and textured. In other words, deco mesh gives you room to hide your “creative emergencies.”
For outdoor wreaths, check them occasionally during the season. Snip stray threads, refluff flattened areas, and make sure attachments are still secure. A five-minute touch-up can keep a wreath looking fresh for weeks longer.
Real-World Experience: What Actually Works When Deco Mesh Starts Acting Dramatic
After working with deco mesh for a while, most crafters discover that preventing fray is less about one magic trick and more about combining several small habits. The first lesson is simple: the cut matters. A clean rotary cut can instantly make a project feel more professional. When I compare mesh cut with regular scissors to mesh cut with a sharp rotary cutter, the difference is obvious. The scissor-cut edge often looks fuzzy before the wreath is even assembled, while the rotary-cut edge stays flatter and easier to tuck.
The second lesson is that heat tools are powerful, but they are not always necessary. A wood-burning tool can make a beautifully sealed edge on poly mesh, especially for petal-style wreaths where every piece is visible. However, it takes practice. Move too slowly, and the edge can become stiff or clumpy. Move too quickly, and the strands may not seal. The sweet spot is usually a steady, light pass with the tool hot enough to melt the fibers but not so hot that it smokes. Testing scraps is not optional; it is the crafting version of reading the recipe before dumping cinnamon into the chili.
The third lesson is that folding edges under is underrated. Many beginners focus on buying products to stop fraying, but the way the mesh is shaped matters just as much. In curl wreaths, rolling the cut ends inward makes the whole wreath look cleaner. In woodland ruffles, turning the edges into the roll gives the design a soft, finished appearance. In poof wreaths, using a continuous roll reduces the number of raw edges in the first place. Sometimes the best fray-control method is simply choosing the right wreath technique.
Another practical experience: not all deco mesh behaves the same. Some rolls are tightly woven and cooperative. Others seem determined to shed strands if you look at them with too much confidence. Metallic mesh can be gorgeous, but foil strips may separate if handled roughly. Poly burlap can hold shape beautifully, but it may need heat sealing for flower petals. Budget mesh can still make lovely wreaths, but it often benefits from extra care, cleaner cuts, and designs that hide the edges.
Storage also makes a surprising difference. A wreath that looked perfect on the door can come out of storage looking tired if it was crushed in a bin. The mesh may flatten, the edges may bend outward, and loose strands become more noticeable. Storing wreaths upright or in a roomy wreath box helps preserve the shape. If space is limited, at least avoid stacking heavy items on top. Deco mesh is cheerful, but it is not a mattress.
Finally, perfection is not the goal. Even professionally made deco mesh wreaths can have a few tiny frays if you inspect them closely. What matters is the overall appearance. If the wreath looks full, balanced, colorful, and neat from normal viewing distance, it is doing its job. Your guests are not going to stand on your porch with a magnifying glass and a clipboard. They will see a beautiful wreath, and you will know the secret: clean cuts, tucked edges, gentle handling, and just enough glue to keep the drama under control.
Conclusion
Keeping deco mesh from fraying starts with understanding the material. Because deco mesh is woven, every cut creates exposed strands that can loosen over time. The best defense is a three-part strategy: cut cleanly with the right tool, seal or hide the raw edges, and handle the mesh carefully during assembly and storage.
A sharp rotary cutter is the easiest upgrade for most crafters. A wood-burning tool or hot knife can help seal synthetic mesh when used safely. Fray sealant, clear glue, folded edges, ribbon, and smart wreath techniques all add another layer of protection. And once the wreath is finished, gentle handling and proper storage keep it looking fresh longer.
Deco mesh may always have a tiny wild streak, but that is part of its charm. With the right approach, you can keep the frizz under control and create wreaths, garlands, bows, and decorations that look polished, festive, and ready for their front-door close-up.











