
Changing a home air filter is one of those tiny household jobs that feels almost too simple to matterright up until your HVAC system starts wheezing like it just ran a marathon in a wool coat. A clean air filter helps your heating and cooling system breathe, protects internal parts from dust buildup, and keeps more airborne particles from taking a victory lap through your living room.
The good news? You do not need a toolbox the size of a pickup truck. In most homes, replacing an HVAC air filter takes less than ten minutes, requires no special skills, and costs far less than calling a technician because the system has been choking on a filter that looks like it survived an archaeological dig.
This guide explains how to change a home air filter step by step, how often to replace it, how to choose the right size, what the airflow arrow means, and what mistakes to avoid. Whether you have a furnace, central air conditioner, heat pump, or a combined HVAC system, the basic process is usually the same: find the filter, remove the old one, match it correctly, slide in the new one, and let your system get back to breathing like a civilized appliance.
Why Changing Your Home Air Filter Matters
Your home air filter is not just a dusty cardboard rectangle hiding in a vent. It is the first line of defense between household debris and your HVAC equipment. As air moves through the return duct or air handler, the filter captures particles such as dust, lint, pollen, pet dander, and other airborne debris.
When the filter is clean, air can move through the system more easily. When it is clogged, airflow drops. That forces the blower motor to work harder, reduces comfort, and may increase energy use. In extreme cases, restricted airflow can contribute to frozen evaporator coils in cooling season, overheating during heating season, short cycling, weak airflow from vents, and expensive service calls. In other words, the filter may be small, but it has a dramatic personality.
Clean Filters Help Protect Indoor Air Quality
A good HVAC filter can help reduce common indoor particles, especially when it is properly installed and changed on schedule. This does not mean a standard furnace filter magically turns your house into a mountain spa. It does mean that choosing the right filter and replacing it before it becomes overloaded can support cleaner indoor air, especially in homes with pets, allergies, smoke exposure, or heavy dust.
Clean Filters Help Your HVAC System Work Efficiently
HVAC systems depend on steady airflow. A dirty filter creates resistance, and resistance makes the equipment work harder. Think of it like trying to drink a milkshake through a coffee stirrer. Possible? Maybe. Pleasant? Absolutely not. Your HVAC system feels the same way when air has to fight through a filter packed with dust bunnies.
How Often Should You Change a Home Air Filter?
For many homes, replacing a standard one-inch pleated air filter every 60 to 90 days is a reasonable starting point. However, the best schedule depends on your filter type, HVAC usage, household conditions, and the manufacturer’s instructions. During heavy heating or cooling seasons, checking the filter once a month is a smart habit.
You may need to change your air filter more often if you have pets, live near construction or wildfire smoke, run the HVAC system daily, have allergy or asthma concerns in the household, keep windows open often, or use a thinner fiberglass filter. A vacation home with light use may go longer between changes. A busy home with two dogs, three kids, and a golden retriever that sheds like it is paid by the pound may need monthly replacements.
General Replacement Schedule
Use this simple schedule as a practical guide:
- Basic fiberglass filters: usually every 30 days.
- One-inch pleated filters: usually every 60 to 90 days.
- Homes with pets or allergies: check monthly; replace every 30 to 60 days if dirty.
- High-use heating or cooling seasons: inspect monthly.
- Thicker media filters: often last longer, but follow the system or filter manufacturer’s instructions.
- Washable filters: clean as directed and allow them to dry completely before reinstalling.
Before You Start: Find the Right Filter Size
Before buying a replacement, check the size printed on the edge of your current filter. It usually looks something like 16 x 20 x 1, 20 x 25 x 1, or 16 x 25 x 4. These numbers refer to length, width, and thickness in inches.
Do not guess the size unless you enjoy returning things to the store while holding a dusty filter like a sad trophy. If the old filter is missing or unreadable, measure the filter slot carefully. A filter should fit snugly without bending, crushing, or leaving large gaps. A loose filter allows air to bypass it. A filter that is too large may buckle, reducing airflow and making you question every life choice that led to this moment.
Nominal Size vs. Actual Size
Air filters often use a nominal size, which is a rounded number. The actual size may be slightly smaller. For example, a filter labeled 20 x 25 x 1 may measure a little less than those exact dimensions. This is normal. When replacing a filter, match the printed size unless your HVAC manual says otherwise.
Understanding MERV Ratings Without Falling Asleep
MERV stands for Minimum Efficiency Reporting Value. It measures how well a filter captures particles of certain sizes. In general, the higher the MERV rating, the more efficient the filter is at trapping smaller particles.
For many residential systems, filters in the MERV 8 to MERV 13 range are common options. A higher MERV rating can improve particle capture, but it may also create more airflow resistance if your system is not designed for it. That is why “highest number on the shelf” is not always the best answer. Your HVAC system is not a competitive eater; it has limits.
If you are unsure which MERV rating is appropriate, check your HVAC manual or ask a licensed HVAC professional. This is especially important if you want to upgrade from a basic filter to a high-efficiency filter. The goal is to balance filtration and airflow, not win a science fair by accidentally suffocating your furnace.
Tools and Supplies You Need
Changing a home air filter is wonderfully low-maintenance. You typically need only a few items:
- A new air filter in the correct size and rating.
- A trash bag for the old filter.
- A microfiber cloth or vacuum brush attachment.
- A marker or phone reminder to track the replacement date.
- Gloves, if the old filter is especially dusty.
That is it. No power drill. No heroic background music. No need to call your uncle who “knows about ducts” because he once installed a ceiling fan in 1998.
How to Change a Home Air Filter: Step-by-Step Guide
Step 1: Turn Off the HVAC System
Start by turning off your heating or cooling system at the thermostat. This prevents air from blowing dust into the system while the filter is removed. It also keeps the blower from pulling loose debris into the ductwork. You do not usually need to shut off power at the breaker for a simple filter change, but always follow your system’s manual if it gives specific safety instructions.
Step 2: Locate the Air Filter
The filter is usually found in one of three places: behind a large return air grille, inside the air handler, or in a filter slot near the furnace or blower compartment. Return grilles are often located in a hallway, ceiling, wall, or central area of the home. Air handlers may be in a basement, attic, garage, closet, utility room, or crawlspace.
Some homes have more than one return grille and more than one filter. If your house has separate HVAC zones, multiple floors, or more than one system, check each filter location. Missing one filter is like brushing only half your teethnot technically nothing, but not the goal.
Step 3: Open the Filter Cover or Slot
If the filter is behind a return grille, open the grille by releasing the latches or screws. If the filter is in the air handler or furnace, look for a narrow metal slot or removable panel. Some panels slide off; others have clips. Be gentle. If you have to wrestle it like a raccoon in a trash can, stop and look for the proper latch.
Step 4: Check the Airflow Direction Arrow
Before removing the old filter, look for the arrow printed on the frame. This arrow shows the direction of airflow. In most systems, the arrow should point toward the blower, furnace, or air handlernot toward the room.
This is one of the most common mistakes people make. The arrow is not decorative. It is not there for emotional support. It tells you how the filter should face so the reinforced side can handle airflow correctly.
Step 5: Remove the Old Filter Carefully
Slide the old filter out slowly. If it is loaded with dust, keep it level so debris does not fall into the filter slot or onto your floor. Place it directly into a trash bag. One clever trick is to use the plastic wrapper from the new filter as a disposal bag for the old one.
Take a quick look at the old filter. If it is gray, furry, clogged, or blocking light when held up, it was ready to retire. Thank it for its service and send it to the trash with dignity.
Step 6: Clean Around the Grille or Filter Area
Use a microfiber cloth or vacuum brush attachment to remove dust from the return grille, filter slot, or nearby area. Do not push dirt into the ductwork. A quick wipe helps prevent loose dust from being pulled into the system as soon as you turn it back on.
If the grille is heavily coated, clean both sides if accessible. Dusty grilles reduce airflow and make your brand-new filter work harder from day one. That is rude to the filter.
Step 7: Insert the New Filter Correctly
Slide the new filter into place with the airflow arrow pointing in the correct direction. The filter should fit snugly, but it should not bend, crumple, or require force. If it does not slide in easily, double-check the size and orientation.
For a return grille, the arrow usually points into the duct. For a furnace or air handler slot, it usually points toward the equipment. When in doubt, remember that airflow moves from the return side toward the blower.
Step 8: Close the Cover Securely
Close the grille or access panel and secure any latches, clips, or screws. A loose cover may rattle or allow air leaks. Make sure the filter remains seated properly and has not shifted while closing the panel.
Step 9: Turn the HVAC System Back On
Return to the thermostat and turn the system back on. Listen for normal operation. Air should flow from the supply vents as usual. If you hear rattling, whistling, or unusual noises, recheck the filter and cover. Sometimes the filter may not be seated fully, or the grille may not be latched tightly.
Step 10: Record the Replacement Date
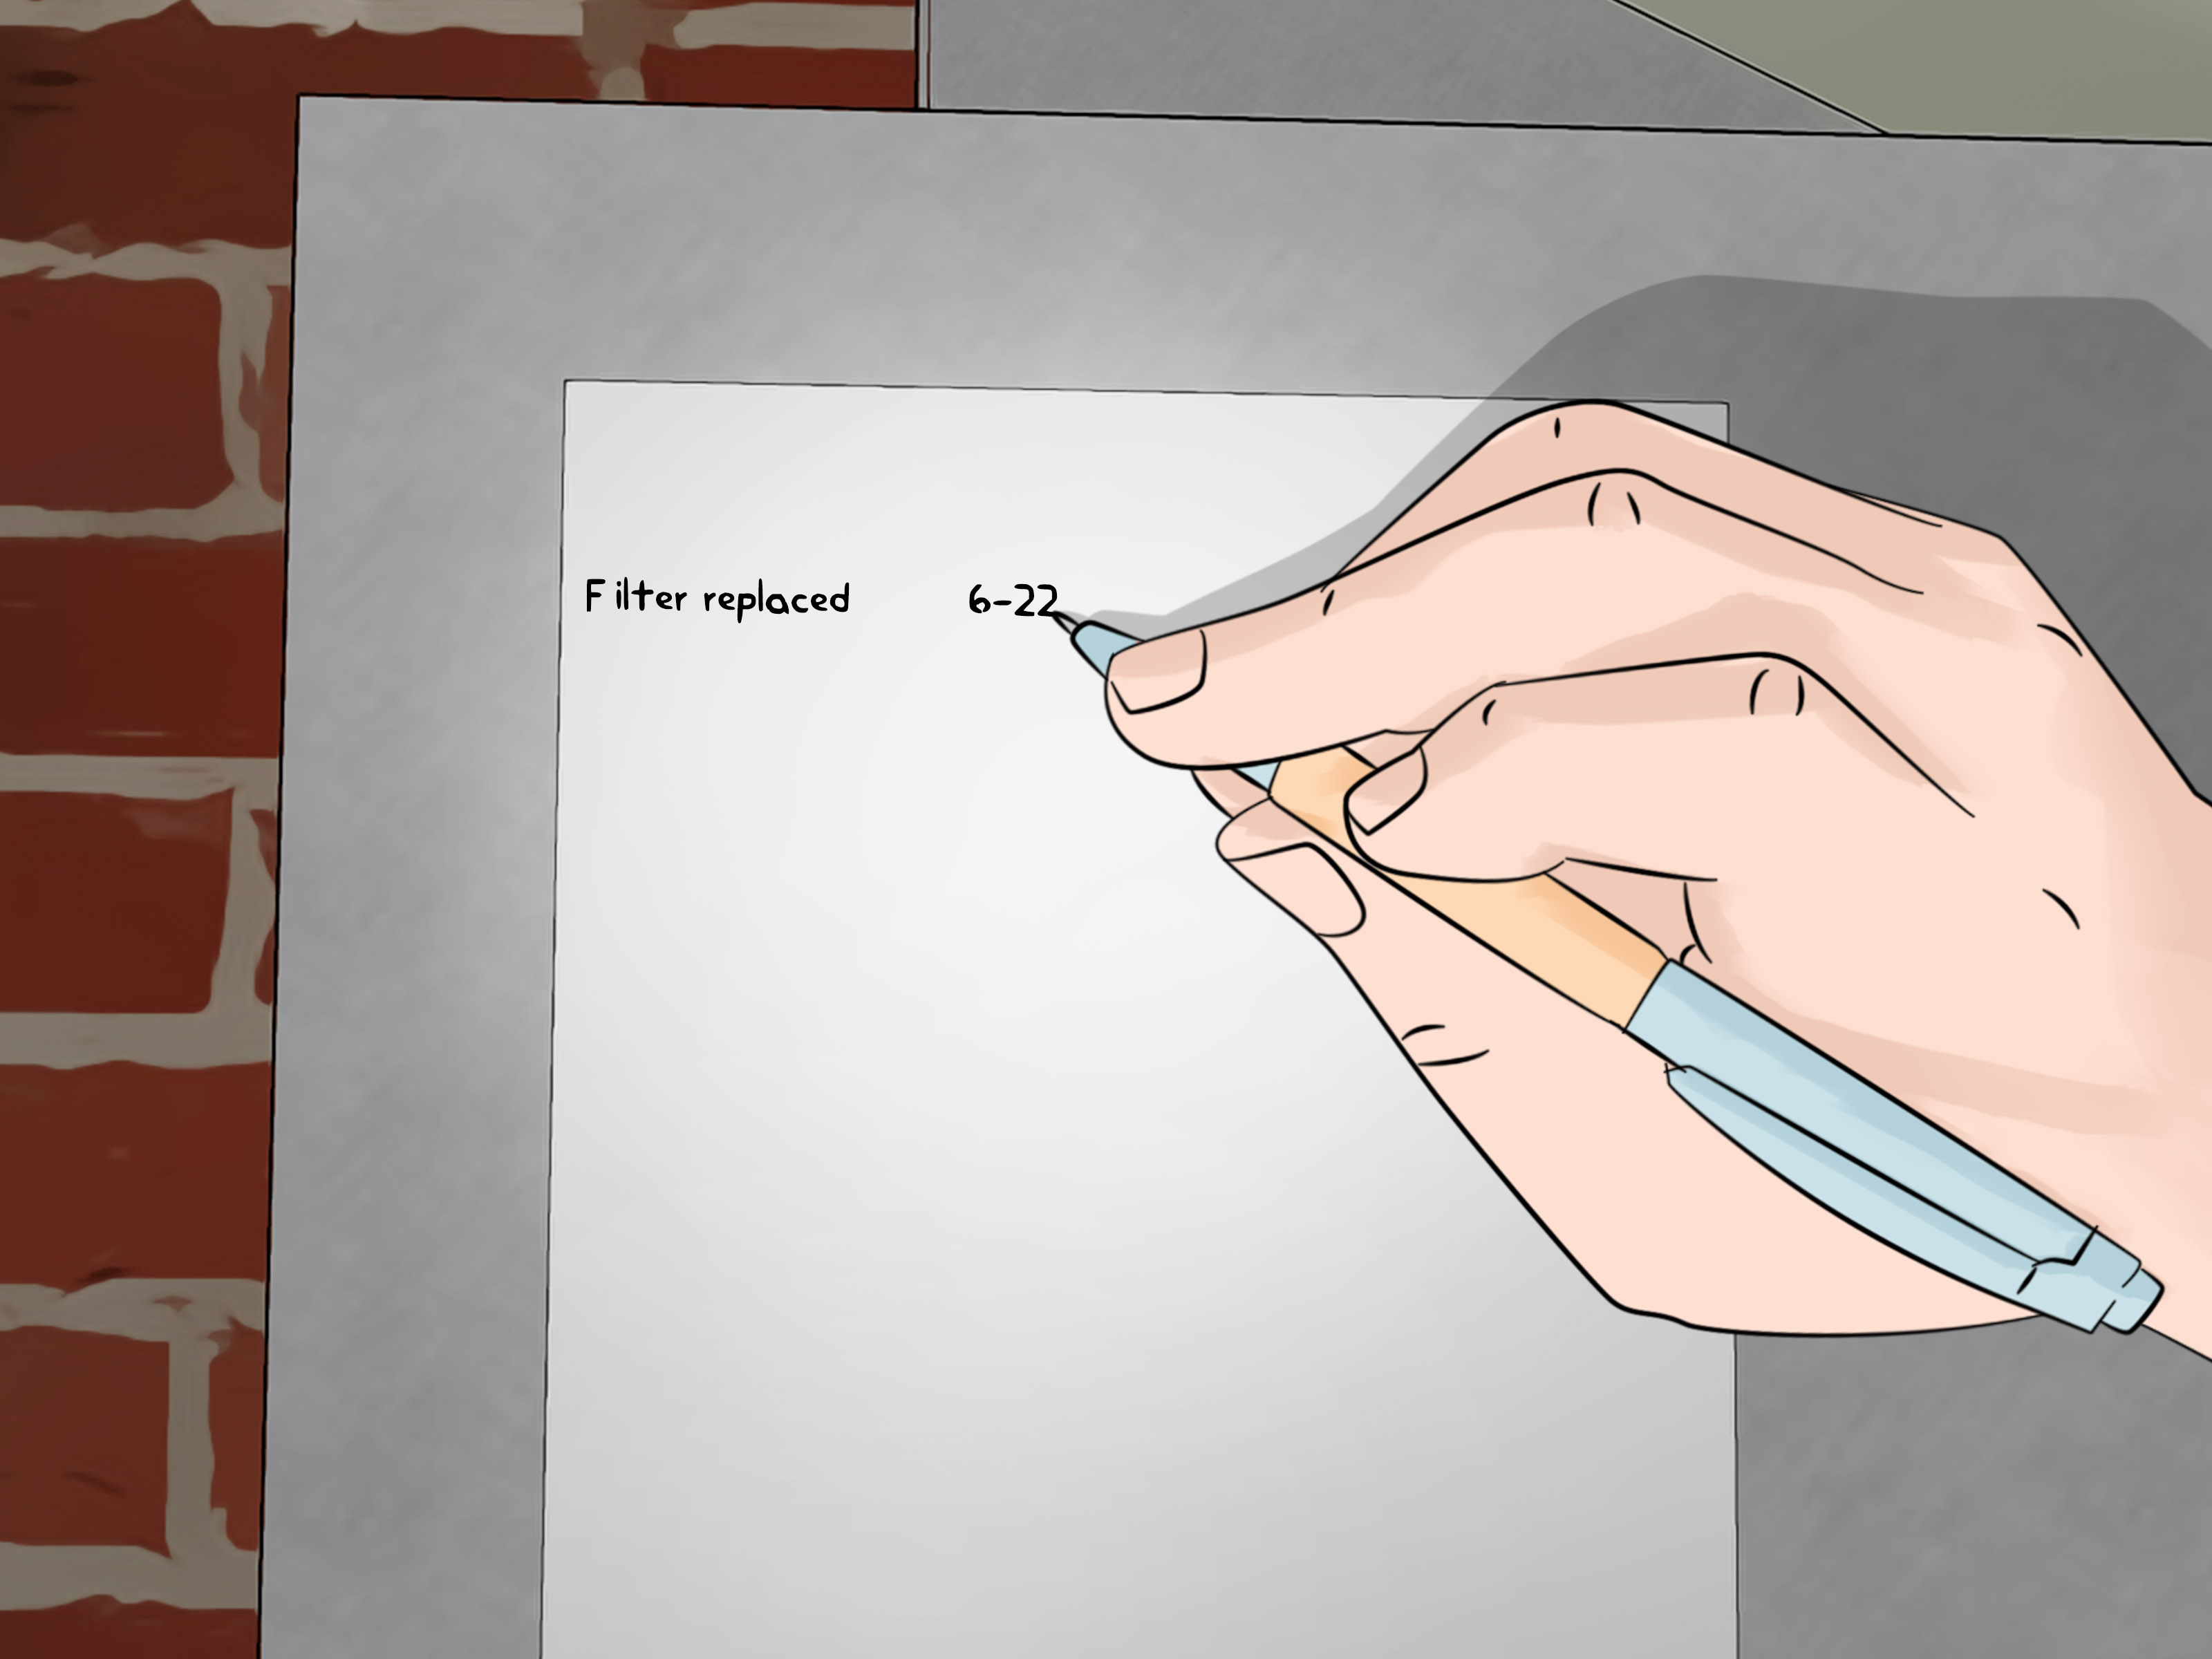
Write the date on the filter frame with a marker before installing it, or set a recurring reminder on your phone. This tiny habit prevents the classic homeowner mystery: “Did I change this last month or during the previous presidential administration?”
Common Mistakes to Avoid
Installing the Filter Backward
The airflow arrow should point toward the blower or ductwork, depending on the filter location. A backward filter may restrict airflow and reduce performance.
Using the Wrong Size
A filter that is too small can allow unfiltered air around the edges. A filter that is too large can bend or fail to seal properly. Always match the printed size or your system’s specifications.
Choosing Too High a MERV Rating Without Checking Compatibility
High-efficiency filters can be helpful, but not every HVAC system can handle the added resistance. If airflow drops noticeably after a filter upgrade, ask an HVAC professional whether your system is compatible.
Forgetting About Multiple Filters
Some homes have more than one return grille or air handler. Check the whole system so one dirty filter does not quietly sabotage your comfort.
Trying to Wash a Disposable Filter
Disposable filters are meant to be replaced, not rinsed and reused. Washing them can damage the material and reduce filtration. Only clean washable filters if they are specifically labeled as washable.
Signs Your Air Filter Needs Replacing
Your filter may need attention if you notice weak airflow from vents, more dust on furniture, higher energy bills, uneven room temperatures, longer heating or cooling cycles, musty odors, or visible dirt on the filter surface. If the filter looks dark and clogged, replace it. Your eyes are a surprisingly advanced diagnostic tool.
Another simple test is to hold the filter up to a light source. If very little light passes through, it is probably time for a new one. This is not a laboratory-grade test, but it works well enough for normal household maintenance.
How to Choose the Best Air Filter for Your Home
The best air filter is the one that fits your system, supports good airflow, and meets your household needs. For many homes, a pleated filter with a moderate MERV rating offers a practical balance of filtration and airflow. Homes with pets, allergy concerns, or smoke exposure may benefit from a higher-efficiency filter if the HVAC system can handle it.
When shopping, look for the exact size, filter type, MERV rating, and replacement interval. Avoid buying filters based only on price. The cheapest filter may need more frequent replacement and may capture fewer particles. The most expensive filter may be unnecessary or too restrictive for your system. The sweet spot is compatibility plus performance.
Fiberglass Filters
Fiberglass filters are usually inexpensive and designed mainly to protect HVAC equipment from large debris. They often need frequent replacement and may not capture smaller particles as well as pleated filters.
Pleated Filters
Pleated filters have more surface area, which helps them capture more particles while maintaining airflow when properly matched to the system. They are a common choice for residential HVAC systems.
Washable Filters
Washable filters can be reused, but they must be cleaned correctly and dried completely before reinstalling. Putting a damp filter back into your system is a bad idea. HVAC equipment does many things well; hosting a moisture party is not one of them.
Thick Media Filters
Some systems use four-inch or five-inch media filters. These often last longer than standard one-inch filters because they have more surface area. However, replacement timing still depends on usage, dust levels, and manufacturer recommendations.
Special Situations: Pets, Allergies, Smoke, and Renovation Dust
If you have pets, check the filter more often. Pet hair and dander can load a filter quickly, especially during shedding season. If someone in your home has allergies, a better filter may help reduce airborne irritants, but it should be part of a broader plan that includes cleaning, humidity control, and source reduction.
During wildfire smoke events, nearby construction, home remodeling, or heavy pollen seasons, your filter may clog faster than usual. Check it monthly or even more often during severe conditions. Renovation dust is especially sneaky. Drywall dust can overwhelm filters quickly, and it should be controlled at the source with containment and cleanup.
When to Call an HVAC Professional
Changing a filter is usually a DIY task, but some problems deserve professional attention. Call an HVAC technician if your system has weak airflow even with a clean filter, the filter gets dirty unusually fast, you hear strange noises, the system short cycles, the evaporator coil freezes, the filter slot is missing or damaged, or you are unsure which filter rating your system can handle.
You should also schedule regular professional maintenance for the larger HVAC system. Filter replacement is important, but it does not replace coil cleaning, refrigerant checks, electrical inspection, drain line service, or other professional maintenance tasks. A clean filter is the opening act, not the whole concert.
Homeowner Experience: What Changing Air Filters Teaches You Over Time
After you change home air filters a few times, you start to notice patterns. The first pattern is that filters rarely get dirty on a convenient schedule. They do not politely wait for a calm Saturday morning with good lighting and coffee. They get dirty during heat waves, cold snaps, pollen explosions, and the week your dog decides to shed enough fur to build a backup dog.
One useful experience is learning how your own home behaves. A house with one adult, no pets, and light HVAC use may keep a filter fairly clean for two or three months. A busy household with pets, kids, open windows, and constant air conditioning may load a filter much faster. The “every 90 days” rule is helpful, but your filter’s appearance tells the real story. Checking monthly gives you a personal baseline.
Another practical lesson is that airflow matters. Many homeowners upgrade to a denser, higher-rated filter because it sounds better. Sometimes it is better. Sometimes the HVAC system responds with weak airflow and longer run times. If a new filter makes the system sound strained or noticeably reduces airflow, that is a clue. Better filtration should not come at the cost of starving the system. Balance is the name of the game.
People also learn that the airflow arrow is easy to miss. The filter frame may have several printed marks, brand labels, rating numbers, and marketing claims. Somewhere among them is the arrow that actually matters during installation. A smart trick is to draw a small arrow on the metal filter slot or grille frame with a marker after confirming the correct direction. The next replacement becomes much easier.
Filter storage is another underrated detail. Buying filters in multipacks can save time, but only if you store them somewhere clean and dry. A garage shelf is fine if the filters stay wrapped and protected. Tossing unwrapped filters into a dusty utility room defeats the purpose. Nobody wants to install a “new” filter that has already collected half the garage.
Many homeowners also discover that return grilles deserve attention. If the grille is coated with dust, the new filter starts its life at a disadvantage. A quick vacuum or wipe-down during each filter change keeps the area cleaner and improves airflow. This small habit makes the job feel more complete, like wiping the counter after cooking instead of pretending the crumbs are decorative.
Finally, changing air filters builds confidence. It is a simple maintenance task, but it connects you to how your home works. You begin to understand where air enters the system, how often your equipment runs, and what conditions affect indoor air. That knowledge makes you a better homeowner or renter. You do not need to become an HVAC expert; you just need to stop treating the filter like a mysterious rectangle from the appliance underworld.
The best experience-based advice is simple: keep the correct filter size written in your phone, check the filter monthly, replace it before it looks terrible, and set reminders so the task does not disappear into the fog of daily life. Your HVAC system will run more smoothly, your indoor air may feel fresher, and you will avoid the awkward moment when a technician pulls out a filter so dirty it deserves its own ZIP code.
Conclusion
Learning how to change a home air filter is one of the easiest ways to care for your HVAC system. The process is simple: turn off the system, locate the filter, note the airflow direction, remove the old filter, clean the area, install the new filter correctly, close the cover, and set a reminder for next time.
A clean air filter supports better airflow, helps protect heating and cooling equipment, and can improve everyday comfort. The key is consistency. Check your filter monthly, replace it based on household conditions, and choose a filter that matches your system’s size and airflow requirements. It is a small chore with a big payoffand unlike many home maintenance tasks, it does not require crawling under the house, arguing with plumbing, or pretending you understand electrical panels.
Change the filter before your HVAC system starts begging for mercy. Your air, your equipment, and your future utility bill will appreciate the effort.











