
Vinyl plank flooring is one of those home upgrades that looks expensive, behaves like a champ, and does not require you to mortgage your favorite coffee machine. It can handle busy kitchens, muddy entryways, pet traffic, snack-dropping children, and the occasional mystery spill that nobody in the house admits creating. But while luxury vinyl plank flooring is famously DIY-friendly, it is not magic. The difference between a floor that looks professionally installed and one that whispers, “I was done at midnight with bad lighting,” usually comes down to prep, planning, and a few smart tricks.
This guide walks through practical vinyl plank floor install tips and tricks that help you avoid gaps, buckling, uneven seams, awkward slivers, and that one plank near the doorway that annoys you every time you walk past it. Whether you are installing click-lock vinyl plank flooring in a living room, waterproof vinyl plank in a bathroom, or rigid core LVP over an existing surface, the same golden rule applies: slow down before you speed up. The floor rewards patience.
Why Vinyl Plank Flooring Is So Popular
Vinyl plank flooring, often called LVP or luxury vinyl plank, has become a favorite because it combines style, durability, and manageable installation. It can mimic hardwood, stone, or tile without the same price tag or maintenance routine. Many products are water-resistant or waterproof, making them especially appealing for kitchens, bathrooms, basements, laundry rooms, and high-traffic family spaces.
The appeal is obvious: you can refresh a room quickly, often without tearing the house apart. Many floating vinyl plank floors use click-lock edges, so the planks connect to one another rather than being nailed to the subfloor. That makes installation cleaner and more approachable for confident DIYers. Still, “easy” does not mean “careless.” A floating floor needs room to move, a clean and flat surface underneath, and a layout that does not trap tiny plank pieces in obvious places.
Before You Start: Read the Box, Not Just the Blog
Every vinyl plank product has its own installation rules. One brand may require a 1/4-inch expansion gap, while another may recommend 3/8 inch or even 1/2 inch in certain conditions. Some rigid core planks require little or no acclimation when stored and installed under normal indoor conditions, while other vinyl products may need 24 to 48 hours in the room before installation. Some floors come with an attached pad; others need a separate underlayment, and some specifically warn against adding extra padding.
So here is the first trick: treat the manufacturer’s installation instructions like the recipe, and this article like the cooking show. The tips here help you understand what matters, but your floor’s warranty usually depends on following the exact product instructions. Before opening every carton like a kid on a birthday morning, read the installation guide, warranty notes, subfloor requirements, approved underlayment rules, temperature range, and wet-area instructions.
Tools That Make Vinyl Plank Installation Easier
You do not need a contractor’s truck full of tools to install vinyl plank flooring, but the right basics make the job smoother. A utility knife, straightedge, tape measure, pencil, spacers, tapping block, pull bar, rubber mallet, level, square, and knee pads will do most of the heavy lifting. A jigsaw is useful for curved cuts, door trim, vents, and odd shapes. A miter saw or vinyl plank cutter can speed up straight crosscuts, especially in larger rooms.
Do not underestimate knee pads. Vinyl plank installation involves plenty of crouching, kneeling, scooting, measuring, re-measuring, and reconsidering your life choices. Your knees will file a complaint by lunchtime if you ignore them. Also keep a shop vacuum nearby. Tiny crumbs, drywall dust, or little subfloor bumps can interfere with plank locking systems and create annoying raised spots.
Buy Extra Flooring Before You Need It
A common recommendation is to buy about 10 percent more flooring than the measured square footage of the room. That extra material covers cutting waste, mistakes, color blending, pattern matching, and future repairs. For rooms with lots of angles, closets, vents, or diagonal layouts, consider a little more. Running short at the end is not charming. It is a special kind of home-improvement drama, especially if the color batch sells out or the manufacturer changes the design slightly.
Another smart move is to mix planks from several boxes as you install. Wood-look vinyl often includes repeated patterns and shade variation. If you install one carton at a time, you may accidentally create a patchy area or a cluster of identical planks. Pulling from multiple boxes gives the finished floor a more natural, balanced appearance.
Subfloor Prep: The Boring Step That Saves the Whole Project
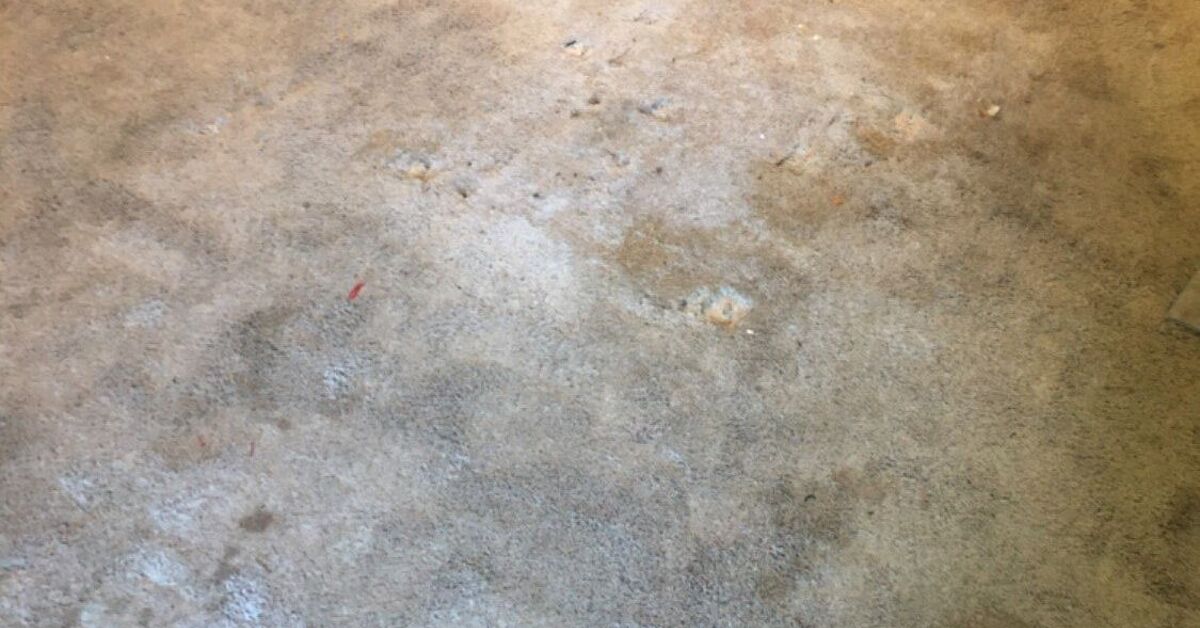
Subfloor preparation is where good vinyl plank installations are born. A vinyl plank floor is thin enough to reveal problems underneath, especially high spots, dips, loose boards, old adhesive ridges, protruding fasteners, or debris. Before installing, the subfloor should be clean, dry, flat, and structurally sound. That sounds simple, but it is the step many DIYers rush because they are excited to see the pretty planks down.
Use a long level or straightedge to check the floor in multiple directions. Sand or scrape high spots. Fill low areas with a suitable patching or leveling compound approved for your subfloor type. Drive down squeaky screws or nails. Remove loose flooring, crumbly underlayment, and anything that flexes. If the floor moves underneath, the vinyl planks above may separate, click poorly, or feel bouncy.
Installing Over Existing Flooring
Many vinyl plank products can be installed over existing hard flooring if the old surface is flat, secure, clean, and in good condition. Ceramic tile, old vinyl, and some smooth resilient floors may be acceptable depending on the product. However, deep grout lines, loose tiles, cushioned vinyl, carpet, and damaged flooring can cause trouble. If grout lines are wide or deep, skim coat them so they do not telegraph through the new floor.
Never assume “it looks flat enough” from standing height. Floors are sneaky. Get down with a straightedge and inspect. Your future self, walking barefoot across the finished room, will thank you.
Moisture Matters More Than You Think
Waterproof vinyl plank flooring can resist topical spills, but that does not mean the subfloor can be wet, moldy, or actively emitting moisture. Concrete slabs, basements, laundry rooms, and bathrooms deserve extra attention. Moisture trapped below flooring can lead to odor, damage, adhesive failure in glue-down systems, or unhealthy conditions. Follow the manufacturer’s moisture testing instructions, especially over concrete.
In wet areas, some installation guides require sealing expansion gaps and vertical surfaces with 100 percent silicone caulk, then covering them with water-resistant trim. This does not turn your floor into a swimming pool liner, but it helps protect edges from everyday splashes. The key is to waterproof according to the floor’s instructions, not according to a random comment from someone named “FloorWizard99.”
Plan the Layout Before the First Plank Clicks
One of the best vinyl plank floor install tricks is to dry-plan your layout. Measure the room width and divide it by the width of one plank. If the final row would be a skinny strip, rip the first row narrower so the first and last rows look balanced. A last row that is only one inch wide is not just unattractive; it can be harder to lock securely.
Do the same with length. You generally want to avoid tiny plank pieces at row ends, especially near doorways or main sightlines. Many manufacturers recommend staggering end joints by a minimum distance, often around 6 to 8 inches or more, depending on the plank. Avoid stair-step patterns and “H” joints, where seams line up in repeating blocks. Random-looking stagger patterns usually look more natural and distribute stress better.
Choose the Direction Carefully
In many rooms, vinyl planks look best running parallel to the longest wall or in the same direction as the main light source. In hallways, running planks lengthwise usually makes the space feel longer and cleaner. In open floor plans, think about the largest visual area rather than one small corner. The right direction can make a room feel wider, longer, calmer, or more polished.
That said, there is no universal law requiring planks to face one direction. The best layout is the one that works with the room, avoids awkward cuts, and looks intentional from the main entry point.
Expansion Gaps Are Not Optional Decoration
Floating vinyl plank flooring needs space around walls, cabinets, pipes, columns, door frames, and other fixed objects. This space is called an expansion gap. It allows the floor to expand and contract slightly with temperature and humidity changes. Without it, the floor can buckle, peak, or separate. Use spacers along the wall as you install, and remove them only after the floor is complete.
Here is the part people forget: the gap must remain open under the trim. Do not pack it with wood filler, construction adhesive, grout, or “just a little caulk” unless the product instructions specifically say to seal wet-area edges in a certain way. Baseboards, quarter-round, shoe molding, reducers, and transition strips are there to cover the gap while still letting the floor move.
Do Not Pin a Floating Floor Under Heavy Built-Ins
A floating vinyl plank floor should float. That means it should not be trapped under kitchen cabinets, permanent islands, built-in bookcases, or heavy fixtures that prevent movement. Install cabinets first, then run the flooring up to them while leaving the required expansion gap. For movable furniture, use felt pads and avoid dragging. The floor may be tough, but it is not asking to be treated like a sledding hill.
Start Straight or Suffer Later
The first row is the boss row. If it is crooked, every row after it will inherit the problem and make it more obvious. Snap a chalk line or mark a straight reference line if the starting wall is wavy. Many walls are not perfectly straight, especially in older homes. Do not trust the drywall blindly. It has been hiding secrets for years.
Trim the tongue from the wall-facing side of the first row if the instructions call for it. Place spacers between the planks and the wall. Lock the first row carefully, checking alignment as you go. A small mistake here can turn into a large diagonal drift across the room.
Cutting Vinyl Planks Cleanly
For many straight cuts, a score-and-snap method works well. Mark the cut line, place a straightedge along it, score the wear layer with a sharp utility knife, then bend the plank until it snaps. For thicker rigid core planks, you may need multiple passes or a saw. A jigsaw is helpful for vents, curves, door jambs, toilet flanges, and notches around obstacles.
Always mark the waste side of the cut so you do not accidentally shorten the wrong piece. This sounds obvious until you are tired and confident, which is the dangerous DIY combination. Keep a scrap plank nearby for testing tricky cuts before sacrificing a full piece.
Door Jambs: The Detail That Separates DIY From “Wow”
Undercutting door jambs and casings gives vinyl plank flooring a cleaner, professional appearance. Instead of trying to cut the plank perfectly around the trim, use a scrap piece of flooring as a height guide and cut the bottom of the casing with an oscillating multi-tool or jamb saw. Then slide the plank underneath while maintaining expansion space behind the trim.
This trick hides imperfect cuts and makes the flooring look like it belongs in the room. It is one of those small details that guests may not notice directly, but they will notice that the floor looks polished.
Tap Gently, Not Like You Are Building a Fence
Click-lock vinyl plank flooring needs firm, even pressure to engage the joints. Use a tapping block and rubber mallet when needed, but do not smash the edges. Damaged locking profiles can cause gaps that refuse to close. If a plank is not locking, stop and inspect. Debris in the groove, an angled row, a damaged tongue, or a piece that is not seated correctly may be the problem.
As you work, keep checking that rows remain straight and seams stay tight. It is much easier to fix a problem two rows back than twenty rows later after you have moved furniture, misplaced your pencil, and developed a personal feud with the pull bar.
Transitions, Trim, and the Final Row
Transitions are used where vinyl plank flooring meets carpet, tile, hardwood, exterior doors, stairs, or another room. Large rooms and long runs may also require transition pieces depending on the product. Always check the maximum uninterrupted installation distance in the instructions. Some floors require expansion breaks across long spans, doorways, or areas with unusual shapes.
The final row often needs to be ripped lengthwise. Measure from the wall to the installed row, subtract the required expansion gap, and mark the plank. A pull bar helps lock the final row when there is not enough room to angle the plank by hand. After the floor is installed, remove spacers and install baseboards or shoe molding. Nail trim to the wall, not through the flooring, so the floor can still move.
Common Vinyl Plank Installation Mistakes to Avoid
Skipping Acclimation Rules
Some vinyl plank products require acclimation, while others do not under normal conditions. The mistake is assuming all products behave the same. If flooring was stored in a cold garage, hot truck, or damp area, give it time to adjust according to the manufacturer’s instructions.
Ignoring Subfloor Flatness
Vinyl plank is forgiving in some ways, but it does not erase hills and valleys. Uneven subfloors can cause movement, clicking sounds, gaps, and premature wear. Prep may be boring, but it is cheaper than reinstalling the floor.
Making Repeating Seam Patterns
Repeating seams can make an otherwise beautiful floor look artificial. Stagger joints randomly while respecting the minimum distance required by the manufacturer. Open several boxes and vary plank lengths and patterns.
Forgetting Expansion Gaps
Expansion gaps are one of the most important vinyl plank flooring installation tips. Keep them around every fixed object, not just the four walls. Pipes, thresholds, cabinets, columns, and fireplace surrounds all count.
Installing Over a Dirty Surface
A tiny stone, screw head, or chunk of dried compound can create a raised spot. Vacuum often. Sweep often. Then vacuum again, because dust has a talent for dramatic reappearances.
Maintenance After Installation
After installation, clean the floor with a vacuum or broom and use a cleaner approved for vinyl flooring. Avoid steam mops unless the manufacturer clearly allows them. Steam can force heat and moisture into seams, which may damage some products. Use felt pads under furniture legs, mats at entrances, and breathable rugs that are safe for vinyl. Rubber-backed mats may discolor certain vinyl floors, so check the care guide before decorating like a rug enthusiast on a mission.
For everyday cleaning, a damp mop and gentle vinyl-safe cleaner are usually enough. The goal is to remove grit before it acts like sandpaper. Vinyl plank flooring is durable, but no floor loves being scrubbed with dirt.
Real-World Experience: What Actually Helps During a Vinyl Plank Floor Install
The best experience-based advice for installing vinyl plank flooring is to treat the job as three projects, not one: preparation, layout, and installation. Most people want to jump straight to clicking planks together because that is the satisfying part. It is also the part that goes wrong fastest when the first two stages are rushed. In real rooms, walls are not perfectly square, doorways interrupt your rhythm, and the final row always seems to demand more math than expected. A careful layout plan prevents those surprises from becoming permanent features.
One useful habit is to lay out several rows dry before committing. This helps you see the color variation, repeated patterns, seam spacing, and how the first and last rows will land. If three identical knots appear in a row, move the planks around. If the last row will be too narrow, adjust the first row before you start. This small preview can save hours because pulling apart a half-finished floor is nobody’s idea of a relaxing Saturday.
Another real-life trick is to create a cutting station outside the room. Keep the saw, scrap bin, tape measure, pencil, square, and safety glasses in one area. This keeps dust and fragments away from the installation surface. It also gives you a repeatable workflow: measure, mark, cut, test-fit, install. When every tool has a place, you spend less time searching for the pencil that somehow teleported under a box of planks.
Working from multiple boxes matters more than many beginners expect. Vinyl plank patterns can repeat, especially with budget-friendly products. If you install planks straight from one box, the floor may develop obvious clusters of similar grain or tone. Pulling from three or four cartons at a time makes the finished surface look more natural. Think of it like shuffling a deck of cards, except the prize is a living room that does not look like a copy-and-paste accident.
Doorways deserve extra patience. They are often the slowest part of the job because planks may need to slide under casing, connect to previous rows, and maintain expansion space all at once. Test-fit these pieces before locking them in. Use a scrap plank to check the undercut height. If a piece needs a complicated notch, sneak up on the cut rather than trying to make it perfect in one pass. You can always remove a little more material; you cannot politely ask the plank to grow back.
Finally, stop while you still have energy to inspect the work. At the end of a long installation day, it is tempting to rush the final rows and slap on trim. Instead, check for gaps, lifted seams, trapped debris, and pattern repeats. Fixing those details before trim goes on is much easier. A vinyl plank floor can look fantastic for years, but it starts with the unglamorous choices: clean subfloor, straight first row, proper gaps, thoughtful staggering, and a little humility when the tape measure says, “Nice try, measure again.”
Conclusion
Installing vinyl plank flooring is one of the most rewarding DIY flooring projects because the transformation is fast, dramatic, and surprisingly achievable. But the best results come from respecting the basics: read the instructions, prepare the subfloor, plan the layout, leave expansion gaps, stagger seams properly, undercut door jambs, and finish with the right trim. The floor may be waterproof, scratch-resistant, and tough, but it still needs room to move and a solid foundation beneath it.
The real trick is not rushing. Vinyl plank flooring rewards careful measuring, clean cuts, and patient installation. Do those things well, and you can create a floor that looks polished, performs beautifully, and makes you feel slightly smug every time someone asks who installed it.











