
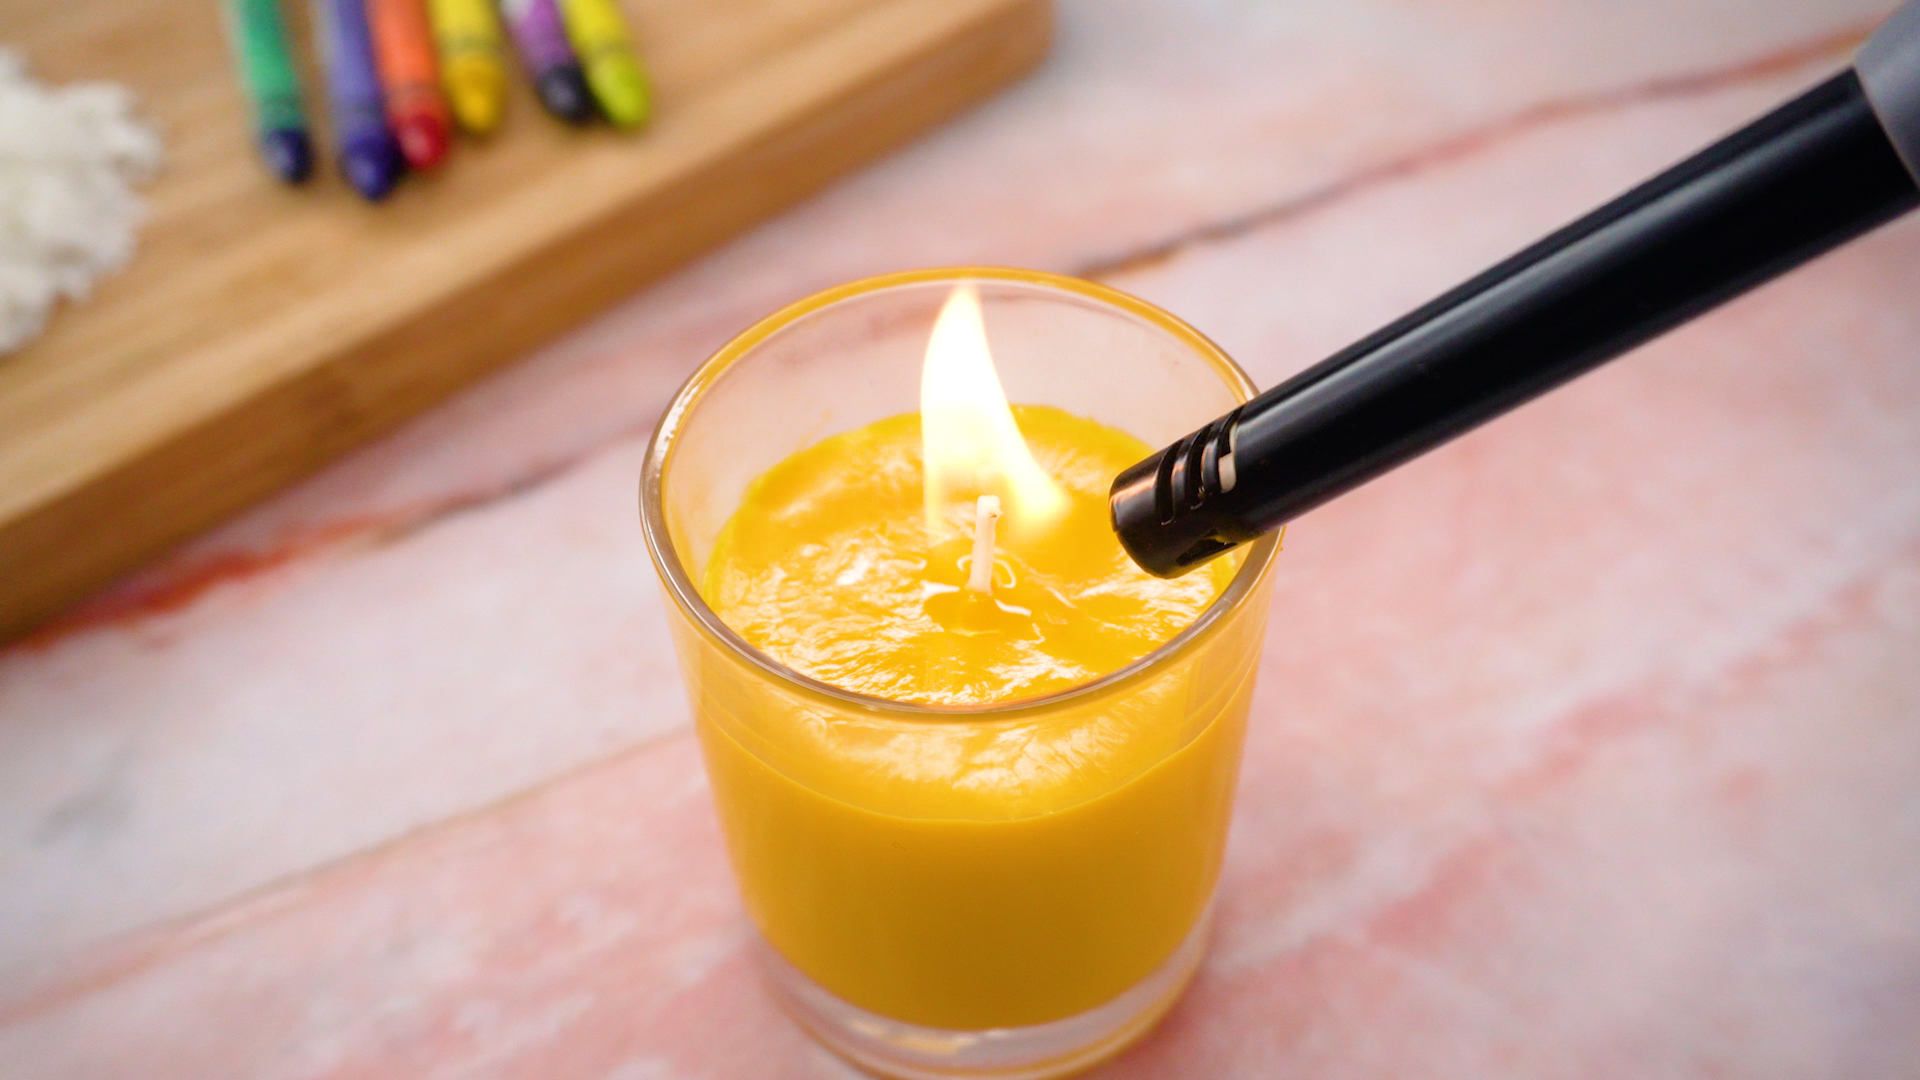
Crayon candles are the craft-world equivalent of finding a forgotten $20 bill in an old jacket: colorful, surprisingly useful, and slightly chaotic in the best way. If you have a box of broken crayons, a few jars, and a dream of turning “kid art leftovers” into something giftable, you are already halfway there.
But before we start melting every neon orange crayon in the house, let’s be honest: crayons are not professional candle dye. They contain pigments that can clog a wick, affect the burn, and make the candle behave less predictably than one colored with proper candle dye. The safest approach is to use crayons sparingly as a color accent, combine them with real candle wax, choose lead-free wicks, and treat the finished candle as a decorative DIY project that should be burned only with supervision.
This guide shows you how to make crayon candles in 15 clear steps, with practical tips, safety notes, troubleshooting advice, and a little real-world crafting wisdom. The goal is a candle that looks cheerful, burns more reliably, and does not turn your kitchen into a waxy crime scene.
What Are Crayon Candles?
Crayon candles are homemade candles colored with small amounts of melted crayon. They are often made in glass jars, tins, or heat-safe candle containers using soy wax, paraffin wax, beeswax, or leftover candle wax as the main fuel source. The crayon adds color, while the candle wax does the heavy lifting.
The important phrase here is “small amounts.” A candle made mostly from crayons may look like a rainbow masterpiece, but it can burn poorly because crayon pigments are designed for coloring paper, not feeding a flame. For better results, think of crayons as a tinting ingredient, not the main character. Let candle wax be the dependable adult in the room.
Supplies You Need
- Heat-safe glass jars, candle tins, or small mason jars
- Soy wax flakes, paraffin wax, beeswax, or leftover candle wax
- Broken crayons with paper wrappers removed
- Lead-free candle wicks sized for your container
- Wick stickers, hot glue, or a small dab of melted wax
- Double boiler or heat-safe pouring pitcher set inside a pot of water
- Thermometer for wax temperature
- Wooden skewer, pencil, chopstick, or wick-centering tool
- Disposable spoon or craft stick for stirring
- Paper towels, newspaper, or parchment paper for protecting surfaces
- Optional candle-safe fragrance oil
- Optional labels, ribbon, or gift tags
Safety First: Read This Before Melting Anything
Wax is not difficult to work with, but it does deserve respect. Melt wax gently using a double boiler or candle wax melter, not direct heat. Never leave melting wax unattended, keep kids and pets away from the hot work area, and do not pour wax down the sink unless you enjoy calling a plumber and explaining that “craft night got ambitious.”
Use containers made for heat. Canning jars, candle tins, and candle-safe glass are better choices than random decorative glassware, which can crack under heat. Choose lead-free wicks, trim the wick before burning, and always place the finished candle on a stable, heat-resistant surface away from curtains, books, bedding, paper, and anything else that would rather not meet fire.
How to Make Crayon Candles: 15 Steps
Step 1: Choose a Safe Container
Pick a clean, dry, heat-safe container. Small mason jars, jelly jars, or candle tins are ideal for beginners because they are sturdy and easy to handle. Avoid thin glass, plastic cups, teacups with cracks, or containers with unknown coatings. A good container should sit flat, withstand heat, and give the wick enough room to burn without overheating the sides.
Step 2: Select the Right Wick
The wick should match the diameter of your container. A wick that is too small may tunnel down the middle, leaving a ring of unused wax. A wick that is too large may create a high flame, too much heat, or heavy soot. For small jars, a pre-tabbed cotton wick is usually the easiest choice. Use only lead-free candle wicks.
Step 3: Clean and Dry the Jar
Wash the container with warm, soapy water, rinse it well, and let it dry completely. Any dust, water, or old residue can interfere with how the wick sticks and how the wax sets. A dry jar also helps prevent bubbles, crackling, and strange little candle craters that look like they belong on the moon.
Step 4: Remove Crayon Wrappers
Peel the paper off your crayons. If the wrappers are stubborn, soak the crayons in warm water for a few minutes, then slide or scrape the paper away. Dry the crayons before using them. Water and hot wax are not friends, and they should not be invited to the same party.
Step 5: Sort Crayons by Color
Sort your crayons into color families: reds and pinks, blues and purples, greens, yellows, oranges, and neutrals. This helps you plan layers or custom shades. For a clean look, keep similar colors together. For a “kindergarten tornado” look, mix everything and prepare emotionally for brown.
Step 6: Chop or Shave the Crayons
Cut crayons into small pieces or shave them with a craft knife or grater used only for crafts. Smaller pieces melt faster and blend more evenly into the wax. Start with a modest amount: about a small crayon shaving pile for each cup of wax. Add more only if needed. Too much crayon can thicken the wax and make the wick struggle.
Step 7: Measure the Wax
A simple rule is to fill your container with dry wax flakes twice, then melt that amount. Wax flakes shrink as they melt, so this usually gets you close. For more accuracy, weigh the wax with a kitchen scale. One pound of soy wax typically makes several small jar candles, depending on container size.
Step 8: Secure the Wick
Place a wick sticker, small dot of hot glue, or dab of melted wax on the metal tab at the bottom of the wick. Press it firmly into the center of the jar. Then wrap the top of the wick around a pencil, skewer, or chopstick laid across the jar opening. This keeps the wick centered while the wax cools.
Step 9: Melt the Wax Gently
Add the candle wax to a pouring pitcher or heat-safe bowl and place it over a pot of simmering water. Stir occasionally until melted. For many soy waxes, makers heat the wax to around 180°F to 185°F before adding color or fragrance, but always follow the instructions for your specific wax. Do not overheat the wax, and never melt it directly over a burner.
Step 10: Add Crayon Color
Once the wax is melted, add a small amount of shaved crayon and stir until the color disperses. Remember, melted wax often looks darker than the final cooled candle. Test a drop on white parchment paper and let it cool for a minute to preview the true shade. Add more crayon only if the color is too pale.
Step 11: Add Fragrance Carefully
If you want a scented crayon candle, use only fragrance oil made for candle making. Do not toss in perfume, cooking extracts, dried herbs, cinnamon powder, glitter, or mystery oils from the back of a drawer. Some additives can smoke, clog the wick, or become a fire hazard. Stir fragrance thoroughly according to the recommended usage rate for your wax.
Step 12: Pour the First Layer
Slowly pour the colored wax into the jar, keeping the wick centered. For a single-color candle, fill the container and leave about half an inch of headspace at the top. For layered crayon candles, pour only one layer at a time. Let each layer cool until firm before adding the next color, or the colors will blend into a muddy sunset.
Step 13: Create Layers or Angled Designs
To make rainbow layers, repeat the melting and pouring process with different crayon colors. For angled layers, carefully prop the jar at a slight angle using a folded towel or stable support while the wax sets. Once the layer hardens, rotate the jar and pour the next color. Work slowly. Wax rewards patience and punishes rushing with lopsided modern art.
Step 14: Let the Candle Cure
Allow the candle to cool at room temperature. Avoid moving it while the wax is setting. Sudden temperature changes can cause cracks, sinkholes, or frosting, especially with soy wax. Many homemade candles perform better after resting for at least 24 hours. Scented candles may benefit from a longer cure time, depending on the wax and fragrance.
Step 15: Trim, Test, and Burn Safely
Trim the wick to about one-quarter inch before lighting. Burn the candle on a heat-safe surface, away from drafts and flammable items. For the first burn, let the melt pool reach near the edge of the container to help prevent tunneling. Never leave a burning candle unattended. If the flame grows too tall, smokes heavily, sputters, or the jar becomes unusually hot, extinguish the candle and do not continue burning it.
Best Crayon Candle Color Ideas
Rainbow Layers
Use red, orange, yellow, green, blue, and purple layers for a cheerful candle that looks great in a clear jar. Let each layer cool before adding the next. This is a wonderful project for using tiny crayon leftovers, especially if your household has reached the “why do we own 43 blue crayons?” stage.
Ombre Candles
Choose one color family and create three to five shades. For example, use pale pink, rose, coral, and deep red. Add more crayon to each batch as you go darker. Ombre candles look polished and gift-worthy without requiring advanced candle-making skills.
Seasonal Color Combos
Try orange and cream for fall, red and green for Christmas, blue and silver-gray for winter, pastels for spring, or red, white, and blue for summer holidays. For the white layer, use plain wax without crayon. White crayon can sometimes make wax cloudy rather than bright white.
Common Mistakes to Avoid
Using Too Much Crayon
The biggest mistake is treating crayon like candle wax. Crayon pigments can collect in the wick and affect burning. Use crayons for color, not fuel. If you want bold, reliable color, candle dye chips or liquid candle dye are a better option.
Choosing the Wrong Container
A beautiful jar is not automatically a candle jar. Thin glass can crack, and containers with narrow openings can trap heat. Choose sturdy, heat-safe containers with enough room around the wick.
Skipping the Wick Test
Every wax, container, colorant, and fragrance combination behaves differently. If you plan to give crayon candles as gifts, test one first. Watch flame height, melt pool, smoke, scent throw, and jar temperature. A candle should be cute, not dramatic.
Adding Unsafe Decorations
Dried flowers, paper, glitter, herbs, coffee beans, and small plastic decorations may look charming, but they can catch fire or interfere with the wick. Keep decorative items on the outside of the jar, not floating in the wax near the flame.
Troubleshooting Crayon Candles
Why Is My Candle Smoking?
Smoking may happen if the wick is too long, the wick is too large, there is too much crayon pigment, or the candle is burning in a draft. Trim the wick, move the candle away from airflow, and consider using less crayon next time.
Why Did My Candle Tunnel?
Tunneling happens when only the center wax melts and the edges remain solid. It may be caused by a wick that is too small or by not burning the candle long enough during the first use. Let the first burn create a wide melt pool, but do not burn longer than recommended.
Why Did the Colors Mix?
Your previous layer was probably too warm when you poured the next one. Let each layer set firmly before adding another. If you want softer blended colors, pour when the previous layer is partially set. If you want crisp stripes, patience is your best tool.
Why Does the Top Look Bumpy?
Bumpy tops can happen when wax cools too quickly or unevenly. Let candles cool at room temperature and avoid placing them in the refrigerator. A heat gun can smooth minor surface flaws, but use it carefully and keep it moving.
Are Crayon Candles Safe?
Crayon candles can be made more safely when you use real candle wax, proper wicks, heat-safe containers, small amounts of crayon, and careful burn testing. However, they are not as predictable as candles made with candle dye. Because crayons are not manufactured as candle colorants, they may affect wick performance and burn quality.
If your goal is a bright decorative candle, crayon-tinted candles can be a fun craft. If your goal is a clean-burning candle for regular use, choose candle dye instead. For children’s craft projects, adults should handle all melting, pouring, trimming, and burning. Kids can help sort colors, decorate labels, and say things like, “That one looks like melted unicorn sherbet.”
How to Store and Gift Crayon Candles
Store finished candles in a cool, dry place away from sunlight. Heat and sunlight can fade colors, soften wax, or cause fragrance to weaken. If giving them as gifts, add a simple label with burning instructions: trim wick to one-quarter inch, burn within sight, keep away from children and pets, and stop using when about half an inch of wax remains at the bottom.
For a charming gift, tie twine around the jar, add a handwritten scent label, and pair the candle with matches or a small candle snuffer. Homemade crayon candles make sweet teacher gifts, rainy-day craft projects, party favors, or cheerful desk decoras long as the recipient understands candle safety.
Real-Life Experience: What Making Crayon Candles Teaches You
The first thing you learn when making crayon candles is that crayons are tiny color bombs with big personalities. A single dark blue shaving can turn a cup of wax into midnight. A red crayon can create anything from soft blush to “emergency exit sign,” depending on how generous your hand gets. Start small, because once wax turns too dark, there is no magic undo button. You can dilute it with more plain wax, but that also means more candles, more jars, and suddenly your kitchen looks like a boutique candle startup.
The second lesson is that preparation saves your sanity. Peel wrappers before the wax is hot. Center wicks before you melt anything. Cover the counter before you pour. Keep paper towels close. Hot wax has a talent for landing exactly where you do not want it, including countertops, spoon handles, and the one clean corner of your workspace. A tidy setup makes the process feel relaxing instead of like a game show called “Will This Spill?”
Layered candles also teach patience. The temptation to pour the next color too soon is powerful. You stand there with a cup of melted purple wax, staring at a semi-set yellow layer, thinking, “It’s probably fine.” It is not fine. That is how you get a swamp-colored middle stripe. Waiting for each layer to firm up creates cleaner lines and a much prettier finished candle. Candle making is not fast, but it is satisfying. It rewards the kind of slow attention most of us forget we enjoy.
Another practical discovery is that scent and color do not always behave like best friends. A bright citrus scent with a blue candle may smell wonderful, but your brain may expect ocean breeze instead of lemon tart. Vanilla fragrance can also slightly tint wax, especially lighter colors. When making gifts, match the mood: lavender with purple, peppermint with white or pale blue, cinnamon with orange or red, and unscented rainbow candles for people who like pretty things but have sensitive noses.
Most importantly, making crayon candles teaches respect for candle testing. A candle can look perfect and still burn badly if the wick is wrong or the crayon load is too heavy. Before gifting or using one regularly, burn a test candle while watching it closely. Check whether the flame is steady, whether the wax pool spreads evenly, whether soot appears on the jar, and whether the container becomes too hot. The best homemade candle is not just cute; it is calm, steady, and boring in all the right safety-related ways.
And yes, there is something deeply satisfying about rescuing broken crayons from the junk drawer. Instead of throwing them away, you give them a second life as color. The finished candle may not be as flawless as a store-bought luxury candle, but it has charm, personality, and a story. It says, “I made this,” which is always more interesting than “I panic-bought this at checkout.”
Conclusion
Learning how to make crayon candles is a colorful way to reuse old crayons, personalize homemade candles, and create inexpensive gifts with plenty of charm. The key is balance: use real candle wax as the base, add crayons lightly for color, choose a proper wick, pour into heat-safe containers, and burn only with care. Crayon candles are best treated as fun decorative DIY projects rather than professional-quality candles.
With the 15 steps above, you can create layered, ombre, rainbow, or seasonal candles that look playful and handmade in the best possible way. Take your time, test your results, and remember: crafting is supposed to be fun, but fire safety is not optional. A beautiful candle should brighten the room, not become the reason everyone learns where the fire extinguisher lives.











