
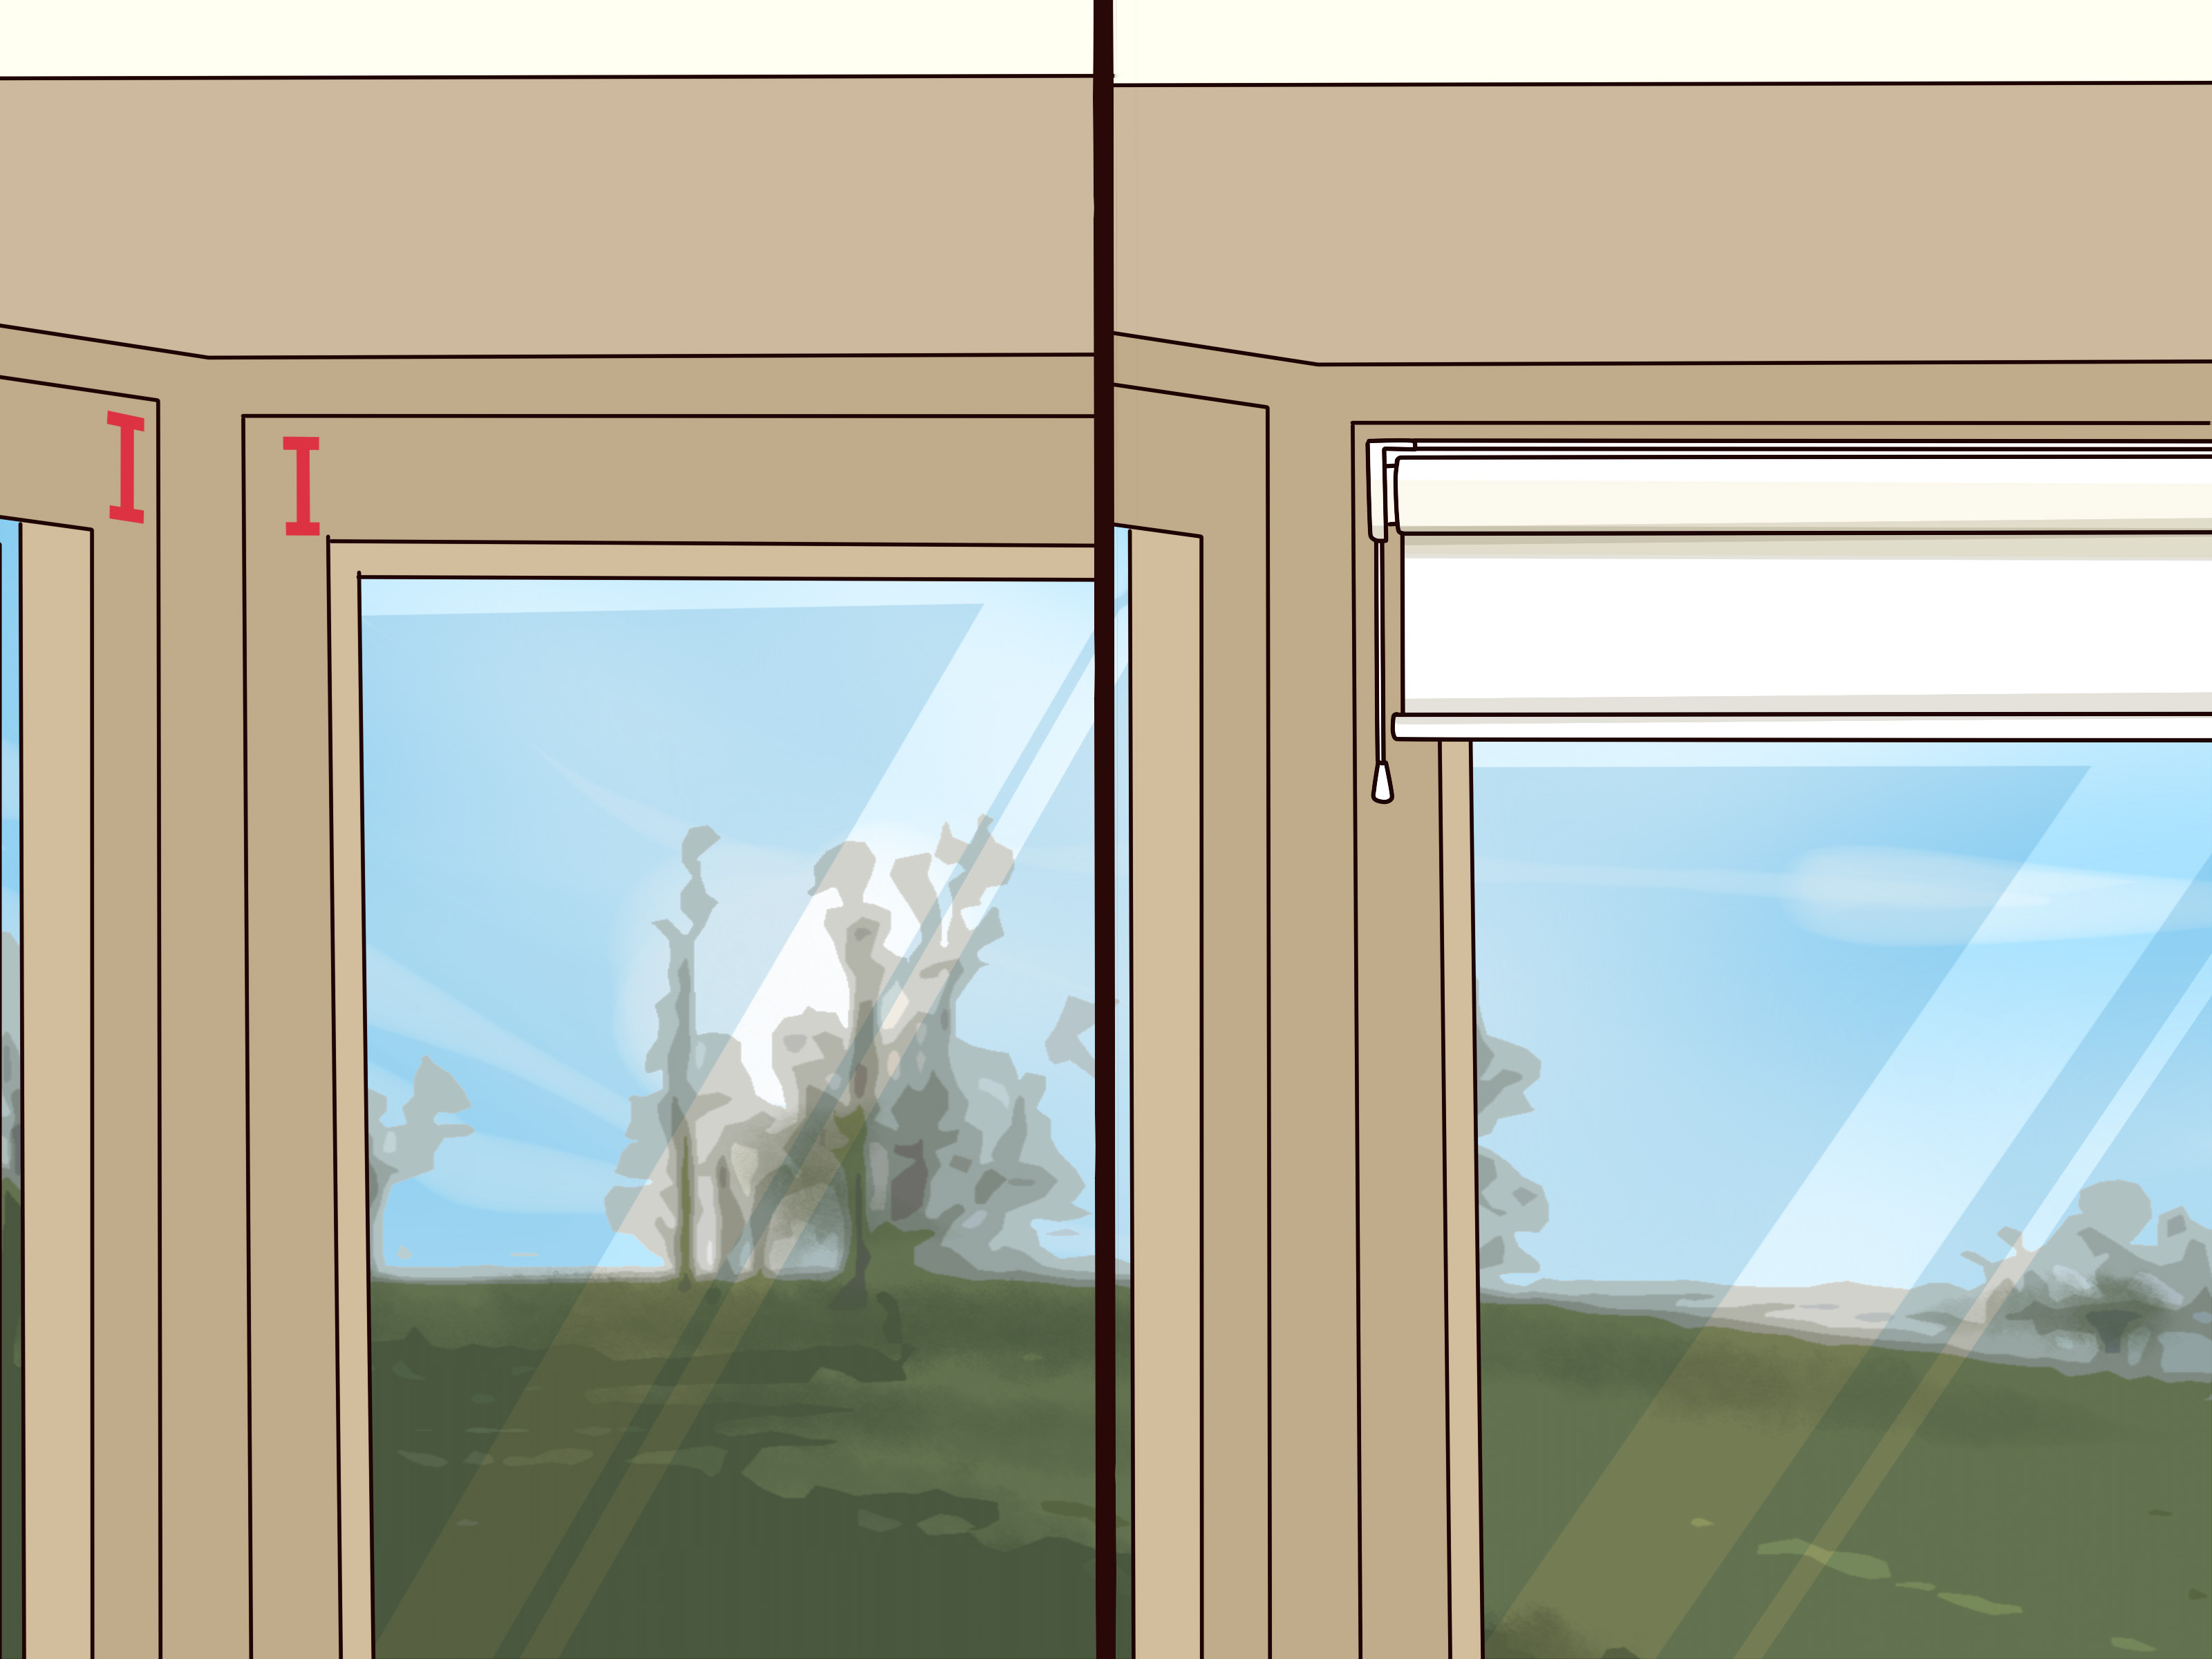
Bay windows are gorgeous. They let in more light, add architectural character, and make a room feel a little fancier than it has any right to. Then comes the part where you try to fit roller blinds and suddenly discover your beautiful bay window is basically a geometry quiz with trim.
The good news is that roller blinds can work brilliantly in a bay window. In fact, their slim profile, clean lines, and flexible fabric choices make them one of the smartest solutions for awkward angles, tight recesses, and rooms that need privacy without looking weighed down. The trick is choosing the right fitting method before you order anything and before you turn your wall into a collection of very confident but very wrong pilot holes.
This guide breaks down four practical ways to fit roller blinds in a bay window, along with measuring tips, design advice, and real-world lessons that can save you money, time, and one deeply dramatic trip back to the hardware store.
Why Bay Windows Make Roller Blinds Slightly More Complicated
A standard flat window is easy. A bay window, on the other hand, usually has three or more sections, angled side returns, uneven trim, and sometimes hardware like cranks or handles that love to get in the way. That means you are not just choosing a fabric and color. You are also deciding how the blinds will sit, how the brackets will clear the corners, and whether the shades will roll without rubbing, twisting, or smacking into the neighboring panel like two shopping carts with unresolved issues.
In most cases, a bay window works best with separate roller blinds for each section rather than one giant treatment trying to do everything at once. Separate blinds give you better light control, more flexibility, and a cleaner fit across the angled faces of the window.
Before you choose a fitting style, think about three things: how much depth you actually have, whether you want to show off the trim, and how much light you want to block. Those three answers will usually point you toward the right installation method much faster than scrolling through forty-seven fabric swatches while holding a coffee and a tape measure.
Before You Drill: The Five-Minute Measuring Reality Check
Before we get into the four fitting methods, do this first. Bay windows are notorious for looking symmetrical from across the room and then proving otherwise the moment a tape measure shows up. Measure each section separately. Yes, each one. No, they are not identical just because they seem to be getting along visually.
Measure each section like this:
- Measure the width at the top, middle, and bottom.
- Measure the height at the left, center, and right.
- Measure the depth where the brackets will actually sit, not where you wish they could sit.
- Check for obstacles such as handles, cranks, tile edges, or chunky trim.
- Never measure the old blinds and assume they were correct. Homes are full of historic mistakes.
For bay windows, it is also smart to test corner clearance. A simple cardboard mock-up can help you see whether two adjacent blinds will collide where the angles meet. This is especially helpful if you are trying to do a neat outside mount or if your side panels sit at aggressive angles.
Once you know your measurements and your clearance, you can choose the fitting style that actually suits the window instead of the one that just looked best in a catalog photo taken in a house with suspiciously perfect walls.
1. Fit Individual Inside-Mount Roller Blinds in Each Section
This is the clean, tailored, “I definitely planned this and did not panic halfway through” option. With an inside mount, each roller blind sits within its own window opening. It is one of the most popular ways to fit roller blinds in a bay window because it looks neat, modern, and custom.
Best for:
Bay windows with enough recess depth, fairly square frames, and trim that you want to keep visible.
Why it works:
Inside-mounted roller blinds keep the fabric tucked into each section of the bay, which helps preserve the shape of the window. The result feels more architectural and less bulky. In living rooms, dining rooms, and home offices, this can look especially polished because the bay itself remains the star instead of disappearing behind oversized hardware.
What to watch out for:
Depth is the deal-breaker. If the recess is shallow, the blind may not sit properly, the bracket may not clear the roll, or the fabric may rub against the glass, a handle, or the frame. You also need the brackets to be level. If they are even slightly off, the blind can track sideways and roll unevenly. Roller blinds are simple, but they are not forgiving when the hardware is crooked.
Practical tips:
- Use inside mounts only when the recess has adequate depth for the hardware and the fabric roll.
- Mount the brackets level and keep enough clearance for the blind to operate freely.
- Choose a slim-profile roller if the bay is tight.
- If you want a crisp, modern look, use matching blinds across all sections and keep the top line aligned.
A good real-world example is a breakfast nook with a three-panel bay window and painted wood trim. Inside-mounted light-filtering roller blinds keep the room bright during the day while still softening glare. The trim stays visible, the window looks custom, and nobody feels like the blinds are trying to eat the room.
2. Use Individual Outside-Mount Roller Blinds on Each Section
If your bay window has shallow recesses, uneven frames, or hardware that sticks out like it pays rent, outside-mount roller blinds are often the smartest answer. Instead of fitting the blinds inside each opening, you mount them on the frame, trim, or wall surface above each section.
Best for:
Shallow bay windows, out-of-square openings, or homeowners who want better privacy and light blocking.
Why it works:
Outside mounts give you more flexibility. You are no longer limited by the depth of the recess, and you can make the treatment wider and taller than the opening for better coverage. That matters in bedrooms, street-facing living rooms, and media rooms where light gaps are annoying and privacy is not optional.
Outside mounts also make windows look larger. That can be a wonderful visual trick in a bay that feels a little undersized or overly chopped up. By mounting each roller blind just beyond the frame and keeping the header line aligned, you create a more unified, intentional look.
What to watch out for:
Because bay windows angle inward at the corners, you still have to think about interference. Two outside-mounted blinds that are too wide can bump into each other where the sections meet. This is where the cardboard test earns its paycheck.
Practical tips:
- Add enough overlap to reduce side light gaps.
- Keep the blinds visually aligned across the bay even if the sections are slightly different sizes.
- Check that the brackets have flat, solid mounting surfaces.
- Use blackout fabric if the bay window is in a bedroom and you want a stronger light seal.
This method is often the best rescue plan when a homeowner starts out dreaming of a sleek inside mount and then discovers the window depth is basically decorative. Outside mount says, “That’s fine, we’ll work around it,” which is a surprisingly healthy attitude for home improvement.
3. Top-Fix the Roller Blinds to the Ceiling or Head of the Bay
The third option is a top-fix or ceiling mount. Instead of attaching the brackets to the face of the frame or inside side walls, you mount them to the top surface inside the bay or to the ceiling above it. This is a fantastic solution when the frame is busy, the trim is awkward, or the bay has enough overhead structure to support the hardware cleanly.
Best for:
Bay windows with useful overhead mounting space, decorative trim you do not want to drill into, or layouts where face fixing would look cluttered.
Why it works:
Top fixing can make the blinds feel more integrated with the architecture of the bay. It also helps when side mounting is limited or when you need to dodge obstructions on the frame itself. In some dining rooms and sitting rooms, a ceiling-mounted setup inside the bay creates a very tidy look because the hardware disappears upward and the fabric drops cleanly in front of each section.
What to watch out for:
This method still demands accurate clearance. The roll has to hang without rubbing the glass, trim, or handles. You also need a secure mounting surface. Drywall alone is not a magic solution; the blinds need real support, especially on wider shades.
Practical tips:
- Use a level across the bay so the top line feels consistent.
- Check that the drop path clears handles, latches, and any deep sill projections.
- Consider ceiling mount if the bay trim is ornate and you would rather not puncture it with brackets.
- For a softer look, pair the top-fixed blinds with side panels later if the room needs more warmth.
Top fixing is especially effective in newer homes where bay windows have a neat upper surface inside the recess. It gives you the precision of separate roller blinds without overloading the visible frame. It is a little like good tailoring: you mostly notice it because nothing looks wrong.
4. Use Reverse-Roll or Slim-Hardware Roller Blinds When the Bay Is Tight
Sometimes the issue is not whether the blind goes inside or outside the frame. Sometimes the problem is that the blind technically fits, but only in the same way a suitcase “fits” when you sit on it and hope for the best. That is where reverse-roll installation or slim-hardware roller blinds can save the day.
Best for:
Bay windows with shallow depth, projecting handles, or tight clearances where a standard roll sits too close to the glass.
Why it works:
In a standard roller blind, the fabric usually rolls off the back and sits closer to the window. In a reverse roll, the fabric rolls off the front, which can push the material slightly away from handles or cranks. That little change can make a big difference in a bay window where every fraction of an inch suddenly matters like it is on a reality show finale.
Slim-profile hardware is equally useful. Some modern roller systems are specifically designed with smaller brackets and lower depth requirements, making them far easier to install in narrow recesses. If you love the clean look of an inside mount but your bay is working with very limited space, this is often the compromise that gets you over the line.
What to watch out for:
Reverse-roll blinds change the visual profile slightly. Some people prefer the softer look because the fabric falls more freely away from the glass, while others want the tighter appearance of a standard roll. Neither is wrong. This is a function-first decision with a side serving of aesthetics.
Practical tips:
- Use reverse roll when handles or cranks would otherwise rub against the fabric.
- Choose a slim cassette or open-roll system if depth is limited.
- Test the drop path before drilling by holding the blind in place.
- Keep all three sections visually coordinated so the bay still reads as one intentional design.
This is the method that often rescues older bay windows with charming woodwork and less-than-charming hardware clearance. It is not flashy, but it is clever, and clever tends to age well in home design.
Common Mistakes to Avoid
- Ordering before checking depth: The blind may fit on paper and still fail in real life.
- Assuming all panels are identical: Bay windows love subtle size differences.
- Ignoring corner interference: Two perfectly good blinds can become enemies at the angle.
- Mounting brackets out of level: A roller blind needs aligned hardware to roll straight.
- Choosing style before function: Beautiful is good, but a blind that cannot clear the handle is basically wall art.
- Forgetting child safety: If children are in the home, cordless or motorized controls are the smarter choice.
Which Option Is Best?
If your bay window has good depth and square openings, go with inside-mount roller blinds for the cleanest, most custom look. If the recess is shallow or the frames are uneven, outside mount is usually the most practical answer. If the face of the frame is awkward or decorative, top-fixing can give you a cleaner installation. And if handles, cranks, or tight angles are causing trouble, reverse-roll or slim-hardware blinds can be the difference between “perfect fit” and “why is this fabric scraping the latch again?”
In other words, the best way to fit roller blinds in a bay window is not about copying one trend. It is about reading the window honestly. Bay windows are beautiful, but they reward accuracy, not optimism. Measure carefully, choose the fitting style that matches the space, and your roller blinds will look intentional instead of improvised.
Experience: What Real Homes Teach You About Fitting Roller Blinds in a Bay Window
One of the most useful things people learn after fitting roller blinds in a bay window is that bay windows almost never behave like showroom windows. In photos, everything looks perfectly centered, the trim is flat, the walls are straight, and the hardware politely stays out of the way. In real homes, the middle section may be slightly wider, one side panel may lean a little, and the window handle may suddenly become the main character of the project. That is why experience matters so much with this type of installation.
In older homes, the most common surprise is uneven depth. A homeowner may measure the center section, assume the sides are similar, order three matching blinds, and then discover one side recess is just a little tighter. That tiny difference is enough to turn a confident inside mount into a frustrating return. In those situations, the best experience usually comes from slowing down, measuring every panel independently, and accepting that “close enough” is not a measurement system.
Another real-world lesson is that bay windows often look better when the blinds are treated as a coordinated set rather than three isolated products. Even when each section has different dimensions, keeping the fabric, cassette style, and top line visually consistent makes the whole installation feel calmer and more expensive. People notice harmony before they notice math. That is a lovely fact because math, frankly, can be exhausting.
Homeowners also tend to underestimate how much daily use affects their satisfaction. A blind that looks amazing but catches on a handle every morning becomes irritating very quickly. A slightly more practical setup, such as reverse roll or outside mount, often ends up feeling like the smarter choice six months later. Experience teaches that convenience is part of good design. If you open and close the blinds often, smooth operation matters just as much as appearance.
There is also a style lesson that comes up again and again: roller blinds are at their best in bay windows when they do not try too hard. Clean fabric, simple lines, and the right mount usually outperform fussy details. In bright kitchens and living rooms, light-filtering roller blinds often make the space feel polished without blocking the architecture. In bedrooms, blackout rollers can be a game changer, especially when mounted with enough overlap to reduce side glare.
And finally, the biggest experience-based truth is this: most frustration comes from rushing the measuring stage because the decorating stage is more fun. That is completely understandable. Nobody has ever said, “My favorite part was measuring the recess depth around a crank handle.” But accurate measuring is what separates a blind that looks custom from one that looks like a compromise. Bay windows are dramatic by nature. They do not need extra drama from the installation process.
So if you want the best long-term result, treat the measuring like the design, treat the function like the finish, and remember that the prettiest roller blind in the world still has to clear the window handle. Humbling, yes. Useful, absolutely.











