
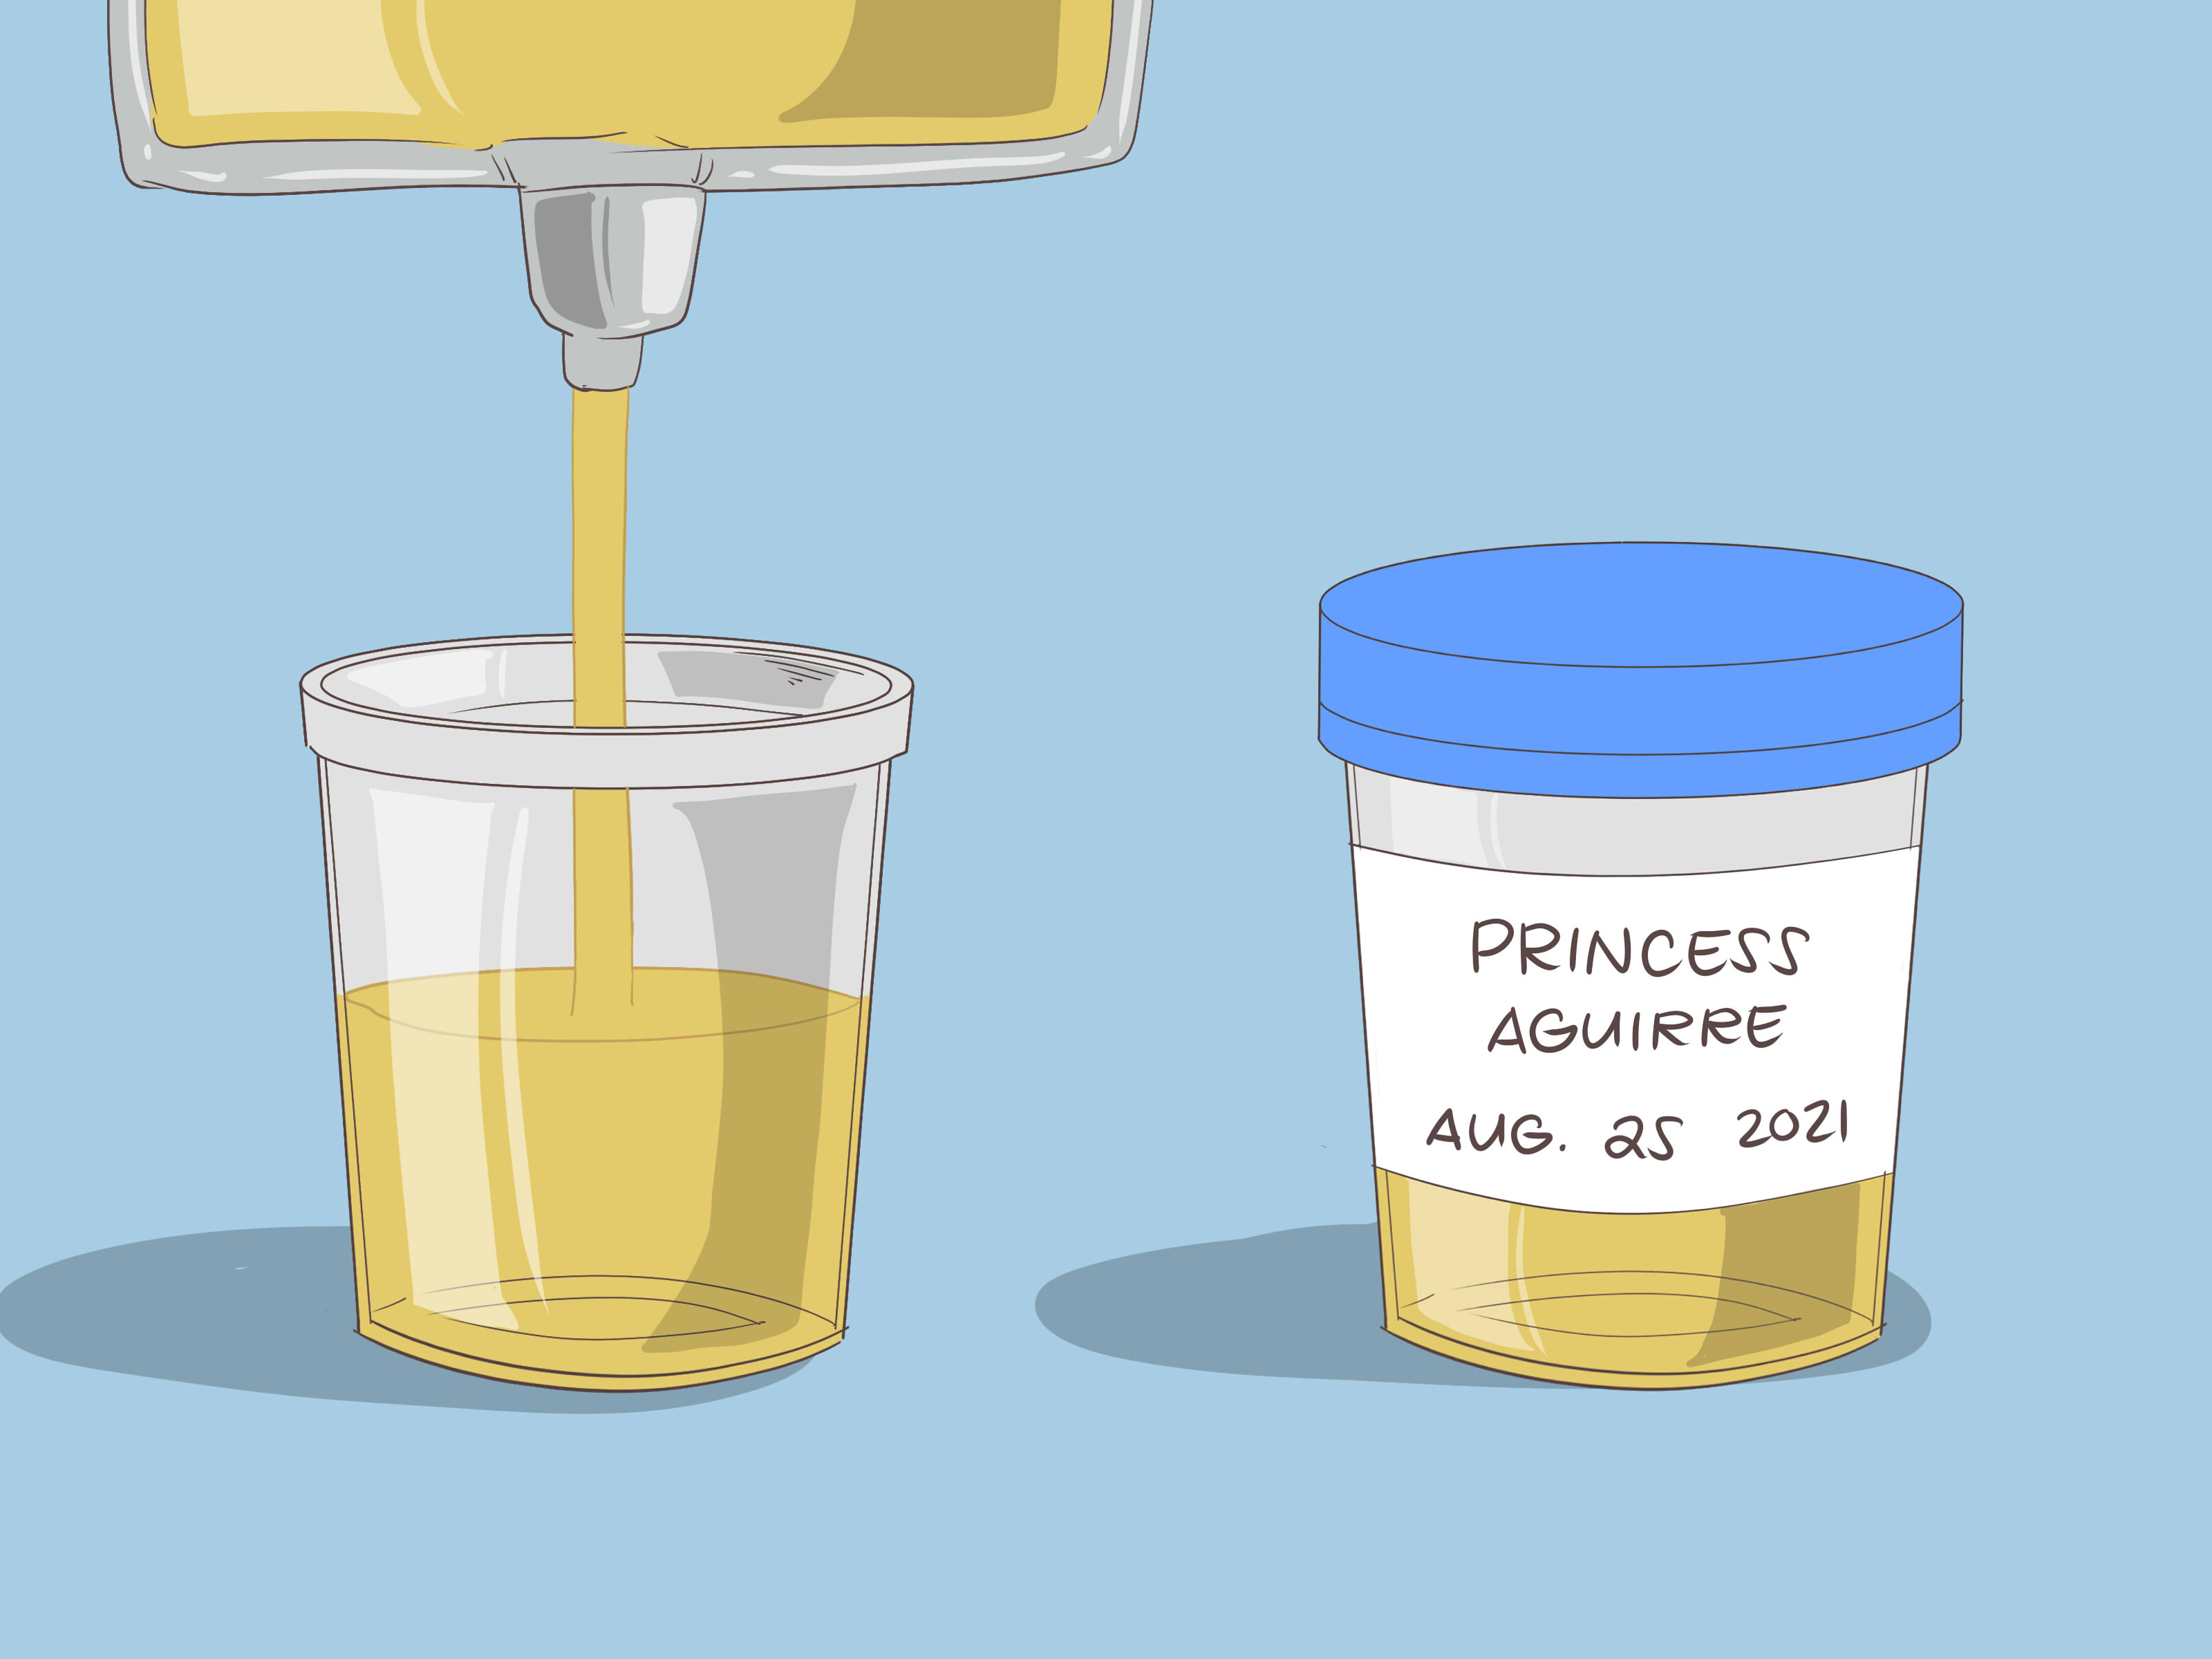
Helping a female child provide a urine sample can feel like one of parenting’s more oddly specific obstacle courses. There is the tiny cup. There is the bathroom clock ticking. There is a child who suddenly has either no need to pee at all or the urgent need to pee everywhere except the cup. The good news: with calm preparation, clean technique, and a little patience, the process is usually simple, safe, and far less dramatic than it sounds.
A urine sample may be needed to check for a urinary tract infection, dehydration, kidney concerns, diabetes, protein in the urine, blood in the urine, or other health clues. For a toilet-trained child, doctors often ask for a clean-catch urine sample, also called a midstream urine sample. That means the first bit of urine goes into the toilet, the middle part goes into the sterile cup, and the last bit can go back into the toilet. This helps reduce contamination from skin bacteria so the test result is more reliable.
This guide walks through 13 practical steps for helping a female child provide a urine sample while protecting her privacy, comfort, dignity, and confidence. Because yes, even a pee cup deserves a plan.
Why a Clean Urine Sample Matters
Urine tests are common in pediatric care because urine can reveal important information quickly. A urinalysis may check color, concentration, protein, glucose, blood, white blood cells, bacteria, ketones, and other markers. A urine culture may be ordered if a urinary tract infection is suspected, because it can identify bacteria and help guide treatment.
For girls, getting a clean sample can be slightly tricky because urine can pick up bacteria from nearby skin, stool, toilet paper, or vaginal discharge. A contaminated sample may lead to confusing results, repeat testing, or unnecessary worry. That is why healthcare providers often give very specific instructions about washing hands, cleaning the genital area, collecting midstream urine, and avoiding contact between the cup and skin.
How to Help a Female Child Provide a Urine Sample: 13 Steps
1. Ask What Type of Sample Is Needed
Before beginning, confirm whether the healthcare provider wants a clean-catch sample, a first-morning sample, a random sample, a urine culture, or a 24-hour collection. These are not the same. A clean-catch sample is common when checking for a UTI in a toilet-trained child. A first-morning sample may be requested for protein testing. A 24-hour urine collection is more involved and requires saving urine over a full day.
If the child is not toilet trained, the clinic may use another method, such as a urine collection bag, clean-catch attempt, catheterized sample, or another approach. Parents should not attempt catheterization at home. That is a medical procedure performed by trained healthcare professionals.
2. Gather the Supplies First
Set up before the child sits down. You may need a sterile urine cup with a screw-top lid, cleansing wipes or soap and water, disposable gloves if provided, a label, a plastic transport bag, and paper towels. Keep the inside of the cup and lid sterile. That means no fingers inside the cup, no lid placed inner-side down on the counter, and no “quick rinse” in the sink. The cup is already clean; the bathroom sink is not auditioning for a medical degree.
If the clinic gave you a kit, use that kit. If instructions on the kit differ from general advice, follow the clinic’s instructions first.
3. Explain the Process in Child-Friendly Words
Children cooperate better when they know what is happening. Use simple language: “The doctor needs a little pee in this clean cup so they can check why your tummy hurts” or “We are going to catch a small amount of pee, and then we are done.” Avoid making it sound scary, dirty, or embarrassing.
For younger children, you can compare it to a science mission. For older children, offer more privacy and control. A school-age child may appreciate hearing, “I’ll stand outside the door. Call me if you need help.” Respect builds cooperation faster than hovering.
4. Encourage Fluids, Unless Told Otherwise
If the provider has not restricted fluids, offer water before the appointment or while waiting. Avoid forcing large amounts, especially if the child feels sick. Small sips can help. If the child recently urinated, you may need to wait. Some instructions recommend collecting when urine has been in the bladder for a couple of hours, but that depends on the test and the clinic’s timing.
Do not give caffeinated drinks to “speed things up.” Children do not need a latte-powered lab sample. Water is usually the best choice.
5. Make the Bathroom Feel Calm and Private
A nervous child may suddenly lose all ability to pee on command. Choose a clean bathroom, close the door, and reduce pressure. If you are at a clinic, ask whether you can take a few minutes. Rushing can lead to spills, tears, or a sample that misses the cup completely and lands in the category known as “well, we tried.”
Privacy matters. A female child should be helped only as much as necessary. Older children can often clean themselves and collect the sample with verbal instructions. Younger children may need a caregiver nearby, but the process should still be respectful and matter-of-fact.
6. Wash Hands Thoroughly
Both the child and the assisting adult should wash hands with soap and warm water before starting. Handwashing helps prevent germs from getting on the cup, wipes, lid, or sample. Dry hands with a clean towel or paper towel. If gloves are provided, put them on after washing hands.
This step sounds basic, but it matters. A urine sample is only as useful as the collection technique behind it.
7. Position the Child Safely
If the child is toilet trained, have her sit comfortably on the toilet with her legs apart enough to allow urine to flow without touching the skin. A footstool may help smaller children feel steady. If she is afraid of falling in, use a child toilet seat insert if available.
For a very young child who can urinate on command but needs help aiming, a caregiver may hold the cup near the urine stream without touching the child’s skin. Keep the cup below the body, not pressed against the genital area.
8. Clean the Genital Area Correctly
Use the wipes or cleansing materials provided by the clinic. For a female child, the goal is to clean the area around the urethral opening and labia. Wipe from front to back, using each wipe only once. This direction helps keep bacteria from the anal area away from the urine opening.
If using soap and water at home, use mild soap only if instructed or appropriate, then rinse well. For young girls, the vulvar area can be sensitive, and harsh soaps, bubble baths, and scented products may irritate the skin. Do not scrub. Gentle cleaning is enough.
9. Start Peeing Into the Toilet First
Ask the child to begin urinating into the toilet. The first part of the urine stream helps flush away bacteria or cells near the urethra. This is why a clean-catch sample is often called a midstream sample.
If the child is old enough, she can pause briefly after starting, then place the cup into the stream. Some children cannot stop and restart easily. That is fine. In that case, the adult or child can move the cup into the stream after the first second or two.
10. Catch the Middle Part of the Urine Stream
Hold the sterile cup carefully and collect a small amount of urine. Most tests do not require a full cup. The clinic may mark a fill line or tell you how much is needed. Avoid touching the inside of the cup, the rim, or the inside of the lid.
The cup should not touch the child’s skin, underwear, toilet, or toilet seat. If it does, tell the nurse or lab staff. They may decide whether the sample is still usable or whether a new cup is needed.
11. Let the Child Finish in the Toilet
After enough urine is collected, move the cup away and let the child finish urinating into the toilet. Help her wipe front to back afterward. Then have her wash her hands.
Praise the effort, not just the result. Say, “You did a great job following directions,” even if the first attempt did not work. Children who feel ashamed or rushed may resist the next try.
12. Seal, Label, and Deliver the Sample Promptly
Place the lid on the cup tightly without touching the inside. If you were given a label, make sure the child’s name, date of birth, collection date, and collection time are correct. Place the cup in the transport bag if provided.
Bring the sample to the lab or clinic as soon as possible. Urine samples can change over time as bacteria multiply or cells break down. If you collected it at home and cannot deliver it right away, ask the provider whether it should be refrigerated and how long it can be stored. Do not guess, especially if a urine culture is ordered.
13. Know When to Ask for Help
Call the healthcare provider if the child cannot urinate, is in significant pain, has fever with back or side pain, has blood in the urine, seems dehydrated, vomits repeatedly, appears unusually sleepy, or is too weak to stand. Also ask for help if the child has frequent accidents, burning with urination, strong-smelling urine, new bedwetting, belly pain, or a history of UTIs.
If the sample spills, gets stool in it, touches the toilet, or seems contaminated, be honest with the clinic. Lab staff have heard it all. They are not there to judge your cup-wrangling abilities; they are there to get an accurate result.
Helpful Tips for Different Ages
For Toddlers and Preschoolers
Keep directions short. Try saying, “Pee first, then cup, then all done.” Bring a favorite book or small toy for waiting. Some children relax when they hear running water. Others find it distracting and start narrating the sink like a nature documentary. Use whatever works.
If your child is not fully toilet trained, ask the clinic about the best collection method. Bagged urine samples may be useful for some screening tests, but they can be more easily contaminated and may not be ideal for confirming a UTI culture.
For School-Age Girls
Give privacy and clear steps. Many school-age girls can collect their own sample if you explain the sequence: wash hands, wipe front to back, pee a little, catch some, finish, close the cup. You can wait outside the door and talk through the steps if needed.
For Preteens
Respect modesty. A preteen may feel embarrassed, especially if a parent is overly involved. Let her read the instructions herself. Offer support without taking over. A calm tone says, “This is normal,” which is exactly the message she needs.
Common Mistakes to Avoid
One common mistake is touching the inside of the sterile cup or lid. Another is collecting the first urine instead of the midstream portion when a clean-catch sample is requested. Wiping back to front can also increase contamination risk. So can letting the cup touch the skin or toilet.
Do not collect urine from a toilet bowl, potty chair, diaper, or training pants unless the healthcare provider specifically tells you to use a special collection device. These surfaces are not sterile and can change test results. Also avoid using jars or food containers from home. Even if a pasta sauce jar looks clean, it is not a lab-approved urine container. Retire it from medical service.
What If She Cannot Pee?
First, reduce pressure. Ask her to sit quietly, take slow breaths, or try again in a few minutes. Offer water if allowed. Let her listen to running water, read a book, or relax her feet on a stool. Some children tense their pelvic muscles when they feel watched or rushed.
If you are at a clinic, tell the nurse. They may suggest waiting, walking around briefly, drinking fluids, or using another collection method. If the child has not urinated for many hours, seems dehydrated, or has pain and cannot pee, that needs medical attention.
Experience Notes: Real-Life Lessons From the Pee-Cup Olympics
Parents often discover that collecting a child’s urine sample is less about medical knowledge and more about timing, patience, and bathroom choreography. The first lesson is that children rarely pee on schedule simply because an adult is holding a tiny plastic cup and looking hopeful. A child who announced “I have to go right now!” five minutes ago may suddenly become a desert cactus once the clinic door closes.
One helpful experience is to prepare the child before the appointment. A simple explanation at home can prevent confusion later: “The doctor may ask for a pee sample. You’ll pee a little in the toilet, then a little in a cup. It won’t hurt.” This removes the surprise factor. Surprise is fun for birthdays, not sterile specimen collection.
Another lesson: clothing matters. If you know a urine test is likely, choose clothes that are easy to manage. Leggings, simple shorts, or a skirt can be easier than overalls, tights, complicated buttons, or anything that turns a bathroom visit into a camping expedition. Bring an extra pair of underwear and wipes for younger children, just in case. Even successful missions can have splash zones.
Parents also learn that calm voices work better than urgent coaching. Saying “Hurry, hurry, hurry!” usually makes a child freeze. A better approach is, “Take your time. I’m right here.” If the first attempt fails, treat it like no big deal. Children read adult reactions quickly. If you act like the missed sample is a catastrophe, they may feel embarrassed. If you shrug and say, “That happens; we’ll try again,” they are more likely to cooperate.
For girls who want privacy, giving control can make a big difference. You can place the cup on a clean paper towel, review the steps, and stand outside the door. Some children feel proud when trusted to do it themselves. For younger girls, you may need to help hold the cup, but you can still explain every step and ask permission before assisting. Respectful language helps a child feel safe: “I’m going to help hold the cup near the pee stream. I won’t touch your body unless you ask for help.”
Finally, remember that lab staff and pediatric nurses are used to imperfect samples, nervous kids, and parents who look like they just completed a tiny bathroom triathlon. Ask questions. Request another cup if needed. Confirm storage instructions if collecting at home. The goal is not perfection; the goal is a usable sample and a child who leaves feeling supported rather than embarrassed.
Conclusion
Helping a female child provide a urine sample is a small task with big diagnostic value. A clean-catch urine sample can help healthcare providers check for infection, dehydration, kidney issues, and other concerns. The best approach is simple: prepare supplies, explain the process, protect privacy, clean gently from front to back, collect the midstream urine, seal the cup carefully, and deliver it promptly.
The process may feel awkward the first time, but it gets easier with clear steps and a calm attitude. When in doubt, ask the nurse or healthcare provider for instructions. A clean, properly collected sample can help your child get the right care fasterand that is worth every slightly ridiculous moment spent negotiating with a pee cup.
Note: This article is for educational purposes only and does not replace medical advice. Always follow the specific instructions from your child’s healthcare provider or laboratory.











