
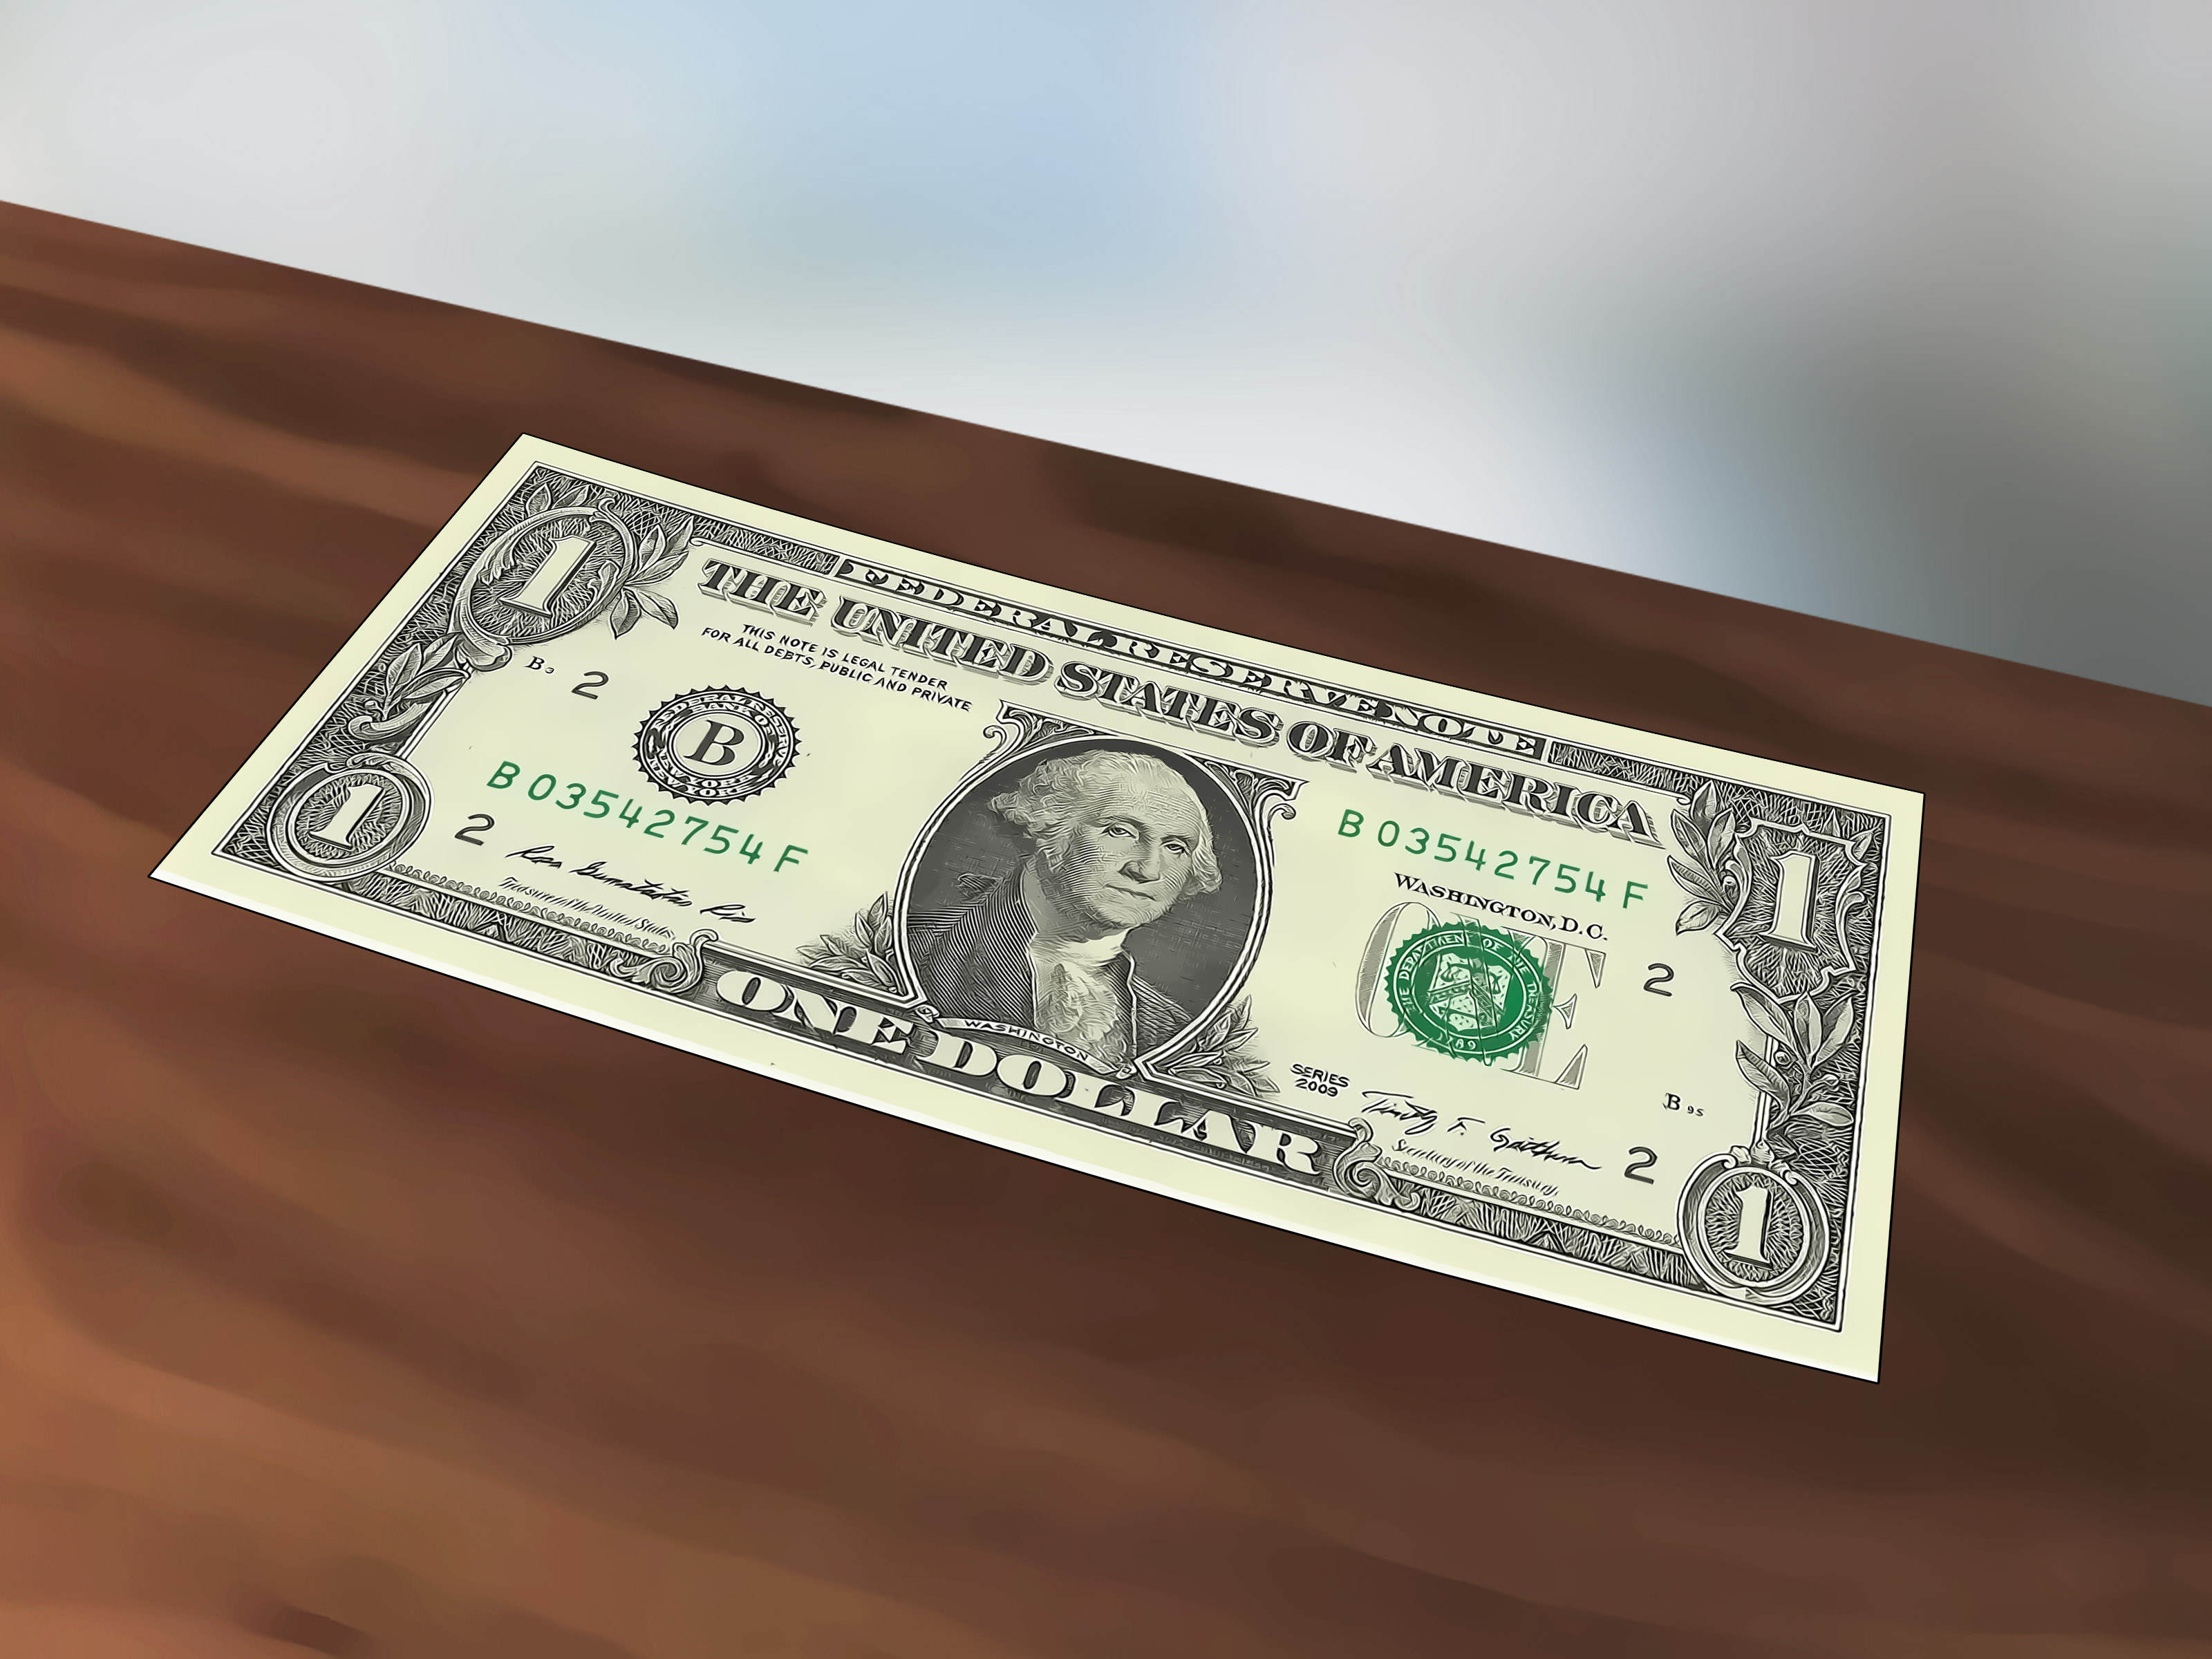
A wrinkled dollar bill is not exactly a national emergency, but it can be surprisingly annoying. It refuses to slide neatly into a vending machine. It jams in a cash-counting machine. It looks like it spent spring break in the bottom of a gym bag. And when you hand it to a cashier, it may unfold itself dramatically, like a tiny green protest banner.
The good news? You can usually straighten out a dollar bill at home with simple, gentle methods. U.S. dollar bills are tougher than ordinary paper because they are made from a cotton-linen blend, not wood-pulp paper. That fabric-like material helps them survive folding, crumpling, pocket travel, wallet squishing, accidental laundry adventures, and the occasional “I forgot this was in my jeans” incident.
Still, tough does not mean indestructible. Heat, water, chemicals, tape, glue, and aggressive scrubbing can damage a bill, blur its details, or make it look suspicious. The goal is not to make your dollar bill look freshly born at the Bureau of Engraving and Printing. The goal is to flatten it enough that it stores neatly, feeds into machines more easily, and looks less like it lost a wrestling match with a receipt.
Below are four practical ways to straighten out a dollar bill, from the safest no-heat method to a careful low-heat option. These techniques work best on ordinary circulated bills. If you have a collectible, rare, old, misprinted, or valuable note, do not experiment on it. Collectors care about original condition, and a “quick fix” can turn a special bill into a sad story.
Before You Start: Check the Bill’s Condition
Before flattening a dollar bill, take ten seconds to inspect it. Is it only wrinkled? Is it damp? Torn? Sticky? Burned? Moldy? Missing pieces? A normal wrinkled bill can usually be flattened safely. But a bill with serious damage may need a different solution.
If the bill is dirty, limp, torn, or worn but still clearly recognizable, a bank may be able to exchange it. If the bill is badly damaged, such as burned, waterlogged, chemically damaged, or missing a large portion, it may qualify as mutilated currency and require review by the Bureau of Engraving and Printing. In plain English: flatten a crumpled dollar; do not try to perform surgery on money that looks like it survived a dragon sneeze.
Method 1: Press the Dollar Bill Inside a Heavy Book
This is the safest and easiest way to straighten out a dollar bill. It uses pressure, time, and patiencethree things your dollar bill probably wishes you had used before stuffing it into a cup holder.
What You Need
You need a clean, dry dollar bill, two sheets of plain white paper, and a heavy book. A dictionary, textbook, cookbook, or large hardcover works well. If you want extra pressure, you can stack another book on top.
How to Do It
First, smooth the bill gently with your hands. Do not yank the corners or pull hard along a crease. Just guide it flat. Place the bill between two clean sheets of white paper. This protects it from ink transfer, dust, or texture from the book pages. Then place the paper-covered bill in the middle of a heavy book. Close the book and leave it alone for several hours or overnight.
For stubborn folds, leave the bill pressed for 24 hours. Time is doing the work here. Think of it as a spa day for tired currency, minus the cucumber water.
Best For
This method is best for bills with light to moderate wrinkles, wallet bends, fold lines, and general crumpling. It is also the best first method because it uses no heat, no moisture, and almost no risk.
What to Avoid
Do not place the bill directly between glossy magazine pages or printed pages with heavy ink. Do not use dirty paper towels, colored paper, or newspaper. Moisture and ink can transfer, and then your dollar bill becomes an art project nobody asked for.
Method 2: Use Light Moisture and Gentle Pressure
For a very wrinkled dollar bill, dry pressing may not be enough. A tiny amount of moisture can relax the fibers and help the bill flatten more easily. The keyword is tiny. You are not washing the bill. You are not giving it a bubble bath. You are barely introducing moisture, like a polite handshake.
What You Need
You need a clean spray bottle, water, two sheets of plain white paper, and a heavy book or flat weight. Distilled water is ideal if you have it, but clean tap water is usually fine for an ordinary bill.
How to Do It
Lay the bill on a clean, flat surface. Lightly mist the air above the bill once, allowing only a faint amount of moisture to settle on it. Another option is to dampen your fingers slightly and smooth the bill gently, but your hands must be clean. The bill should feel barely damp, not wet.
Next, place the bill between two sheets of plain white paper. Put it inside a heavy book and let it sit for several hours. If the paper sheets become damp, replace them with dry sheets after 20 to 30 minutes, then continue pressing. This prevents trapped moisture from lingering too long.
Best For
This method works well for bills with deep wrinkles, stubborn crumples, and folds that keep springing back. It is especially useful when the bill has been curled in a pocket or compressed in a small wallet.
What to Avoid
Do not soak the bill. Do not use soap, bleach, alcohol, perfume, cleaners, or fabric softener. U.S. currency has important printed details and security features, and harsh substances can damage the note or make it harder to recognize as genuine. If your dollar bill smells like lavender and poor judgment, you have gone too far.
Method 3: Iron the Dollar Bill Carefully on Low Heat
Ironing a dollar bill can work, but it is the method that requires the most caution. Heat can flatten fabric-like currency, but too much heat can discolor, scorch, or weaken the bill. This is not the time to unleash the same setting used on wrinkled denim.
What You Need
You need an iron, an ironing board or heat-safe flat surface, two sheets of plain white paper, and a thin cotton cloth. The iron should be set to low heat with no steam.
How to Do It
Place the dollar bill between two sheets of plain white paper. Put a thin cotton cloth over the paper. Set the iron to low heat and make sure steam is turned off. Press gently for a few seconds at a time. Lift the iron rather than sliding it aggressively across the surface. Check the bill often.
If the bill still has wrinkles, repeat in short passes. The goal is slow improvement, not instant perfection. Once the bill looks flatter, place it under a heavy book while it cools. This helps it keep its shape.
Best For
This method is best for very wrinkled but otherwise clean and intact bills when you need faster results than the book method. For example, if a vending machine keeps rejecting your dollar because it resembles a tiny green accordion, careful ironing may help.
What to Avoid
Never use high heat. Never iron a bill directly without paper or cloth protection. Never use steam. Do not iron a wet bill. Do not iron a collectible note. And absolutely do not walk away while the iron is on the bill. Your dollar may be legal tender, but it is not fireproof armor.
Method 4: Flatten It in a Wallet, Binder, or Cash Envelope
This method is for people who prefer the “slow and steady” approach. It is simple, safe, and useful for bills that are only slightly bent or curled. It will not rescue a dollar that has been crumpled into a ball for six months, but it can make everyday cash look much neater.
What You Need
You need a flat wallet compartment, a cash envelope, a binder, or a folder. For better results, use a small stack of flat bills or clean paper to sandwich the wrinkled bill.
How to Do It
Smooth the dollar bill with your hands. Place it between two flat bills or two sheets of clean paper. Slide the stack into a wallet, binder, or envelope where it will stay flat. Leave it there for a day or two. The steady pressure from the surrounding materials will reduce curls and minor wrinkles.
This method is perfect for travel, budgeting envelopes, cash gifts, tip money, and anyone who wants their wallet to look less like a paper tornado.
Best For
Use this method for light bends, curled corners, fold lines from wallets, and bills you want to keep neat over time. It is also a smart habit if you regularly handle cash for small purchases, vending machines, parking meters, or allowance envelopes.
What to Avoid
Do not overstuff your wallet and expect miracles. A bill crammed into a bulky wallet beside old receipts, loyalty cards, and a mystery coupon from 2019 will not become smoother. It will simply join the clutter rebellion.
Which Method Works Best?
The best way to straighten out a dollar bill depends on how wrinkled it is and how quickly you need results. For most bills, start with the heavy book method. It is safe, easy, and effective. If the bill is badly wrinkled, use the light moisture method. If you need quicker results and you are careful, use the low-heat ironing method. For everyday prevention, store bills flat in a wallet, envelope, or binder.
Here is a simple rule: use the gentlest method that works. A dollar bill does not need dramatic treatment. It needs calm pressure, clean surfaces, and a little respect. Basically, treat it better than the average receipt.
Can You Wash a Dollar Bill?
Technically, many dollar bills survive accidental trips through the washing machine because U.S. currency is durable. However, washing a bill on purpose is not the best way to straighten it. Laundry detergent, heat, spinning, and dryer cycles can damage the bill, fade details, or make it limp. A washed bill may also come out cleaner-looking but more worn.
If a dollar bill is only wrinkled, flatten it. If it is dirty or worn but still recognizable, you can usually spend it or exchange it at a bank. If it is badly damaged, check official guidance for damaged or mutilated currency instead of trying to “fix” it yourself.
Will Straightening a Bill Help Vending Machines Accept It?
Often, yes. Many vending machines, parking machines, ticket kiosks, and bill acceptors dislike curled edges, deep folds, tears, and limp bills. Straightening the dollar bill can help it feed more smoothly. But flattening is not magic. If the bill is torn, heavily worn, taped, stained, or too soft, a machine may still reject it.
For best results, smooth the bill, make sure the corners are not folded, and insert it in the correct direction. If the machine spits it back out like a dramatic toddler rejecting broccoli, try another bill.
What Not to Do When Straightening a Dollar Bill
Some shortcuts sound clever but can create problems. Do not microwave a bill. Do not use a hair straightener directly on it. Do not apply glue, tape, starch, spray adhesive, or chemicals. Do not laminate it. Do not write over damaged areas to “restore” details. Do not bleach it. Do not try to make a worn bill look brand-new.
Also, avoid flattening a bill in a way that could damage security features or make the bill look altered. U.S. currency is designed with specific paper, printing, fibers, and other features to help people recognize genuine notes. Keeping the bill clean, intact, and natural-looking is better than making it suspiciously shiny, stiff, or strange.
How to Keep Dollar Bills Flat in the Future
Once you straighten your dollar bill, prevention is easy. Store cash flat instead of folding it into tiny squares. Use a wallet with a full-length bill compartment. For cash budgeting, use envelopes or a binder with flat sleeves. If you carry cash in a pocket, place it in a slim money clip or card holder instead of letting it tumble freely with keys and coins.
If you are giving cash as a gift, press the bills in a book overnight before placing them in a card. Crisp-looking bills make the gift feel more thoughtful, even if the amount is modest. A flat dollar says, “I planned this.” A crumpled dollar says, “This was living beside a cough drop.”
When to Exchange the Bill Instead of Straightening It
Straightening is not always the answer. If the bill is ripped, very worn, sticky, stained, burned, or missing pieces, exchanging it may be smarter. Commercial banks can often replace dirty, limp, torn, or worn notes if enough of the bill remains and it is clearly genuine. If the bill is severely damaged and its value is questionable, it may need to be submitted through the proper mutilated currency process.
Do not send damaged currency to the wrong place or assume every damaged bill needs special handling. A slightly torn or worn dollar may simply be unfit for circulation, not mutilated. A bank can often point you in the right direction.
Real-Life Experience: What Actually Works Best
After dealing with plenty of wrinkled bills in real-world situationswallets, tip jars, vending machines, school fundraisers, yard sales, and that one kitchen drawer where small cash mysteriously migratesthe most reliable method is still the heavy book method. It is boring, but boring often wins. A bill placed between two clean sheets of paper and pressed overnight usually looks much better the next day. Not perfect, not “fresh from the printing press,” but flatter, neater, and easier to use.
The light moisture method is helpful when a bill has stubborn crumples. The trick is restraint. People tend to use too much water because they expect moisture to work like a magic wrinkle eraser. It does not. Too much water makes the bill soft and awkward. A faint mist plus pressure is enough. If the bill feels wet, you used too much. If it looks like it is questioning your life choices, also too much.
Ironing works, but it is the method I would save for situations where speed matters. For example, if you need a flatter bill for a vending machine or a cash gift and you do not have overnight pressing time, low heat can help. But the iron should barely touch the job. Short presses, low temperature, no steam, and a protective layer are the secret. High heat is where confidence becomes comedy.
For everyday cash, the best experience-based advice is to prevent the wrinkles before they become a problem. A flat wallet compartment does more than people think. So does removing old receipts and random paper clutter. Bills get wrinkled because they are folded, squeezed, and ignored. Give them a flat place to live, and they behave better.
Cash envelopes are especially useful. If you use cash for budgeting, tips, allowance, small business change, or event sales, keep bills sorted and flat from the beginning. A neat stack is easier to count, easier to hand over, and less likely to jam in machines. It also feels oddly satisfying. Nobody talks enough about the tiny joy of a smooth stack of dollar bills. It is not wealth; it is organization wearing green.
Another practical tip: do not mix damp bills with dry bills. If a bill comes from a rainy pocket, sweaty hand, beach bag, or laundry incident, let it dry flat before stacking it with other cash. Moisture can make bills cling together, curl, or develop an unpleasant smell. Place the damp bill between clean paper and press it gently. Replace the paper if it absorbs moisture. This is simple, but it saves a lot of annoyance later.
For parents, teachers, cashiers, and anyone handling small bills often, the book method is the safest routine. Keep a large book or flat folder near your desk. At the end of the day, place wrinkled bills inside. By morning, they are easier to count and store. It is a low-effort habit that makes cash handling feel less chaotic.
The biggest lesson is that dollar bills do not need aggressive treatment. They need gentle pressure, clean materials, and time. If a bill is too damaged, exchange it instead of trying to rescue it. If it is just wrinkled, start simple. Your dollar bill has already survived pockets, purses, registers, vending machines, and possibly a washing machine. Give it a quiet night inside a book, and it will usually return looking respectable enough for society.
Conclusion
Straightening out a dollar bill is easy when you use the right method. For most wrinkled bills, press them inside a heavy book. For deeper wrinkles, use a tiny amount of moisture and steady pressure. For quick results, iron carefully on low heat with protection. For prevention, store cash flat in a wallet, binder, or envelope.
The main idea is simple: be gentle. U.S. bills are durable, but they are still currency, not craft paper. Avoid harsh heat, chemicals, soaking, scrubbing, and shortcuts that could damage the bill. A flat dollar bill is easier to store, easier to spend, and much less likely to be rejected by machines. Plus, it just feels better. Even George Washington deserves a wrinkle-free day now and then.












