
Glue is wonderful right up until it decides your tabletop, cabinet door, hardwood floor, or favorite wooden picture frame also needs to be part of the relationship. Then suddenly you are staring at a sticky patch, a cloudy smear, or a dried ridge of squeeze-out and wondering whether you should grab a rag, a scraper, or just dramatically walk away and pretend it is “rustic.”
The good news is that glue on wood is usually removable. The less-fun news is that the right method depends on the kind of glue, whether the wood is finished or unfinished, and how long the adhesive has been sitting there acting smug. Some residue softens with warm water. Some responds to gentle heat. Some needs a carefully chosen solvent. And some dried glue only leaves after a patient scrape-and-sand session.
In this guide, you will learn four practical ways to remove glue from wood without turning a small mess into a full-blown refinishing project. We will also cover when each method works best, what mistakes to avoid, and how to protect the finish while you clean. Because removing glue from wood should not feel like defusing a tiny, sticky bomb.
Why glue removal on wood needs a little strategy
Wood is not one-size-fits-all. Finished wood has a protective top layer that can be dulled by strong solvents or scratched by aggressive scraping. Unfinished wood is more absorbent, which means oils, water, and chemicals can sink in and leave stains or dark patches. Veneer adds another layer of caution because too much heat, moisture, or pressure can damage the thin surface layer.
That is why the smartest approach is to start with the gentlest method and only move up in intensity if the glue refuses to cooperate. Think of it like negotiating with a toddler. You begin calmly, not with a chainsaw.
Method 1: Use warm water and a soft cloth for fresh glue and mild residue
Best for
Fresh wood glue, light adhesive residue, water-based glues, and many finished wood surfaces.
What you need
- Warm water
- A few soft cloths
- Mild dish soap
- A plastic scraper, old credit card, or plastic putty knife
How to do it
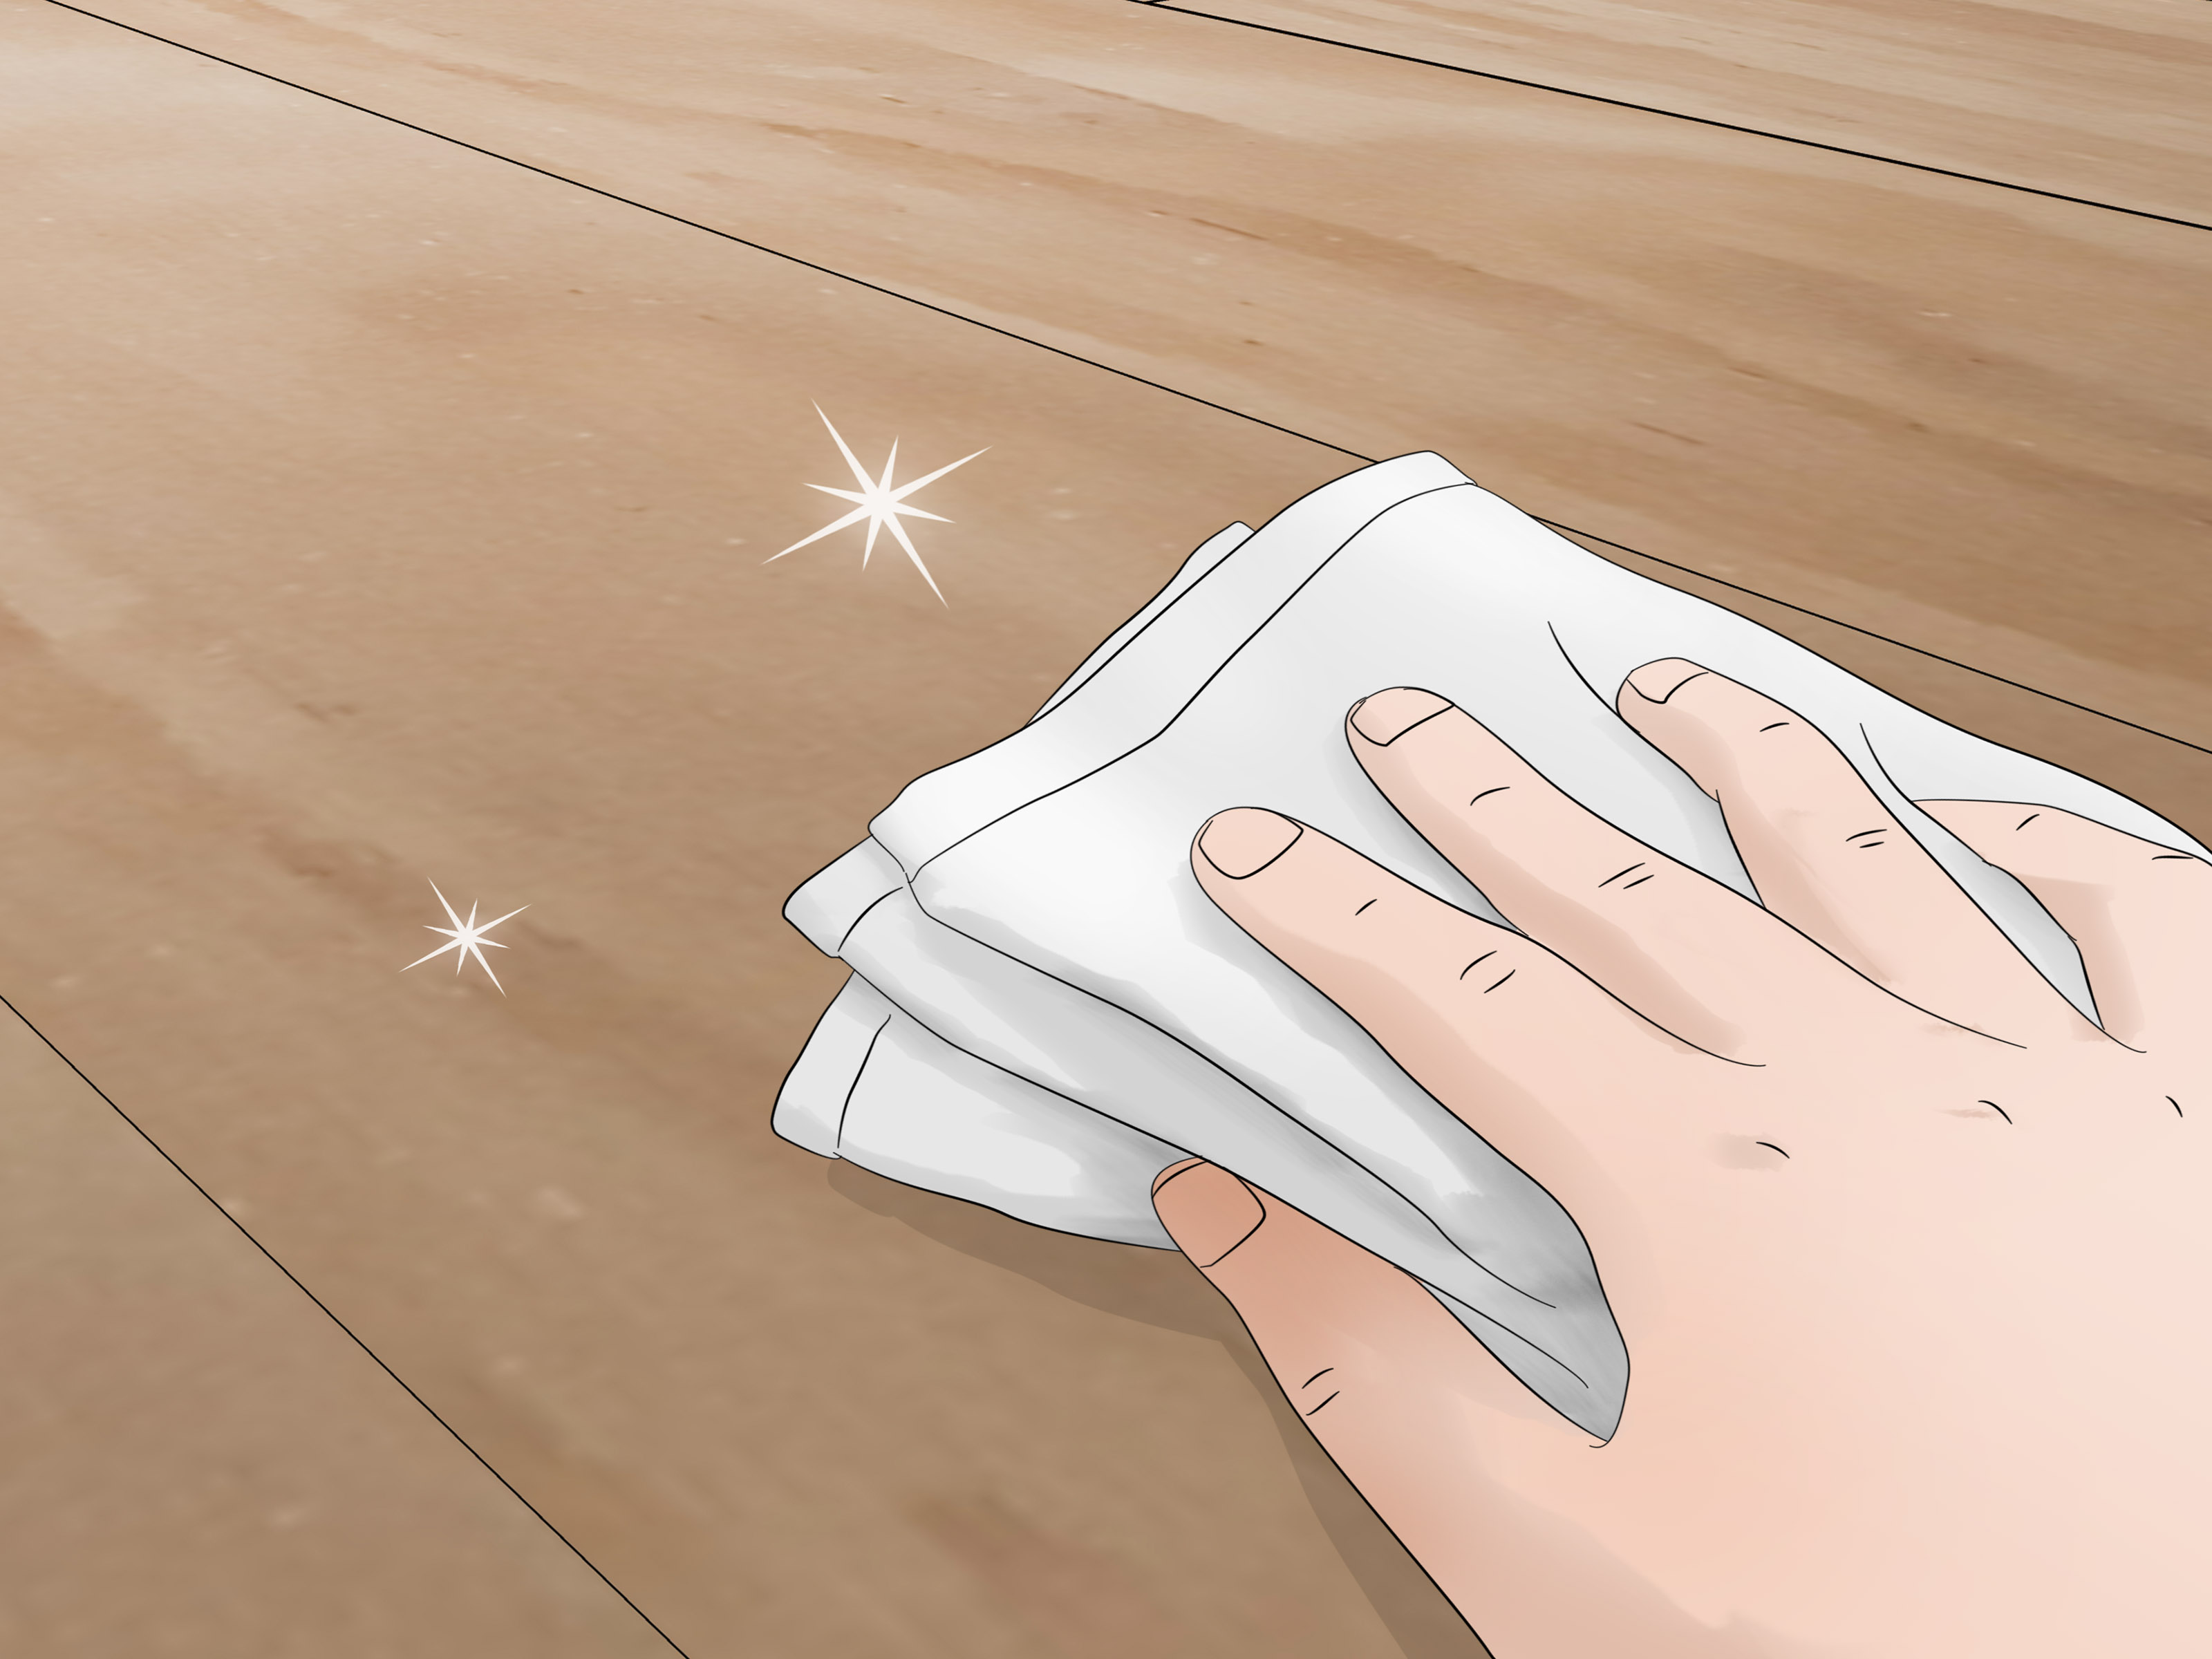
Start by dampening, not soaking, a soft cloth with warm water. Wipe the glue spot gently and let the moisture sit for a minute or two. For water-based wood glues, that short contact time can soften the residue enough to lift it. If needed, add a tiny drop of dish soap to help loosen the mess.
Once the glue begins to soften, use a plastic scraper or an old credit card to nudge it up. Work slowly and keep the tool nearly flat to the surface. After the residue is gone, wipe the area with a clean damp cloth and dry it immediately.
Why it works
This method is the least risky because it starts with moisture instead of strong chemicals. It is especially useful when the glue is still relatively fresh or when you are dealing with ordinary woodworking glue rather than super glue or epoxy.
Important caution
Do not flood the wood. Excess water can swell raw wood, raise the grain, and occasionally affect seams, veneer, or finish. A damp cloth is your friend. A soggy towel is an uninvited guest.
Example
Say you are assembling a small shelf and some yellow wood glue squeezes out along the joint. If you catch it early, a damp cloth followed by a few gentle passes with a plastic scraper will usually solve the problem before it hardens into a shiny little speed bump.
Method 2: Apply low heat to soften stubborn glue
Best for
Dried adhesive residue, sticker glue, tape residue, and glue that has hardened on finished wood or wood floors.
What you need
- Hair dryer or heat gun on low
- Plastic scraper, popsicle stick, or old card
- Clean cloth
How to do it
Set a hair dryer to low or medium heat and aim it at the glue for about 20 to 30 seconds. You want the adhesive to soften, not the wood to feel like it is auditioning for a campfire. As the glue warms up, use a plastic tool to lift the softened edge and peel or roll the residue away.
Keep moving the heat source rather than holding it in one spot. Once the bulk of the glue is off, wipe the area with a cloth. If a slight film remains, follow up with Method 1 or Method 3 depending on the surface.
Why it works
Many adhesives lose their grip when warmed. Heat can make brittle residue more pliable and much easier to lift, especially on finished wood where soaking with water is not ideal.
Important caution
Too much heat can soften certain finishes, discolor waxed surfaces, or loosen veneer glue. Stick with low heat and short intervals. If you are using a heat gun, keep it farther away than you think you need. Wood does not enjoy surprise tanning sessions.
Example
If you peeled an old label off a wooden tray and it left that classic gummy patch behind, low heat plus a plastic scraper often works better than frantic rubbing with a dry rag and rising regret.
Method 3: Use a mild solvent for sticky residue and tougher adhesives
Best for
Lingering sticky film, sticker residue, tape adhesive, some super glue residue, and glue that does not respond to water alone.
What you need
- White vinegar diluted with water, rubbing alcohol, or a citrus-based adhesive remover
- Cotton swabs or soft cloths
- Plastic scraper
- Clean damp cloth for final wipe-down
How to do it
Before using any solvent, test it in an inconspicuous spot. That means somewhere hidden, not the middle of the dining table where everyone can watch your experiment fail in real time.
Apply a small amount of the solvent to a cloth or cotton swab, then dab the residue instead of pouring the liquid directly onto the wood. Let it sit briefly, just long enough to soften the adhesive. Gently rub or lift the softened glue, then wipe the surface with a clean damp cloth and dry it well.
For super glue on a project surface, acetone can work, but it is much riskier on finished wood. Use it sparingly, only when gentler options have failed, and only after spot-testing. For many everyday residue problems, vinegar, rubbing alcohol, or a citrus-based remover is the safer first move.
Why it works
Solvents break down the chemical bond in glue residue that water and heat cannot fully release. This makes them useful for the annoying, shiny, tacky layer left behind after the bulk of the adhesive is gone.
Important caution
Some solvents can dull, strip, stain, or soften wood finishes. Oils can darken unfinished wood. Commercial removers can be effective, but they are not magic fairy juice. Read the label, test first, and use only as much as you need.
Example
Imagine removing painter’s tape from a stained wood frame only to discover a faint sticky outline. A little rubbing alcohol on a cloth may lift that film quickly, while soaking the spot with a heavy solvent could create a much bigger finishing problem than the glue ever did.
Method 4: Scrape and sand dried glue as a last resort
Best for
Fully cured glue squeeze-out, hardened wood glue ridges, polyurethane glue foam, and residue that remains after softer methods have failed.
What you need
- Plastic scraper, cabinet scraper, or putty knife used with extreme care
- Sandpaper in multiple grits
- Tack cloth or clean dry rag
How to do it
First, scrape off as much dried glue as possible. Work with the grain and keep your angle shallow. On finished surfaces, plastic is safest. On unfinished woodworking projects, a cabinet scraper can be more effective, especially if the glue has reached that slightly firm “not too wet, not rock-hard” stage that woodworkers often prefer for cleanup.
After scraping, lightly sand the area. Start with the least aggressive grit that will do the job, then move to finer grits to blend the repair. Wipe away dust and inspect the surface in raking light. If the wood will be stained, check carefully for any remaining glue because even a tiny invisible patch can block stain and create a light spot.
Why it works
Once glue is fully cured, it often has to be removed mechanically. This is especially true with foaming polyurethane glue and thick squeeze-out that laughs in the face of warm water.
Important caution
Sanding can remove stain, flatten sheen, change surface texture, and expose bare wood. On veneer, over-sanding can go from “problem solved” to “why can I see particleboard?” in one bad minute. Treat this method as the final step, not the opening act.
Example
If a bead of dried glue hardened along the edge of a butcher-block-style desktop, careful scraping followed by very light sanding may be the cleanest way to restore a smooth surface before finishing.
Quick guide: which method should you try first?
| Situation | Best first method | Backup method |
|---|---|---|
| Fresh wood glue squeeze-out | Warm water and cloth | Plastic scraper |
| Dried sticker or tape residue on finished wood | Low heat | Mild solvent |
| Sticky film after label removal | Mild solvent | Low heat plus wiping |
| Hard, cured glue ridge | Scraping | Light sanding |
| Unknown glue on delicate finish | Warm water and test spot | Low heat, then mild solvent if needed |
Mistakes to avoid when removing glue from wood
Using too much water
Moisture helps, but soaking wood can raise grain or leave marks, especially on unfinished surfaces.
Starting with the strongest solvent
This is the cleaning version of bringing a flamethrower to light a candle. Start mild and escalate only when necessary.
Using metal tools on delicate finishes
One slip can scratch clear coat, paint, stain, or veneer. Plastic tools are slower, but they are also less likely to ruin your day.
Skipping the hidden-spot test
Wood finishes can react unpredictably. Test first, then continue.
Sanding too aggressively
If you sand hard just to remove a tiny dot of glue, you may create a large patch that needs refinishing.
How to prevent glue messes on wood next time
- Use painter’s tape along glue lines before assembly.
- Apply glue sparingly instead of flooding the joint.
- Keep a damp cloth nearby during glue-ups.
- Inspect joints under good light before the glue fully cures.
- Check for hidden glue spots before staining by wiping the surface lightly and inspecting the sheen.
Prevention is not glamorous, but neither is discovering a blotchy finish because a nearly invisible smear of glue blocked the stain. The best glue cleanup is the cleanup you barely have to do.
Real-world experiences with removing glue from wood
One thing that becomes obvious after enough DIY projects is that glue removal is rarely about brute force. It is mostly about timing, patience, and resisting the urge to attack the problem with the nearest sharp object. People often assume the sticky mess itself is the disaster, but the real trouble usually comes from the cleanup choices made in a hurry.
A common experience happens during furniture assembly. Someone wipes wet squeeze-out with a dripping rag, feels productive, and moves on. Later, after the glue dries, there is a hazy patch around the joint where the glue was spread instead of removed. Under paint, maybe nobody notices. Under stain, that spot stands out like a tiny billboard that says, “I panicked and made it worse.” The lesson is simple: wipe carefully, use a clean section of cloth every pass, and do not smear softened glue farther across the grain.
Another very familiar scenario shows up with sticker residue on wooden decor, shelves, or frames. The label peels off nicely at first, which creates false confidence. Then a transparent sticky rectangle remains behind, collecting lint like it has found a new purpose in life. In those cases, heat is often the turning point. A short blast from a hair dryer can transform a hopeless gummy patch into something that rolls off in little crumbs. People are usually surprised by how effective gentle warmth can be when they stop scrubbing and start softening.
Wood floors create their own special category of frustration. A craft project, rug pad, or tape strip leaves adhesive behind, and suddenly every step catches that tacky patch. The instinct is to grab a metal putty knife and go to war. That is exactly where things go sideways. On floors, the smartest experience-based approach is slower: soften, scrape with plastic, clean, dry, and repeat if needed. It feels less dramatic, but it is far less likely to leave scratches that become permanent roommates.
Workshop projects teach another useful lesson: dried wood glue can hide in plain sight. You think the panel is clean. It looks smooth. Then stain goes on and boom, pale glue freckles appear where the color refuses to penetrate. That experience turns many woodworkers into detectives. They learn to inspect joints from different angles, wipe surfaces before finishing, and scrape suspicious spots before reaching for stain. It is not paranoia if the glue really is out to get your finish.
There is also the classic mistake of over-sanding. Someone sees a small glue line, reaches for coarse paper, and keeps sanding until the glue is gone. Success? Technically yes. But now the surrounding finish is uneven, the edges are rounded, and the repair area is larger than the original problem. Most experienced DIYers eventually learn that scraping first and sanding lightly afterward gives much better control.
The biggest takeaway from all these glue-removal experiences is that wood rewards gentleness. Whether you are cleaning a handmade cutting board, a vintage chair, a wood floor, or a simple shelf, the best results usually come from choosing the mildest effective method, giving it time to work, and checking progress often. Glue may be stubborn, but wood is worth the extra patience.
Final thoughts
If you need to remove glue from wood, the best method depends on the mess in front of you. Start with warm water for fresh or water-based glue. Move to low heat for dried sticky residue. Use a mild solvent for the stubborn film that refuses to budge. Save scraping and sanding for cured glue that will not cooperate any other way.
That step-by-step approach protects the wood, preserves the finish, and gives you the best chance of fixing the problem without creating a bigger one. In other words: less panic, more strategy, better-looking wood.












