
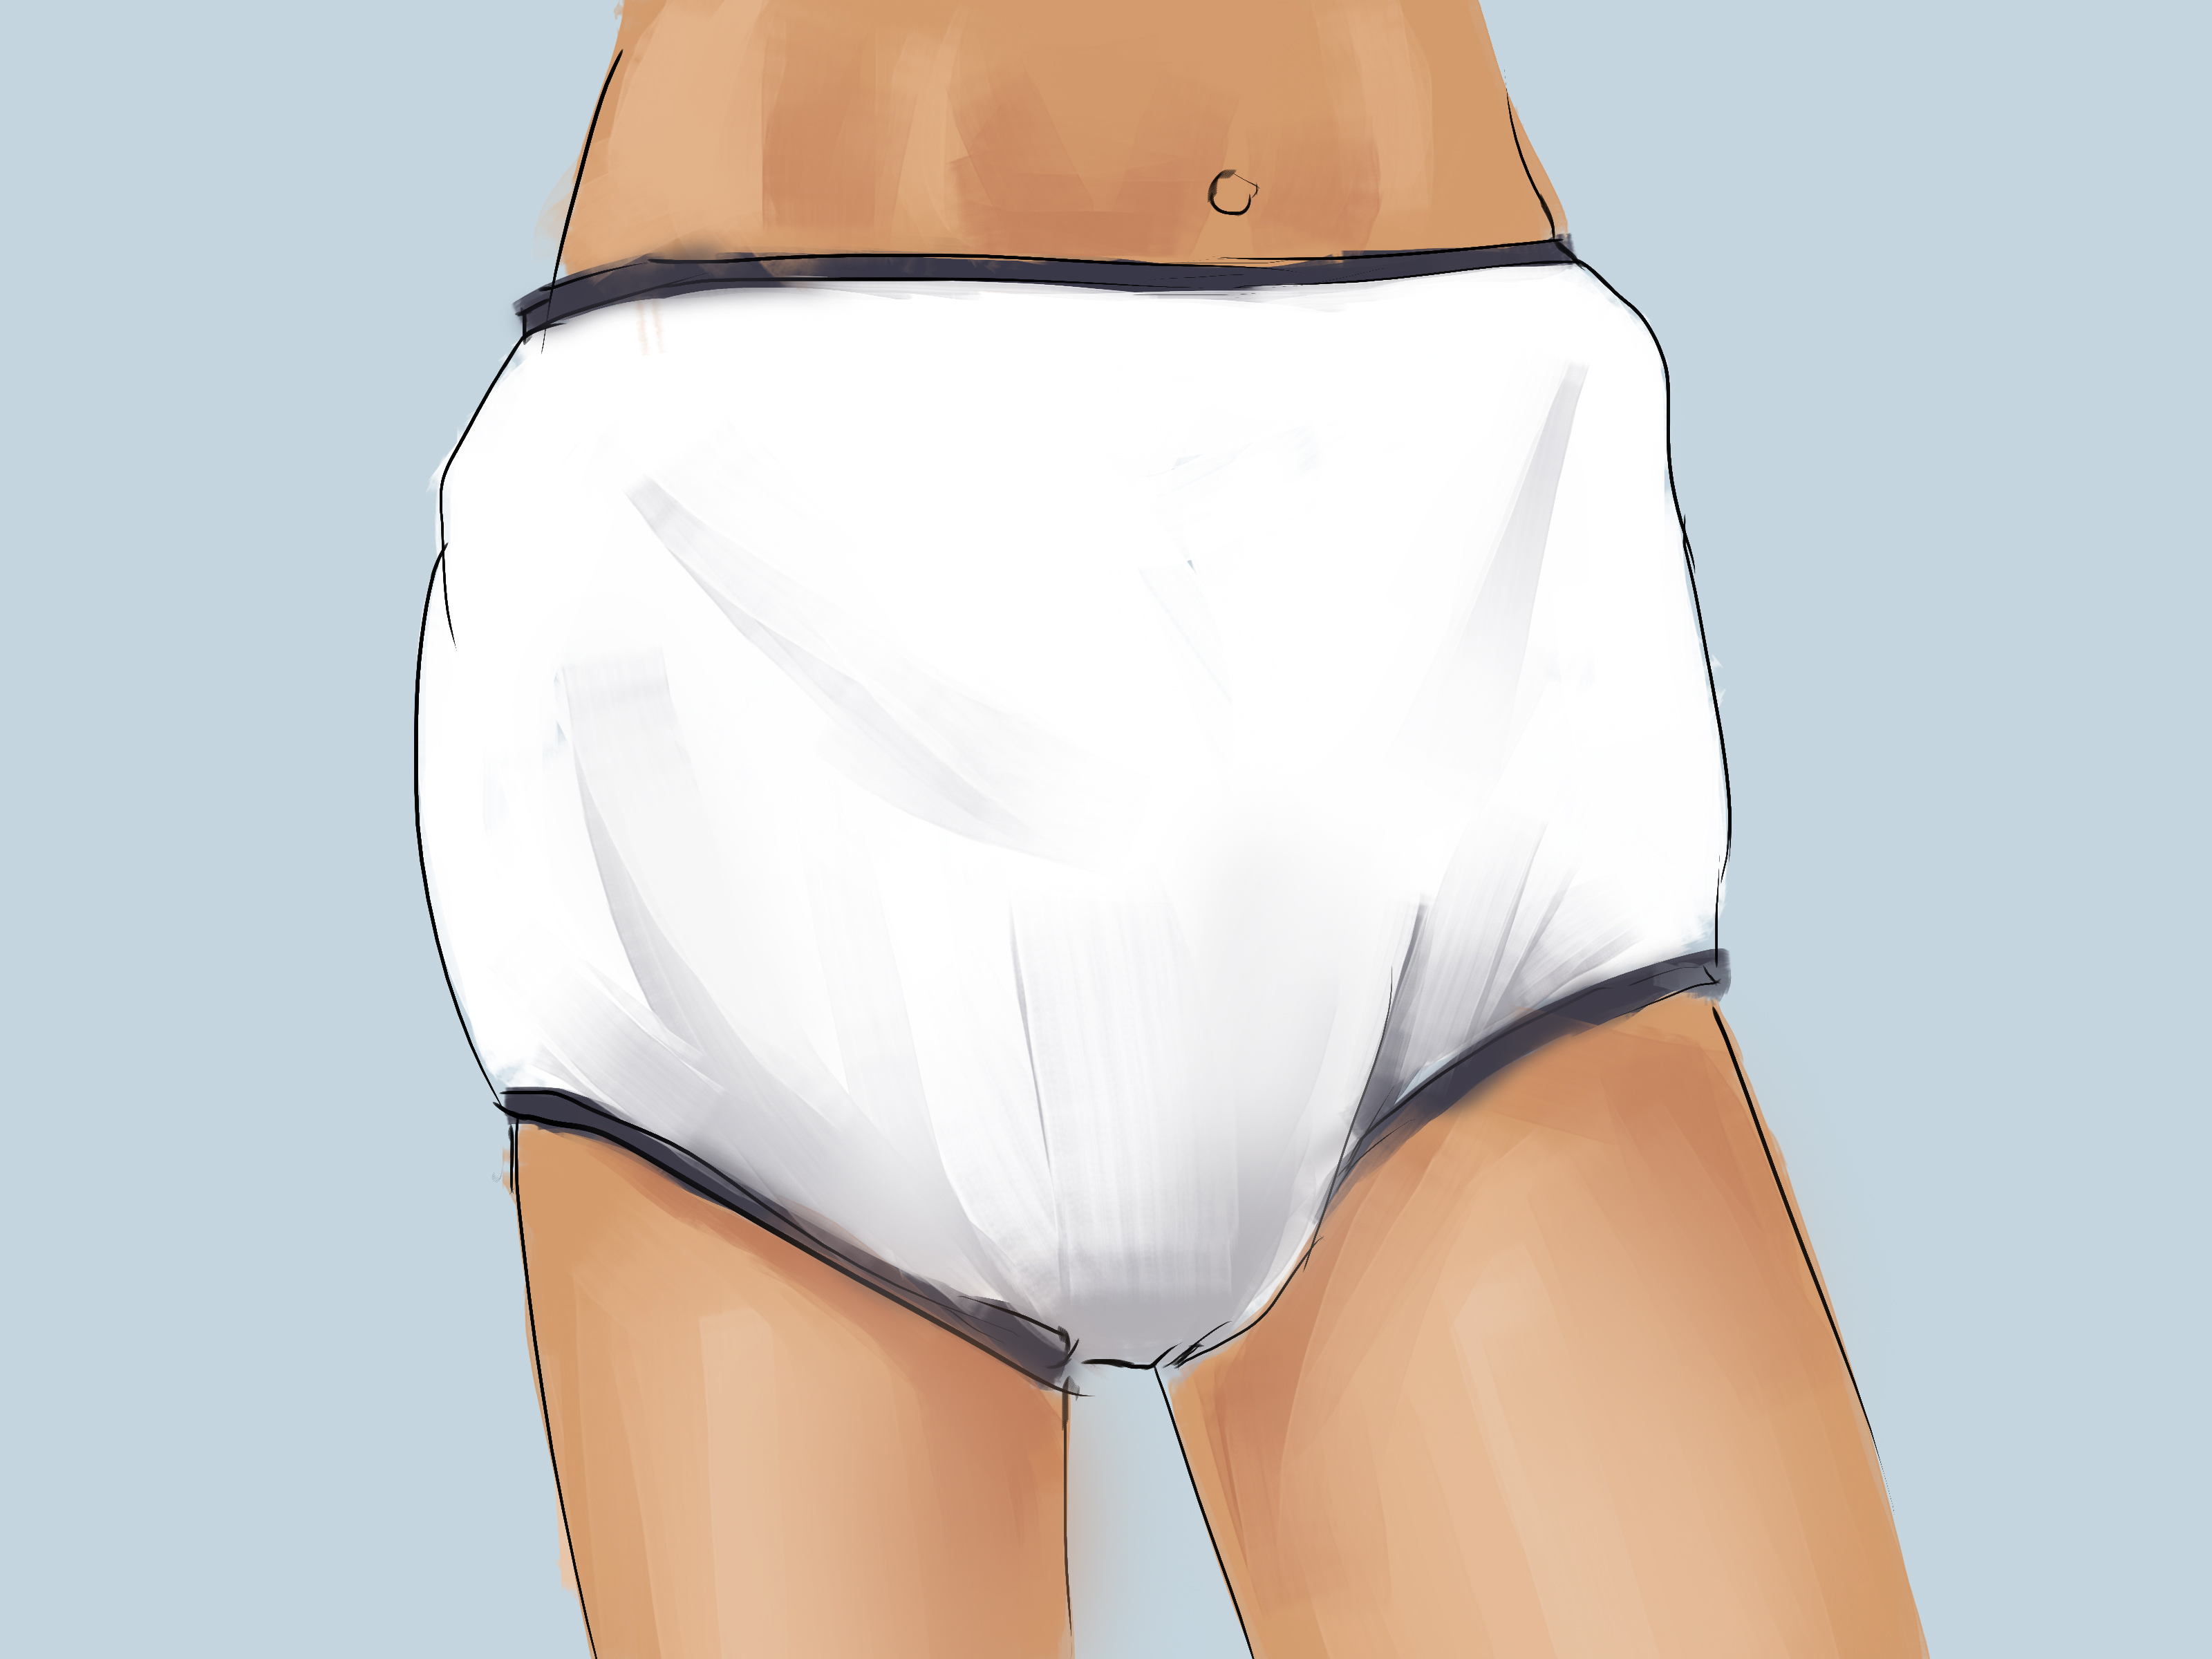
Bedwetting can feel like a big, noisy problem at 2 a.m., especially when sheets are wet, everyone is sleepy, and the laundry basket looks like it has joined a gym. But for many older children, nighttime wetting is not laziness, defiance, or “baby behavior.” It is often a developmental issue involving sleep, bladder capacity, hormones, genetics, constipation, stress, or simply a body that has not yet mastered the overnight shift.
For families who prefer reusable nighttime protection, a properly fitted cloth diaper can be practical, comfortable, and budget-friendly. The trick is making it secure without making it bulky, scratchy, embarrassing, or too tight. When an older child is involved, the goal is not just dryness. The goal is dignity, privacy, safety, and teamwork.
This guide explains three respectful ways to pin a cloth diaper on an older bedwetting child: the angel-wing prefold method, the kite-fold flat method, and the pad-fold-with-cover method. Each technique can help manage overnight wetting while keeping your child comfortable enough to sleep, roll over, and wake up without feeling like a wrapped burrito with homework.
Before You Start: Safety, Consent, and Comfort Matter
Before reaching for diaper pins, start with a calm conversation. Older children may feel embarrassed about bedwetting, so avoid teasing, punishment, or dramatic announcements. Let your child know the cloth diaper is simply nighttime gear, like pajamas, a mattress protector, or a water bottle by the bed. It is not a character review.
Whenever possible, involve your child in the routine. Let them choose the cover color, help fold the diaper, or decide whether they want assistance or privacy. Some children can learn to fasten their own cloth diaper with supervision, while others may prefer a parent to help quickly and quietly.
Supplies You Will Need
For most overnight cloth diaper setups, gather the following items before bedtime:
- One large prefold, flat, or adult/youth-sized cloth diaper
- One or two absorbent boosters, such as cotton, hemp, or bamboo inserts
- Two locking diaper pins designed for cloth diapers
- A waterproof diaper cover, pull-on cover, or wrap-style cover
- Barrier ointment if your child is prone to irritation
- A dry pail or wet bag for the morning
Use actual locking diaper pins, not regular sewing safety pins. Diaper pins are usually sturdier and have a locking head that helps prevent accidental opening. The pin should glide through fabric smoothly, lock firmly, and never point toward the skin.
Golden Rules for Pinning Cloth Diapers
First, never pin while rushing. Second, always place your fingers between the pin and your child’s skin while fastening. Third, pin through the diaper layers only, not through the waterproof cover, pajamas, or underwear. Fourth, check that your child can breathe, bend, sit, and move comfortably. A diaper that is tight enough to leave marks is too tight.
Also, do not force pinning if your child is upset or moving around. Try again later, use a pin-free fastener, or switch to a pull-on reusable bedwetting pant. A safe bedtime routine should make sleep easier, not turn the bedroom into a wrestling championship.
Way 1: The Angel-Wing Prefold Method
The angel-wing fold is one of the easiest ways to pin a prefold cloth diaper because it creates wide back “wings” that wrap around the hips. For older bedwetting children, this method works well when the child needs absorbency in the middle but still needs a snug fit around the waist and legs.
Best For
Use the angel-wing method if your child wets moderately to heavily, sleeps on their back or side, or needs a secure diaper that will stay in place under a waterproof cover. It is also a good beginner fold because it is simple to adjust for height and waist size.
Step-by-Step Instructions
- Lay the prefold flat on the bed with the thicker center panel running from front to back.
- If the diaper is too long, fold down the front edge for children who need more absorbency in front, or fold down the back edge for children who need more coverage behind.
- Fold the diaper lengthwise into thirds, keeping the absorbent center panel in the middle.
- Open the back corners outward like wings.
- Place the diaper under your child while they are lying down, with the back edge near the waist.
- Add a booster in the center if your child is a heavy wetter. Keep the booster flat so it does not bunch.
- Bring the front panel up between the legs. It should reach the lower belly, not the chest.
- Pull one back wing around to the front and overlap it with the front panel.
- Slide your fingers between the fabric and your child’s skin, then insert the pin through the outer layers only.
- Close and lock the pin. Repeat on the other side.
- Check the leg openings. They should be snug enough to reduce leaks but loose enough for comfort.
- Add the waterproof cover over the cloth diaper.
Fit Tip
For older children, the biggest mistake is using a diaper that is too small. If the wings barely reach the front, the pins will pull, twist, or pop open. Choose a larger prefold or add a stretchy waterproof cover that helps hold everything in place without requiring the pins to do all the work.
Way 2: The Kite-Fold Flat Method
The kite fold is useful when you are working with a large flat cloth diaper rather than a prefold. Flats are thin, washable, and adjustable, which makes them surprisingly helpful for older children who need a custom fit. The fold creates a long center panel and side wings that can be pinned at the hips.
Best For
Use the kite-fold method if your child is tall, slim, hard to fit, or needs extra fabric coverage around the hips. It is also a good choice for families who use large cotton flats, flour-sack towels, or specialty youth-sized cloth diapers.
Step-by-Step Instructions
- Lay the flat diaper in a diamond shape, with one corner pointing up and one corner pointing down.
- Fold the left and right corners inward until they meet near the center, forming a kite shape.
- Fold the bottom point upward to adjust the rise. For a taller child, fold it less. For a shorter child, fold it more.
- Fold the top point downward to create a straight back waist edge.
- Add a narrow booster down the middle if needed.
- Have your child lie on the diaper so the straight back edge sits comfortably near the waist.
- Bring the front section up between the legs, smoothing the fabric to prevent bunching.
- Pull the left wing across the hip and overlap it with the front panel.
- Place your fingers behind the fabric and pin through the overlapped cloth layers.
- Repeat on the right side, keeping the pins symmetrical.
- Ask your child whether the leg area feels pinchy, bulky, or loose.
- Cover with a waterproof wrap or pull-on pant.
Comfort Tip
The kite fold can create more fabric between the legs. That is helpful for absorption, but too much bunching can make walking awkward. Smooth the center panel before pinning and keep boosters narrow. Think “soft overnight protection,” not “camping mattress.”
Way 3: The Pad-Fold With Pinned Support Method
The pad fold is the simplest option. Instead of wrapping the cloth fully around the body, you fold the diaper into a long absorbent rectangle and place it inside a waterproof cover. For some older children, this is the least embarrassing and easiest to manage because it feels more like wearing overnight underwear.
Best For
Use the pad-fold method if your child wants more independence, dislikes fabric wrapped around the hips, or uses a snug waterproof cover that can hold the diaper in place. It is also helpful for lighter wetters or children who mostly need backup protection.
Step-by-Step Instructions
- Lay the prefold or flat diaper on a clean surface.
- Fold it lengthwise into thirds to create a long pad.
- Add a booster in the center if needed, keeping the layers smooth.
- Place the folded diaper inside a waterproof cover.
- If the pad slips, use one diaper pin horizontally through the top cloth layers only, away from the body, to keep the fold together before placing it in the cover.
- Have your child step into or lie down on the cover, depending on the style.
- Bring the cover up and fasten it snugly around the waist.
- Check that no absorbent cloth sticks out beyond the cover, because exposed cloth can wick moisture onto pajamas or sheets.
Important Safety Note
With this method, the pin should secure the folded cloth to itself, not attach the diaper to the child. If the waterproof cover fits well, you may not need a pin at all. This can be the best choice for a child who is nervous about pins or wants a faster bedtime routine.
How Tight Should a Pinned Cloth Diaper Be?
A nighttime cloth diaper should be snug, not squeezed. You should be able to slide two fingers under the waist and around the leg openings. The diaper should not leave deep red marks, restrict movement, or make your child complain that they feel trapped.
Older children may sleep in different positions, so have your child sit, stand, and lie on their side after the diaper is pinned. If the pins pull when they move, the diaper is too tight or too small. If the diaper sags immediately, it may need a better fold, a booster placed differently, or a smaller cover.
Preventing Leaks Overnight
Leaks usually happen for one of four reasons: not enough absorbency, poor fit, exposed cloth outside the cover, or compression from tight pajamas. To reduce leaks, start with a larger absorbent diaper, add a booster where your child needs it most, and make sure the waterproof cover completely contains the cloth.
For children who sleep on their stomach, place more absorbency toward the front. For back sleepers, center and rear absorbency may matter more. Side sleepers often need careful leg fit and a cover with strong side protection.
Use the Right Pajamas
Tight pajama bottoms can compress the diaper and push moisture outward. Choose loose cotton pajama pants or a nightshirt. If your child is self-conscious, a longer pajama top can make the diaper less noticeable while still allowing air circulation.
Skin Care and Hygiene
Nighttime wetting means the skin may stay damp for hours, so morning care matters. Have your child change out of the wet diaper soon after waking. Clean the skin gently with water or a mild, fragrance-free wipe, then let the area dry before dressing.
If your child gets redness or irritation, consider using a thin layer of barrier ointment that is compatible with your cloth diaper system. Some creams can build up on fabric, so washable liners may help protect the diaper. If a rash is painful, spreading, blistering, or not improving, contact a pediatrician.
Laundry Basics
Rinse or prewash heavily wet overnight diapers before the main wash. Wash cloth diapers regularly to prevent strong ammonia smells and fabric irritation. Avoid fabric softeners, which can reduce absorbency and irritate sensitive skin. Dry thoroughly before reuse.
When to Talk With a Pediatrician
Cloth diapers manage wet sheets, but they do not treat the reason bedwetting is happening. Talk with a pediatrician if your child suddenly starts wetting after being dry for months, has pain while urinating, urinates much more than usual, has daytime accidents, snores heavily, struggles with constipation, seems unusually thirsty, or feels very distressed.
Common approaches for bedwetting may include bladder routines, constipation treatment, moisture alarms, medication in certain situations, and reassurance. The right plan depends on the child. The best emotional plan, however, is almost always the same: patience, privacy, and no blame.
Common Mistakes to Avoid
Using Regular Safety Pins
Regular safety pins are not designed for diapering. Use locking diaper pins made for cloth diapers. If a pin is bent, rusty, dull, or hard to close, retire it immediately. Pins are cheap. A poked child’s trust is not.
Pinning Too Close to the Skin
Always keep your fingers between the pin and your child’s body. Pin through the fabric layers slowly, then lock the pin before letting go. Never aim the sharp point downward toward the leg crease or inward toward the belly.
Ignoring the Child’s Feelings
An older child may already feel sensitive about bedwetting. Do not discuss their diapering routine with siblings, relatives, or friends. Keep supplies discreet. Let the child help choose where items are stored. Privacy can be just as important as absorbency.
Real-Life Experience Notes: What Families Often Learn Over Time
Many families begin cloth diapering for an older bedwetting child with one goal: stop the laundry avalanche. Then, after a few weeks, they discover the bigger lesson is routine. A calm, predictable bedtime setup can reduce stress for everyone. Instead of discovering wet sheets at dawn and starting the day with frustration, the child wakes up, changes, drops the wet diaper into a pail, and moves on. No lecture. No drama. No household weather alert.
One common experience is that the first fold rarely becomes the forever fold. A parent may start with the angel-wing prefold because it seems secure, then realize the child sleeps better with a pad fold inside a cover. Another family may try a pad fold first and find that it shifts too much, especially for a restless sleeper. That is when the kite fold or a pinned prefold can save the night. The best method is the one that stays comfortable and dry for your child’s body, sleep style, and wetting pattern.
Children also tend to appreciate being included. A child who feels forced into a diaper may resist the whole routine. A child who is told, “Let’s figure out what helps you sleep and keeps the bed dry,” may feel more in control. Some parents create a private basket with clean diapers, covers, wipes, and pajama pants. The basket is kept in the child’s room or bathroom, not displayed like a museum exhibit titled “Laundry Problems of the Modern Family.”
Another practical lesson is that nighttime cloth protection must be tested before a big event. Do not try a brand-new fold the night before a sleepover, road trip, or early school morning. Test it at home for several nights. Check whether the cover leaks at the legs, whether the pins stay closed, whether the booster bunches, and whether the child wakes up with marks. Small adjustments, such as folding down the front edge or moving the booster slightly, can make a big difference.
Parents often learn that absorbency is only half the puzzle. A super-thick diaper can still leak if the waterproof cover is too small or if cotton peeks out at the waistband. On the other hand, a thinner, well-contained diaper may work beautifully. The cover is the raincoat; the cloth is the towel. If the towel sticks out of the raincoat, the pajamas are probably joining the splash zone.
Finally, families usually discover that emotional comfort is what keeps the routine sustainable. Praise the child for helping with the process, not for having a dry night. Dryness is not always fully under their control. Cooperation, changing promptly, placing laundry in the right spot, and speaking up about discomfort are achievements worth recognizing. A respectful cloth diaper routine can protect the mattress, reduce waste, save money, and most importantly, help an older bedwetting child feel safe rather than ashamed.
Conclusion
Learning how to pin a cloth diaper on an older bedwetting child is not about going backward. It is about finding a practical nighttime solution while the child’s body catches up. The angel-wing prefold method offers security, the kite-fold flat method gives flexible coverage, and the pad-fold method keeps things simple and discreet. Whichever method you choose, prioritize locking diaper pins, a comfortable fit, a waterproof cover, clean skin, and your child’s dignity.
Bedwetting is a challenge, but it does not have to define bedtime. With the right supplies, a calm routine, and a little trial and error, cloth diapering can become just another quiet part of the nightlike brushing teeth, picking pajamas, and negotiating whether one more chapter really means one more chapter.











