
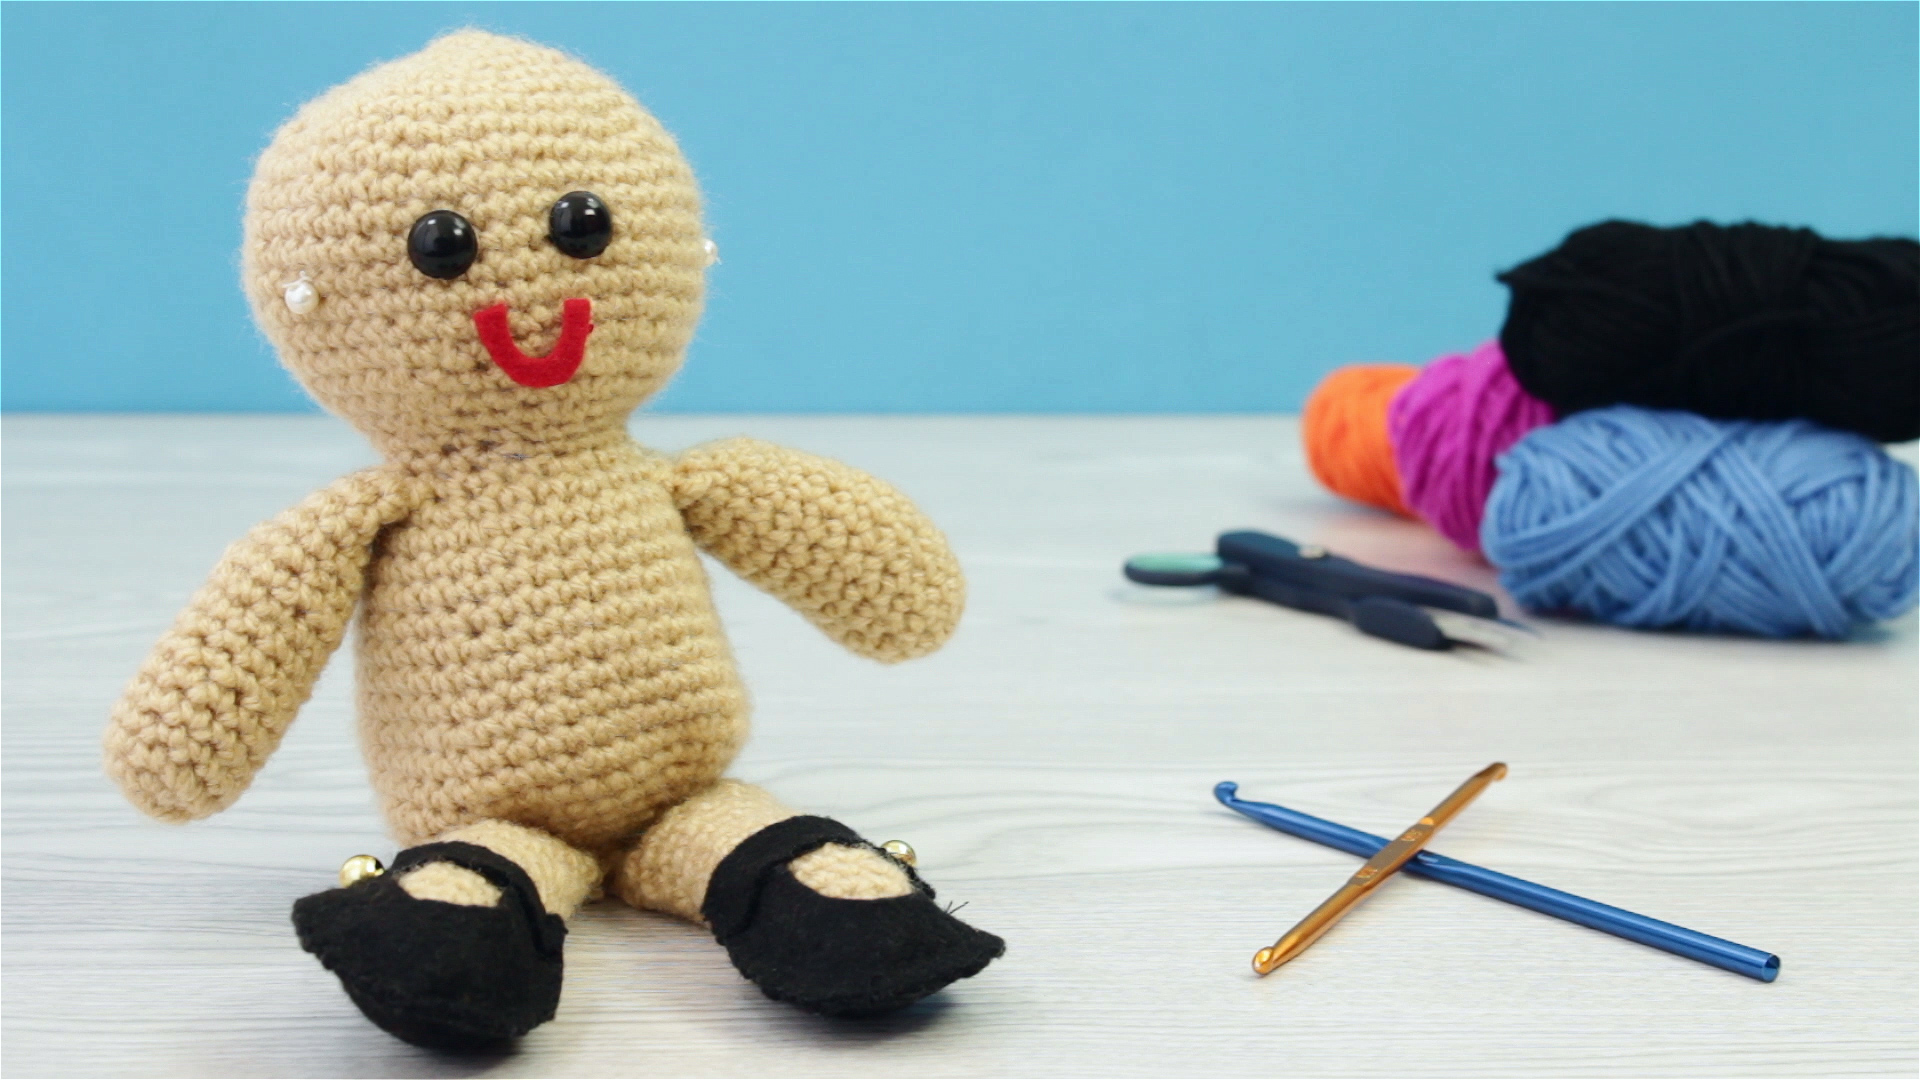
Curly doll hair has a magical way of turning a plain handmade doll into a character with attitude, charm, and maybe a tiny bit of drama. Straight yarn hair is lovely, of course, but curls bring movement. They bounce. They frame the face. They make a rag doll look ready for a picnic, an amigurumi princess look ready for a quest, and a handmade keepsake look like it has a personality instead of just a head.
The best part? You do not need professional doll-making supplies to create beautiful curls. With yarn, a few basic tools, and a little patience, you can make soft waves, tight ringlets, fluffy curls, or big storybook hair. This guide explains 3 ways to make curly doll hair with yarn, including heat-set curls, wet-set curls, and brushed yarn curls. Each method works a little differently, so you can choose the one that fits your doll, your yarn, and your comfort level with craft chaos.
Before we begin, one friendly warning: doll hair has a way of multiplying on the craft table. One minute you are cutting a few strands, and the next minute your workspace looks like a tiny yarn salon exploded. Totally normal. Carry on.
Choosing the Best Yarn for Curly Doll Hair
The yarn you choose affects the final look more than almost anything else. For most doll hair projects, acrylic yarn is the most practical choice because it is affordable, widely available, comes in endless colors, and responds well to heat-setting and brushing. Wool yarn can also make lovely curls, especially if you want a softer natural look, but it may felt or shrink if handled too aggressively. Cotton yarn is smooth and pretty, but it often does not hold curls as strongly as acrylic.
Recommended yarn types
- Acrylic yarn: Best for heat-set curls, brushed-out curls, and bold doll hairstyles.
- Wool or wool-blend yarn: Good for soft, natural-looking curls, but test first because wool reacts differently to moisture and heat.
- Cotton yarn: Nice for gentle waves, braids, or textured hair, though curls may relax faster.
- Chunky yarn: Great for thick curls and brushed wefts, especially on larger dolls.
- Worsted-weight yarn: A reliable all-purpose option for rag dolls, crochet dolls, and amigurumi.
Color also matters. A single color gives a neat, classic result, while two or three close shades can make the hair look more dimensional. For example, mixing chestnut brown with a few strands of caramel creates a warm, realistic effect. Mixing pink, lavender, and aqua creates a doll who clearly has weekend plans and no interest in blending in.
Basic Supplies You Will Need
You do not need every tool for every method, but the following supplies cover most curly yarn doll hair techniques:
- Yarn in your chosen color and weight
- Scissors
- Wooden dowels, knitting needles, straws, skewers, or pipe cleaners
- Clothespins, clips, or rubber bands
- A tapestry needle or large sewing needle
- Fabric glue, hot glue, or needle and thread, depending on the doll type
- A towel and spray bottle for wet-setting
- A steamer, hair dryer, or low heat source for heat-setting
- A pet slicker brush or fine comb for brushed yarn curls
Always test your yarn before working on the final doll. Cut a few strands, curl them using your chosen method, let them cool or dry completely, and then check the result. This tiny test can save you from discovering too late that your yarn has the curl memory of a tired spaghetti noodle.
Method 1: Heat-Set Yarn Curls for Tight Ringlets
Heat-setting is one of the most popular ways to make curly doll hair with yarn because it creates defined, springy curls that hold their shape well. This method works especially well with acrylic yarn because acrylic is a synthetic fiber that can be shaped with controlled heat. The key word is controlled. Too much heat can melt or flatten acrylic, so gentle handling is essential.
Best for
This method is ideal for amigurumi dolls, crochet dolls, rag dolls, Waldorf-inspired dolls, and any project where you want firm ringlets or spiral curls.
How to make heat-set yarn curls
- Cut long yarn strands. Cut the yarn longer than the final hairstyle. Curly hair shrinks in length once it coils, so give yourself extra room.
- Wrap the yarn around a rod. Use wooden dowels, knitting needles, straws, or metal skewers. The smaller the rod, the tighter the curl.
- Secure the ends. Clip the yarn with clothespins or tie it gently so it does not unwind.
- Apply gentle heat. Use a steamer, hair dryer, or carefully controlled heat gun. Keep the heat moving and avoid holding it too close.
- Let the yarn cool completely. This step matters. The curl sets as the yarn cools, so do not rush it.
- Slide the curl off the rod. Remove it carefully to preserve the spiral shape.
- Cut and attach the curls. Trim the loops if needed, then sew, glue, or latch-hook the curls onto the doll’s head.
Safety tips for heat-setting yarn
Never press a hot iron directly onto acrylic yarn. Acrylic can melt under high direct heat, and melted doll hair is not a design trend anyone is waiting for. If you use steam, keep the steam source slightly away from the yarn. If you use a heat gun, keep it moving constantly and work in short bursts. For children’s craft projects, an adult should handle the heat-setting step.
Pro styling tip
For a natural look, make curls in two different sizes. Use a smaller dowel for tight curls around the face and a slightly larger dowel for softer curls at the back. Real hair rarely curls in perfect copy-and-paste spirals, and doll hair looks more charming when it has a little variation.
Method 2: Wet-Set Yarn Curls for Soft Waves
Wet-setting is a gentler method that uses moisture and drying time instead of heat. It is a great choice if you are nervous about melting acrylic yarn or if you are working with yarn that does not need a dramatic curl. The result is usually softer and looser than heat-set curls, which makes this method perfect for gentle waves, toddler doll curls, beachy hair, or vintage-style ringlets.
Best for
Use wet-setting for cotton yarn, wool-blend yarn, softer acrylic yarn, or dolls that need a relaxed hairstyle rather than tight curls.
How to make wet-set yarn curls
- Cut the yarn. Cut strands longer than the final hair length.
- Dampen the yarn. Mist the strands with water until they are damp but not dripping.
- Wrap the yarn around rods. Use dowels, knitting needles, straws, or pipe cleaners.
- Secure the wrapped yarn. Use clips, rubber bands, or clothespins to hold the yarn in place.
- Let it dry completely. This can take several hours or overnight, depending on the yarn thickness.
- Remove and separate. Slide the curls off gently and separate them with your fingers.
- Attach to the doll. Sew, glue, or knot the curls into place.
Should you use glue or starch?
Some makers add a tiny amount of washable glue, fabric stiffener, or starch to the water to help the curls hold longer. This can work well, but use a light hand. Too much stiffener makes the hair crunchy, and crunchy doll hair can look less “sweet handmade toy” and more “tiny person who used too much gel in 1987.”
If you want soft curls, start with plain water. If the curls fall out too quickly, test a second batch with a small amount of diluted fabric stiffener. The best ratio depends on the yarn, so testing is your friend.
Wet-set curl variations
- Large dowels: Create loose waves and relaxed curls.
- Small knitting needles: Create neat ringlets.
- Pipe cleaners: Let you bend the curls into custom shapes.
- Braided damp yarn: Creates crimped waves instead of spiral curls.
Method 3: Brushed Yarn Curls for Fluffy Doll Hair
Brushed yarn hair is a favorite technique for doll makers who want soft, fluffy, realistic-looking hair. Instead of leaving the yarn strands intact, you brush the yarn until the fibers separate. The result can look like thick natural hair, soft waves, or wild curls depending on how you style it.
Best for
This method is excellent for custom dolls, art dolls, fashion doll wigs, larger rag dolls, and handmade dolls that need volume. It is especially useful when you want curls that look less like yarn and more like hair.
How to make brushed yarn curls
- Choose acrylic yarn. Acrylic yarn brushes out better than many natural fibers.
- Cut equal lengths. Make the strands longer than needed because brushing shortens and thins them.
- Secure the strands. Tape one end to a table, sew the center line onto fabric, or glue strands onto a wig cap.
- Brush gently. Use a pet slicker brush or fine comb. Start at the ends and work upward to reduce breakage.
- Trim the fuzz. Cut away uneven ends to create a clean shape.
- Curl the brushed fibers. Wrap sections around straws, pipe cleaners, or small rods, then steam lightly or wet-set them.
- Attach the wefts. Glue or sew the brushed curls onto a doll wig cap or directly onto the head.
Why brushed yarn works so well
Yarn is made from twisted fibers. When you brush it, you separate those fibers and create a softer, fuller texture. This is why brushed acrylic yarn can mimic doll hair surprisingly well. It is not the fastest method, but the finished look can be beautiful, especially for dolls with big curly hairstyles.
Common mistake to avoid
Do not brush too aggressively from the top down. That causes tangles, breakage, and frustration. Start at the bottom of the strand, brush a small section, then move upward little by little. Think of it like detangling real hair, except the client cannot complain and you do not have to make small talk.
How to Attach Curly Yarn Hair to a Doll
Once you have created your curls, the next step is attaching them securely. The best method depends on the type of doll.
For crochet or amigurumi dolls
Use a tapestry needle or crochet hook to pull folded yarn strands through the stitches on the doll’s head. This latch-hook style attachment is secure and blends nicely with crochet fabric. Place curls along the hairline first, then fill in the crown and back of the head.
For cloth or rag dolls
You can sew curls directly to the head using strong thread, or sew yarn wefts onto strips of fabric and then stitch those strips to the doll. For play dolls, sewing is usually more durable than glue.
For plastic or vinyl dolls
A wig cap is often the easiest option. Make a cap from stretchy fabric, felt, or crochet, then glue the yarn curls onto the cap. Once dry, attach the wig to the doll. This method is helpful if you want the hairstyle to be removable or replaceable.
How Many Yarn Curls Do You Need?
The answer depends on the doll size, yarn thickness, curl type, and desired fullness. As a general rule, tighter curls cover more space than straight strands because they spring outward. That means curly doll hair often needs fewer rows than straight yarn hair. However, if you want big dramatic curls, make extra. Running out halfway through is not tragic, but it is annoying, especially when the doll looks like it has made a bold but accidental haircut choice.
For a small amigurumi doll, you may need 40 to 80 curls. For a medium rag doll, you may need 100 to 200 strands or more. For a full wig on a larger doll, prepare more than you think you need, then trim and shape after attaching.
Styling Ideas for Curly Yarn Doll Hair
Once the curls are attached, you can style the hair in many ways. Try side parts, pigtails, buns, half-up styles, bangs, or layered curls. For a whimsical look, mix curl sizes and colors. For a realistic look, use fewer colors and trim the curls gradually around the face.
- Short curly bob: Use small heat-set curls and trim them around chin length.
- Long princess curls: Wrap longer yarn strands around large dowels for flowing ringlets.
- Fluffy natural curls: Brush acrylic yarn, steam-set it, and shape it with scissors.
- Messy toddler curls: Use wet-set curls in different sizes for a soft, playful look.
- Fantasy doll hair: Combine pastel yarn colors and oversized curls for a magical style.
Troubleshooting Curly Yarn Doll Hair
The curls fell flat
The yarn may not have dried or cooled completely before you removed it from the rod. Try again and leave the yarn wrapped longer. If wet-setting does not hold, use steam or a tiny amount of diluted fabric stiffener.
The yarn melted or became shiny
The heat was too high or too close. Acrylic yarn is sensitive to direct heat. Use less heat, keep the tool moving, and test on scrap yarn first.
The hair looks too bulky
Curly yarn expands. Remove a few inner rows, trim the curls, or use thinner yarn next time. A doll should have personality, yes, but not necessarily the hair volume of a 1980s rock guitarist unless that is your artistic vision.
The brushed yarn is frizzy
Frizz is normal with brushed yarn, but you can control it by trimming the ends, steaming lightly, or smoothing sections with your fingers. For a neater style, work in smaller sections and avoid over-brushing.
of Real Crafting Experience: What Doll Makers Learn the Fun Way
Making curly doll hair with yarn is one of those crafts that looks simple until you actually sit down with scissors, yarn, and a doll head staring at you like it expects salon-quality service. The first lesson most makers learn is that curls take up more space than expected. A handful of yarn spirals may look small on the table, but once attached to a doll, they suddenly bloom into a full hairstyle. This is wonderful if you want volume. It is less wonderful if you were aiming for a neat bob and accidentally created a tiny country music legend.
Another experience worth sharing is that not all yarn behaves politely. Two skeins can look similar in the store but react differently when curled. One acrylic yarn may hold a crisp spiral after steaming, while another may relax into a soft wave. Cotton may look gorgeous but refuse to keep a tight curl for long. Wool may curl beautifully, but it can also fuzz, felt, or shrink if treated too roughly. This is why experienced doll makers almost always test a few strands first. It feels like an extra step, but it prevents heartbreak later.
Attaching the hair also teaches patience. The hairline is the most important area because it is the part people notice first. If the front looks clean, the whole hairstyle looks more professional. Many makers start by placing curls around the face, ears, and part line, then fill in the back. This method avoids bald spots and gives better control over the final shape. The back of the head can be less dense, especially with curly hair, because curls naturally cover gaps.
Trimming is another surprisingly important skill. Curly yarn hair should be trimmed slowly, one small cut at a time. Pulling a curl straight and cutting it can make it spring back much shorter than expected. The safest approach is to trim the hair while it is in its curled shape. Turn the doll as you cut and check the silhouette from all angles. A good haircut can make handmade yarn hair look intentional, polished, and full of character.
One of the best practical tips is to make more curls than you think you need. Even if you have leftovers, they can be saved for bangs, repairs, future dolls, or tiny yarn eyebrows if your craft life takes an unexpected turn. It also helps to organize curls by length and size before attaching them. Small curls work well near the face, medium curls fill the sides, and longer curls create movement at the back.
Finally, curly yarn doll hair rewards imperfection. Handmade dolls are charming because they are not factory-perfect. A curl that leans sideways, a slightly uneven ringlet, or a mix of tones can make the doll feel alive. The goal is not to create plastic perfection. The goal is to create a doll with warmth, texture, and personality. And if the hair ends up bigger than planned, congratulations: your doll has confidence.
Conclusion
Learning how to make curly doll hair with yarn opens up a world of creative possibilities. Heat-set curls give you defined ringlets, wet-set curls create softer waves, and brushed yarn curls offer fluffy, realistic volume. Each method has its own personality, just like the dolls they help bring to life.
For beginners, start with worsted-weight acrylic yarn and a simple wet-set or steam-set method. For more advanced doll makers, experiment with brushed yarn wefts, mixed colors, layered curls, and custom wig caps. No matter which technique you choose, remember to test first, attach carefully, and trim slowly. Curly yarn hair is wonderfully forgiving, but it does appreciate a little patience.
Note: This article is written for web publishing in standard American English and is based on practical yarn craft, doll-making, crochet doll, and textile-care techniques commonly used by experienced makers.











