
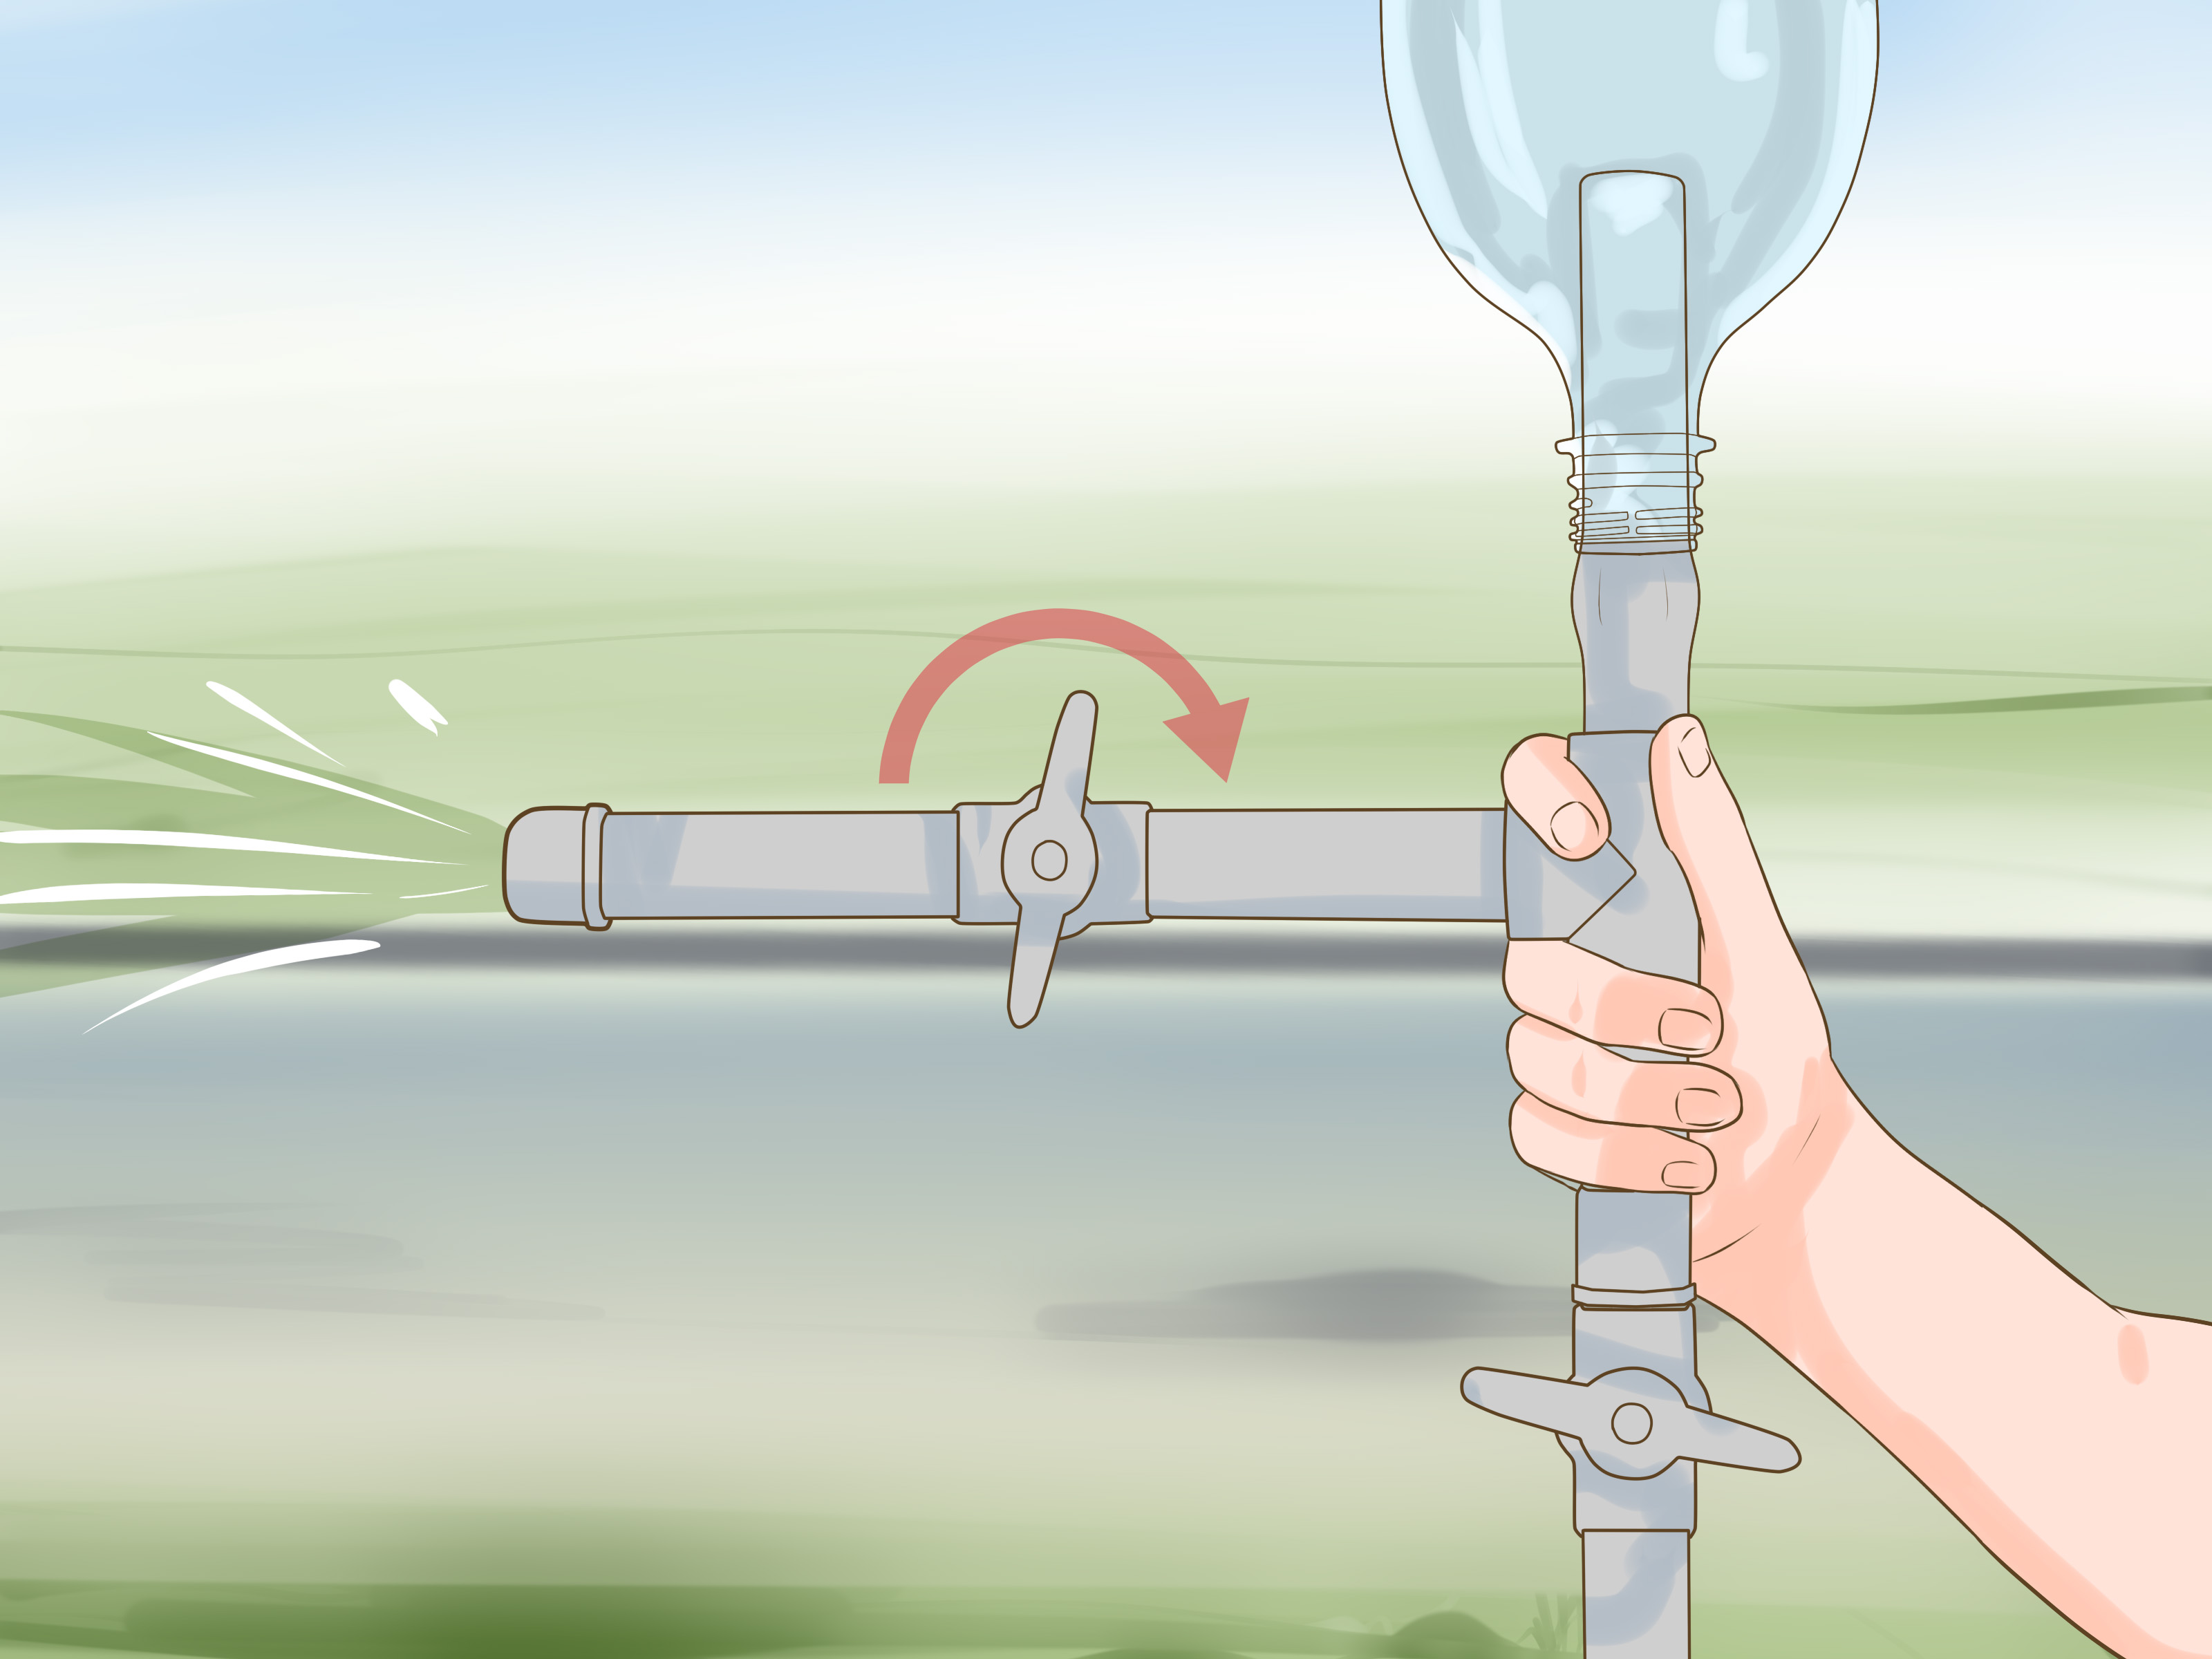
When summer hits and the air starts feeling like warm soup, you do not need a fancy store-bought blaster to cool off. A basic plastic water bottle, a few easy-to-find supplies, and a little DIY confidence are enough to build a homemade water gun that actually works. Better yet, it is cheap, fast, and oddly satisfying in the same way that turning leftovers into a great lunch feels like winning at life.
If you have ever squeezed a bottle and watched water shoot out like a tiny backyard geyser, you already understand the basic idea. Pressure inside the bottle pushes water through a small opening. Change the opening, change the stream. Add a straw, and you can change the direction and distance. Poke several holes, and suddenly you have gone from “water gun” to “portable splash machine.”
In this guide, you will learn three ways to make a water gun with a water bottle, along with tips to improve the spray, avoid leaks, and keep the fun safe. These projects are simple enough for a casual afternoon craft session, but they are also a fun way to show how air pressure, nozzle size, and bottle flexibility affect performance. So yes, this is a summer activity and a mini science lesson. Your fifth-grade teacher would be proud.
Why a Water Bottle Makes a Great DIY Water Gun
A plastic bottle works well because it is light, flexible, and easy to squeeze. That flexibility matters. When you press the sides of the bottle, you increase the pressure inside it, and the water is forced out through whatever opening you created. A narrow opening usually gives you a tighter stream, while a wider opening gives you a softer spray. In other words, your bottle is doing the job of a simple pump without demanding a degree in engineering.
Water bottles are also easy to customize. You can keep it basic with one tiny hole in the cap, add a straw for better aim, or punch several holes for a wider splash pattern. Since many households already have empty plastic bottles around, this is also a good upcycling project. One person sees recycling. Another person sees tactical hydration equipment. Perspective matters.
Safety First Before the Splash Wars Begin
Before you build anything, start with a clean bottle and inspect it for cracks or sharp edges. If you are using scissors, a pushpin, a nail, or a craft knife to make holes, an adult should handle the sharp tools or supervise closely. If you plan to use hot glue to seal a nozzle, do not rush the process and do not touch the glue until it cools.
Once your bottle water gun is finished, treat it like a toy, not a tiny pressure washer. Never aim at anyone’s eyes, face, ears, or mouth. Play outside in an open area where slipping is less likely, and avoid using dirty water or any liquids other than clean water. Also, do not create oversized holes and squeeze the bottle with superhero-level force right next to someone’s face unless your goal is to be uninvited from the next barbecue.
Method 1: Make a Simple Squeeze Water Gun with a Bottle Cap
What You Need
- 1 empty plastic water bottle with cap
- Clean water
- Pushpin, thumbtack, or small nail
- Towel for cleanup
How to Make It
- Wash the bottle and cap thoroughly, then let them dry.
- Use a pushpin or small nail to poke one small hole through the center of the cap.
- Fill the bottle about three-quarters full with clean water. Leave a little air space so the bottle is easier to squeeze.
- Screw the cap on tightly.
- Point the bottle away from people, plants you care about, electronics, and that one neighbor who already looks annoyed.
- Squeeze the bottle firmly to shoot a stream of water.
Why This Version Works
This is the easiest homemade water gun design because the bottle itself becomes the trigger. When you squeeze it, pressure builds inside and pushes water through the small cap hole. The smaller the hole, the more focused the stream can feel. If the hole is too large, the water may just dribble out instead of spraying with any real enthusiasm.
Tips for Better Performance
- Use a bottle with thinner plastic if you want easier squeezing.
- Do not overfill it. Air inside the bottle helps create pressure.
- If the stream is weak, make sure the cap is tight and the hole is not ragged or oversized.
- If the hole is too tiny and barely sprays, widen it slightly.
This version is perfect for younger kids or anyone who wants a fast, no-fuss DIY water bottle gun. It is the grilled cheese of the category: simple, reliable, and hard to mess up.
Method 2: Make a Straw-Nozzle Water Gun for Better Aim
What You Need
- 1 empty plastic water bottle with cap
- 1 plastic straw
- Scissors
- Pushpin, nail, or small drill bit
- Waterproof tape, modeling clay, or hot glue
- Clean water
How to Make It
- Cut the straw so that one section will stick a few inches out from the cap and a short section extends inside the bottle.
- Make a hole in the bottle cap just large enough for the straw to pass through.
- Push the straw through the hole. You want it snug, not loose and wobbly like a folding chair at a family reunion.
- Seal around the straw with waterproof tape, modeling clay, or a small amount of hot glue. The goal is to stop air from escaping around the opening.
- Fill the bottle about two-thirds to three-quarters full with clean water.
- Screw the cap on, aim the straw, and squeeze the bottle.
Why This Version Is Better for Target Practice
The straw acts like a nozzle extension, which helps guide the water in a more controlled direction. If your seal is tight, this design can feel more accurate than the simple cap-hole version. It is still basic, but it gives you a better shot at hitting a bucket, a sidewalk target, or your sibling’s flip-flop from a safe distance.
Ways to Upgrade It
- Use a bendy straw to angle the spray upward or downward.
- Shorten the outer straw if the stream feels weak.
- Double-check the seal if water leaks around the cap instead of through the straw.
- Try a sports drink bottle for a larger grip if you want a more comfortable squeeze.
This bottle water gun design is a nice middle ground. It is still easy to make, but it looks more intentional and usually feels more fun to use. Basically, it is the version that says, “Yes, I crafted this, and yes, I take backyard nonsense seriously.”
Method 3: Make a Multi-Spray Water Blaster with Several Cap Holes
What You Need
- 1 empty plastic water bottle with cap
- Pushpin, thumbtack, or small nail
- Clean water
- Marker
How to Make It
- Clean the bottle and cap.
- Use a marker to dot three to five spots on the cap.
- Poke small holes through each marked spot.
- Fill the bottle around three-quarters full with water.
- Screw the cap on tightly.
- Squeeze the bottle to create a fan-like spray or short splash burst.
Why This Version Is Fun
Instead of sending out one focused stream, this design creates several smaller jets at once. That makes it great for close-range splash games, watering hardy outdoor plants in a pinch, or turning a plain bottle into something that behaves like a mini sprinkler blaster. You will not get sniper-level range here, but you will get more coverage. Think less secret agent, more backyard chaos coordinator.
How to Adjust the Spray Pattern
- Keep the holes small for a more energetic spray.
- Angle the holes slightly outward if you want a wider spread.
- Use fewer holes if you want stronger water pressure from each opening.
- If the cap cracks, replace it rather than trying to bully it into cooperation.
This version is especially good for younger kids who care more about splash effect than perfect aim. It is also the best choice when the mission is “make summer more ridiculous” rather than “win a precision water duel.”
Best Bottle Choices for DIY Water Guns
Not all bottles behave the same way. Thin, flexible water bottles are easiest to squeeze, which makes them ideal for younger users or quick, lightweight builds. Slightly sturdier sports drink bottles can hold up better if you plan to refill and reuse them many times. Bottles with textured grips can also be more comfortable to hold when hands are wet.
Cap style matters too. A standard screw cap is the most versatile because you can poke or modify it easily. Flip-top sports caps can work as a shortcut for some designs, but they do not always create the strongest stream unless the bottle itself is very squeezable. Small bottles are easier to handle, while larger bottles hold more water but can feel bulky.
Troubleshooting Your Homemade Water Bottle Gun
Problem: The water only dribbles out
The opening may be too big, or the bottle may be too full. Leave some air space inside and try again. If the hole is oversized, swap the cap and start over with a smaller opening.
Problem: Water leaks around the straw
Your seal is not tight enough. Add more tape, clay, or glue around the cap opening so air and water are forced through the straw rather than escaping from the sides.
Problem: The bottle is hard to squeeze
Try a thinner bottle or use slightly less water. Some bottles are made from stiffer plastic and resist pressure like they have personal boundaries.
Problem: The stream is too weak
Check for leaks, reduce the number of holes, or make the nozzle opening a bit smaller. A tight system is usually more effective than a fancy-looking one.
Fun Ways to Use Your DIY Water Gun
- Target challenge: Set up cups or chalk circles and see who has the best aim.
- Backyard relay: Race to fill a bucket using only your bottle water gun.
- Color-free “painting”: Spray water on fences, sidewalks, or concrete and watch it disappear.
- Garden helper: Use the multi-hole version for gentle outdoor watering when you need a quick stand-in.
- Science demo: Test which nozzle shape or bottle type gives the best distance.
These uses also make the project more than a one-time craft. Once kids build the bottle blaster, they can compare bottle sizes, hole widths, or spray patterns and learn through trial and error. That is the sneaky magic of a good DIY project: everyone thinks they are just goofing around, but a little problem-solving is happening in the background.
Frequently Asked Questions
Can you really make a water gun with a water bottle?
Yes. A squeezable plastic bottle can act like a simple pump. Once you add a small nozzle opening, pressure pushes water out when you squeeze the bottle.
What is the easiest homemade water gun to make?
The easiest version is the single-hole cap design. It only requires a bottle, a cap, water, and a small tool to poke one hole.
Do I need a straw to make a DIY water bottle gun?
No. A straw is optional, but it can improve aim and make the stream feel more controlled.
Is it safe for kids?
It can be, as long as sharp tools are handled carefully, the bottle has no dangerous edges, and children are supervised. Water play should stay gentle and should never involve spraying anyone in the face.
What You Learn from Making One
Beyond the obvious reward of cooling off without spending much money, making a water gun from a water bottle teaches a few useful basics. First, design matters. Tiny changes in hole size or bottle shape can change how the water behaves. Second, sealing leaks is just as important as adding features. Third, simple materials can be surprisingly effective when you understand how they work.
It also reminds you that fun does not need to be expensive or complicated. One bottle, a little creativity, and a willingness to test, tweak, and laugh at the occasional accidental self-splash can go a long way. Frankly, that is a decent philosophy for summer in general.
Experiences with Making a Water Gun from a Water Bottle
The best part about learning how to make a water gun with a water bottle is that the experience is rarely just about the finished toy. It is about the trial-and-error process, the improvising, and the moment when a simple bottle goes from “trash” to “tiny engineering project.” The first time many people try it, the results are honestly a little goofy. The cap leaks, the stream goes sideways, and somebody gets sprayed while trying to “inspect the nozzle.” That is part of the charm.
One common experience is discovering that the simplest design often works faster than the more ambitious one. You might spend fifteen minutes trying to build a fancy straw nozzle, only to realize that a single tiny hole in the cap gives a surprisingly strong stream. Then again, the straw version usually wins on aiming, which turns the whole thing into a friendly debate about whether power or precision matters more. Backyard science has a way of becoming backyard sports commentary.
Another thing people notice is how much bottle choice affects the outcome. A flimsy single-use bottle is easy to squeeze, which is great for younger kids, but it may dent quickly after repeated use. A sturdier bottle feels more durable, yet sometimes it takes more hand strength to get a satisfying stream. This naturally leads to experimenting with different sizes and brands, and suddenly what started as a quick summer craft turns into a full comparison test. It is basically a product lab, except everyone is wearing sandals.
There is also something unexpectedly fun about customizing the design. Some people decorate the bottle with stickers or waterproof markers. Others label different versions like “Mega Splash 3000” or “Operation Soak Mode,” because apparently naming your homemade gadget makes it scientifically superior. A plain bottle becomes a personal project, and that makes kids more excited to use it and improve it.
In group settings, these DIY bottle water guns are especially entertaining because no two builds come out exactly the same. One person makes a powerful single-stream blaster. Another builds a wide-spray splash cannon. Someone else creates a version that leaks from three places and still insists it is “part of the design.” Comparing them side by side teaches observation, patience, and problem-solving without making the activity feel like homework.
Parents and caregivers often like this project because it is inexpensive and easy to reset. If a cap gets damaged, you swap the cap. If a bottle caves in, you grab another one from the recycling bin. There is no dramatic meltdown over a broken expensive toy, just a quick fix and maybe a laugh. That low-stress quality makes the whole experience more enjoyable.
Perhaps the most memorable part is how quickly the project leads to real use. Unlike some crafts that end up sitting on a table looking decorative but unnecessary, a bottle water gun gets tested immediately. It has a job. It sprays. It cools. It launches a short but meaningful summer rivalry. And when it works well, there is always that little burst of pride that says, “I made this with stuff that was already in the house.”
That is why this project tends to stick in people’s memory. It is simple, useful, playful, and just messy enough to feel exciting. You are not only making a homemade water gun from a bottle. You are making a small experience out of ordinary materials, and those are often the projects people remember the longest.
Conclusion
If you want a quick, inexpensive summer activity, making a water gun with a water bottle is hard to beat. The simple cap-hole version is perfect for beginners, the straw-nozzle build gives you better aim, and the multi-hole cap creates a fun spray effect for bigger splash zones. Each design is easy to customize, easy to remake, and easy to enjoy.
Best of all, this project proves that creative outdoor fun does not have to come in shiny packaging from a store aisle. Sometimes the best summer gear starts as an empty bottle, a tiny hole, and a very optimistic squeeze.












