
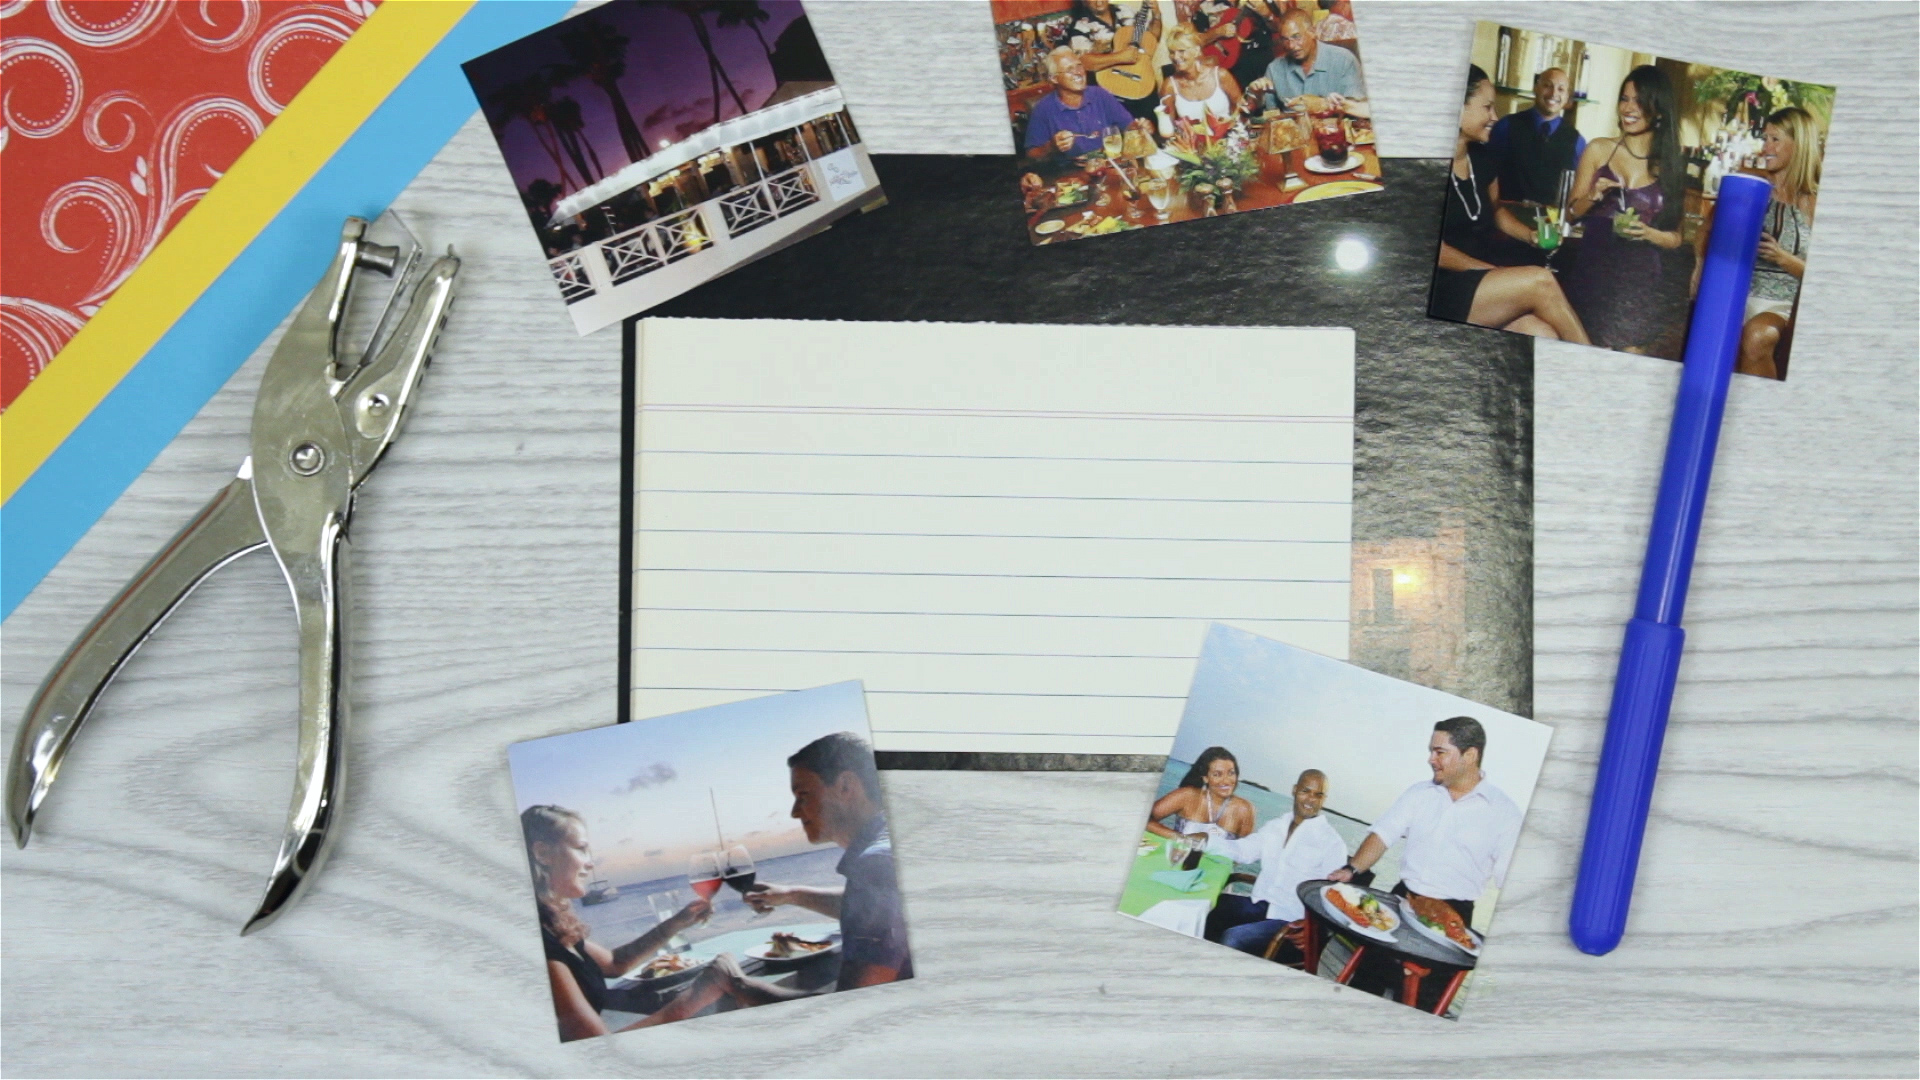
There is something wonderfully satisfying about holding a real photo album. Your phone may contain 18 nearly identical pictures of the family dog, six accidental screenshots, and a mysterious blurry image of somebody’s shoe, but a thoughtfully made album turns that digital chaos into an actual story.
Creating a DIY photo album also gives you something a standard gallery app cannot: texture, handwritten notes, ticket stubs, little mistakes, personal decoration, and the freedom to decide which memories deserve the spotlight. Modern scrapbooking guidance increasingly combines traditional printed photographs with captions, keepsakes, pockets, and clean layouts rather than covering every square inch with decorations.
Better still, you do not need professional bookbinding equipment or an alarming collection of craft-store gadgets. This guide covers three practical ways to create a homemade photo album: an expandable scrapbook album, a handmade accordion album, and a digitally designed photo book with DIY finishing touches.
Before You Start: Choose the Photos and Tell a Story
Before reaching for scissors, glue, cardstock, or decorative stickers shaped suspiciously like tiny avocados, decide what your album is actually about.
A strong photo album usually has a simple theme. It could document a wedding, baby’s first year, graduation, family vacation, anniversary, friendship, pet, holiday season, or an entire year of everyday family life.
Start by gathering all possible photos in one folder. Then remove obvious duplicates, badly blurred images, accidental shots, and photographs that do not add anything new. Digital photo-book guidance from Adobe, Canva, and major printing companies consistently emphasizes organizing images first, choosing a theme, and planning the visual sequence before designing pages.
Arrange Photos in a Logical Order
Chronological order is the easiest option, but it is not mandatory. A vacation album might be organized by destination. A wedding album could have sections for preparation, ceremony, portraits, reception, and candid moments. A baby album might use milestones such as first smile, first trip, first birthday, and first attempt to eat something that definitely was not food.
Create a rough page plan before attaching anything. Even a handwritten list such as “Pages 1–2: introduction, Pages 3–6: beach, Pages 7–10: mountains” prevents you from discovering halfway through the project that you used eight pages on Tuesday and left one page for the rest of the vacation.
Way 1: Make a Scrapbook-Style DIY Photo Album
A scrapbook-style album is the best starting point for beginners because it is flexible, forgiving, and easy to expand. You can combine photographs with handwritten captions, postcards, maps, children’s drawings, pressed paper keepsakes, event programs, and other flat memorabilia. Scrapbooking resources commonly recommend this mixture of pictures and meaningful objects because it gives the album context that photographs alone may not capture.
Materials You Will Need
- A blank scrapbook, ring binder, or refillable photo album
- Acid-free cardstock or scrapbook paper
- Printed photographs
- Photo corners or photo-safe mounting supplies
- Scissors or a paper trimmer
- Ruler and pencil
- Archival-quality pen
- Decorative paper, labels, stickers, or washi tape
- Optional pockets for tickets, letters, and other keepsakes
Step 1: Select a Simple Design Style
Choose two or three complementary colors instead of buying every scrapbook paper ever manufactured. Limiting your palette makes the pages look connected even when the photographs come from different cameras, seasons, or decades.
For example, a beach vacation album might use white, sandy beige, and muted blue. A wedding album could use ivory, charcoal, and one accent color. A family-history album often looks attractive with neutral papers and minimal decoration.
Step 2: Create Photo Mats
A photo mat is simply a piece of cardstock slightly larger than the photograph. Mounting a 4-by-6-inch print on cardstock with a narrow border immediately gives the image more visual definition.
You do not need to mat every photograph. Use mats for important images and allow supporting photos to sit directly on the page.
Step 3: Test the Layout Before Attaching Photos
Place everything on the page without adhesive first. Try one large photograph with two smaller images, a three-photo grid, or a single dramatic picture surrounded by white space.
White space is not wasted space. It helps individual photographs stand out and keeps pages from looking like someone emptied a craft drawer onto them during turbulence.
Step 4: Mount Photos Carefully
If you are working with irreplaceable family photographs, preservation deserves more attention than decoration. The U.S. National Archives recommends acid-free paper or envelopes and stable plastics such as polyester, polypropylene, or polyethylene. It also recommends mounting without adhesive when possible, including the use of appropriate photo corners. The Library of Congress similarly recommends photo-safe materials designed to protect photographs from handling, dust, and harmful storage conditions.
The Smithsonian also cautions against applying adhesive directly to valuable original photographs, even when products are marketed as acid-free. For precious originals, consider making high-quality copies for the scrapbook and storing the originals separately in archival enclosures.
Step 5: Add Captions That Future You Will Appreciate
Names, dates, locations, and short stories are often more valuable than elaborate decoration.
Instead of writing only “Summer Vacation,” try something specific:
“Cape Cod, June 2025. Dad insisted we didn’t need directions. Forty-five minutes later, we had accidentally discovered a very nice cranberry farm.”
That sentence tells a story. Twenty years from now, the people viewing your DIY photo album will understand why everyone was laughing.
Way 2: Create a Handmade Accordion Photo Album
If you want a project that looks genuinely handmade rather than assembled from a purchased scrapbook, try an accordion album. It uses a long strip of folded cardstock that opens into a sequence of connected panels.
This format works especially well for small collections such as an anniversary gift, weekend trip, graduation, birthday, Mother’s Day present, Father’s Day gift, or baby’s first months. Handmade photo keepsakes are frequently recommended as personalized gifts because photographs can be paired with messages and decorative elements unique to the recipient.
Materials You Will Need
- Heavy cardstock
- Two pieces of chipboard or sturdy cardboard for covers
- Decorative paper or fabric
- Ruler
- Craft knife or paper trimmer
- Bone folder or similar smooth folding tool
- Printed photos
- Photo corners or suitable mounting supplies
- Ribbon or elastic closure
Step 1: Decide the Finished Size
A 5-by-7-inch or 6-by-6-inch album is manageable for beginners. Smaller albums are especially useful when you want to give the finished project as a gift.
Cut a long strip of cardstock to the height of your album. If your paper is not long enough, carefully join strips on the back before creating the folds.
Step 2: Measure Equal Panels
Mark equal intervals along the cardstock. Fold the first section forward, the next backward, and continue alternating until the paper resembles an accordion.
Score each fold before bending it for a cleaner result. Accuracy matters here. A difference of only a little from one fold to another can accumulate until the final page seems to be attempting an escape.
Step 3: Make Sturdy Covers
Cut two pieces of chipboard slightly larger than the folded pages. Wrap each piece with decorative paper, book cloth, wallpaper, or thin fabric.
Repurposed materials can work beautifully. HGTV, for example, has demonstrated decorating old photo albums with leftover wallpaper, showing how ordinary covering materials can become attractive book surfaces.
Attach one cover to each end of the accordion structure. If you want the book to remain closed, place ribbon between the cover board and decorative covering before assembly.
Step 4: Build a Visual Rhythm
An accordion album becomes much more interesting when every panel is not identical. Try alternating between:
- One full-page photograph
- Two smaller photographs
- A photograph plus a handwritten story
- A decorative quote page
- A small envelope containing a note
Open the entire album periodically while working. Because all panels can be viewed simultaneously, repeating colors and shapes across several pages creates an impressive display.
Step 5: Add a Personal Final Page
Use the last panel for a handwritten message. When the album is a gift, this final page often becomes the most meaningful part of the project.
A simple sentence such as “I hope we keep making memories worth adding to another book” can do more emotional heavy lifting than seventeen glitter stickers.
Way 3: Design a Digital Photo Book and Add Handmade Details
The third approach is ideal for anyone who loves the personal feeling of a scrapbook but prefers straight lines, consistent typography, and the ability to fix mistakes with Ctrl+Z rather than pretending the crooked photograph was an artistic decision.
Create the pages digitally, print them professionally or at home, and then add physical elements afterward.
Step 1: Organize and Edit Your Photos
Choose your strongest images and make basic corrections before layout. Adjust exposure, crop distracting edges, straighten horizons, and make modest color corrections.
For high-quality prints, Canon recommends preparing files with sufficient resolution for the intended output and notes 300 DPI as a useful target for high-quality printing. HP similarly recommends roughly 200–300 DPI for photo printing rather than dramatically enlarging low-resolution images.
Do not aggressively sharpen or filter every photo. Your grandmother probably does not need cinematic teal-and-orange color grading in the family reunion album.
Step 2: Create Consistent Page Templates
Use photo-book software or a design application to create several reusable layouts, such as:
- One full-page photograph
- Two equal photographs
- One large image with two smaller supporting photos
- A four-image grid
- A photograph with a large caption area
Design platforms such as Canva and Adobe recommend building photo books around organized imagery, coherent layouts, grids, captions, and a consistent visual structure.
Step 3: Give Important Photos More Space
Not every image deserves equal billing. Give milestone photographs an entire page or spread and group secondary images together.
Imagine a wedding album. The first kiss might receive a full page. The photograph of Uncle Gary investigating the buffet for the fourth time probably does not need the same treatment.
Step 4: Print the Album
You can order a bound photo book or print individual pages and place them inside an album. If printing at home, choose photo paper that matches the look you want. Glossy surfaces generally emphasize contrast and saturated color, while matte papers reduce reflections and can produce a softer appearance.
Step 5: Turn the Printed Book Into a Hybrid Scrapbook
Once the printed book arrives, make it personal.
Add handwritten notes, small prints, postcards, children’s drawings, pressed paper souvenirs, envelopes, or pockets. Leaving intentional blank areas while designing the book gives you room for these additions later.
This hybrid strategy has become a popular modern scrapbook approach: begin with polished printed pages and gradually layer smaller prints, captions, notes, and memorabilia over the finished foundation.
How to Make Any DIY Photo Album Look Better
Use Fewer Photos Per Page
A common beginner instinct is to include absolutely everything. Resist it. Four strong images usually communicate more than twelve tiny photographs fighting for attention.
Repeat Design Elements
Use the same caption style, border width, color family, and decorative motifs throughout the album. Repetition creates visual continuity.
Mix Close-Ups and Wide Shots
A good page sequence might combine a wide photograph showing the location, a medium group shot, and a close-up of an interesting detail. The combination makes the viewer feel as though they are moving through the event rather than reviewing evidence.
Include Ordinary Moments
Major events are obvious album material, but ordinary photographs often become surprisingly meaningful later. Include breakfast tables, messy bedrooms, pets sleeping in inappropriate places, road-trip stops, grandparents cooking, children playing, or friends laughing between posed pictures.
How to Protect Your Homemade Photo Album
Photo preservation becomes especially important when an album includes unique family originals. Keep albums away from excessive heat, humidity, direct sunlight, water risks, and materials that can chemically damage photographs over time. Archival guidance also recommends avoiding PVC plastics for photo storage and using stable, photo-safe materials instead.
If an existing family scrapbook is fragile, preservation guidance from the Smithsonian recommends additional protection such as acid-free wrapping materials or an appropriate protective box rather than repeatedly handling weakened covers and pages.
Finally, digitize particularly valuable photographs. A physical album is wonderful, but having digital backup copies means one spilled cup of coffee cannot suddenly become a major event in family history.
Practical Experience Notes: What You Learn After Making a Few Photo Albums
The most useful lesson about making a DIY photo album is that the hardest part usually is not cutting paper or arranging pictures. It is editing. When people begin, they often believe an album becomes more meaningful when it contains more photographs. In practice, stronger albums usually come from choosing fewer images and giving them enough room to tell the story.
Suppose you have 350 photographs from a vacation. Trying to squeeze all 350 into one book transforms an enjoyable travel album into a visual census. Instead, select perhaps 60 to 100 photographs that represent distinct moments. Keep the rest digitally. Your album is supposed to tell the story of the trip, not provide forensic documentation of every sandwich consumed.
Another lesson is to finish photo selection before buying large quantities of decorative materials. It is remarkably easy to walk into a craft store intending to buy cardstock and return with ribbons, stamps, metallic pens, twelve kinds of patterned paper, wooden letters, miniature flowers, and an inexplicable packet of tiny adhesive flamingos. Establish the theme first. Then buy what supports it.
Planning pages in pairs is another technique that produces noticeably better results. When an album is open, the left and right pages are viewed together. Treating them as one spread allows colors, captions, and photographs to interact. A large photograph on the left can be balanced by several smaller images on the right. Matching margins across both pages instantly creates a cleaner appearance.
It also helps to write captions while memories are fresh. People commonly assume they will remember exactly where a photograph was taken or who appears in it. Years later, “that restaurant near the beach” and “Mom’s cousin whose name definitely started with something” may be all anyone can recall. Names, dates, locations, and one-sentence stories dramatically increase the future value of an album.
For family-history projects, making copies of old originals before crafting is one of the smartest habits to adopt. You gain creative freedom because a crooked cut or failed layout affects a reproduction rather than the only surviving photograph of a great-grandparent. The original can remain protected while the copy becomes part of an album that family members can comfortably handle.
Finally, do not wait for perfection. A slightly uneven handwritten caption or imperfectly aligned photograph does not ruin a handmade book. Those details often make the album feel genuinely personal. Commercial photo books can achieve mathematical precision; the charm of a DIY album comes partly from knowing that someone selected, arranged, labeled, and assembled those memories deliberately.
A practical workflow is therefore simple: select carefully, design loosely, protect valuable originals, write meaningful captions, and actually finish the book. An imperfect completed album sitting on the coffee table will preserve more memories than the flawless imaginary album you have been planning since 2019.
Conclusion
There is no single correct way to create a DIY photo album. A traditional scrapbook gives you maximum freedom to combine photographs and memorabilia. An accordion album turns a small collection into a highly personal handmade gift. A digitally designed hybrid album provides polished layouts while leaving room for handwritten details and keepsakes.
Whichever method you choose, focus on the memories first and the decorations second. Select photographs that move the story forward, leave enough breathing room on each page, record names and dates, and use appropriate photo-safe materials when preserving important originals.
Years from now, nobody will complain that you failed to use the trendiest scrapbook sticker of 2026. They will care about the photograph, the story beside it, and the fact that someone took the time to preserve it.
Note: Preservation recommendations are especially important for rare, historical, or irreplaceable photographs. When in doubt, preserve the original separately and use a high-quality reproduction in your handmade album.
Note: This article synthesizes established U.S. guidance on photo preservation, scrapbooking, photo printing, and photo-book design while presenting the material in original publish-ready language.













