
Your Hydro Flask is loyal. It follows you to school, work, the gym, road trips, hiking trails, and maybe even that one corner of your car where reusable bottles mysteriously go to retire. But even the toughest stainless-steel bottle needs regular cleaning. A quick rinse may feel like enough, especially when you only drink water, but moisture, mouth contact, coffee stains, smoothie residue, and lid crevices can turn your bottle into a tiny science project with excellent insulation.
The good news? Learning how to clean a Hydro Flask is simple. You do not need fancy equipment, a chemistry degree, or a dramatic kitchen montage. With the right routine, your bottle can stay fresh, odor-free, and ready for ice-cold water or hot coffee without tasting like yesterday’s mystery beverage.
This guide breaks down 3 easy ways to clean a Hydro Flask: using the dishwasher when appropriate, hand washing with soap and a bottle brush, and deep cleaning with household cleaning helpers for stains, odors, and stubborn buildup. We will also cover lids, straws, gaskets, drying tips, common mistakes, and real-life cleaning experience so your bottle does not smell like it has been backpacking without supervision.
Why Cleaning Your Hydro Flask Matters
A Hydro Flask is made for everyday use, but “everyday use” is exactly why it needs cleaning. Each time you sip, refill, touch the cap, or toss the bottle into a bag, new residue and germs can collect around the mouthpiece, threads, straw, lid, and silicone seals. The inside of the bottle may look clean, but moisture can encourage odor and biofilm, especially if the bottle holds anything besides plain water.
That does not mean you need to panic. Your Hydro Flask is not secretly plotting against you from the cup holder. It just means a consistent cleaning routine is smarter than waiting until the bottle smells like wet socks with ambition.
How Often Should You Clean a Hydro Flask?
For best results, rinse your Hydro Flask after each use and wash it regularly with warm, soapy water. If you use it daily, a simple daily wash is ideal. If you drink coffee, tea, protein shakes, juice, electrolyte drinks, or anything sweet, clean it after every use. Sugary drinks and dairy-based drinks leave residue that bacteria love, and coffee can stain the inside over time.
A deeper cleaning once a week is a smart habit, especially for bottles with straw lids, flip lids, or small removable parts. These pieces are useful, but they also have hidden corners where grime likes to rent an apartment.
Before You Start: What You Need
You can clean most Hydro Flask bottles with basic household supplies. Keep these items handy:
- Warm water
- Mild dish soap
- A long bottle brush
- A small straw brush or pipe-cleaner-style brush
- A clean sponge or soft cloth
- White vinegar
- Baking soda
- Hydrogen peroxide for deep cleaning, if needed
- A clean drying rack or towel
Avoid abrasive steel wool, harsh scouring pads, and cleaners containing bleach or chlorine unless a specific sanitation situation calls for a carefully diluted solution and thorough rinsing. For everyday Hydro Flask care, gentle tools are usually better. Stainless steel is strong, but it still appreciates manners.
Way 1: Clean a Hydro Flask in the Dishwasher
The easiest way to clean many Hydro Flask bottles is the dishwasher. This method is convenient, effective, and perfect for people who look at a sink full of dishes and think, “Absolutely not today.” However, you should check your specific bottle first because not every product or older model should be treated the same way.
When Dishwasher Cleaning Works Best
Many modern Hydro Flask powder-coated bottles and tumblers are dishwasher safe. Dishwasher cleaning works well for bottles used mostly for water and for routine cleaning when there are no heavy stains or lingering odors. It is especially helpful because hot water and water pressure can reach many surfaces quickly.
Before loading your bottle, check the care instructions for your exact product. If your Hydro Flask has special markings, older branding, a non-powder-coated finish, or belongs to a product line that is not dishwasher safe, hand washing is the safer option.
How to Dishwasher-Clean a Hydro Flask
- Empty the bottle completely.
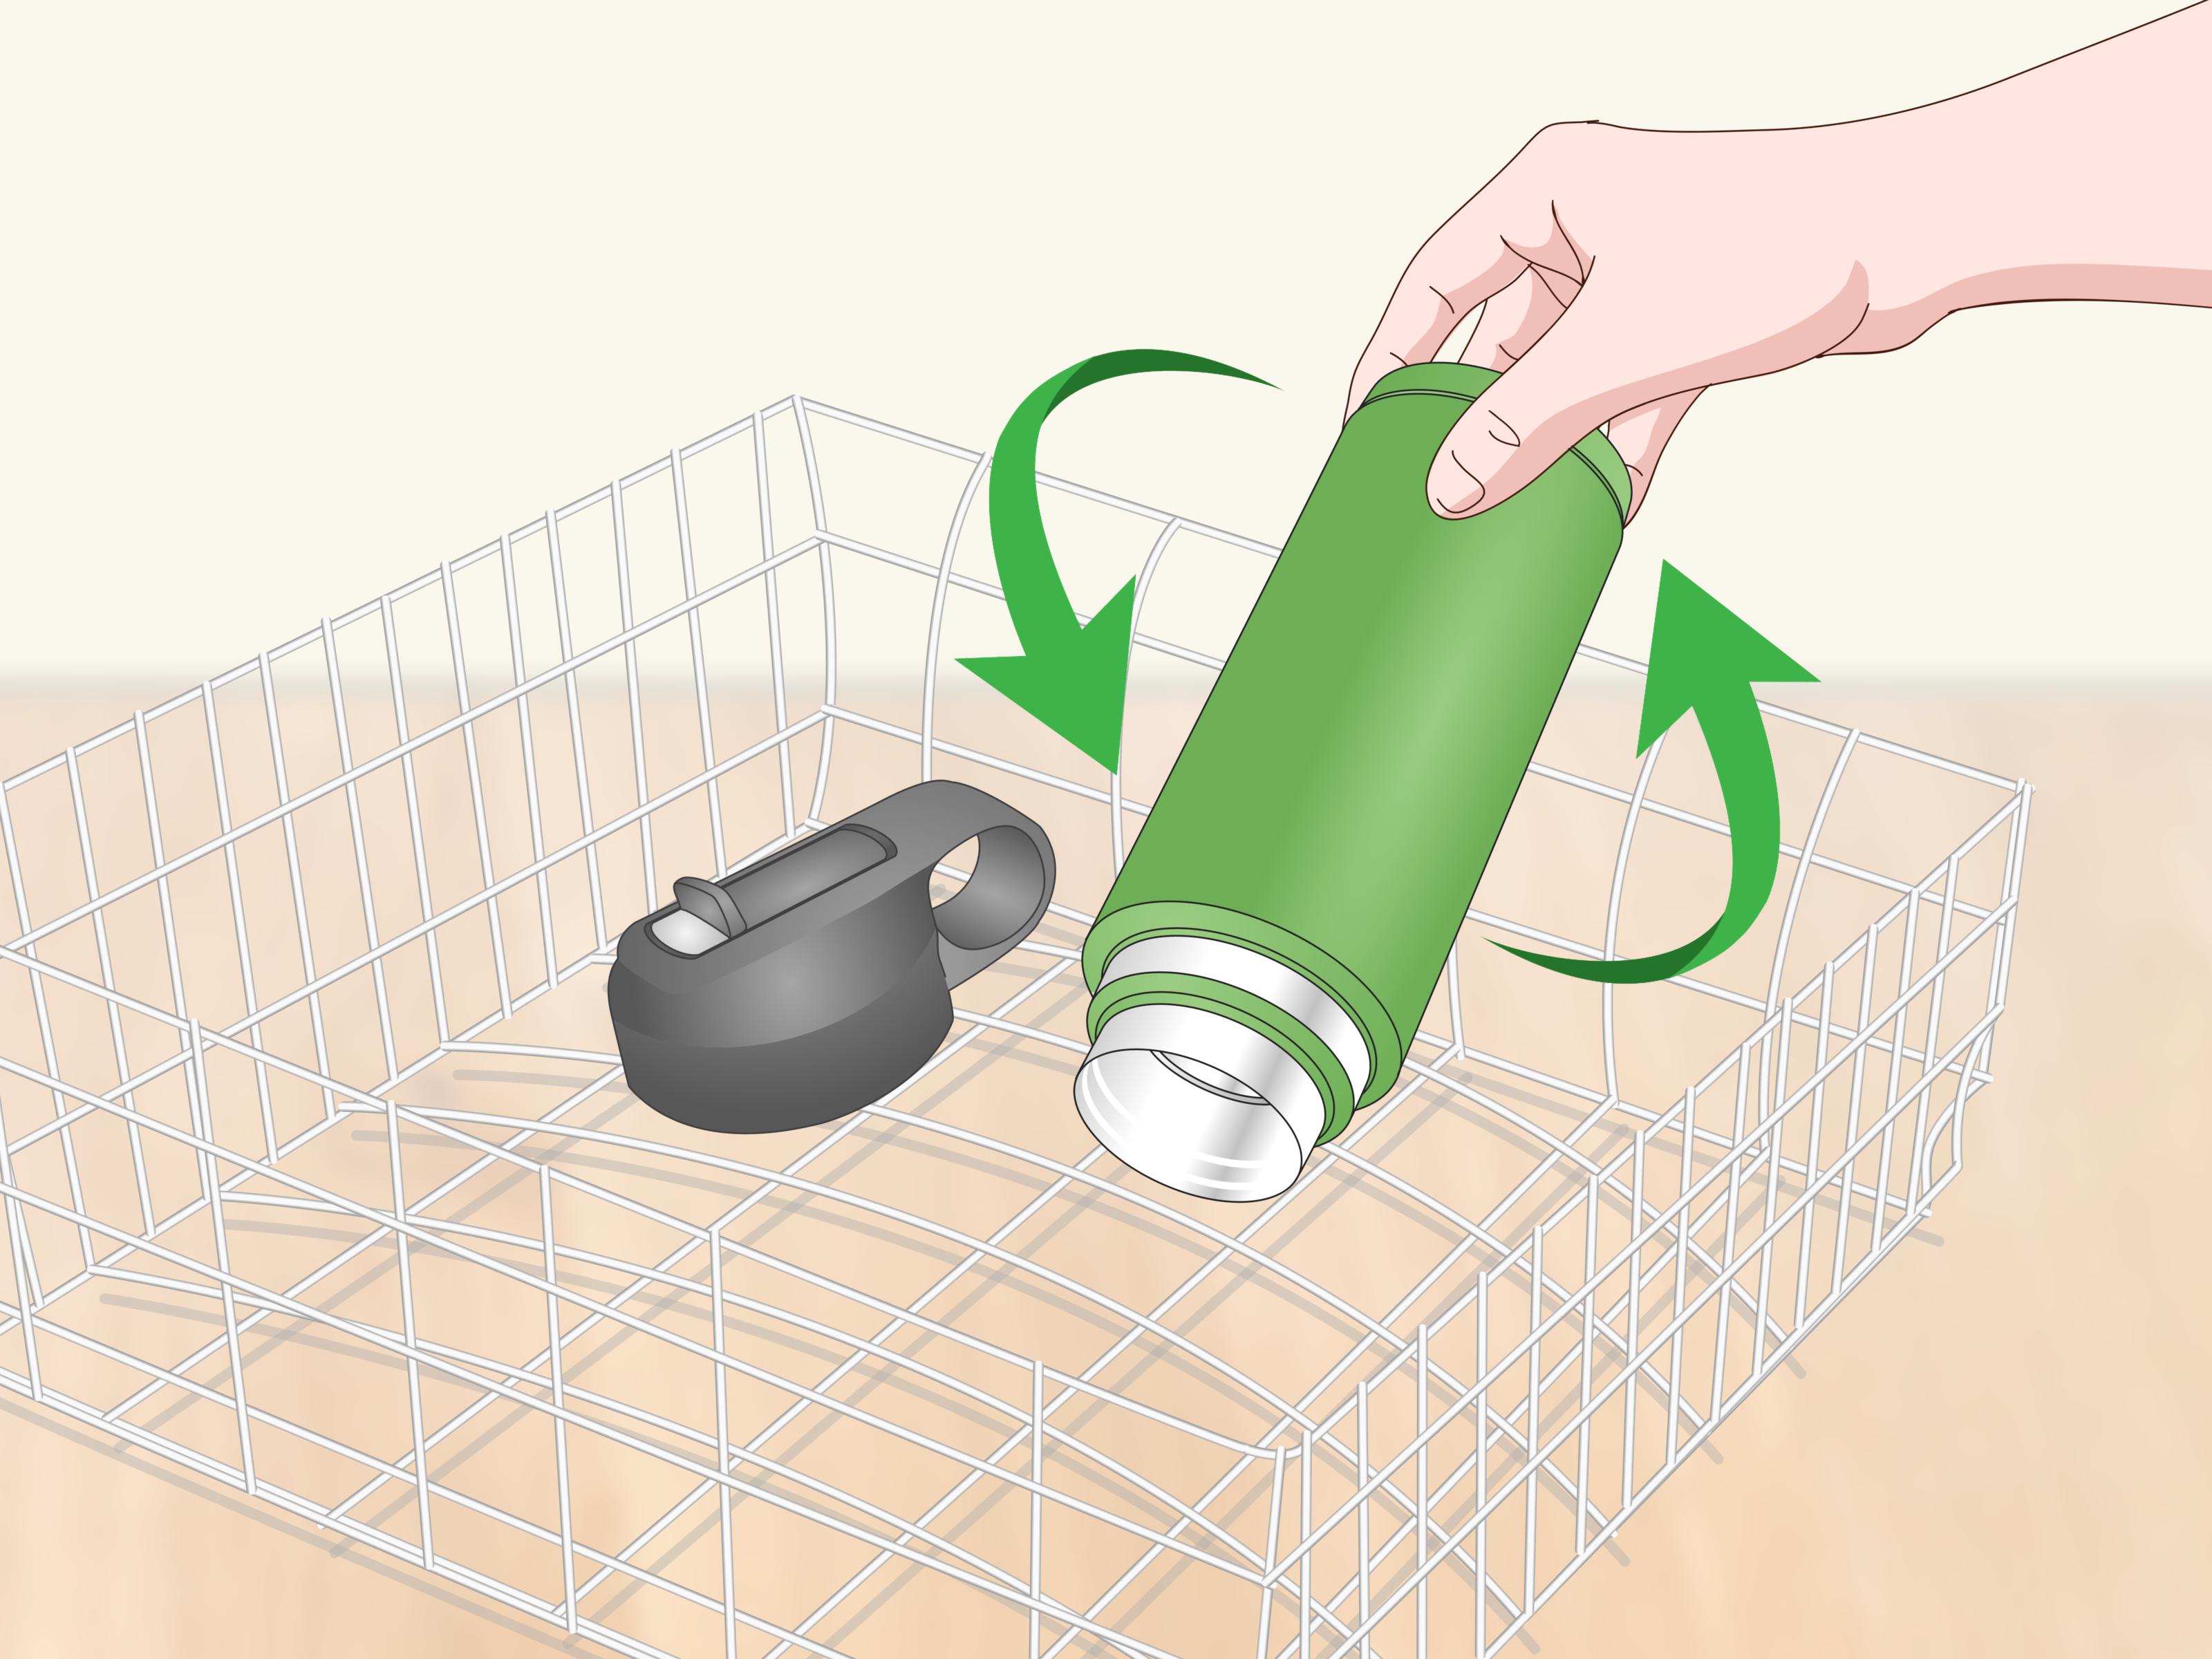
- Remove the cap, lid, straw, gasket, or any detachable parts.
- Place small parts such as lids and straws on the top rack or in a utensil basket so they do not fall through.
- Place the bottle securely in the dishwasher so water can reach the inside.
- Use regular dishwasher detergent, but avoid products with bleach or chlorine.
- Run a normal cycle.
- Let every piece dry completely before reassembling.
The drying step matters more than most people think. Reassembling a damp lid is like sending mold an engraved invitation. Let the bottle, lid, straw, and seals air-dry with good airflow before putting everything back together.
Dishwasher Mistakes to Avoid
Do not toss the entire bottle into the dishwasher with the lid sealed on. That traps water and prevents proper cleaning. Do not ignore removable seals, either. Silicone gaskets can hold moisture and residue, so they need attention. Also, avoid using extremely harsh dishwasher settings if your specific product care instructions recommend otherwise.
If your bottle still smells after a dishwasher cycle, that does not mean the dishwasher failed at life. It simply means the bottle needs a deeper cleaning, especially around the lid, straw, or interior base.
Way 2: Hand Wash a Hydro Flask with Soap and a Bottle Brush
Hand washing is the most reliable everyday method for cleaning a Hydro Flask. It is safe for nearly every bottle style, gives you control over tricky areas, and works beautifully for mugs, lids, straws, and accessories. It also lets you inspect the bottle for stains, odors, or leftover coffee rings that are pretending not to exist.
How to Hand Wash the Bottle
- Empty your Hydro Flask and rinse it with warm water.
- Add a few drops of mild dish soap.
- Fill the bottle about one-third full with warm water.
- Scrub the inside with a long bottle brush, reaching the bottom and sidewalls.
- Scrub the mouth opening and threads where the lid screws on.
- Rinse thoroughly until no bubbles remain.
- Place the bottle upside down on a drying rack and let it air-dry completely.
The bottle brush is the hero here. A quick shake with soapy water is useful in a hurry, but brushing physically removes residue. Think of it as brushing your teeth: mouthwash helps, but the toothbrush does the real work.
How to Clean Hydro Flask Lids and Straws
Lids deserve special attention because they have the most contact with your mouth and hands. If your Hydro Flask has a straw lid, flex straw cap, flip lid, or coffee lid, take it apart as much as the manufacturer allows. Remove straws, silicone seals, and small pieces carefully, then wash each part with warm, soapy water.
Use a small straw brush to clean inside reusable straws. For mouthpieces and narrow openings, a tiny brush helps remove residue that a regular sponge cannot reach. Pay attention to the underside of the cap, the drinking spout, and the gasket channel. These areas are small, sneaky, and weirdly talented at collecting gunk.
When Hand Washing Is Better Than the Dishwasher
Hand washing is the better choice when your bottle has coffee stains, tea stains, a sour smell, visible residue, or a lid with multiple small pieces. It is also best for products that are not labeled dishwasher safe. If you are unsure, hand wash. Warm water, dish soap, and a brush are gentle, practical, and hard to mess up.
Hand washing also helps protect the exterior finish. Although many powder-coated Hydro Flask bottles can handle the dishwasher, some people prefer hand washing to keep the color and texture looking newer for longer. Your bottle may be rugged, but there is nothing wrong with giving it the spa treatment.
Way 3: Deep Clean a Hydro Flask for Odors, Stains, and Buildup
Sometimes your Hydro Flask needs more than a basic wash. Maybe it held coffee for three days. Maybe a smoothie was forgotten in a backpack. Maybe you opened the lid and immediately questioned your life choices. This is when deep cleaning comes in.
Deep cleaning helps remove stains, odors, mineral buildup, and stubborn residue. You can use vinegar, baking soda, hydrogen peroxide, or cleaning tablets designed for bottles. The key is to choose the right method for the problem.
Deep Clean with White Vinegar for Odors
White vinegar is useful for deodorizing and loosening mineral deposits. It is a popular choice for stainless-steel water bottles because it is simple, affordable, and usually already hiding somewhere in the kitchen.
- Pour about half a cup of white vinegar into the bottle.
- Swirl it around so it touches the interior walls.
- Let it sit for 5 to 15 minutes for mild odors.
- For stronger smells, dilute vinegar with warm water and let it soak longer.
- Scrub with a bottle brush.
- Rinse thoroughly with warm water.
- Air-dry completely.
If the bottle smells like vinegar afterward, rinse again and leave it open to dry. Vinegar smell fades. Forgotten protein shake smell negotiates harder.
Deep Clean with Baking Soda for Stains
Baking soda is excellent for mild stains and odors. It works as a gentle abrasive without being too harsh for stainless steel. This method is especially helpful if your Hydro Flask has coffee or tea discoloration.
- Add 2 tablespoons of baking soda to the bottle.
- Add warm water slowly to create a loose paste or fizzing mixture.
- Scrub the inside with a bottle brush.
- Let it sit for 10 to 30 minutes if stains are stubborn.
- Rinse thoroughly until the water runs clear.
- Dry the bottle completely before storing.
For stubborn residue, a mixture of baking soda and hydrogen peroxide can be effective. Add 2 tablespoons of baking soda and about half a cup of hydrogen peroxide, let the mixture sit for up to 30 minutes, then scrub and wash again with warm, soapy water. Rinse very well afterward.
Deep Clean the Lid, Not Just the Bottle
If your Hydro Flask still smells after cleaning the stainless-steel body, the lid is probably the culprit. Lids, straws, and gaskets hold odors more easily than the bottle itself. Soak removable lid parts in warm, soapy water or a vinegar-water solution, then scrub each piece with a small brush.
Do not force apart pieces that are not designed to come apart. Check the lid design, remove only what is intended to be removable, and reassemble carefully once everything is dry. A clean lid makes a bigger difference than most people expect. It is the tiny villain in many bottle-cleaning mysteries.
What Not to Do When Cleaning a Hydro Flask
Knowing what to avoid is just as important as knowing what to do. A Hydro Flask is durable, but the wrong cleaning habits can damage the finish, leave behind residue, or make the bottle unpleasant to use.
Do Not Use Steel Wool
Steel wool and aggressive scouring pads can scratch stainless steel and damage the exterior finish. Use a soft bottle brush, sponge, or cloth instead.
Do Not Store It Closed While Damp
After washing, let the bottle and lid dry fully before closing it. Storing a damp bottle with the cap on can trap moisture and encourage musty odors.
Do Not Ignore the Straw
If your bottle has a straw, clean inside it. A straw can look fine from the outside while hiding residue inside. Use a straw brush every time you wash it.
Do Not Let Coffee or Smoothies Sit Too Long
Coffee, tea, milk, juice, protein shakes, and sports drinks should not hang out in your Hydro Flask indefinitely. Empty and wash the bottle as soon as possible after using it for anything other than water.
Simple Cleaning Schedule for a Fresh Hydro Flask
If you want a realistic routine, use this schedule:
- After each use: Empty and rinse the bottle.
- Daily: Wash with warm water, dish soap, and a bottle brush if used regularly.
- After coffee, tea, smoothies, or sports drinks: Wash immediately.
- Weekly: Take apart the lid and deep clean all removable parts.
- Monthly: Inspect gaskets, straws, and hard-to-reach areas for buildup.
This routine is easy to maintain and prevents most odor problems before they start. Cleaning a Hydro Flask is much easier when you do it before the bottle develops a personality.
Experience Section: Real-Life Lessons from Cleaning a Hydro Flask
After using a Hydro Flask regularly, one thing becomes very clear: the bottle itself is usually not the problem. The lid is. The stainless-steel body often rinses clean quickly, especially if it only holds water. But the cap, straw, rubber gasket, and mouthpiece are where smells hide. If you have ever washed the bottle and still noticed a weird odor when taking a sip, the lid was probably waving a tiny red flag.
One practical experience is that warm, soapy water works better than people expect, but only when paired with a brush. Simply filling the bottle, shaking it, and pouring the water out may make you feel productive, but it does not remove everything. A long bottle brush reaches the bottom, where coffee stains and mineral rings like to settle. For wide-mouth Hydro Flask bottles, brushing is easy. For narrow-mouth bottles, the right brush makes the difference between “clean” and “I hope this is clean.”
Another useful lesson is to clean the bottle immediately after using it for coffee. Coffee has a way of leaving a smell that moves in, signs a lease, and starts decorating. If coffee sits overnight, a regular wash may not fully remove the odor. A baking soda scrub or a short vinegar soak usually helps. For darker stains, letting baking soda and warm water sit for a while before scrubbing can brighten the inside noticeably.
Straw lids need the most discipline. A straw brush may seem like an unnecessary extra tool until you use one and see what comes out. The first time someone cleans a neglected straw properly, there is often a moment of silence. Not a proud silence. More like, “I have been drinking from that?” silence. A small brush is inexpensive and makes straw cleaning much easier.
Drying is another underrated habit. Many people wash the bottle, screw the lid back on, and toss it in a bag. That traps moisture. A better routine is to leave the bottle open upside down and place the lid pieces separately on a drying rack. If the cap has a gasket, let that area dry thoroughly before reassembling. Airflow is your friend. A closed, damp bottle is basically a tiny indoor pool for odors.
For travel, the easiest cleaning routine is to carry a small amount of dish soap or use bottle-cleaning tablets when brushing is not convenient. In a hotel room, warm water, soap, and a few minutes of soaking can prevent smells from building up. On camping or road trips, rinsing after every refill and leaving the lid off overnight when possible helps keep the bottle fresher.
The best personal rule is simple: clean the Hydro Flask before it annoys you. Once a bottle smells bad, cleaning takes longer. But when you wash it regularly, the process takes only a few minutes. A Hydro Flask is built to last, and with a little care, it can keep water tasting clean, coffee tasting like coffee, and your backpack free from suspicious bottle-related drama.
Conclusion
Cleaning a Hydro Flask does not have to be complicated. Use the dishwasher if your specific bottle is dishwasher safe, hand wash with warm soapy water and a bottle brush for everyday care, and deep clean with vinegar, baking soda, or a baking soda and hydrogen peroxide mixture when odors or stains show up. The real secret is consistency. Clean the bottle, clean the lid, clean the straw, and let every part dry completely.
A fresh Hydro Flask makes every sip better. It keeps water crisp, coffee pleasant, and your reusable bottle habit healthier. Plus, it saves you from that awkward moment when you open your bottle and smell something that seems emotionally complicated.











