
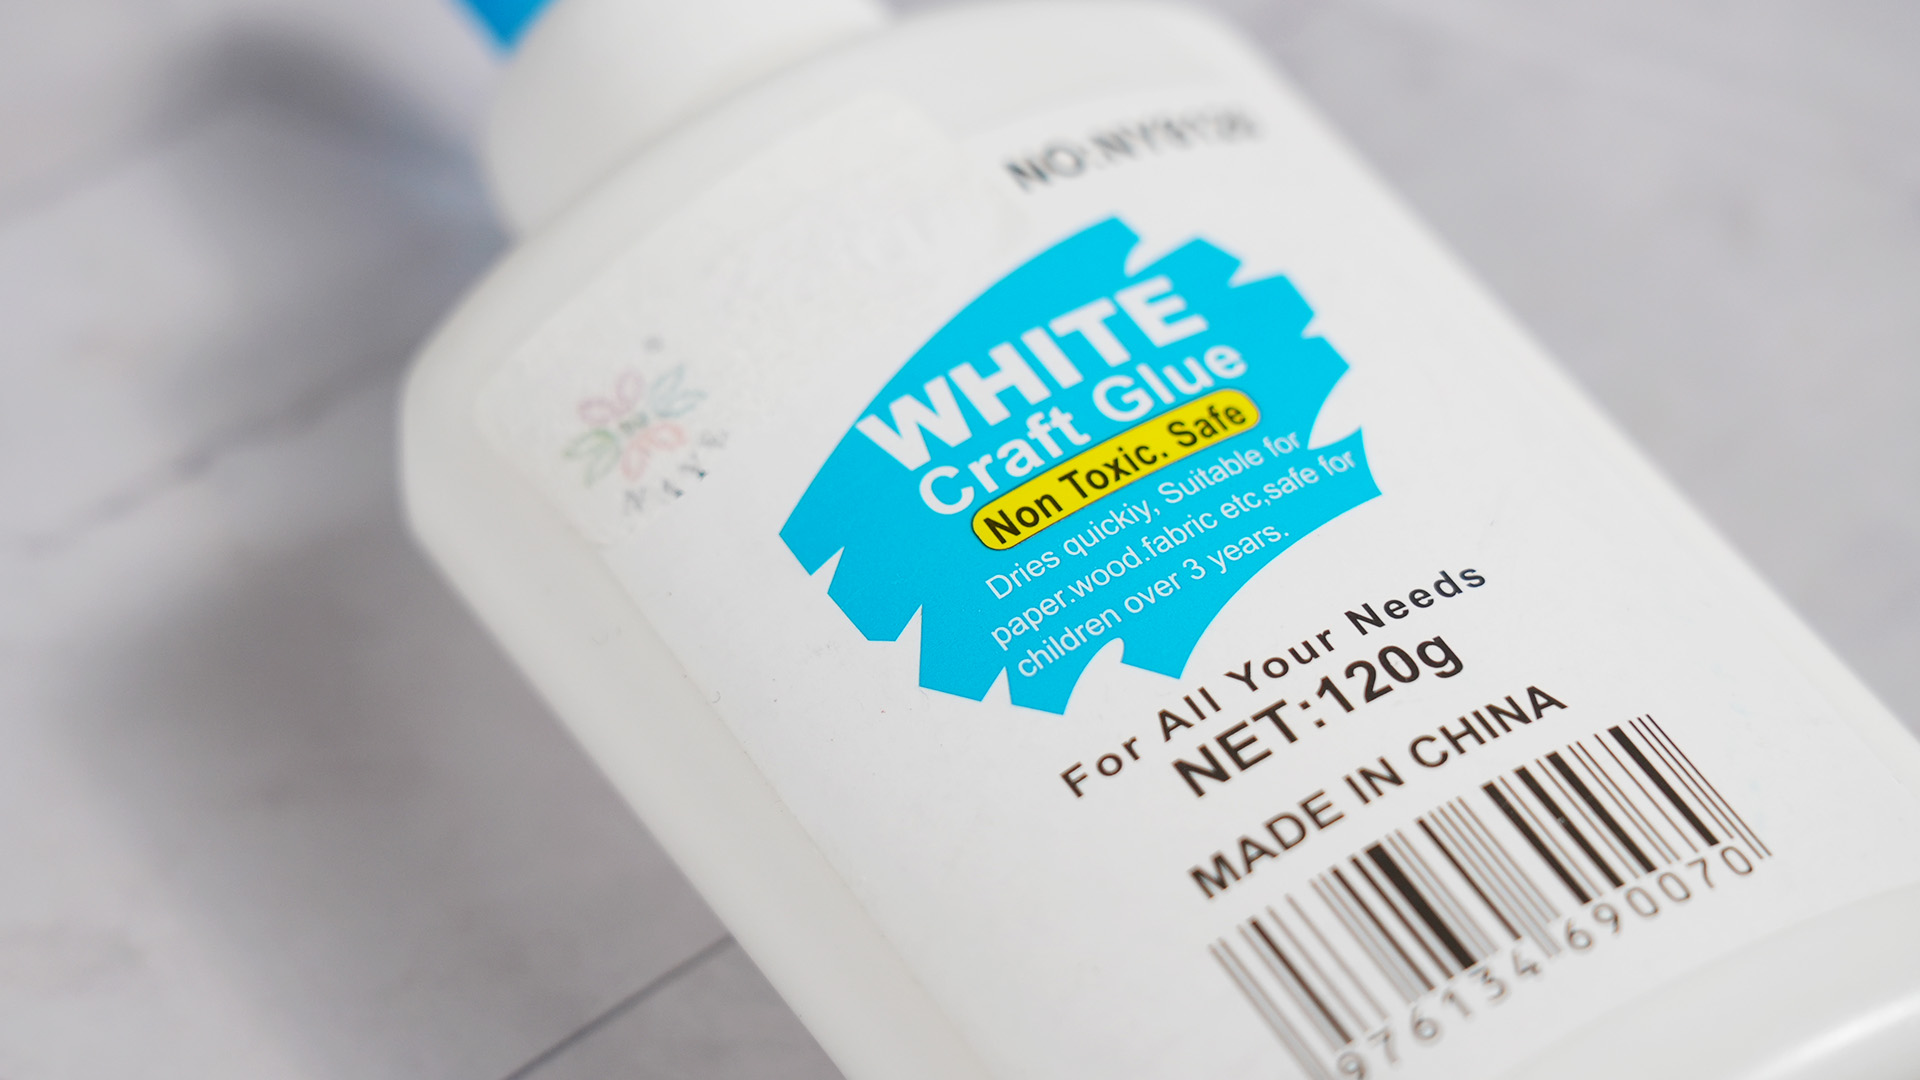
Waiting for glue to dry is one of those tiny household dramas that can turn a five-minute craft into a full emotional journey. You start with confidence. You apply the glue. You press the pieces together. Then you stare at them like a scientist monitoring a moon landing, whispering, “Are you dry yet?”
Good news: you usually can make glue dry faster. Better news: you do not need a laboratory, a wizard robe, or a suspiciously powerful heat gun. The fastest, safest methods come down to three smart moves: use less glue, improve airflow, and control temperature and humidity. These tips work for many common adhesives, including white school glue, craft glue, wood glue, tacky glue, Mod Podge-style decoupage glue, and some epoxies. Super glue is a different speedy little beast, but even it benefits from clean surfaces, firm contact, and patience before stress.
Before we begin, remember this important difference: dry time is when glue feels dry enough to touch, while cure time is when the bond reaches full strength. A glued project can look ready while still being secretly dramatic on the inside. So yes, we can speed things up, but we should not bully the glue into failure. Nobody wants a picture frame, model airplane, or repaired chair leg falling apart like it just heard bad news.
Why Glue Takes Time to Dry
Most glues dry through one of three processes. Water-based glues, such as white glue, school glue, wood glue, and many craft glues, dry as water evaporates. Solvent-based adhesives dry as solvents evaporate. Two-part epoxies and some specialty adhesives cure through a chemical reaction. That means the best way to speed up drying depends on what type of glue you are using.
For water-based glue, airflow and a thinner application are your best friends. For wood glue, firm clamping and the right room conditions matter. For epoxy, temperature can affect curing, but too much heat can weaken the bond or create bubbles. For super glue, the bond may set in seconds, but full strength still takes longer. In other words, glue is simple until it is not. Like a cat.
Here are three easy, practical, beginner-friendly ways to make glue dry faster without ruining your project.
1. Apply a Thin, Even Layer of Glue
The easiest way to make glue dry faster is to use less glue from the start. This sounds almost insultingly simple, but it is the number one trick many people skip. More glue does not automatically mean a stronger bond. In many projects, too much glue actually slows drying, creates lumps, causes paper to wrinkle, and leaves cloudy or rubbery patches.
Why Thin Glue Layers Dry Faster
When you spread glue in a thick blob, the outside may dry first while the inside stays wet. That hidden wet layer can take hours longer to firm up. A thin, even layer gives moisture or solvent a shorter escape route. Think of it like drying a towel: a towel spread flat dries faster than a towel crumpled in a corner pretending it has a life plan.
For paper crafts, apply a light coat with a brush, sponge, cotton swab, glue stick, or the tip of the bottle. For wood glue, use enough to coat the joint, but avoid rivers of squeeze-out. A small bead that spreads across the contact surface is usually better than a glue waterfall. For fabric glue, thin applications often dry much faster than thick patches, especially if the fabric is dense or layered.
How to Do It Correctly
Start by cleaning the surface. Dust, grease, old adhesive, and mystery crumbs from your snack break can interfere with bonding. Then apply a small amount of glue and spread it evenly. Press the pieces together firmly so the glue makes contact across the whole surface.
If glue squeezes out around the edges, wipe away the excess with a damp cloth for water-based glue or according to the product directions for specialty adhesives. Removing extra glue helps the visible area dry cleaner and faster. It also prevents those shiny dried glue halos that announce, “A craft happened here, and it was emotional.”
Best Projects for This Method
This method works especially well for paper crafts, school projects, cardboard models, scrapbooking, light wood repairs, small décor projects, and fabric embellishments. It is also useful when using tacky glue, decoupage medium, or white glue on porous surfaces.
Be careful with projects that need gap filling. If the parts do not fit tightly, simply using less glue may not solve the problem. In those cases, you may need a gap-filling adhesive, epoxy, construction adhesive, or better surface preparation.
2. Increase Airflow Around the Project
Airflow helps many glues dry faster because it moves moisture away from the surface. This is especially helpful for water-based glues like school glue, craft glue, wood glue, and decoupage glue. A gentle fan can make a noticeable difference, particularly in a stuffy room where the air feels like it gave up in 1998.
Use a Fan the Smart Way
Place your glued project on a flat, protected surface. Set a small fan nearby and aim it so air moves across the project, not directly at it like a tiny tornado. Gentle airflow is the goal. If the fan is too strong, it may shift lightweight paper, blow glitter into the next county, or create uneven drying.
For paper projects, keep the fan on a low setting. For wood projects, airflow can help dry surface squeeze-out, but clamps and proper cure time are still important. For fabric glue, airflow helps, but thick fabric layers may still need extra time because moisture gets trapped between fibers.
Ventilation Matters Too
If you are using glue with a strong smell, such as certain spray adhesives, epoxies, or construction adhesives, work in a well-ventilated area. Open a window if weather allows, use a fan to move air, and follow the product label. This is not just about faster drying; it is also about not turning your craft table into a chemistry cave.
Do not use a fan around open containers of lightweight powders, loose glitter, tiny beads, or tissue paper unless you enjoy chaos. Also avoid pointing a fan at super glue if it might spread fumes toward your face. Super glue fumes can irritate eyes and noses, and nobody wants to cry over a broken ceramic frog twice.
Raise the Project Slightly
For some projects, especially glued paper, cardboard, or painted items, raising the piece slightly can improve airflow on all sides. Place it on a clean cooling rack, small blocks, wax paper, or painter’s pyramids. This helps prevent the underside from staying damp. It also keeps the project from bonding itself to your table, which is a very committed but unwanted relationship.
3. Control Temperature and Humidity
Glue usually dries faster in warm, dry conditions than in cold, damp ones. Temperature and humidity matter because they affect evaporation and chemical curing. A chilly garage in winter can make wood glue or epoxy take longer. A humid summer room can keep craft glue tacky long after your patience has left the building.
Choose a Warm, Dry Room
Move your project to a room that is comfortably warm and dry. Many common glues perform best around normal indoor temperatures. If the room is cold, drying may slow down. If humidity is high, water-based glue may stay wet or tacky longer because moisture in the air makes evaporation harder.
A dehumidifier can help in damp rooms. Air conditioning can also reduce humidity while keeping the space comfortable. For small crafts, simply moving from a bathroom, basement, or laundry room to a dry living area may speed up drying. Glue is not a fan of swamp energy.
Use Gentle Heat Carefully
A hair dryer on a low or cool-warm setting can help some craft glues dry faster, especially on paper, cardboard, or lightweight décor. Keep the dryer moving and hold it several inches away. Do not blast one spot with high heat. Too much heat can bubble glue, warp plastic, wrinkle paper, soften hot glue, or cause uneven drying.
For glitter glue, thick paint-and-glue mixtures, and delicate paper, be extra cautious. Heat can make wet glue run, spread, or wrinkle the surface. For wood glue, gentle warmth in the room is usually better than direct heat. For epoxy, follow the product label because some formulas tolerate heat while others should cure at room temperature.
Avoid Extreme Heat
Do not bake glued projects in an oven unless the adhesive specifically says that method is safe. Do not put glued items near an open flame, stovetop, space heater, or heat gun unless you know exactly what you are doing. Many adhesives are not designed for extreme heat during drying. Some can release fumes, soften, discolor, or fail.
If the project is valuable, test your drying method on scrap material first. A two-minute test can save a two-hour meltdown. This is especially important with photos, thin paper, foam, plastic, painted surfaces, and fabric.
Quick Glue Drying Guide by Adhesive Type
White Glue and School Glue
Use a thin layer, press the pieces together, and place the project in a warm, dry area with light airflow. White glue may feel dry within an hour on paper, but thicker applications can take much longer. Let important projects sit overnight before handling heavily.
Craft Glue and Tacky Glue
Craft glue often dries faster than basic white glue, especially when applied thinly. Quick-dry tacky glues are made for impatient makers, which is most of us after coffee. Use a small amount, spread it evenly, and add gentle airflow. Thick dots or raised embellishments still need more time.
Wood Glue
Wood glue needs pressure, not just speed. Use clamps to hold the joint tightly while it dries. Many wood glues require at least 30 minutes to an hour of clamp time for unstressed joints, while stressed joints may need much longer. Avoid stressing the repair until it has had time to cure fully, often around 24 hours.
Super Glue
Super glue sets quickly, sometimes in seconds, but full strength takes longer. Use only a tiny amount. Press parts together firmly and hold them still. Do not keep checking the bond every five seconds like it owes you rent. Movement weakens the connection.
Epoxy
Epoxy drying depends on the formula. Some set in five minutes; others need hours. Mix the resin and hardener thoroughly in the correct ratio. Keep the project at the recommended temperature and avoid moving it while it cures. Warmer conditions may help some epoxies, but always follow the label.
Hot Glue
Hot glue sets as it cools, so it usually becomes firm within seconds to minutes. To speed cooling, hold the pieces still and avoid thick puddles. Do not use heat to dry hot glue because heat is what keeps it soft. Yes, that sounds obvious, but hot glue has watched many brave people learn the hard way.
Common Mistakes That Make Glue Dry Slower
Using Too Much Glue
This is the classic mistake. A thick blob looks strong, but it often dries slowly and messily. Use enough to wet the surface, not enough to frost a cupcake.
Working in a Cold Room
Cold temperatures slow many adhesives. If your garage feels like a refrigerator with tools, move the project indoors when possible.
Ignoring Humidity
High humidity can make glue stay tacky. Use a dry room, fan, air conditioner, or dehumidifier when the air is damp.
Moving the Pieces Too Soon
Even fast glue needs stillness. If you wiggle the project before the bond sets, you may break the forming connection and extend the drying time.
Confusing Dry With Cured
Dry to the touch does not always mean ready for stress, weight, washing, sanding, or outdoor use. When strength matters, respect cure time.
Safety Tips Before You Speed Up Drying
Always read the label. Different adhesives have different rules, and the label wins every argument. Work in a ventilated space, protect your table with wax paper or a craft mat, and wear gloves when using strong adhesives like epoxy or super glue.
Keep glue away from children and pets unless the product is specifically designed for child-safe craft use. Do not mix random adhesives together. Do not use open flames. Do not apply high heat to unknown glue. And if you glue your fingers together with super glue, do not panic and pull. Soak the area in warm, soapy water and gently work it loose.
Real-World Examples: Which Method Should You Use?
Paper School Project
Use a thin layer of school glue or glue stick. Press the paper flat, place wax paper over it, and set a book on top for a few minutes. Then move it to a dry room with gentle airflow. Avoid high heat because it can curl the paper.
Broken Wooden Drawer Corner
Clean the joint, apply wood glue evenly, clamp it tightly, and wipe away squeeze-out. Keep the drawer in a warm room. Do not reinstall it immediately. Let the glue cure before putting weight or stress on the repair.
Fabric Patch
Use fabric glue sparingly and spread it thinly. Press the patch flat and let it dry in a warm, dry place. Wait the recommended time before washing. Fabric glue may feel dry quickly but still needs time before laundry day.
Small Ceramic Repair
Use a small amount of super glue or epoxy, depending on the break. Hold or tape the pieces in place. Do not use too much adhesive. Let it cure fully before handling, washing, or displaying it where gravity can file a complaint.
Extra Experience: Lessons From Real Glue Projects
After enough crafts, repairs, and “this will only take five minutes” projects, one lesson becomes clear: glue rewards patience but punishes panic. The fastest-looking shortcut is not always the fastest real solution. For example, blasting wet glue with a hair dryer on high heat may seem clever until the paper wrinkles, the glue skins over on top, and the middle stays wet like a tiny swamp. Gentle heat works better than aggressive heat.
One of the best habits is preparing everything before opening the glue. Lay out the pieces, test the fit, protect the surface, grab clamps or tape, and keep a damp cloth nearby. This saves time because you are not hunting for supplies while the glue starts setting. Super glue especially does not care that you forgot the clamp. It will continue its tiny chemical sprint without you.
Another practical experience is that airflow helps more than people expect. A small fan on low can make paper crafts, cardboard models, and thin craft glue layers dry faster and more evenly. The trick is distance. Too close, and your project becomes airborne modern art. Far enough away, and the air quietly carries moisture off the surface. It is not dramatic, but it works.
For wood projects, clamping is often more important than trying to “dry” the glue quickly. A tight joint with the right amount of glue usually beats a rushed joint with too much glue. If you remove clamps too soon, the joint may shift slightly, and that small movement can weaken the bond. A repaired chair, shelf, or drawer deserves full cure time before being asked to return to work. Furniture has boundaries too.
Humidity is another sneaky villain. On rainy days, glue may take much longer to dry, even indoors. If a project feels tacky forever, the room may be too damp. Moving it near a dehumidifier or into an air-conditioned room can help. Basements are especially suspicious. They may be great for storage, but they are not always great for glue drying.
Thin layers are the hero in almost every situation. Whether you are making a scrapbook page, attaching felt, repairing a small ornament, or gluing cardboard, a controlled layer dries cleaner and faster. Thick glue blobs are tempting because they feel secure, but they usually create mess, delay, and visible residue. The goal is contact, not a glue mountain.
Finally, the best experience-based advice is to test first when the project matters. Use scrap paper, spare fabric, leftover wood, or a hidden area. Try the glue amount, drying method, and heat level before committing. This tiny test can reveal whether the glue dries clear, wrinkles the surface, stains fabric, or needs more time than expected. Glue may be humble, but it has opinions.
Conclusion
To make glue dry faster, focus on three easy methods: apply a thin and even layer, increase gentle airflow, and control temperature and humidity. These simple changes help many common adhesives dry more quickly while still creating a strong bond. The secret is not forcing glue to perform miracles; it is giving it the right conditions to do its job.
Use less glue than your anxious brain suggests. Add a fan, not a windstorm. Choose a warm, dry room, not a damp basement dungeon. And always remember that dry time and cure time are not the same. Your project may feel ready, but the bond may still need more time before handling, washing, sanding, or supporting weight.
With the right technique, you can speed up your craft or repair project without creating a sticky disaster. That means fewer ruined papers, stronger wood joints, cleaner fabric patches, and less staring at glue like it is buffering on slow Wi-Fi.












