
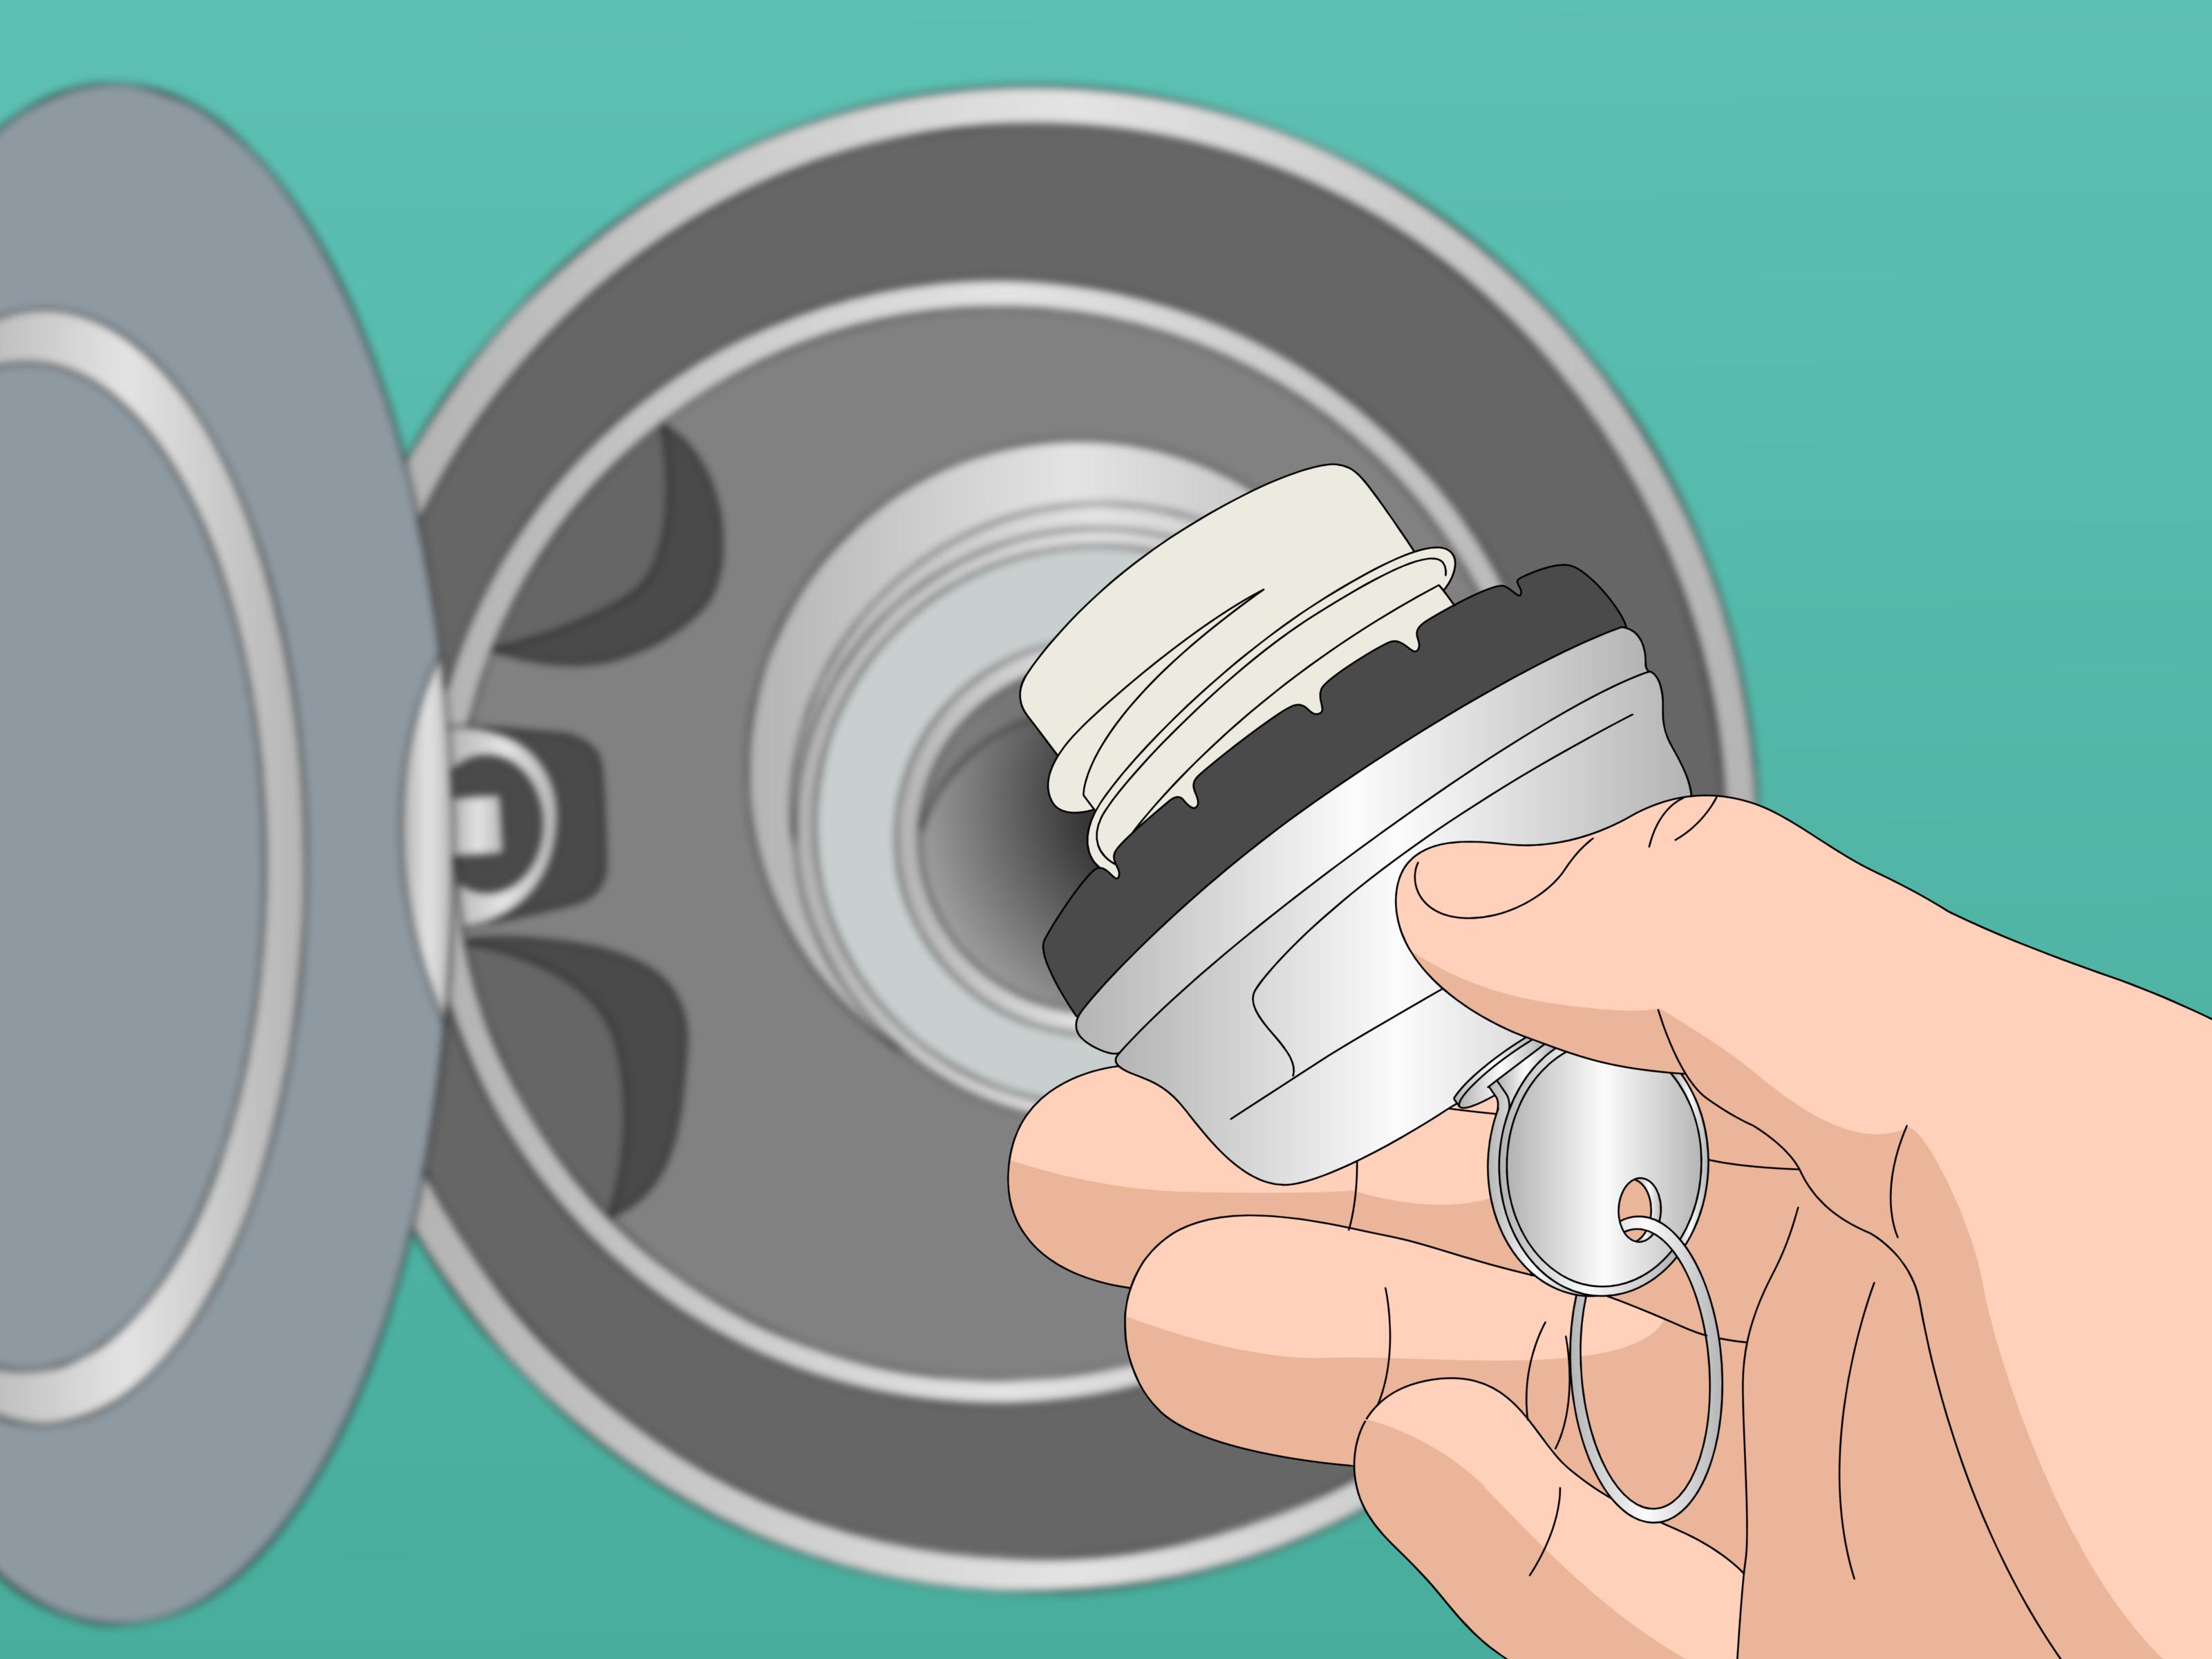
If you came here expecting a dramatic, grease-covered, three-hour garage saga, I have wonderful news: installing a gas cap is one of the easiest car fixes you can do. In many cases, it takes less time than choosing a podcast episode. The trick is not brute strength, mystical auto knowledge, or a wrench the size of a canoe paddle. The real trick is buying the right cap, installing it correctly, and knowing when the “simple gas cap problem” is actually something else.
A properly installed gas cap helps seal your fuel system, reduce vapor loss, and keep your evaporative emissions system doing its job. When the cap is loose, damaged, or missing, your car may respond with a check engine light, a fuel smell, or a failed emissions inspection. That is a lot of drama for one little plastic cap. The good news is that replacing it is usually straightforward, affordable, and very beginner-friendly.
This guide walks you through how to install a gas cap step by step, how to choose the right replacement, what mistakes to avoid, and how to tell whether your vehicle even uses a traditional cap in the first place. Let’s give that filler neck the closure it deserves.
What a Gas Cap Actually Does
A gas cap is more than a lid for your fuel tank. On modern vehicles, it is part of the sealed fuel and evaporative emissions system. Its job is to keep fuel vapors from escaping, help maintain proper pressure in the tank, and protect the filler neck from dirt, moisture, and debris. In other words, it is a tiny gatekeeper with a surprisingly important résumé.
When a gas cap stops sealing properly, your car may not leak gasoline all over the pavement like a movie prop. More often, it lets vapor escape or causes the system to detect a pressure problem. That is why drivers commonly notice a check engine light, a warning about the fuel cap, or a faint smell of gas after filling up. If the cap is missing completely, the issue becomes even more obvious.
Before You Begin: Make Sure Your Car Uses a Gas Cap
Here is the first plot twist: not every vehicle has a traditional screw-on gas cap. Some newer vehicles use a capless fuel system. If your filler neck has an internal spring-loaded flap and no removable cap, congratulations, you are not installing a gas cap today. You may need a capless filler dust cap or a different repair, but not a standard fuel cap.
So before you buy anything, open your fuel door and inspect the setup. If there is a removable cap attached by a tether or hanging loose in your hand, you have the classic version. If not, check your owner’s manual before ordering parts. Buying a gas cap for a capless vehicle is the automotive equivalent of bringing skis to the beach.
How to Choose the Right Replacement Gas Cap
Not all gas caps are universal. Some aftermarket packaging may make it look that way, but fit matters. The safest move is to shop by year, make, model, and engine size. Many auto parts retailers let you enter your vehicle information to find a direct-fit cap. You can also use your VIN or compare the original part number if it is still visible on the old cap.
Here is what to look for when choosing a replacement:
- Correct fitment: The threads, seal, depth, and pressure/vacuum characteristics need to match your vehicle.
- OEM or quality aftermarket: Cheap mystery caps can fit poorly and keep the warning light drama alive.
- Seal condition: The rubber gasket should be smooth, even, and free of cracks.
- Tether design: If your original cap used a tether, a similar style can make daily use easier.
- Locking option: A locking gas cap may help deter tampering, though it is not necessary for every driver.
If your old cap looks fine but the light keeps coming back, the cap may still be the problem. Internal wear, a weak ratcheting mechanism, or a flattened gasket can ruin the seal even when the outside looks perfectly innocent.
Tools and Supplies You May Need
For most cars, you need exactly one tool: your hand. Yes, your very own factory-installed hand. Still, gather these basics before you start:
- Replacement gas cap
- Clean microfiber cloth or paper towel
- Mild cleaner if the filler area is dirty
- Owner’s manual for fitment questions
- OBD-II scanner if you are also checking a warning light
You usually do not need pliers, a screwdriver, lubricant, or brute force. If the old cap is stuck, proceed carefully. The goal is to remove the cap, not reenact a wrestling match with your fuel door.
Step-By-Step: How to Install a Gas Cap
Step 1: Park Safely and Turn the Engine Off
Park on a level surface, turn off the engine, and make sure you are in a well-ventilated area away from open flames, cigarettes, or sparks. This is routine fuel-system common sense. If you just drove the vehicle, that is fine, but do not work around fuel vapors while the engine is running.
Step 2: Open the Fuel Door
Press the fuel door release if your vehicle has one, or open the door manually. Some cars unlock the fuel door with the central locks, while others have a lever near the driver’s seat. If the door refuses to open, do not force it. That is a separate issue, and the cap installation can wait.
Step 3: Remove the Old Gas Cap
Turn the old gas cap counterclockwise until it loosens completely. If it is tethered, let it hang. If it is untethered, remove it fully and set it aside. If the cap is cracked, cross-threaded, or the ratcheting top spins without tightening, you have probably found your culprit.
If the cap feels stuck, use steady pressure rather than a sudden twist. Dirt around the filler neck can make removal feel harder than it should. Wipe the area first if needed.
Step 4: Inspect the Filler Neck and Surrounding Area
Before installing the new cap, take a quick look at the filler neck. You want clean threads, no obvious dents, and no visible debris on the sealing surface. Wipe away dust, grit, or fuel residue with a clean cloth. Do not shove rags or tools down into the filler neck. Your fuel tank does not need souvenirs.
Also inspect the tether, if your vehicle uses one. If the tether is twisted or trapped under the cap during installation, it may keep the cap from sealing correctly. That tiny strap has a big talent for causing unnecessary frustration.
Step 5: Compare the Old Cap to the New One
Hold the new cap next to the old one and compare the size, thread pattern, gasket shape, and overall design. A cap that is clearly too shallow, too deep, or physically different in an important way should not be installed just because “it kind of looks close.” Close is a great word for horseshoes, hand grenades, and maybe parking. It is not a great word for fuel-system seals.
Step 6: Attach the Tether if Applicable
Some replacement gas caps come with a tether that must be hooked into the fuel door or filler area. If your vehicle is designed for a tethered cap and the replacement includes one, attach it according to the part instructions. If the old tether broke and the new one does not use the same style, that is usually not a functional problem, but make sure the cap can be removed and installed without interference.
Step 7: Install the New Gas Cap
Place the new gas cap onto the filler neck and turn it clockwise. Start gently so the threads engage properly. If the cap feels crooked, back it off and try again. Cross-threading can damage the cap or filler neck and ruin the seal.
Continue turning until you hear clicking sounds or feel the cap ratchet into its final tightened position. On many vehicles, one or more clicks indicate the cap is seated and sealed. Do not keep cranking it like you are trying to win a county fair strongman contest. Once it clicks and feels secure, stop.
Step 8: Double-Check the Seal
Give the cap a gentle test. It should feel secure, not wobbly or loose. The tether should not be caught under the cap, and the fuel door should close normally. If the cap will not tighten, pops back off, or feels sloppy, it may be the wrong part or the filler neck may be damaged.
Step 9: Close the Fuel Door and Monitor the Vehicle
Close the fuel door and start the vehicle later as usual. If you replaced the cap because of a warning light, do not expect instant emotional closure. Some cars need several drive cycles before the check engine light goes off on its own. In other cases, you may need to clear the code with a scanner after confirming the repair.
Common Mistakes to Avoid
- Buying the wrong cap: “Looks similar” is not a fitment category.
- Ignoring a capless system: Some cars are designed with no traditional gas cap at all.
- Cross-threading the cap: Start slowly and keep the cap straight.
- Over-tightening: Stop at the click. More force is not more correct.
- Trapping the tether: A pinched tether can prevent a proper seal.
- Assuming the cap is always the problem: If symptoms persist, the EVAP system may have another leak.
Signs Your Gas Cap Needed Replacement
If you are wondering whether the cap was really the issue, these are common clues:
- The gas cap would not tighten or kept spinning
- The gasket looked cracked, flattened, or brittle
- You noticed a fuel smell near the filler area
- The check engine light came on shortly after refueling
- You saw EVAP-related codes such as P0455, P0456, or P0457
- The cap was missing, damaged, or visibly warped
A failing gas cap is one of the simpler reasons for a warning light, but not the only one. If a new cap does not solve the problem, the issue could involve hoses, the purge valve, the charcoal canister, the filler neck, or another part of the evaporative emissions system.
What If the Check Engine Light Stays On?
First, do not panic. A persistent check engine light after installing a new gas cap does not automatically mean disaster. It may simply take several drive cycles for the vehicle computer to confirm the seal. However, if the light stays on for days, returns after being cleared, or comes with a strong fuel smell, rough running, or difficulty refueling, it is time for a closer diagnosis.
At that point, use an OBD-II scanner or have the vehicle scanned. If you see a fuel-cap-related or small EVAP leak code, double-check the cap fit and installation. If everything looks correct, the leak may be elsewhere. This is where a professional smoke test or proper inspection can save you from randomly replacing parts and donating money to the Auto Parts Guessing Olympics.
When You Should Not Drive Much
If the cap is simply loose and you tighten it, you are probably dealing with a minor issue. But if you smell strong gasoline, see liquid fuel, notice obvious damage around the filler neck, or suspect a real leak, take it seriously. Fuel vapor and liquid fuel issues are not a “let’s just see what happens” kind of adventure. Limit driving and have the car inspected.
How Long Does It Take to Install a Gas Cap?
Usually about one to five minutes. Most of that time is spent opening the fuel door, removing the old cap, checking the fit, and tightening the new one correctly. The bigger time commitment is often researching the right replacement part, especially if your vehicle is older, heavily modified, or gives off mixed signals about whether it uses a standard or locking cap.
Real-World Example
Imagine a driver fuels up on Monday, forgets to tighten the cap fully, and sees the check engine light on Wednesday. They assume the car is plotting financial ruin. In reality, the fix may be as simple as removing the cap, reinstalling it correctly until it clicks, and driving normally for a few trips. On the other hand, if the cap is worn and the light returns even after tightening, replacing the cap with the correct direct-fit part is the logical next move. That is why this tiny repair is worth taking seriously but not fearfully.
Extra Experience and Practical Lessons From the Road
Drivers often underestimate how often gas cap problems show up in everyday life. One of the most common scenarios happens right after refueling. You are in a hurry, the weather is terrible, your coffee is balanced on the roof like a bad decision, and you twist the cap just enough to think, “Yeah, that seems fine.” Then two days later the check engine light appears, and suddenly your mind jumps to expensive sensors, mysterious engine trouble, or a repair bill with enough zeros to ruin lunch. Instead, it turns out the cap just was not seated correctly. It is one of those humbling car moments that teaches you to listen for the click and not rely on optimism.
Another common experience involves older vehicles. The cap may still screw on, but it feels rough, loose, or weirdly slippery when tightening. The gasket may look dry, flattened, or cracked, and the cap may no longer hold a proper seal. Many drivers keep using it because it still “kind of works,” which is a phrase that has launched thousands of avoidable automotive headaches. Replacing that worn cap often feels anticlimactic because the job is so quick, but the improvement can be real: no more fuel smell after fill-ups, no more returning EVAP code, and no more suspicious glances at the dashboard every morning.
There is also the classic missing-cap story. A driver refuels, sets the cap on the pump, gets distracted, and drives away without it. By the time they notice, the cap is gone forever, probably living a new life in a gas station parking lot somewhere. In that case, installing a new gas cap is not just about convenience. It is about restoring the seal and preventing the vehicle from constantly complaining about the open fuel system. Fortunately, this is one of the easier automotive mistakes to recover from.
Then there are first-time car owners, who deserve a round of applause for learning all the tiny maintenance details nobody explains in driver’s ed. For them, installing a gas cap can feel oddly intimidating at first, mostly because anything involving fuel sounds more dramatic than it is. But once they realize the process is basically “buy the correct cap, remove the old one, thread on the new one, stop at the click,” the mystery disappears. It becomes one of those small confidence-building wins that makes other simple car tasks feel less scary.
Perhaps the best lesson from real-world gas cap issues is this: simple parts still matter. A gas cap is not glamorous. Nobody posts a celebratory photo with the caption, “Big upgrade today, folks.” But when it works properly, your fuel system stays sealed, your car is happier, and your dashboard has one less reason to be dramatic. That is a pretty solid return on a tiny part and a few minutes of your time.
Conclusion
Installing a gas cap is one of the simplest maintenance tasks a driver can do, but doing it correctly matters. Start by confirming your vehicle actually uses a traditional cap, buy the correct replacement for your year, make, and model, inspect the filler neck, and tighten the new cap clockwise until it clicks. That is the whole mission.
If the old cap would not tighten, smelled like fuel, or triggered a check engine light, replacing it may solve the problem quickly and cheaply. If the light stays on or the fuel smell continues, do not assume the cap is the only issue. A broader EVAP-system problem may need diagnosis. Either way, this is a great reminder that in car maintenance, the smallest parts often punch far above their weight. Tiny cap, big attitude.












