
Rampant brambles have a special talent for turning a perfectly reasonable yard into a thorny medieval defense system. One season you notice a few innocent-looking blackberry canes leaning over the fence. The next season, they have annexed the compost bin, grabbed the rake, and started negotiating for the patio furniture.
Bramblesusually wild blackberries, raspberries, dewberries, or other members of the Rubus familycan be valuable in the right place. They feed birds, pollinators, and berry-loving humans with suspiciously purple fingers. But when they grow where they are not wanted, they become one of the most stubborn garden invaders around. Their canes root where they touch soil, birds spread seeds, and their crowns can resprout after a casual haircut. Translation: cutting them once and walking away is not a plan. It is a polite invitation for them to come back with reinforcements.
The good news is that bramble removal is absolutely possible. The catch? It works best when you treat it like a campaign, not a Saturday chore. Whether you want a chemical-free approach, a low-maintenance suppression plan, or a targeted herbicide strategy, the key is to remove or exhaust the root system and prevent new shoots from getting established.
Below are three practical ways to get rid of rampant brambles, plus real-world tips from the muddy, scratched-up side of the job.
Why Brambles Are So Hard to Remove
Before charging in with loppers and heroic music, it helps to understand the enemy. Brambles are perennial woody plants with above-ground canes and persistent underground structures. The visible canes may look like the whole problem, but the real trouble is often at soil level: crowns, roots, and runners that store energy and push up new growth.
Many wild blackberries can spread in several ways. They produce seeds that birds and animals move around. Their arching canes can root at the tips when they touch the ground. Some types also spread through suckers or underground growth. That is why a bramble patch may seem to “walk” across a yard year after year.
The other problem is timing. If you cut brambles once in spring, they may simply use stored root energy to make fresh shoots. If you cut them again and again, remove crowns, shade them out, or apply the right treatment at the right growth stage, the plant gradually loses its ability to rebound. Persistence is not optional. Brambles are basically the gym bros of the weed world: they come back stronger unless you keep at it.
Way 1: Dig Out Brambles by the Roots
Best for small patches, garden beds, fence lines, and places where chemicals are not welcome
Manual removal is the most straightforward way to get rid of brambles when the patch is still manageable. It is also the most satisfying, in the same way pulling a giant weed root out of damp soil makes you briefly feel like a woodland superhero.
This method works because it attacks the plant’s storage system. If you only remove the canes, the roots can resprout. If you remove the canes plus the crown and major roots, the plant has far less energy to recover.
Tools You Will Need
- Heavy leather gloves or thorn-resistant rose gloves
- Long sleeves, sturdy pants, and eye protection
- Bypass pruners for small canes
- Loppers for thick canes
- A digging fork, mattock, or sharp spade
- A tarp or heavy-duty yard waste bags
- Mulch or replacement plants for after cleanup
Step-by-Step Manual Bramble Removal
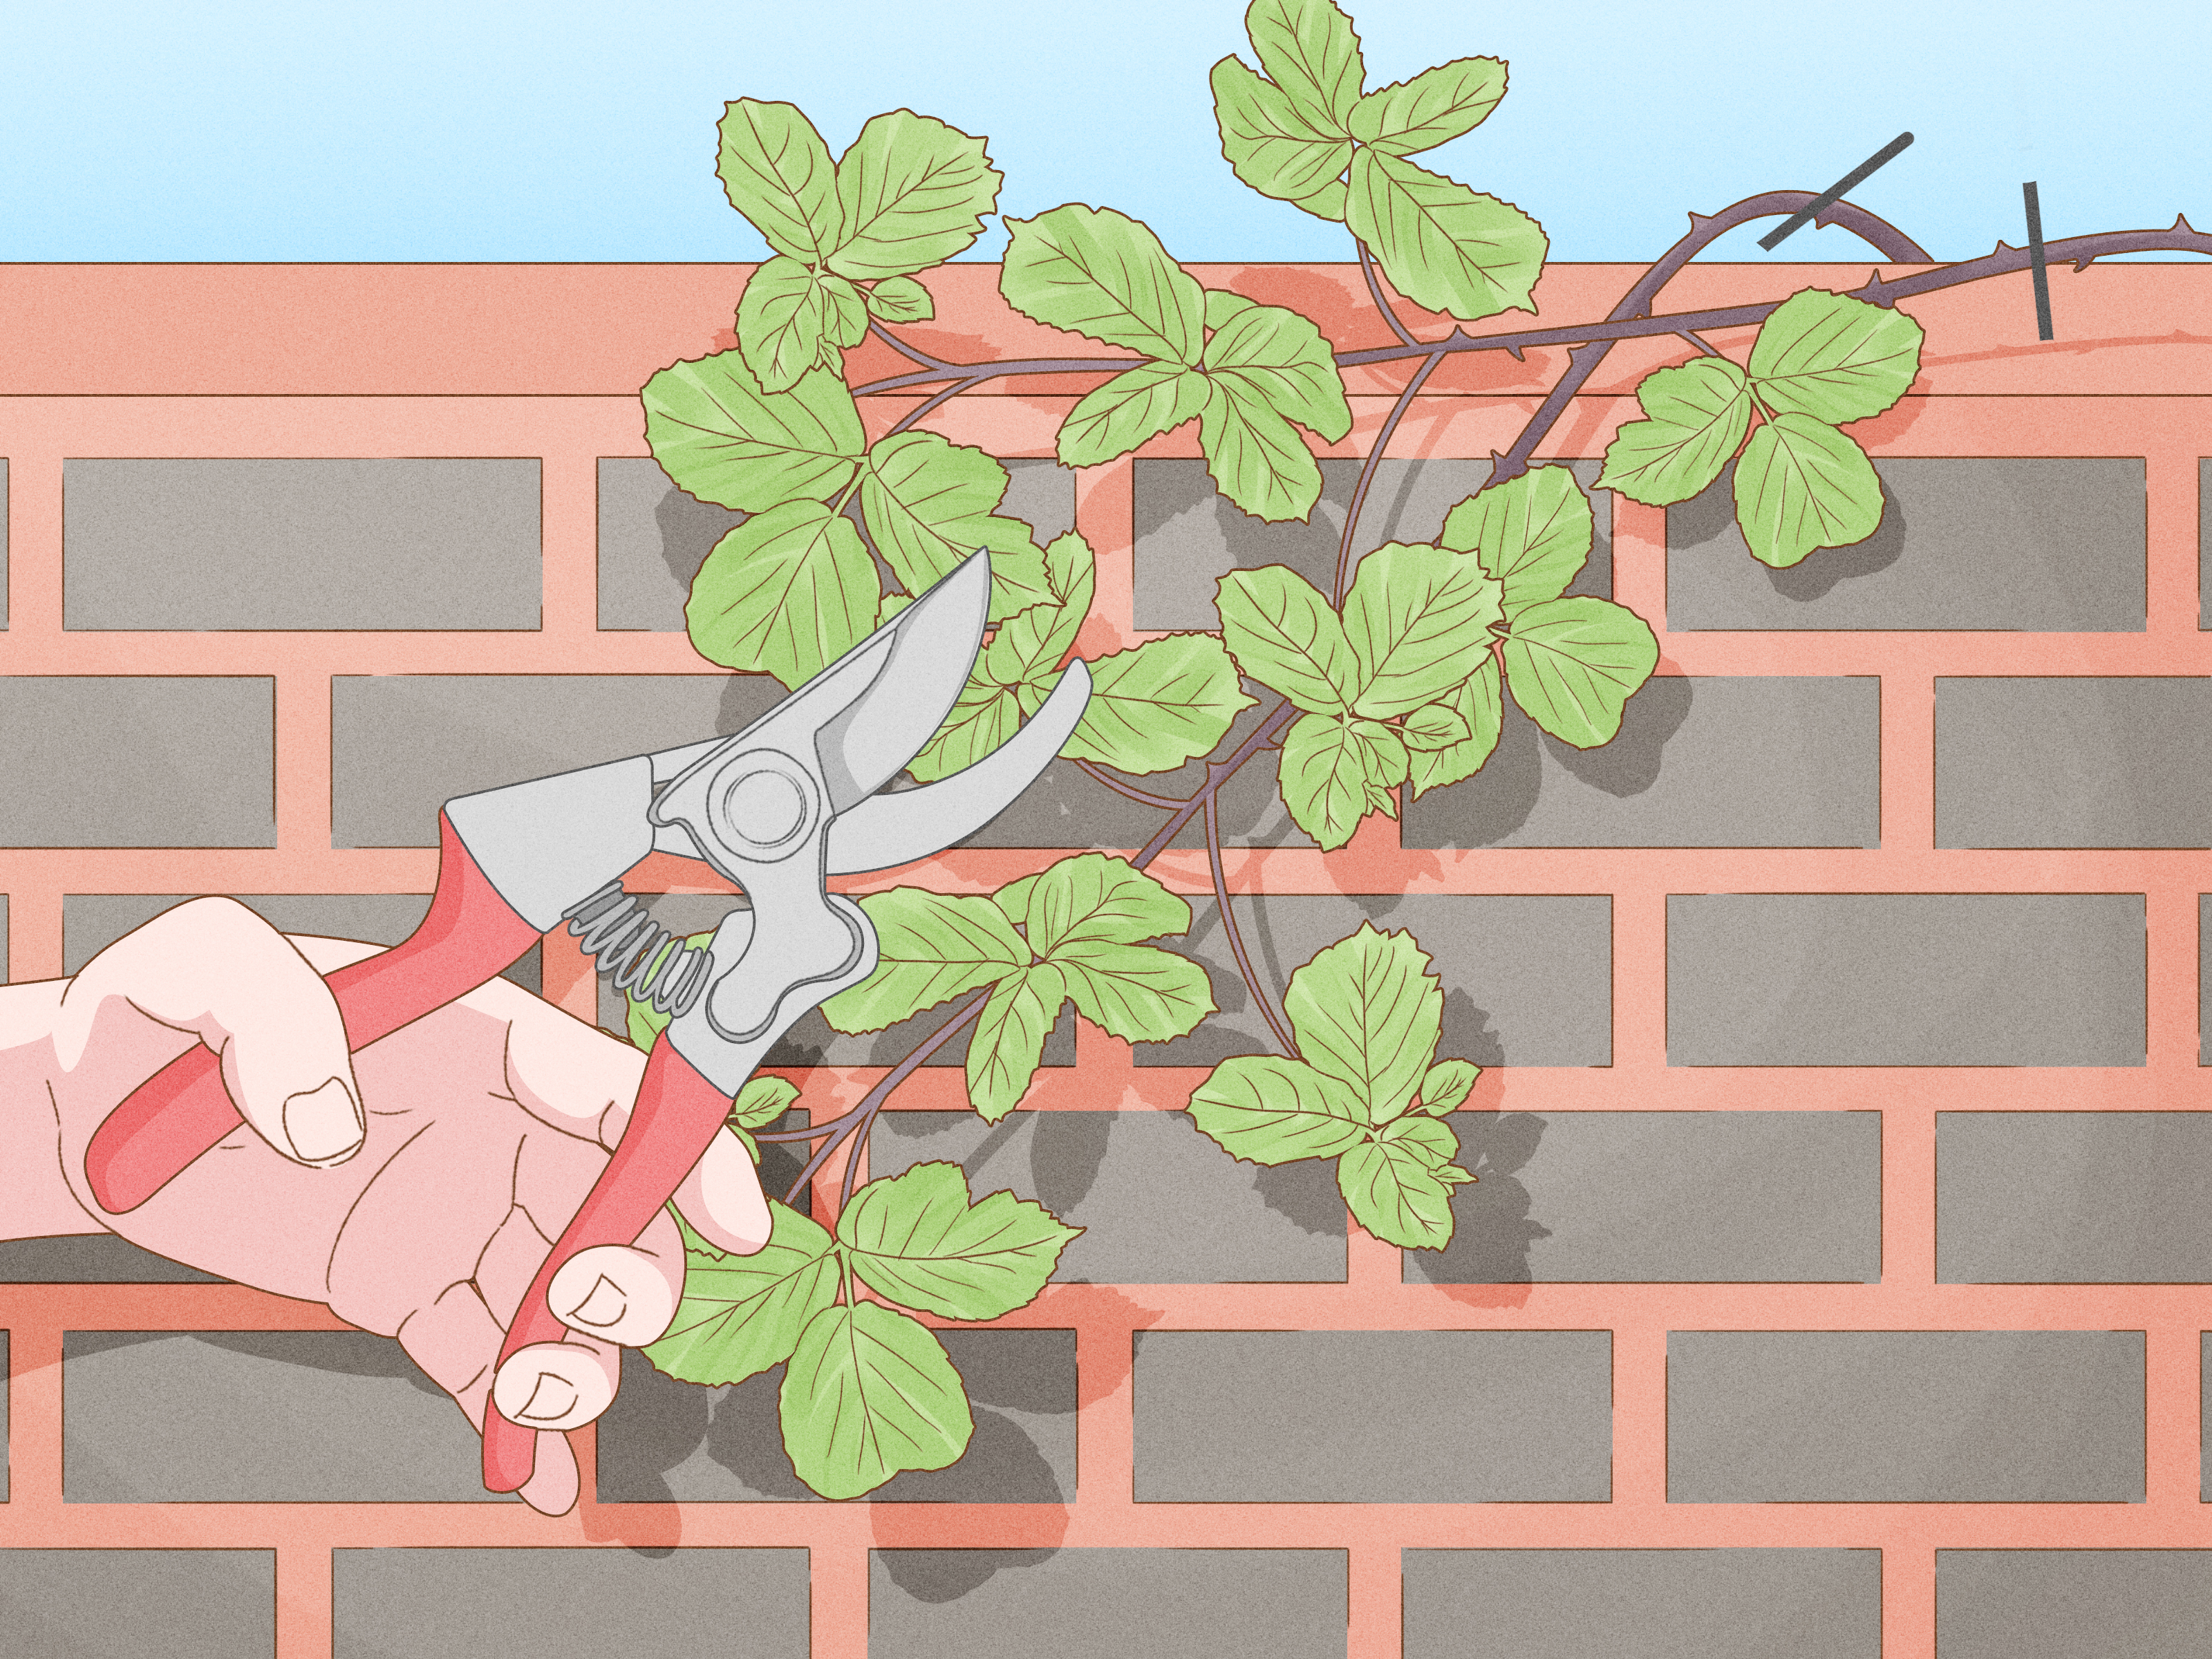
Start by cutting the canes back to a manageable length. Do not begin by grabbing a full-length cane and pulling unless you enjoy surprise thorn hugs. Cut canes into short sections, working from the outside of the patch inward. Place the pieces directly onto a tarp or into a yard waste container so they do not root or scatter.
Once the top growth is cleared, look for the crown. The crown is the thick, woody base where the canes emerge from the soil. Dig around it with a fork or spade, loosening the surrounding soil. Lift out the crown and as much of the root system as possible. For older brambles, expect a serious chunk of woody material. It may look less like a plant and more like something that should have its own ZIP code.
After the first pass, rake the soil and look for remaining roots, cane tips, and fragments. Brambles are excellent at using leftovers. Any rooted tip or crown fragment can become tomorrow’s headache. Dispose of the plant material according to local yard waste rules. Avoid tossing seedy berries, fresh canes, or viable roots into a casual backyard compost pile unless your compost gets hot enough to kill them.
What to Do After Digging
Manual removal is not finished when the soil looks clean. New shoots may appear from missed roots or seeds already in the soil. Inspect the area every two to four weeks during the growing season. Pull small sprouts while the soil is moist and before they develop a stronger root system.
Then cover the bare ground. Bare soil is an open invitation for brambles, weeds, and every airborne seed with ambition. Use a thick layer of mulch, plant a dense ground cover, seed grass, or install landscape fabric temporarily while you decide what belongs there. The goal is to deny young brambles the light and space they need to stage a comeback.
Way 2: Cut, Mow, Smother, and Starve Them
Best for large patches, rough ground, natural areas, and no-spray zones
If your bramble patch is too large to dig out in one heroic weekend, repeated cutting and smothering can work. The idea is simple: remove the leaves over and over until the roots run out of stored energy. Leaves are the plant’s solar panels. Keep removing them, and eventually the underground battery drains.
This method is slower than digging, but it is useful for big patches, slopes where digging could cause erosion, or areas near vegetable gardens, wells, ponds, or desirable plantings where herbicide drift is a concern.
How Repeated Cutting Works
Cut brambles close to the ground using loppers, a brush cutter, or a mower designed for rough vegetation. Do not use a regular lawn mower on thick, woody canes unless you want to hear expensive mechanical noises. For tall thickets, start with hand tools or a brush cutter to knock the canes down safely.
After the first cut, do not relax for the season. The plant will resprout. That is expected. Cut the new growth whenever it reaches roughly 12 to 18 inches tall, or before it has enough leaf area to rebuild root reserves. In many yards, this means cutting several times during the growing season. The more consistently you remove regrowth, the faster the plant weakens.
Repeated mowing may take one to three seasons, depending on the size of the patch, soil conditions, species, and how disciplined you are. This is not glamorous gardening. It is more like canceling the bramble’s gym membership every month until it finally stops showing up.
Using Tarps or Heavy Mulch
Smothering adds another layer of control. After cutting the canes low, cover the area with heavy black plastic, silage tarp, thick cardboard topped with mulch, or another durable light-blocking material. Secure the edges well. Brambles are very good at finding daylight, and if there is a loose flap, they will treat it like a skylight.
For best results, leave the cover in place for several months, and often through a full growing season. Check the edges frequently. Shoots may emerge around the perimeter or push through weak spots. Pull or cut those immediately.
Smothering is especially helpful after you dig out the largest crowns. It is less effective if you simply lay a flimsy cover over tall, energetic brambles and hope for the best. That is not control; that is gift wrapping.
Can Goats Get Rid of Brambles?
Goats can be useful for knocking back bramble growth, especially on larger properties. They eat leaves and tender canes, reducing the plant’s ability to photosynthesize. However, goats usually do not remove the root crowns. Think of them as enthusiastic defoliation interns, not a complete removal crew.
If you use grazing, follow it with digging, mowing, smothering, or targeted treatment of regrowth. Also protect desirable plants, young trees, and anything you do not want taste-tested. Goats are charming, but their landscape design philosophy is “snack first, ask questions never.”
Way 3: Use Targeted Herbicide Carefully
Best for large, established patches or repeated regrowth that manual methods cannot handle
For serious infestations, especially dense wild blackberry thickets, targeted herbicide may be the most practical option. The key word is targeted. Bramble control does not require turning the yard into a chemical soup. It requires choosing a labeled product, applying it at the right time, and protecting nearby plants, soil, water, pets, and people.
Systemic herbicides work by moving through the leaves or cut stems into the plant’s roots. That is important because brambles often resprout from underground structures. Contact-only damage to leaves may make the plant look sad for a while, but sad brambles are still brambles.
Common Herbicide Approaches
Two common active ingredients used for woody bramble control are glyphosate and triclopyr. Glyphosate is nonselective, meaning it can injure or kill many plants it touches, including grasses and ornamentals. Triclopyr targets many broadleaf woody plants and may be less damaging to grasses, depending on the product and formulation. Always read and follow the label because the label is the law, the instruction manual, and the tiny-print boss of the whole operation.
Foliar spraying is often used when plants are actively growing and have enough leaf area to absorb the product. Late summer into fall can be effective because plants are moving carbohydrates toward their roots, which can help systemic herbicides reach underground tissues. Avoid spraying during drought stress, rain, wind, or when desirable plants are nearby and vulnerable to drift.
Cut-stump treatment is another option. With this method, canes are cut near the base and the labeled herbicide is applied directly to the freshly cut surface. Timing matters: the treatment should be applied immediately after cutting so the plant can absorb it. This method can reduce drift and is useful where individual crowns are accessible.
Safety Rules That Actually Matter
Never spray brambles when they are blooming and full of pollinators. Bees do not need your yard project in their tiny bee business. Avoid spraying near ponds, streams, drainage ditches, edible crops, or windy fence lines. Wear gloves, long sleeves, eye protection, and any other protective gear required by the label.
If brambles are growing through desirable shrubs, fruit trees, or native plants, do not blanket-spray the whole mess. Cut canes back carefully, separate what you can, and treat regrowth only when you can avoid harming the plants you want to keep. For steep slopes, wetlands, shared property lines, or very large infestations, consider hiring a licensed professional.
Which Bramble Removal Method Should You Choose?
The best method depends on the size of the patch, your tolerance for scratches, and what is growing nearby.
Choose digging if:
- The patch is small or medium-sized.
- You can reach the crowns safely.
- You want a chemical-free solution.
- The brambles are in a vegetable garden, flower bed, or tight landscape space.
Choose repeated cutting and smothering if:
- The area is too large to dig all at once.
- You are working near water or sensitive plantings.
- You can commit to follow-up for a full season or more.
- You plan to replant the area with grass, ground cover, or native plants.
Choose targeted herbicide if:
- The bramble patch is old, dense, or repeatedly resprouting.
- Manual removal is unsafe or unrealistic.
- You can apply products carefully and legally.
- You are willing to monitor and treat regrowth.
How to Keep Brambles from Coming Back
Getting rid of brambles is only half the battle. Keeping them gone is where many homeowners accidentally lose the war. After removal, the area needs a maintenance plan.
First, patrol the site often. Young bramble sprouts are easy to pull. Mature bramble thickets require gloves, tools, snacks, and a motivational speech. Do not let new shoots grow for months before dealing with them.
Second, cover or plant the soil. A thick layer of mulch can suppress seedlings and make new shoots easier to spot. In sunny areas, turfgrass or a dense low-growing ground cover can compete with bramble seedlings. In natural areas, consider native shrubs, grasses, or perennials suited to your region. Healthy, intentional plantings are one of the best long-term defenses.
Third, manage the edges. Brambles often sneak in from fence lines, vacant lots, wooded borders, alleys, and neglected corners. If your neighbor’s blackberry jungle is leaning over the fence like it pays rent, trim your side regularly and remove any rooted tips before they establish.
Common Mistakes When Removing Brambles
Mistake 1: Cutting Once and Declaring Victory
Cutting once makes the yard look better, but it rarely kills the plant. Brambles can resprout from crowns and roots. Follow-up is the difference between control and temporary landscaping theater.
Mistake 2: Leaving Cane Tips on the Ground
Some bramble canes root where they touch soil. Leaving long, fresh canes scattered around may create new plants. Collect debris as you work.
Mistake 3: Ignoring Protective Clothing
Brambles are not “a little prickly.” They are botanical barbed wire. Wear real gloves, sleeves, eye protection, and sturdy shoes. Shorts are a bold choice, and by bold, we mean regrettable.
Mistake 4: Spraying Carelessly
Herbicide drift can damage flowers, vegetables, shrubs, trees, and lawns. Use targeted methods, avoid wind, and follow the label exactly.
Mistake 5: Forgetting to Replant
Empty ground does not stay empty. If you remove brambles and leave bare soil, nature will refill it, often with plants you did not invite. Mulch, seed, or plant the area quickly.
Real-World Experience: What Bramble Removal Actually Feels Like
On paper, bramble removal sounds tidy: cut canes, dig roots, mulch soil, admire results. In real life, it usually involves a pile of thorny vines that somehow doubles in size every time you turn your back. The first lesson is to start smaller than your ambition. A ten-by-ten-foot patch may look like a quick afternoon job, but once you begin cutting, lifting, untangling, and digging crowns, it can feel like you have opened a portal to the Thorn Dimension.
The smartest approach is to divide the patch into sections. Work from the outside edge inward. Clear a path first so you can move safely. If the brambles are taller than you, cut the top growth down in layers. Long canes under tension can whip back, catch clothing, or scratch your face. This is why eye protection is not just for dramatic people. It is for people who enjoy seeing.
Another practical lesson: wet soil is your friend, mud is your frenemy. After a light rain, bramble crowns and young roots are much easier to loosen. After a heavy rain, the area may become slippery, compacted, or miserable. Aim for moist soil, not boot-stealing swamp conditions. A digging fork often works better than a shovel because it loosens roots without slicing them into as many pieces.
Disposal also matters more than beginners expect. If you drag cut canes across the lawn, you may drop thorns, berries, and rooted tips everywhere. A tarp makes cleanup easier. Lay it beside the work area, toss cut sections onto it, then drag the bundle to your disposal spot. Heavy-duty bags work too, but brambles love poking holes in them, because apparently even dead brambles enjoy being difficult.
One useful trick is to leave a short handle on each crown. Instead of cutting every cane flush to the ground before digging, leave six to twelve inches attached to the crown. That stub gives you something to grip while loosening the root ball. Pulling on the stub while working around the crown with a fork can help pop the woody base free.
For large areas, repeated cutting becomes a test of discipline. The first cut feels amazing because the jungle disappears. The second cut feels annoying because the brambles have returned. The third cut feels personal. But that is exactly the process working. Every new shoot you remove costs the plant energy. Keep removing leaves before they rebuild the root reserves, and the patch weakens.
Finally, the most satisfying part is replanting. Once the brambles are gone, give the space a job. Install mulch, plant native shrubs, seed a lawn path, build a vegetable bed, or create a pollinator strip. A restored area looks intentional, and intentional landscapes are easier to defend. Brambles love neglected corners. Make the corner useful, and you are less likely to lose it again.
Conclusion
Rampant brambles are tough, thorny, and impressively persistent, but they are not invincible. The best way to get rid of brambles is to match the method to the situation. Dig out small patches by removing the crowns and major roots. For larger areas, cut repeatedly and use tarps, mulch, grazing, or dense replanting to starve the roots. For severe infestations, use targeted herbicide carefully and legally, with close attention to timing, drift, and follow-up.
Whatever method you choose, remember the golden rule of bramble control: the first cleanup is only the opening scene. The real victory comes from follow-up. Patrol the area, remove new shoots early, cover bare soil, and replant with something you actually want. Do that, and your yard can go from thorny chaos to usable space againno castle moat required.
Note: Always check local rules before disposing of invasive plant material or using herbicides, and follow every instruction on the product label. If brambles grow near waterways, steep slopes, protected habitats, or shared property boundaries, ask your local extension office or a licensed vegetation-control professional for site-specific guidance.













