
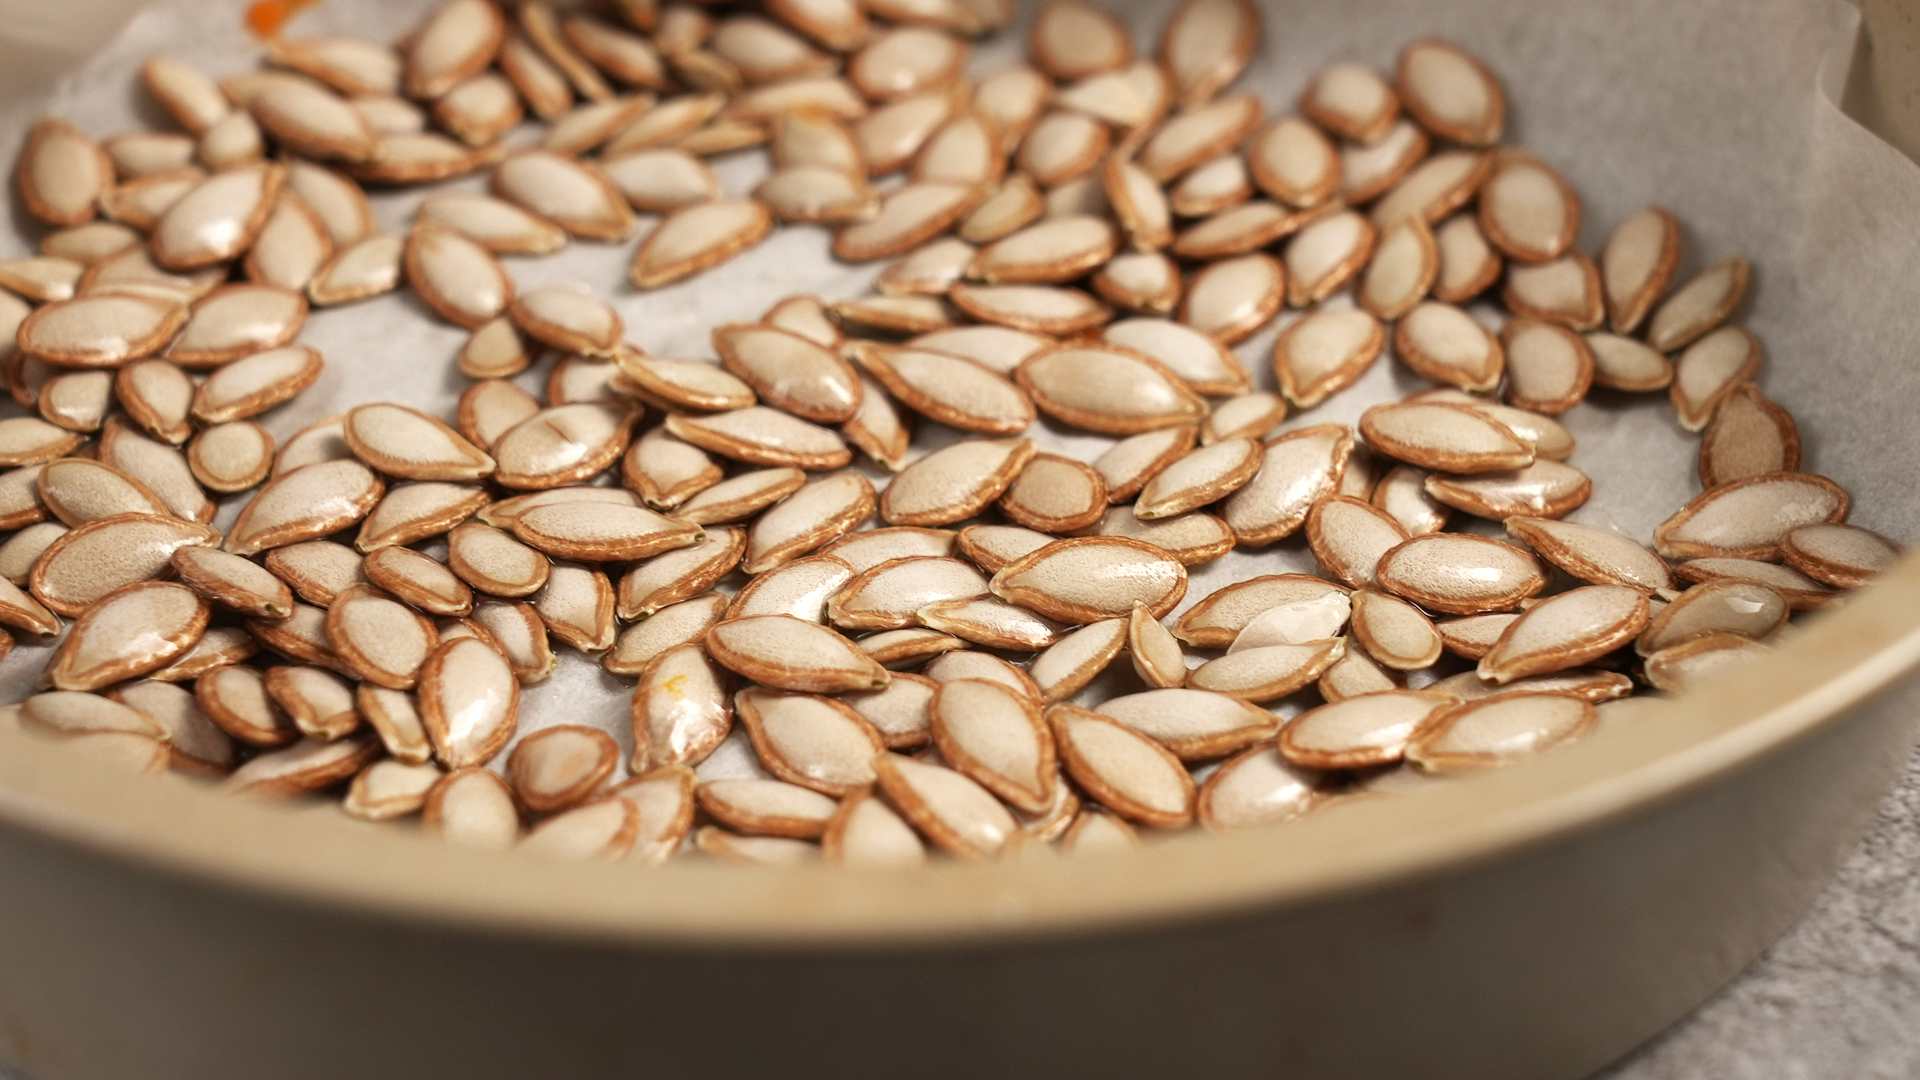
Cleaning pumpkin seeds sounds simple until you are elbow-deep in orange strings, wondering whether you are preparing a snack or wrestling a tiny swamp monster. The good news: fresh pumpkin seeds are worth the mess. Once cleaned, dried, and roasted, they become crunchy, nutty, golden little rewards for anyone brave enough to open a pumpkin.
This guide explains exactly how to clean pumpkin seeds in 10 easy steps, whether you are carving a Halloween jack-o’-lantern, baking a sugar pumpkin, or rescuing seeds from a squash before dinner. You will learn how to separate pumpkin seeds from pulp, rinse them safely, dry them properly, and get them ready for roasting without turning your kitchen into a fall-themed crime scene.
Fresh pumpkin seeds are naturally slippery because they are coated in pumpkin pulp and fibrous strands. That coating is harmless, but it can prevent seeds from roasting evenly. Clean seeds roast better, season better, and store better. In other words, cleaning is not just a fussy kitchen chore. It is the secret handshake between “meh” seeds and “where did the whole bowl go?” seeds.
Why Cleaning Pumpkin Seeds Matters
Before roasting, pumpkin seeds should be separated from the stringy pulp and rinsed under running water. This removes sticky fibers, reduces excess moisture, and helps seasoning cling evenly later. It also gives you a chance to toss out any seeds that look dark, moldy, shriveled, or damaged.
Cleaning also improves texture. Seeds with too much pulp attached may steam instead of roast, which can lead to chewy results. Dry, clean seeds spread in a single layer are more likely to become crisp, golden, and snackable. Nobody carves a pumpkin hoping for a damp seed experience. That is not fall magic; that is poor planning in a cardigan.
What You Need to Clean Pumpkin Seeds
You do not need fancy tools. Most kitchens already have everything required. A large spoon or ice cream scoop helps scrape the pumpkin cavity. A large bowl gives the seeds room to float and separate from pulp. A colander makes rinsing easier. A clean kitchen towel, paper towels, or a sheet pan helps with drying.
Basic supplies
- One fresh pumpkin or winter squash
- A sturdy knife for opening the pumpkin
- A large spoon, scoop, or scraper
- A large mixing bowl
- Cool running water
- A colander or fine-mesh strainer
- Clean towels or paper towels
- A baking sheet if you plan to roast the seeds
Optional tools include kitchen gloves, a slotted spoon, parchment paper, and a clean produce brush for scrubbing the pumpkin before cutting. The brush is especially helpful if your pumpkin came from a farm stand, garden, or muddy porch display where it spent three weeks pretending to be rustic.
How to Clean Pumpkin Seeds: 10 Steps
Step 1: Wash the Outside of the Pumpkin
Start before the knife goes in. Rinse the pumpkin under cool running water and rub the outside to remove dirt. If the pumpkin is very dirty, use a clean produce brush. Do not use soap, detergent, bleach, or produce wash. Pumpkins have rinds, but dirt from the surface can still transfer to the knife when you cut through the skin.
Dry the pumpkin with a clean towel so it is easier and safer to handle. A slippery pumpkin is basically a bowling ball with ambitions.
Step 2: Cut the Pumpkin Open Safely
Place the pumpkin on a stable cutting board. Use a sturdy knife to cut around the stem if you are carving, or cut the pumpkin in half if you are cooking. Work slowly and keep your fingers away from the blade. If the pumpkin wobbles, place a damp towel under the cutting board to help keep things steady.
For roasting seeds only, cutting the pumpkin in half often gives you better access to the seed cavity. For a jack-o’-lantern, cutting a lid or bottom opening works fine. Either way, you are looking for the seed-packed center where all the stringy orange drama lives.
Step 3: Scoop Out the Seeds and Pulp
Use a large spoon, ice cream scoop, or pumpkin scraper to scoop seeds and pulp into a large bowl. Scrape the inner walls of the pumpkin to loosen seeds hiding in the fibers. Do not worry about separating everything perfectly at this stage. The bowl method will do most of the work.
If you are cleaning seeds with kids, this is usually the part where everyone says “eww” and then immediately wants another turn. Pumpkin pulp has that magical combination of slimy, stringy, and oddly satisfying.
Step 4: Pull Away the Big Pieces of Pulp
Before adding water, remove the largest chunks of pumpkin flesh and stringy pulp by hand. This makes the rinsing process faster. Pinch the seeds gently and pull away attached fibers. The goal is not perfection. You are simply removing the obvious orange clumps so the seeds can move freely in water.
Place the pulp in a compost bin if you compost, or discard it. If you are cooking the pumpkin flesh, keep edible flesh separate from stringy seed pulp. The pulp around seeds is usually too fibrous for smooth recipes, but the seeds are snack gold.
Step 5: Add Water and Swish
Fill the bowl with cool water. Use your hands to swish the seeds and pulp vigorously. The seeds usually float while heavier pieces of pulp sink or separate. Rub the seeds between your fingers to loosen the slippery coating. This step is the easiest way to clean pumpkin seeds without picking off every strand one by one.
Let the bowl sit for a minute. Skim the floating seeds from the top with your hands or a slotted spoon. If some pulp floats too, do not panic. It can be removed during rinsing.
Step 6: Transfer Seeds to a Colander
Move the seeds into a colander. If there is still a lot of pulp in the bowl, pour carefully so the heavy pulp stays behind. A fine-mesh strainer can help catch smaller seeds, especially if you are cleaning seeds from a small pie pumpkin or winter squash.
At this point, the seeds should look mostly pale, flat, and clean. A few orange strings are not the end of civilization. They will usually rinse away or dry off later.
Step 7: Rinse Under Cool Running Water
Hold the colander under cool running water. Use your fingers to toss and rub the seeds while rinsing. Remove any remaining pulp you see. Keep rinsing until the seeds no longer feel extremely slimy. They may still feel slightly slick, which is normal for fresh pumpkin seeds.
Avoid soaking cleaned seeds for too long at room temperature, especially if you are not roasting them right away. Once rinsed, move on to drying or refrigerate them in a covered container for short-term storage.
Step 8: Optional: Boil Seeds in Salt Water
Boiling is optional, but many cooks like it. A quick simmer in salted water can help loosen stubborn bits of pulp, lightly season the seeds from the inside, and soften the shells a little before roasting. To do this, add cleaned seeds to a pot of water with salt, bring to a gentle boil, and simmer for about 10 minutes.
Drain well after boiling. If you prefer a more natural, lightly sweet pumpkin flavor, skip the boil and go straight to drying. Both methods work. The best choice depends on whether you want a cleaner, saltier snack or a simpler prep.
Step 9: Dry the Seeds Thoroughly
Drying is the step many people rush, and then they wonder why their roasted pumpkin seeds taste more steamed than toasted. Spread rinsed seeds on a clean kitchen towel, paper towels, or a parchment-lined baking sheet. Pat them dry and let them air-dry for at least 30 minutes if you have time.
For extra crisp results, let the seeds dry for several hours or overnight in the refrigerator on a tray. The drier the surface, the better the roast. Moisture is crunch’s sworn enemy.
Step 10: Inspect, Season, and Roast
Before roasting, inspect the seeds one last time. Remove any pieces of pulp, dark seeds, or broken bits. Toss the clean, dry seeds with a small amount of oil or melted butter and your preferred seasonings. Spread them in a single layer on a baking sheet.
Roast at 300°F to 350°F until golden and crisp, stirring occasionally. Timing can vary depending on seed size, moisture, and oven temperature, but many batches take 20 to 45 minutes. Lower temperatures take longer but reduce the risk of burning. Higher temperatures are faster but demand more attention. Pumpkin seeds can go from “perfectly toasted” to “tiny autumn charcoal” with shocking confidence.
Best Tips for Removing Pumpkin Pulp Quickly
Use the Float Method
The easiest way to separate pumpkin seeds from pulp is to use a large bowl of water. Seeds tend to float, while much of the pulp sinks or loosens. Swishing and rubbing the seeds in water saves time and keeps the mess contained.
Do Not Chase Every Tiny String
A little pulp is not a disaster. If a few small orange fibers remain after rinsing, they usually dry out or roast off. Focus on removing large clumps and slimy coating. Perfection is not required unless you are preparing pumpkin seeds for a museum exhibit, which would be oddly specific.
Dry Seeds in a Single Layer
Piling wet seeds on top of each other traps moisture. Spread them out so air can circulate. If using a towel, move the seeds around occasionally so they do not stick too much.
Common Mistakes to Avoid
Using Soap on the Pumpkin or Seeds
Use plain running water only. Soap and detergents are not meant for food and should not be used on produce or seeds. A good rinse, clean hands, and clean tools are the right approach.
Roasting Wet Seeds
Wet seeds roast unevenly. They may turn chewy instead of crisp. After rinsing, take drying seriously. Your future snack bowl will thank you with crunch.
Overcrowding the Baking Sheet
Seeds need space. If they overlap too much, they steam. Use a large baking sheet and spread them in a thin layer. For a big pumpkin, divide seeds between two pans.
Adding Too Much Oil
A light coating is enough. Too much oil can make seeds greasy and heavy. Start with about one to two teaspoons of oil per cup of seeds, then adjust as needed.
Flavor Ideas After Cleaning Pumpkin Seeds
Once you know how to clean pumpkin seeds, seasoning becomes the fun part. Classic salt is always reliable, but pumpkin seeds are flexible. Try garlic powder and smoked paprika for a savory snack, cinnamon and a touch of sugar for a sweet version, or chili powder and lime zest for a brighter flavor.
For a cozy fall batch, toss clean dried seeds with melted butter, cinnamon, a pinch of salt, and a little brown sugar. For a game-day bowl, use olive oil, garlic powder, onion powder, smoked paprika, and black pepper. For salad toppers, keep the seasoning simple with salt and a neutral oil so the seeds pair well with greens, soups, grain bowls, or roasted vegetables.
Can You Eat Pumpkin Seed Shells?
Yes, the white outer shells of roasted pumpkin seeds are edible for most people. The green kernels inside are called pepitas. Store-bought pepitas are often hulled, while seeds from carving pumpkins usually still have their shells. Whole roasted pumpkin seeds are crunchy and high in fiber, while hulled pepitas are softer and easier to sprinkle into recipes.
If the shells feel too tough, choose seeds from smaller pie pumpkins or hull-less pumpkin varieties. You can also roast seeds longer at a lower temperature for a crispier texture.
How to Store Cleaned Pumpkin Seeds
If you are not roasting cleaned seeds right away, dry them well and store them in an airtight container in the refrigerator for a short time. For longer storage, roast them first, cool completely, and keep them in an airtight container. Refrigerating or freezing roasted seeds can help preserve freshness, especially if you made a large batch.
Always let roasted seeds cool fully before sealing them. Warm seeds release steam, and steam trapped in a container leads to soggy disappointment. That is not storage; that is crunch sabotage.
Are Pumpkin Seeds Healthy?
Pumpkin seeds are a nutrient-dense snack. They contain plant-based protein, fiber, unsaturated fats, and minerals such as magnesium, zinc, iron, and potassium. They are still calorie-dense, especially when roasted with oil or butter, so enjoy them in reasonable portions. A small handful can add crunch and flavor to meals without turning snack time into a seed avalanche.
For a balanced snack, pair roasted pumpkin seeds with fruit, yogurt, oatmeal, soup, or salad. They also make a smart topping for roasted squash, chili, granola, and homemade trail mix.
Experience Notes: What Cleaning Pumpkin Seeds Teaches You in a Real Kitchen
The first thing you learn when cleaning pumpkin seeds is that confidence matters. If you approach the pumpkin like it is delicate porcelain, the process takes forever. If you scoop boldly, swish generously, and accept a little mess, the job becomes much easier. Pumpkin seed cleaning is one of those kitchen tasks where neatness is helpful, but patience is even better.
In real life, the bowl-of-water method is the most useful trick. Trying to peel seeds away from pulp while everything is dry can feel like untangling holiday lights after a raccoon borrowed them. Add water, and suddenly the seeds loosen, float, and behave like they have finally read the instructions. A large bowl also keeps the mess in one place, which is important if your kitchen counter already looks like a pumpkin had a dramatic breakup.
Another helpful experience: clean the seeds soon after scooping them out. Fresh pulp is easier to remove than dried pulp. If you leave the seed mixture sitting too long, the strings cling harder and the smell becomes less “harvest festival” and more “science project with seasonal branding.” If you cannot clean them immediately, refrigerate the seeds and pulp in a covered container, then clean them as soon as possible.
Drying is where many batches succeed or fail. Patting seeds dry is good, but giving them extra air-drying time is better. When seeds are surface-dry before roasting, they toast more evenly and develop a better crunch. A towel works, but seeds sometimes stick to cloth. Parchment paper on a sheet pan can be easier if you plan to season and roast them on the same tray.
Seasoning is another place where experience helps. Beginners often add too much oil because the seeds look dry. Resist the urge. A small amount of oil goes a long way once you toss everything thoroughly. Too much oil can make roasted pumpkin seeds heavy instead of crisp. The same goes for sugar: sweet pumpkin seeds are delicious, but sugar can burn faster than salt or spices, so roast sweet batches at a slightly lower temperature and watch them closely.
One of the best practical tips is to roast similar-sized seeds together. Seeds from a small sugar pumpkin may cook faster than seeds from a giant carving pumpkin. If you mix them all on one tray, the little ones may brown before the large ones crisp. It is not a tragedy, but sorting by size can make the final result more consistent.
Finally, cleaning pumpkin seeds is more fun when you treat it as part of the fall ritual, not a chore standing between you and snacks. Put on music, use a big bowl, keep a towel nearby, and remember that the mess is temporary. The payoff is a homemade roasted snack that tastes fresher than anything from a bag. Plus, you get the quiet satisfaction of turning pumpkin guts into something people actually fight over. That is kitchen alchemy, with a side of salt.
Conclusion
Learning how to clean pumpkin seeds is simple once you know the flow: wash the pumpkin, scoop the seeds, loosen the pulp in water, rinse well, dry thoroughly, and roast with your favorite seasonings. The most important steps are separating the pulp and drying the seeds before roasting. Clean, dry seeds turn crisp and flavorful; wet, pulpy seeds tend to steam, stick, and sulk.
Whether you are carving pumpkins for Halloween or cooking winter squash for dinner, do not toss those seeds. With a bowl of water, a colander, and a little patience, you can turn a messy handful of pumpkin innards into a crunchy homemade snack. That is the kind of fall recycling everyone can get behind.












