
A headband should be the easiest hair accessory in the world. You slide it on, feel instantly put together, and go about your day looking like someone who owns matching storage containers. But then realityas turned into a tiny plastic boomerang trying to leave your head.
If this sounds familiar, you are not doing anything wrong. Headbands slip because hair is smooth, scalps are curved, products add slickness, and many headbands are designed more for looking pretty on a product photo than surviving real life. The good news? You do not need a professional stylist, a drawer full of gadgets, or a dramatic haircut. You just need the right fit, a little grip, and a smart anchoring trick.
In this guide, you will learn how to make a headband stay in place using three easy methods: choosing the right headband and placement, adding texture for grip, and securing the band with hidden pins or clips. These tips work for thin hair, thick hair, straight hair, curly hair, short hair, bangs, workout headbands, fashion headbands, fabric bands, and those shiny plastic headbands that think they are above the laws of physics.
Why Does a Headband Keep Slipping?
Before fixing the problem, it helps to know why your headband is making a slow escape. Most slipping happens for one of five reasons: the band is too loose, the band is too tight, your hair is too clean and slippery, the placement is wrong, or the material has no grip. Yes, a headband can slip because it is too tight. When it squeezes the sides of your head, it may push itself upward and backward, like a spring-loaded accessory with personal goals.
Very smooth hair can also be tricky. Freshly washed hair, flat-ironed hair, silky hair, or hair with serum can create a slick surface. A headband needs friction to stay put. Without it, the band behaves like socks on a polished floor. Wide fabric headbands may roll if they are placed too far back, while hard headbands may slide if the ends do not sit comfortably behind the ears.
The solution is not to glue the thing to your head, although we have all had days where that sounded reasonable. The solution is to combine fit, texture, and anchoring. Let’s break it down.
Method 1: Choose the Right Headband and Place It Correctly
The easiest way to make a headband stay in place is to start with a band that actually matches your hair type, head shape, and activity. A delicate satin headband may look elegant for brunch, but it may not survive a windy walk, a dance class, or a full day of errands. A stretchy athletic headband may be great for workouts, but it may feel bulky with a polished office hairstyle. The right tool matters.
Pick the Best Headband Material
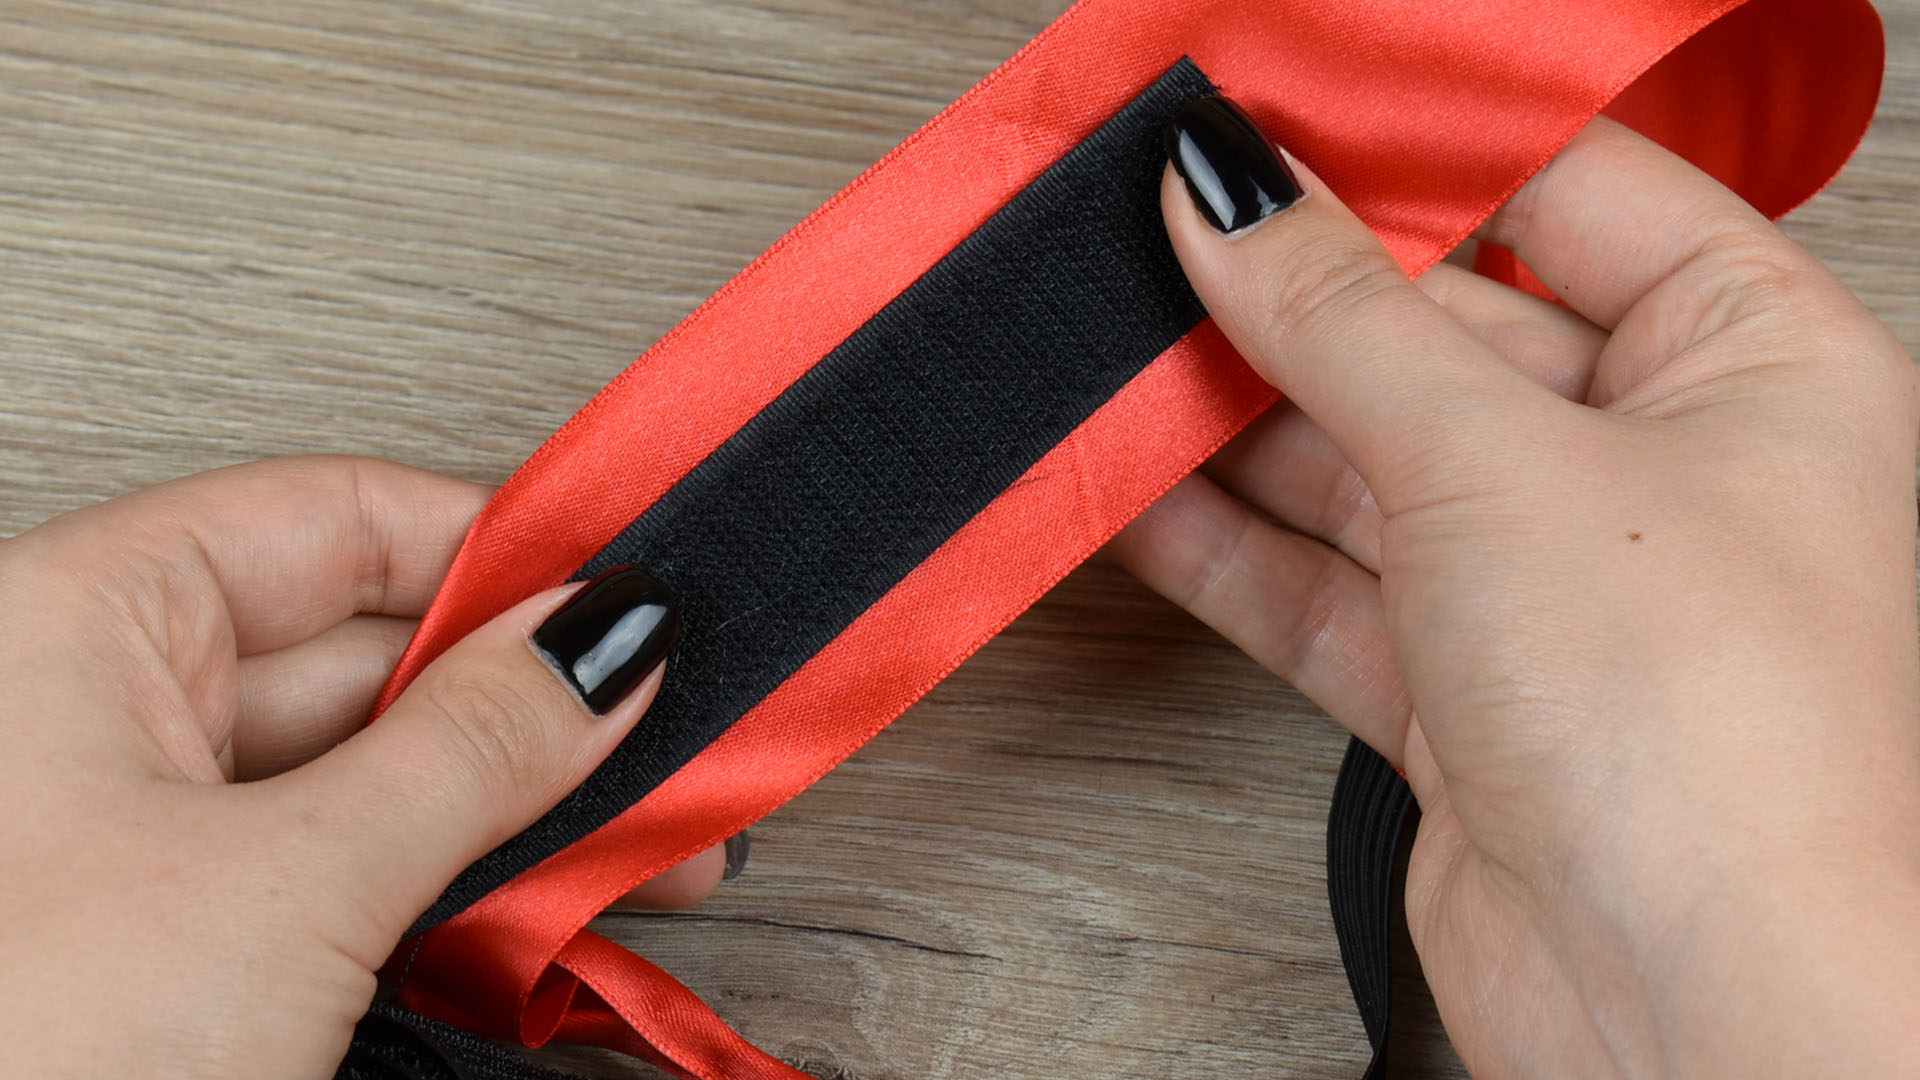
For everyday wear, look for headbands with built-in grip. Velvet, ribbed fabric, soft cotton blends, and matte textured materials usually stay better than slick satin or shiny plastic. If you love the look of satin, choose one with an inner lining that has teeth, velvet backing, silicone grip, or a slightly rougher underside. The pretty part can be glamorous; the inside needs to do the boring security work.
For workouts, choose moisture-wicking fabric with enough stretch to hug your head without squeezing it. A headband that absorbs sweat and stays flat is more reliable than one that rolls into a tiny rope after five minutes. Wider athletic headbands are often better for running, yoga, tennis, and gym workouts because they cover more surface area and create more contact with the hair.
For fine or thin hair, lightweight bands are usually best. Heavy embellished headbands can drag backward because there is not enough hair volume to help hold them. For thick or curly hair, sturdier bands with stronger structure are often better. A thin, weak band may disappear into the hair and shift around instead of holding its shape.
Make Sure the Fit Is Not Too Loose or Too Tight
A headband should feel secure, not heroic. If it gives you a headache within twenty minutes, it is too tight. If it slides backward when you move your eyebrows, it is too loose. The ideal fit sits comfortably behind the ears or around the head without pinching.
For hard headbands, check the ends. They should rest behind your ears without digging into your scalp. If the ends flare outward, the band may not grip well. If they press too hard, the band may push itself up and slide back. For elastic headbands, the band should stretch slightly when worn, but it should not leave a deep mark or feel like a tiny fitness challenge for your skull.
Place the Headband in the Right Spot
Placement can make or break the whole look. For classic headbands, place the front edge about one to two inches behind your hairline, then gently push it forward just a little. This small forward motion helps catch the hair instead of smoothing it backward. If you slide the band straight back from your forehead, you may accidentally flatten the hair and create a slippery path.
For fabric headbands, place the lower back section near the nape of your neck, not halfway up the back of your head. This gives the band a better anchor point. If the back of the band sits too high, it is more likely to roll or pop upward.
For bangs or face-framing layers, decide whether you want them tucked in or left out before placing the headband. Constantly pulling small pieces in and out after the band is on can loosen the whole style. Think of it like arranging furniture before the guests arrive. Much less chaos.
Method 2: Add Grip With Texture Spray, Dry Shampoo, or Hairspray
If your headband slips because your hair is too smooth, the fastest fix is texture. Texture gives the band something to hold onto. This is especially helpful for straight, fine, freshly washed, or flat-ironed hair. Clean hair is lovely, but sometimes it is too polite to hold accessories.
Use Dry Shampoo at the Roots
Dry shampoo is not just for stretching your blowout. It can also create light grip at the roots. Spray a small amount along the hairline, around the crown, and behind the ears where the headband will sit. Let it absorb for a minute, then massage it in with your fingers. The goal is not to make your hair look powdery. The goal is to add a bit of texture so the headband does not slide over the hair like it is on a waterslide.
This trick works especially well on freshly washed hair. If your hair is very dark, use a tinted dry shampoo or apply lightly and brush carefully. Too much product can look dusty, and nobody wants their headband held in place by what appears to be flour from an emotional baking incident.
Try Texturizing Spray for Flexible Hold
Texturizing spray is another excellent option because it adds grip without making the hair stiff. Mist it lightly where the headband will sit, then use your fingers to lift and separate the hair. This is useful if you want a soft, casual style with volume. It also helps if your headband tends to flatten the top of your hair.
For fine hair, start with a small amount. Too much product can weigh hair down. For thick hair, focus the spray near the roots and underneath the top layer. You do not need to coat every strand. You only need to create a stable base for the band.
Use Hairspray Strategically
Hairspray can help, but it should be used with a light hand. Spray the areas where the headband will touch the hair, wait a few seconds until the spray becomes slightly tacky, and then place the headband. You can also spray bobby pins before inserting them, which helps them grip better.
A flexible-hold hairspray is usually better than a crunchy strong-hold formula for everyday headband styles. You want your hair to stay in place, not sound like a potato chip bag when you move.
Tease a Small Hidden Section
If your headband slides backward at the crown, lightly tease a small section of hair underneath where the band will sit. Use a fine-tooth comb and gently backcomb the roots. Smooth the top layer so the teasing is hidden. This creates a tiny cushion that helps block the headband from moving.
This technique is helpful for thin hair, silky hair, and styles where you want volume at the crown. Do not overdo it. You are creating grip, not building a 1980s tribute sculpture.
Method 3: Secure the Headband With Hidden Bobby Pins or Mini Clips
When fit and texture are not enough, bring in the secret agents: bobby pins and mini clips. This is the most reliable way to keep a headband in place all day, especially for events, school, work, photos, workouts, or windy weather. The trick is to hide the pins so your hairstyle still looks effortless.
Use Bobby Pins Behind the Ears
Place the headband where you want it, then slide a bobby pin behind each ear to connect the band to the hair underneath. Insert the pin downward or diagonally so it catches both the headband and a small section of hair. Choose pins that match your hair color if you want them to disappear.
For extra hold, cross two bobby pins in an X shape behind each ear. This creates a stronger anchor and helps stop the band from moving backward. It is a small detail, but it can make a big difference.
Pin the Headband at the Nape
If you are wearing an elastic or fabric headband, the back section may roll or slide up. To prevent this, place one or two bobby pins at the nape of the neck. Pin the underside of the band to the hair at the base of your head. This is especially useful for workouts and soft fabric styles.
If your hair is short, use mini snap clips or small claw clips instead of standard bobby pins. Short hair sometimes does not give pins enough length to grip, but tiny clips can hold the band more securely.
Spray the Pins Before Using Them
One of the best styling tricks is to spray bobby pins with dry shampoo, texture spray, or hairspray before putting them in. Let them sit for a few seconds, then insert them with the wavy side facing down. The product gives the pins a slightly tacky surface, which helps prevent slipping.
This is especially helpful if your hair is fine, silky, or freshly washed. It also keeps the pins from sliding out during the day. Think of it as giving your bobby pins a tiny pair of sneakers.
Best Tips for Different Hair Types
Fine or Thin Hair
Fine hair usually needs texture first and pins second. Use dry shampoo or texturizing spray near the roots before placing the headband. Choose lightweight headbands with a matte or velvet underside. Avoid heavy jeweled bands unless you anchor them with pins. If your hair is very slippery, tease a small hidden section behind the hairline before putting the headband on.
Thick Hair
Thick hair can push a headband out of place if the band is too narrow or weak. Choose a sturdier band with good tension. For fabric styles, wider bands usually work better because they distribute pressure more evenly. If the band keeps riding up, pin it at the nape and behind the ears.
Curly or Coily Hair
Curly and coily hair often has natural texture, which helps with grip, but placement still matters. Avoid forcing the headband too far back, as this can disturb curl shape or create unwanted frizz. Use a soft fabric band, satin-lined band, or flexible headband that does not snag. If needed, anchor the band with pins tucked into the curls.
Short Hair
Short hair can be challenging because there may not be enough length to hold standard pins. Mini clips, snap clips, or small clear elastics can help. Place the headband close to the hairline and use a light texture spray for grip. For pixie cuts or bobs, choose slimmer bands that do not overpower the hairstyle.
Freshly Washed Hair
Freshly washed hair often needs help because it is smooth and soft. Add dry shampoo, texturizing spray, or a little flexible hairspray before wearing a headband. If possible, style the headband after your hair has cooled from blow-drying or heat styling. Warm, freshly smoothed hair tends to slip more easily.
Common Mistakes That Make Headbands Slip
One common mistake is pushing the headband too far back. This flattens the hair and creates a smooth path for slipping. Another mistake is choosing a band based only on appearance. A beautiful headband with a slick underside may look amazing for five minutes and then begin its migration journey.
Using too much serum, oil, or shine spray near the roots can also cause problems. These products make hair look polished, but they reduce friction. If you want shine, apply it to the mid-lengths and ends, not where the headband needs to grip.
Finally, do not ignore comfort. If a headband hurts, you will keep adjusting it. Every adjustment loosens the style. A secure headband should feel comfortable enough that you forget it is there, which is the dream for both hair accessories and relatives at family gatherings.
Quick Fixes When Your Headband Starts Sliding
If your headband starts slipping while you are out, do not panic. First, remove it and rough up the roots lightly with your fingers. If you have dry shampoo, apply a small amount around the hairline. If you have no product, use two bobby pins behind the ears or at the nape. If you have neither product nor pins, reposition the band slightly closer to the hairline and pull a small amount of hair over the ends to create natural resistance.
For fabric headbands that roll, unfold the band completely and place the back lower on the head. For hard headbands that pop up, move the ends slightly behind the ears and check that they are not sitting on top of bulky hair. Small adjustments can rescue the look quickly.
of Real-Life Experience: What Actually Works
After trying many headband styles, the biggest lesson is simple: the headband that looks best on the table is not always the one that behaves best on your head. The prettiest satin band may slide within minutes, while the plain velvet-backed one may stay put through a full day of errands, coffee, wind, and dramatic head turns. Function deserves more respect. It is not glamorous, but neither is chasing your headband across a parking lot.
For everyday wear, the most reliable routine is texture first, then placement, then pins only if needed. On freshly washed hair, a small amount of dry shampoo at the roots makes an immediate difference. The hair feels less slippery, the headband grips better, and the style looks more intentional. It also adds a little volume, which prevents that flat “I was attacked by an accessory” look at the crown.
For long days, bobby pins are the real heroes. The best placement is usually behind the ears because the pins stay hidden and stop the band from sliding backward. Spraying the pins first helps even more. This tiny step feels unnecessary until you try it once and realize your pins no longer abandon their responsibilities by noon.
For workouts, fashion headbands rarely win. A soft, wide, stretchy band with moisture control is much better than a decorative hard band. The back should sit low near the nape, and the front should lie flat without rolling. If the band starts folding into a rope, it is probably too narrow or too soft for movement. A workout headband needs structure, not just good intentions.
For bangs, the best trick is to decide the look before placing the headband. If the bangs are going back, add a touch of hairspray or texture spray and push the band gently forward after placing it. If the bangs are staying out, separate them first and then put on the band. Trying to pull bangs out afterward usually shifts everything and starts the slipping problem all over again.
For short hair, mini clips often work better than bobby pins. They grip small sections more securely and can be hidden under the band or behind the ears. For thick hair, stronger bands and nape pins are usually the winning combination. For curly hair, softer materials matter because snagging can ruin the shape of the curls. The goal is hold without fighting your natural texture.
The best overall advice is to stop treating the headband as a one-step accessory. It is more like a tiny hairstyle. Give it a foundation, place it with intention, and anchor it when the day calls for extra security. With those three steps, your headband can finally stay where it belongs: on your head, not slowly retreating toward the horizon.
Conclusion
Learning how to make a headband stay in place comes down to three easy methods: choose the right headband, add grip with texture, and secure it with hidden pins or clips. Once you understand why your headband slips, the fix becomes simple. Smooth hair needs texture. Loose bands need better fit. Rolling fabric bands need smarter placement. Stubborn styles need pins.
The best part is that these tricks are quick, affordable, and easy to customize. You can use dry shampoo for fine hair, a wider band for workouts, mini clips for short hair, or hidden bobby pins for all-day hold. A headband should make your hairstyle easier, not turn your morning into a negotiation. With the right method, you can wear your favorite headband confidently and stop checking the mirror every ten minutes like it owes you money.
Note: This article was created from synthesized, real-world hair-care and styling practices for clean web publishing. Source links are intentionally not included in the article body.












