
A slipped bike chain has a special talent: it can make you feel like a pro cyclist one second and a confused raccoon with pedals the next. One smooth shift, one tiny bump, one awkward crunch, and suddenly your chain is hanging off the chainring like it has quit without notice. The good news? In many cases, fixing a slipped bike chain is simple, fast, and much less dramatic than it feels in the moment.
If your chain fell off while riding, you usually do not need a full workshop, a mechanical engineering degree, or a pep talk from your local bike shop. You need a calm approach, a few basic steps, and a little chain grease on your fingers. If the chain is actually broken, that takes a bit more work, but even then, many riders can handle the repair at home or on the trail with the right tool and a compatible quick link.
This guide walks through how to fix a slipped bike chain, how to diagnose why it happened, and what to do when your chain is bent, jammed, or snapped. By the end, you will know how to get rolling again and how to stop your bike from pulling this stunt every other weekend.
Why a Bike Chain Slips Off in the First Place
A bike chain usually comes off because something in the drivetrain is out of line, worn out, too loose, or poorly adjusted. Sometimes the cause is obvious. Sometimes it hides like a tiny gremlin inside the derailleur setup.
Common causes of a slipped bike chain
- Misadjusted derailleur: If the front or rear derailleur limits are off, the chain can overshoot and fall off the rings or cassette.
- Worn chain: A stretched, worn chain does not mesh cleanly with the teeth and can skip or derail more easily.
- Worn chainrings or cassette cogs: Hooked or worn teeth make chain engagement sloppy.
- Cross-chaining: Riding in extreme gear combinations can put the chain at a rough angle.
- Bent derailleur hanger: Even a slightly bent hanger can throw off shifting and chain tracking.
- Improper chain length: A chain that is too long can feel loose and unstable.
- Loose chain tension on single-speed bikes: If chain tension is low, the chain can hop off more easily.
- Impact: Hitting a pothole, curb, rock, or root can bounce a chain off the drivetrain.
If your chain came off once after a rough bump, it may be a one-time event. If it keeps happening, your bike is asking for actual attention, not just optimism.
How to Fix a Slipped Bike Chain
When your chain falls off, stop pedaling. That is the first rule. Continuing to mash the pedals can jam the chain between the frame and chainring, scratch the bike, or make the problem worse. Your mission is not to win a sprint. Your mission is to avoid turning a small annoyance into a crunchy repair bill.
Step 1: Move to a safe spot
Pull over, get off the bike, and if possible flip it gently so the drivetrain is accessible, or lean it against something stable with the drivetrain facing outward. If you have an e-bike, power it down before touching the drivetrain.
Step 2: Shift to release tension
If your shifters still work, shift the bike to the smallest rear cog and, if needed, the smallest front chainring. This reduces chain tension and gives you a little more slack to work with. On some bikes, it is easier to lift the rear wheel slightly while you do this by hand.
Step 3: Put the chain back on
If the chain dropped off the front chainring, place the chain back on the teeth near the top of the chainring with your hand. Then slowly turn the crank forward by hand to guide the rest of the chain into place. Go slowly. This is a repair, not a casino wheel.
If the chain fell off the cassette in back, guide it onto the smallest rear cog and carefully rotate the pedals forward by hand. If your bike has a rear derailleur clutch, you may need to gently pull the derailleur back for more slack.
Step 4: Check for twisting or damage
Before riding away like a movie hero, inspect the chain. Look for:
- Twisted links
- Stiff links that do not bend smoothly
- Cracked or damaged plates
- A bent derailleur cage
- Chain wedged between frame and ring
If the chain went back on easily and looks normal, pedal the bike by hand and shift through a few gears. If it moves quietly and stays on, you are probably good to ride. If it tries to leap off again, you have a deeper drivetrain issue.
Step 5: Clean your hands and your expectations
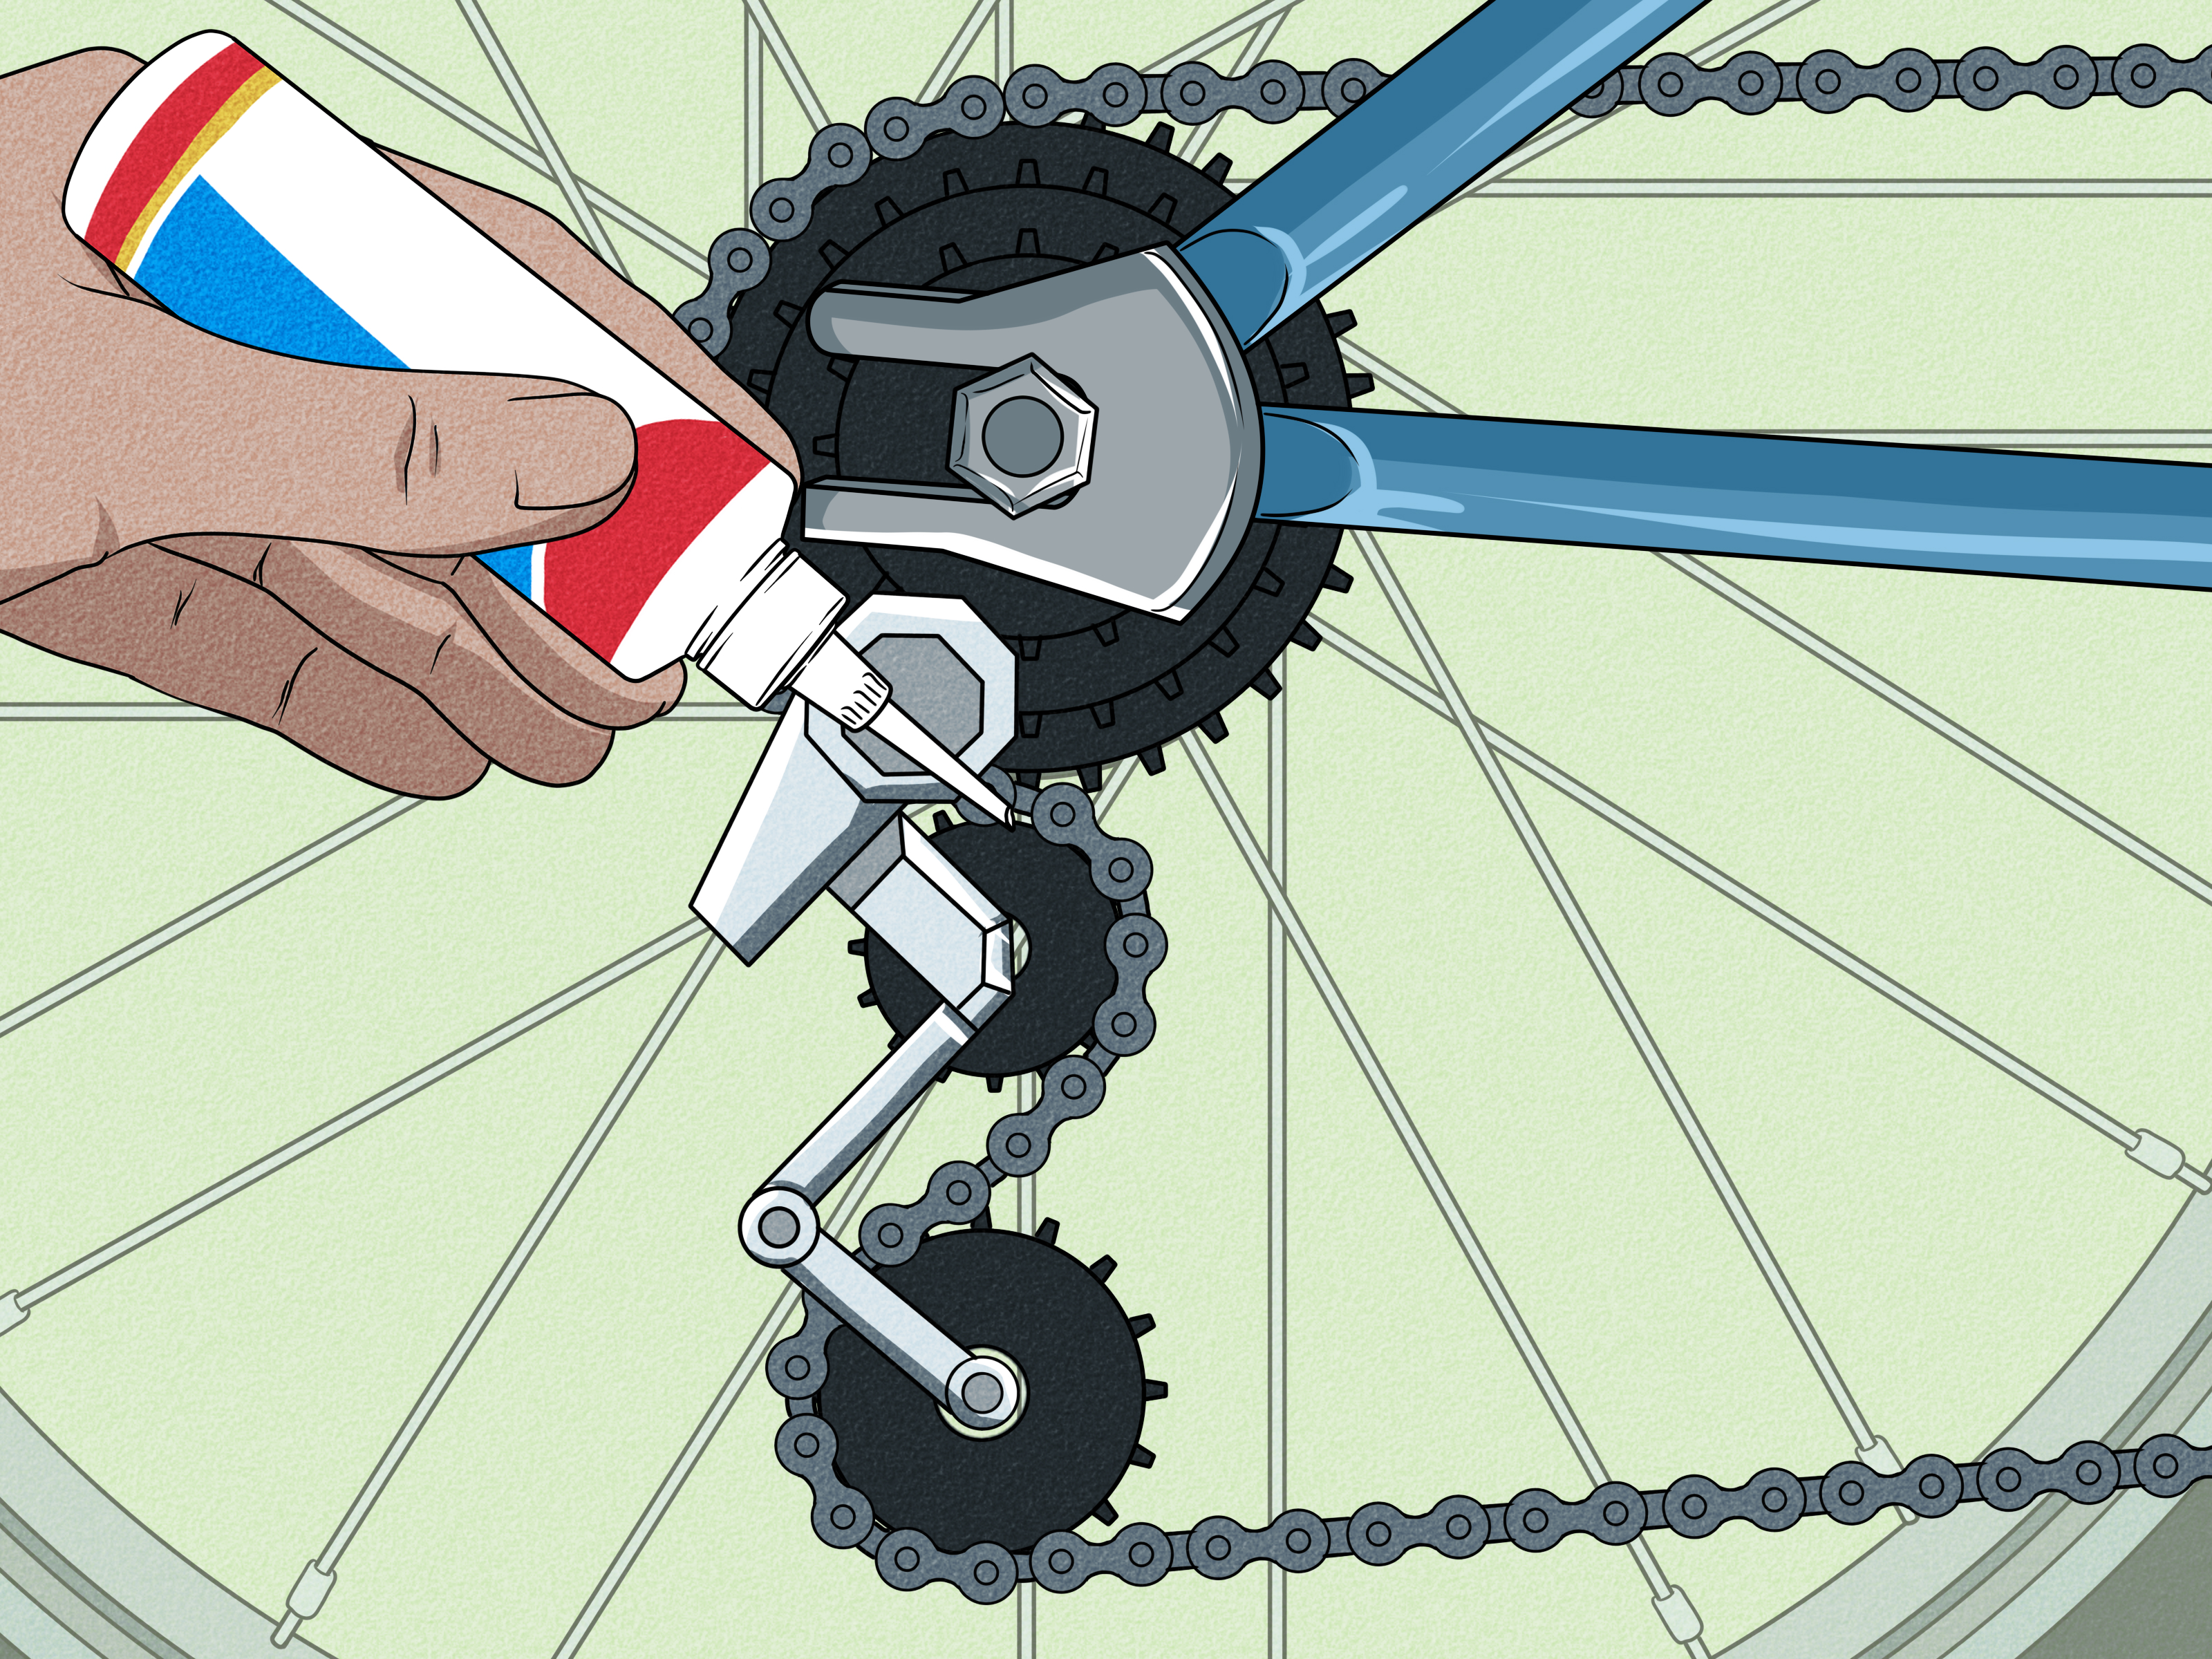
Wipe the chain and your fingers with a rag if you have one. If the chain is dry, squeaky, or filthy, add a small amount of bike-specific chain lube later and wipe off the excess. A chain does not need to look like it was dipped in brownie batter.
What If the Chain Is Jammed?
Sometimes a slipped bike chain does not simply fall off. It wedges tightly between the chainring and frame, which is the bicycle equivalent of getting your sleeve caught on a doorknob while trying to look cool.
Do not force the pedals. Instead:
- Stop pedaling immediately.
- Shift to reduce tension if possible.
- Pull the rear derailleur back gently for slack.
- Use your fingers to carefully work the chain free.
- If needed, rotate the crank backward slightly by hand.
If it is stuck hard or the frame is getting chewed up, a shop may be the smarter move. Carbon frames especially are not the place for “I’ll just muscle it” energy.
How to Repair a Broken Bike Chain
If the chain has snapped, separated, or has a damaged link, a simple re-rack is not enough. Now you are doing broken chain repair. It sounds serious because it is more serious, but it is still fixable in many cases.
What you need
- Chain tool or multi-tool with a chain breaker
- Compatible quick link or master link for your chain speed
- Gloves or rag, if available
- Patience, especially if you are roadside and slightly annoyed
Step 1: Find the damaged section
Look for the broken, bent, or cracked link. Sometimes the damage is obvious. Sometimes one outer plate is split or one pin is partially pushed out. If one link is compromised, remove that damaged section rather than pretending it has learned its lesson.
Step 2: Remove the bad link
Use a chain tool to push out the pin and remove the damaged link. Most modern chains are best repaired with a quick link rather than trying to reuse an old connecting pin at random. The goal is to end up with two clean chain ends that match the connector you plan to install.
Step 3: Install the quick link
Insert each half of the quick link into opposite ends of the chain, connect them, and pull the chain tight so the link seats properly. Depending on the design, you may need to rotate the link to the top run of the chain and apply pedal pressure or use master link pliers to lock it into place.
Step 4: Check chain length and movement
If you removed too many links, the chain may end up too short, especially for larger gear combinations. Shift carefully through the gears by hand and make sure the drivetrain is not under extreme tension in the big chainring and biggest cog combination. If it is too short, the safe fix is a new chain or proper replacement section.
Step 5: Test before riding hard
Spin the cranks, run through the gears, and look for stiff links or skipping. A field repair can get you home, but if the chain broke under load, inspect the cassette, chainrings, and derailleur before your next long ride.
When You Should Replace the Chain Instead of Repairing It
Not every broken chain deserves a heroic comeback. Sometimes replacement is the smarter play.
Replace the chain if:
- It is badly worn or stretched
- Multiple links are damaged or rusted
- The chain has broken more than once
- You do not know the chain’s age and it shifts poorly
- The quick link or connector is not compatible
A worn chain can also accelerate wear on the cassette and chainrings. That means a cheap part can quietly become an expensive drivetrain makeover if ignored too long. This is one of those rare moments in life when dealing with the small problem early really is the budget-friendly move.
How to Prevent Your Bike Chain From Slipping Again
Once you have fixed a slipped bike chain, the next step is preventing a sequel.
1. Keep the chain clean and lubricated
Dirt acts like grinding paste in a drivetrain. Clean the chain regularly, use a bike-specific lubricant, and wipe off extra lube so it does not collect grime. More lube is not always better. A chain should be lubricated, not marinated.
2. Check chain wear
Use a chain wear tool or have a shop measure it. Replacing a worn chain on time protects the rest of the drivetrain and often improves shifting immediately.
3. Inspect derailleur adjustment
If the chain falls off toward the frame or off the outer ring, front derailleur limit screws may need adjustment. If it falls off the cassette or shifts badly in back, the rear derailleur indexing, cable tension, or hanger alignment could be the issue.
4. Avoid extreme gear combinations
Try not to live in big-big or small-small gear combinations on a multi-geared bike. Cross-chaining increases wear and can make the drivetrain less stable.
5. Check chain length and tension
If you recently installed a new chain, make sure it is the correct length. On single-speed and some internal-gear setups, proper tension matters even more because there is no derailleur to take up slack.
6. Inspect the chainrings and cassette
Worn teeth, bent teeth, or odd-looking hooked teeth can cause repeated trouble. If the chain skips under load or drops even after adjustment, the tooth profiles may be the real culprit.
Mistakes to Avoid During Bike Chain Repair
- Do not pedal hard when the chain is off. That can jam or damage parts.
- Do not use random household oil. Use bike chain lube.
- Do not mix incompatible chain connectors. Match the quick link to chain speed and manufacturer guidance.
- Do not ignore repeated chain drops. That usually points to adjustment or wear.
- Do not assume a broken chain is always a simple fix. Sometimes it signals a worn drivetrain or a bad shift under load.
When to Take It to a Bike Shop
Home repair is great, but some problems deserve professional help. Visit a shop if:
- The chain keeps dropping after you put it back on
- The derailleur looks bent
- The hanger may be misaligned
- The chain broke under heavy load and the drivetrain now skips
- You ride a high-end drivetrain and are unsure about the connector or chain sizing
- The chain damaged the frame or got deeply wedged
Think of it this way: fixing a slipped bike chain is basic maintenance. Diagnosing a persistent drivetrain tantrum is sometimes a job for someone with a repair stand, proper gauges, and less emotional attachment to your bike making weird noises.
Rider Experiences: What a Slipped or Broken Chain Actually Teaches You
Ask enough cyclists about chain trouble and you will start hearing the same kind of stories. Not because riders are unoriginal, but because bike chains seem to enjoy failing at the exact moment people feel most confident. It is never in the driveway with coffee nearby. It is always halfway through a ride, wearing your favorite jersey, with one hill left and exactly zero paper towels in sight.
One of the most common rider experiences is how surprisingly fixable a slipped chain feels once you have done it once. The first time, it looks like a mechanical emergency. The second time, it feels more like a mildly annoying pop quiz. Most riders remember that first “chain fell off” moment clearly: the sudden loss of resistance, a clatter near the pedals, the instinctive panic, and then the relief when the fix turns out to be a simple re-thread and careful turn of the crank.
Broken chain repair leaves a deeper impression because it changes how people think about preparation. Riders who once carried only a tube and a mini pump often become believers in the mighty quick link after one long walk home. That tiny piece of metal suddenly earns VIP status in the saddle bag. So does a chain breaker. Nothing inspires tool appreciation quite like standing on the side of the road realizing your bike is fine except for one rebellious link.
Many cyclists also learn that chain problems are often warning signs they ignored. Maybe the drivetrain had been noisy for weeks. Maybe shifting had gotten vague. Maybe the chain was dry enough to sound like a zipper in a blender. A slipped or broken chain has a funny way of exposing maintenance procrastination. The bike was speaking softly. Then it chose violence.
There is also a confidence boost that comes with learning this repair. Riders who can fix a slipped chain or install a quick link tend to feel more independent on longer rides. Suddenly a solo ride feels less intimidating. A gravel route with rough sections seems less risky. Even commuting gets easier because the fear of a greasy, confusing mechanical disaster shrinks dramatically once you know the sequence: stop, assess, reset, test, ride.
And then there is the humor. In hindsight, chain mishaps become great stories. The time someone tried to fix a dropped chain with a granola bar wrapper as a glove. The moment a friend confidently declared, “I got this,” then immediately put the chain on backward around the derailleur. The noble attempt to stay clean that ended with a perfect chainring tattoo on one calf. Bike chains are humble little parts, but they have a real gift for creating memorable characters out of ordinary riders.
The biggest lesson riders take away is simple: chain problems feel worst before you understand them. After that, they become manageable. A slipped chain is usually a quick fix. A broken chain is often a solvable repair. And once you know what caused it, your bike stops feeling mysterious and starts feeling readable. That is a good trade. Greasy fingers, maybe. Better confidence, absolutely.
Final Thoughts
Learning how to fix a slipped bike chain is one of the most useful maintenance skills a rider can have. It is quick, practical, and it saves you from turning a short repair into a long walk. Knowing how to handle broken chain repair takes that confidence one step further. With a chain tool, a compatible quick link, and a little patience, many riders can solve the problem without panic.
Just remember the bigger lesson: if the chain keeps coming off, the chain is not being dramatic for fun. Something is worn, loose, bent, or misadjusted. Fix the cause, not just the symptom, and your bike will reward you with smoother shifting, quieter rides, and fewer roadside grease ceremonies.











