
If your vehicle sounds like it is auditioning for a low-budget action movie, your exhaust system may be overdue for replacement. The good news is that installing an exhaust system is one of those jobs that looks terrifying at first, then turns out to be very manageable if you work carefully, use the right tools, and resist the urge to treat rusty hardware like it owes you money.
Whether you are replacing a worn factory setup, upgrading to a cat-back exhaust, or installing a performance kit for a deeper tone and better flow, the process follows the same basic pattern: identify the correct parts, safely raise the vehicle, remove the old system, loosely assemble the new one, align everything, and tighten it only after the whole system is sitting where it should. That last part matters more than many first-timers expect. An exhaust that is even slightly crooked can rattle, leak, melt nearby parts, or make your shiny new tips look like they were installed by a sleep-deprived raccoon.
This guide walks through how to install an exhaust system the right way, with practical tips for DIYers, common mistakes to avoid, and real-world insights that make the job easier. If you are ready to replace an exhaust system without replacing your patience, let’s get into it.
What an Exhaust System Does
Before you install one, it helps to know what you are dealing with. A vehicle exhaust system routes combustion gases away from the engine, reduces noise, and supports emissions control. Depending on your vehicle, the system may include the exhaust manifold or headers, front pipe, catalytic converter, resonator, muffler, tailpipe, oxygen sensors, clamps, gaskets, flanges, and rubber hangers.
Most DIY exhaust jobs involve an axle-back or cat-back exhaust installation rather than replacing components at the manifold. A cat-back system starts behind the catalytic converter and usually includes the mid-pipe, muffler, and tailpipe sections. An axle-back system usually replaces only the rear portion. These are generally the most beginner-friendly options because they avoid deeper emissions and engine-management issues.
Before You Start: Know What You’re Installing
Confirm fitment
Never buy an exhaust system based on optimism, vibes, or the phrase “it should fit.” Confirm year, make, model, engine size, drivetrain, wheelbase, cab or body style, and whether the vehicle has a single or dual exhaust. Small differences can turn a simple install into an afternoon of confused staring.
Know the legal boundary
If your project involves the catalytic converter, pay close attention to federal and state emissions rules. Replacing a rear section is one thing. Removing a catalytic converter without an approved replacement is another, and that can create legal and inspection problems fast. If you are not sure where your system begins and where emissions equipment ends, slow down and verify it before ordering parts or cutting pipe.
Let the exhaust cool completely
This sounds obvious until someone says, “It has only been off for 20 minutes.” Exhaust parts get brutally hot. Wait until the system is fully cool to the touch before crawling under the vehicle. Stainless steel looks calm and civilized right up until it tries to brand your forearm.
Tools and Supplies You’ll Probably Need
A basic exhaust system installation usually requires:
- Floor jack or ramps
- Jack stands and wheel chocks
- Socket set and ratchet
- Breaker bar
- Penetrating oil
- Pry bar or exhaust hanger removal pliers
- Rubber mallet
- Replacement clamps, gaskets, and hangers if needed
- Reciprocating saw or exhaust cutter for rusted factory systems
- Safety glasses and work gloves
- Torque wrench
- Anti-seize for sensor threads if your application calls for it
If your kit requires welding, add cleaning tools, proper welding gear, and ventilation to the list. For most driveway installs, though, clamp-on systems are easier, cleaner, and much less intimidating.
How to Install an Exhaust System: Step by Step
1. Park safely and lift the vehicle
Park on level ground. Set the parking brake. Chock the wheels that stay on the ground. If you are using a floor jack, lift the vehicle at the proper lift points and support it securely with jack stands. Never work under a car that is supported only by a jack. That is not DIY confidence. That is a future cautionary tale.
You need enough room not just to get under the vehicle, but also to maneuver long sections of pipe in and out. SUVs and trucks often give you more working space. Lower cars may require a little more creativity and a lot more patience.
2. Disconnect the negative battery terminal if needed
If your install involves welding, sensor work, or close contact with electrical components, disconnect the negative battery terminal first. Even when it is not strictly required for a basic cat-back install, many DIYers still do it as a precaution.
3. Inspect the old system before removal
Take a good look at the current exhaust path. Identify every clamp, flange, gasket, rubber hanger, heat shield, oxygen sensor, and clearance point near brake lines, fuel lines, suspension parts, and the driveshaft. Snap a few photos before you start. Future You will appreciate the evidence when Present You forgets how the over-axle pipe was routed.
This is also the time to inspect surrounding components. If a rubber hanger is torn, a heat shield is loose, or an oxygen sensor wire is brittle, replace or secure those items now instead of pretending they are “probably fine.”
4. Spray penetrating oil on clamps, bolts, and hangers
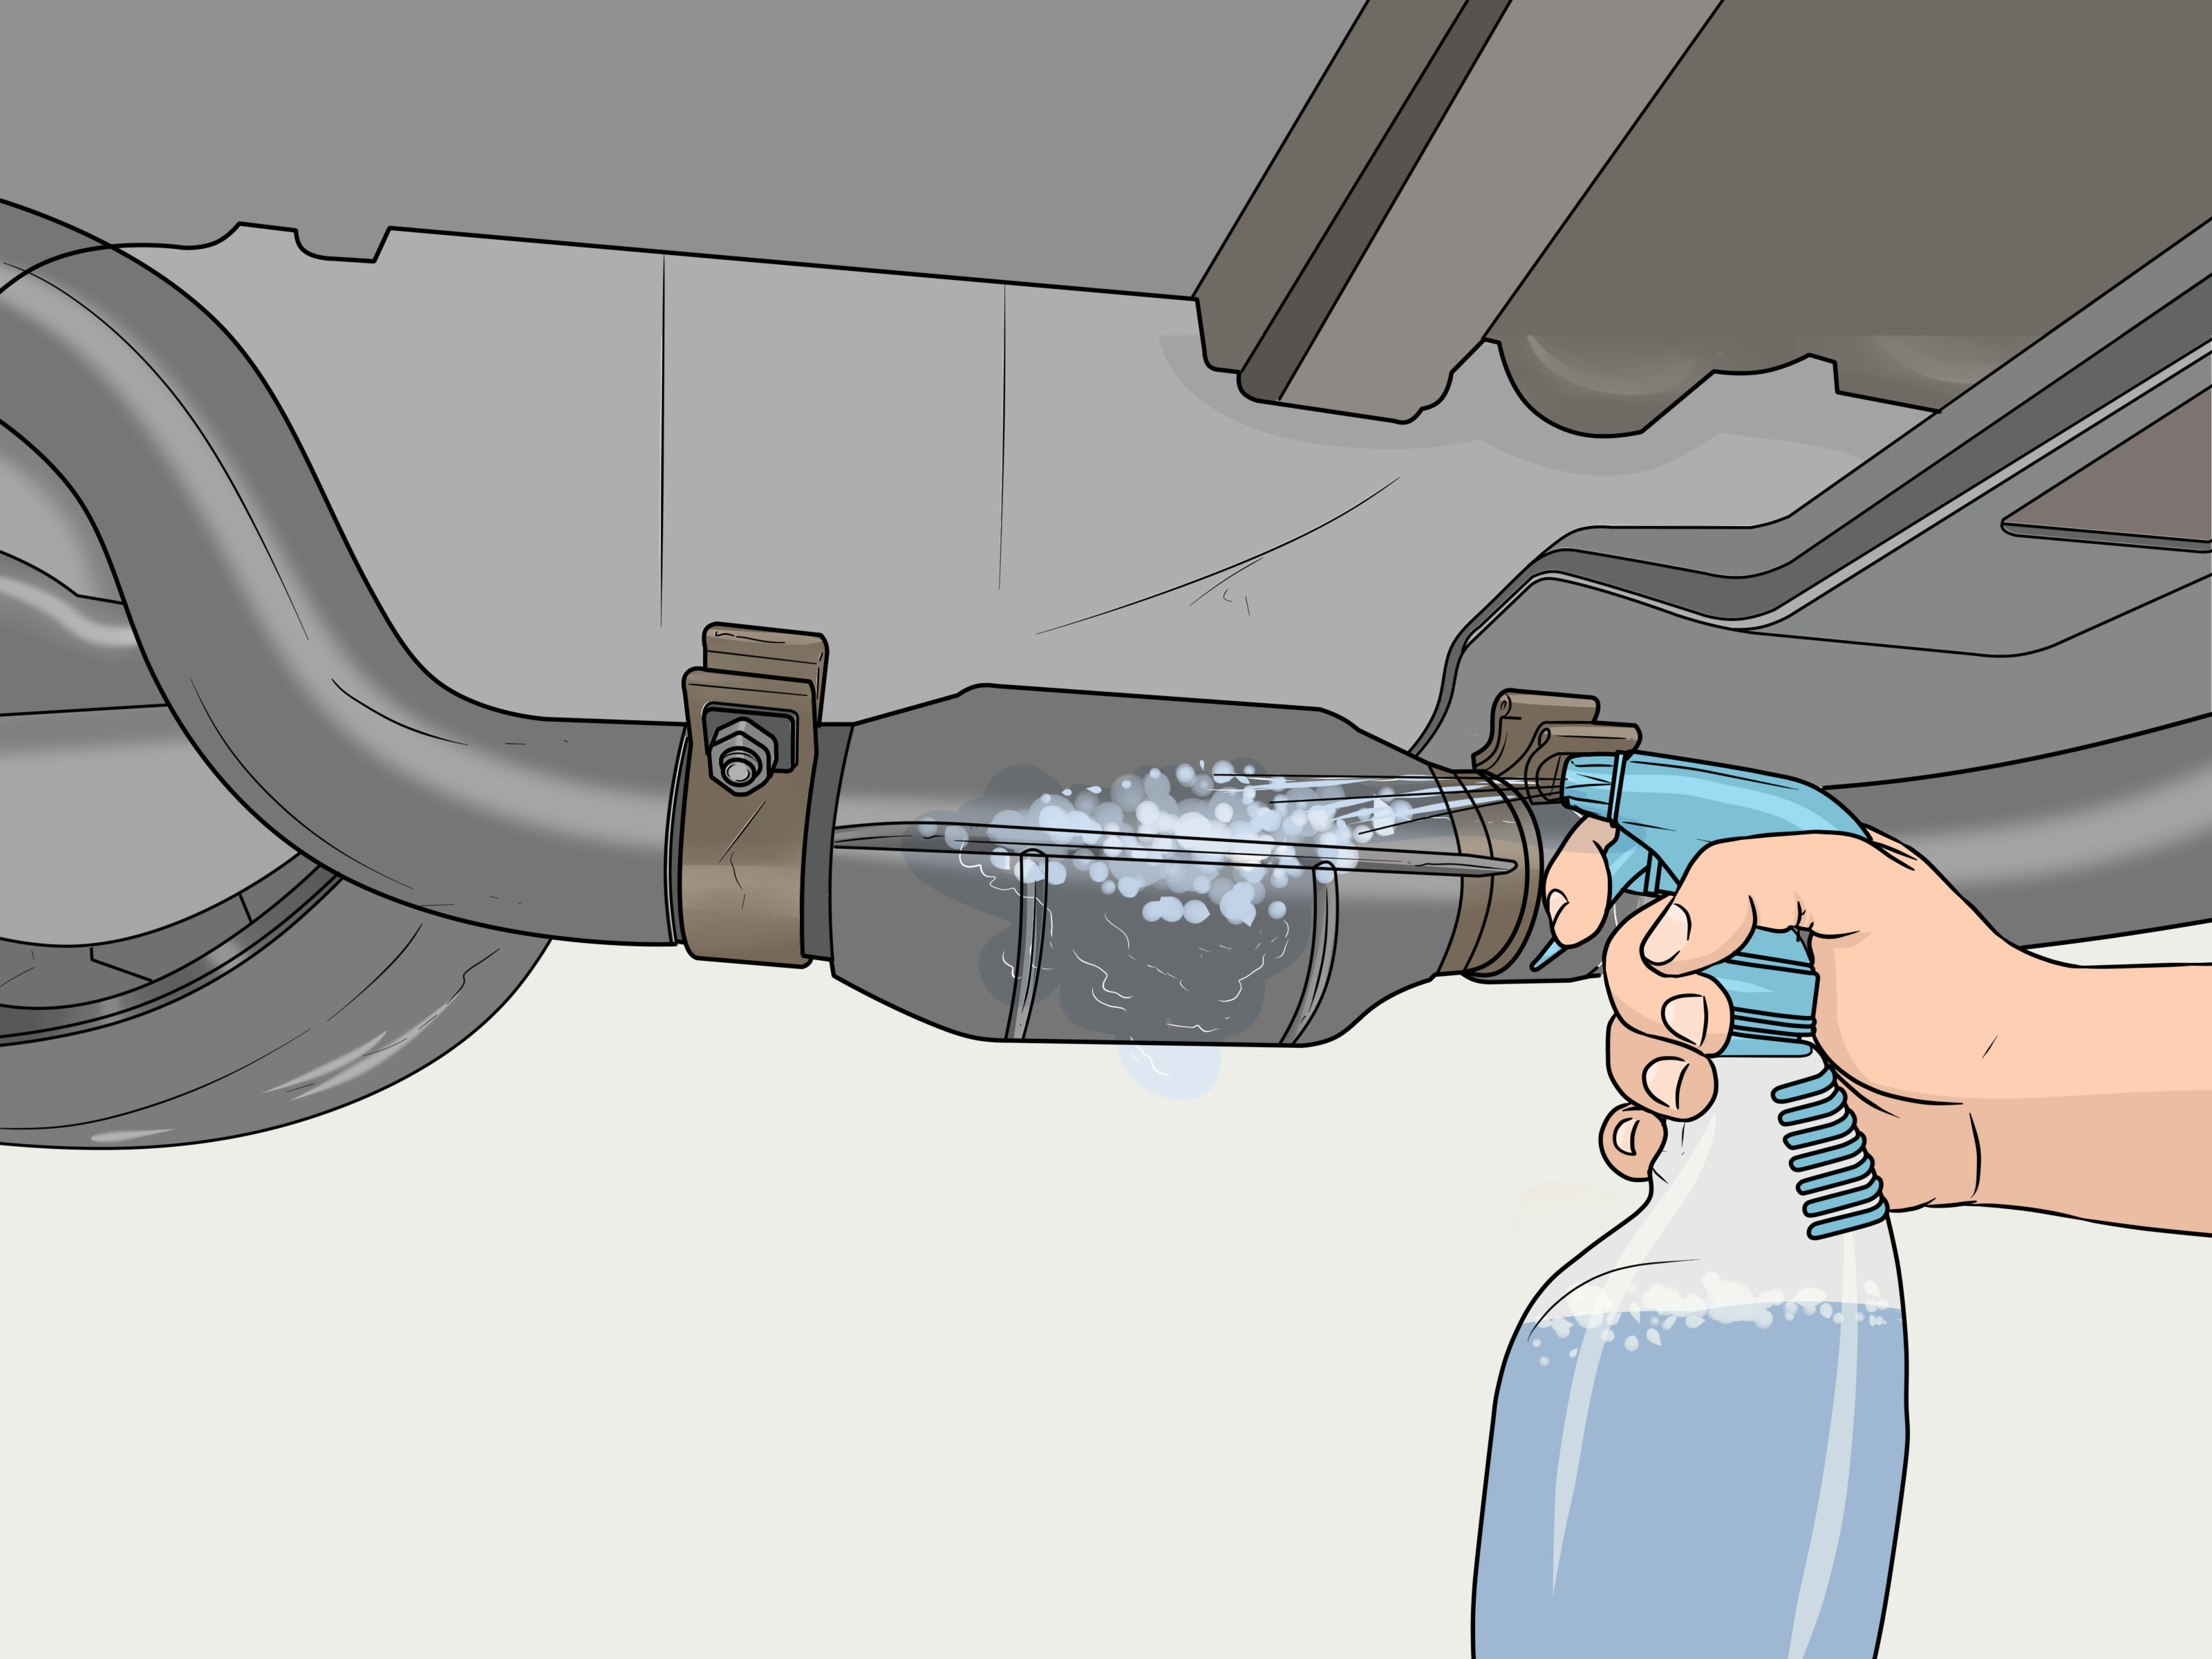
Rusty exhaust hardware is one of the main reasons a one-hour job becomes a weekend event. Spray penetrating oil on fasteners, flange bolts, and rubber hangers. Let it soak in. Then spray again. Patience here saves effort later.
5. Support the old exhaust before removing it
Exhaust sections can be awkward, heavier than they look, and very eager to shift once the last fastener comes off. Use a jack stand, block, or helper to support the system before loosening the final clamp or hanger. Gravity is not a qualified technician.
6. Remove the old exhaust system
Now you can begin disassembly. Depending on the setup, you may:
- Unbolt flanges
- Loosen or remove clamps
- Slide hangers out of rubber isolators
- Cut rusted sections with a reciprocating saw or exhaust cutter
Start at the rear when possible and work forward, especially with cat-back kits. If the system is badly rusted, cutting it into smaller sections can make removal far easier. Just be careful not to cut into nearby lines, shields, or parts you plan to reuse.
7. Compare the new parts with the old ones
Lay the new exhaust system on the ground in order. Match each pipe, muffler, clamp, flange, and tip to the old layout and the instruction sheet. Check left and right sides carefully. Many kits look suspiciously similar until you hold the wrong pipe up to the wrong side of the car and say something unpublishable.
8. Transfer reusable hardware if required
Some kits reuse factory brackets, rubber isolators, flange hardware, or exhaust valves. Transfer these pieces carefully and one at a time so nothing gets mixed up. If a reused component is questionable, replace it now. A tired hanger can cause sagging, rattles, and uneven tip alignment later.
9. Loosely assemble the new exhaust system
This is the golden rule of exhaust installation: do not fully tighten anything at first. Assemble the system from front to rear, or in the sequence recommended by the manufacturer. Slide pipes together, place clamps in the correct positions, fit hanger rods into rubber isolators, and loosely install flange bolts.
The goal is to let the entire system float slightly while you align it. If you lock down the first section too early, every section after it has to fight for position. That is how you end up with tips that point in different directions and a muffler that bumps the underbody every time you hit a pothole.
10. Align the pipes, muffler, and tips
Once everything is hanging in place, step back and inspect the full system. Look for equal spacing around the muffler, driveshaft, rear axle, crossmembers, heat shields, and body panels. Make sure the tailpipe exits correctly beyond the body and that the exhaust tips are level and centered.
This is the part that separates a clean exhaust replacement from one that sounds great but looks like it lost an argument. Make small adjustments at each joint. Rotate pipes as needed. Re-seat hangers if the system appears preloaded or twisted. A neutral, unstressed system lasts longer and rattles less.
11. Tighten everything in stages
After alignment looks good, tighten clamps and flange hardware gradually, working front to rear. Follow the torque specs provided with your kit. If there are no specs, use the manufacturer’s instructions for the clamps supplied. Tightening in stages helps preserve alignment instead of pulling the whole system off-center at the last second.
Pay close attention to clamp placement. A band clamp, U-bolt clamp, or V-band only seals properly when positioned exactly where it belongs. Tighten the wrong spot and you may create a leak before the engine even starts.
12. Double-check clearances and wiring
Before lowering the vehicle, inspect every area where the exhaust passes near brake lines, fuel lines, wiring, suspension parts, tires, and the body. Make sure oxygen sensor wires are routed safely and not twisted. Confirm that no section is touching a heat shield or crossmember.
If your kit includes protective wrap or brackets near the over-axle section, install them. Exhaust heat is not subtle. It does not gently suggest that plastic and wiring move elsewhere. It simply melts things and ruins your mood.
13. Start the engine and check for leaks
Lower the vehicle, start the engine, and listen. Some light smoke or odor from a new exhaust coating can be normal during initial heat cycles. What is not normal is a sharp ticking, hissing, puffing, or metallic rattle.
Feel around joints carefully for escaping air without touching hot surfaces. If you hear a leak, shut the engine off, let the system cool, and re-check clamp position, gasket seating, and alignment. Most fresh-install leaks come down to loose hardware or a joint that is not fully seated.
14. Re-tighten after a short break-in period
After driving the vehicle for a short distance, inspect the system again. Heat cycles can settle the pipes and clamps. Re-torque the hardware after the first 25 to 50 miles or according to the kit instructions. This simple follow-up can prevent leaks and rattles before they start.
Common Mistakes to Avoid
Tightening too early
This is the classic mistake. If you clamp down the front section before the rear is positioned, you may fight alignment for the rest of the install.
Reusing bad hardware
Old clamps, flattened gaskets, and cracked hangers can sabotage a new exhaust system. Saving a few dollars here often creates leaks and extra labor later.
Ignoring emissions components
If the check engine light was already on, do not assume the new muffler will magically fix everything. Oxygen sensors, catalytic converters, and upstream engine issues can all affect exhaust performance and emissions.
Forgetting clearance under load
The exhaust may look fine with the vehicle parked, but suspension movement changes clearances. Leave enough room around moving parts and over-axle sections.
Choosing sound over sanity
A louder system is not always a better one. Plenty of drivers love the idea of a thunderous cold start until day three, when the neighbor’s dog knows their schedule better than they do. Pick an exhaust note you can live with.
When You Should Leave Exhaust Installation to a Pro
A DIY exhaust install makes sense when the kit is direct-fit, the fasteners are manageable, and the work stays behind the catalytic converter. You may want professional help if:
- The job involves seized manifold bolts
- You need custom fabrication or welding
- The catalytic converter or emissions system is being replaced
- The vehicle has very limited underbody clearance
- Rust has turned every fastener into abstract art
There is no shame in calling in an expert. Exhaust work ranges from “pleasant Saturday project” to “why is this bolt now one with the frame?” in a hurry.
Real-World Experience: What Installing an Exhaust System Actually Feels Like
If you have never installed an exhaust system before, here is the honest version of the experience: the first 20 minutes feel organized, the next 40 feel gritty, and the last part turns into a weird blend of geometry, patience, and talking to metal parts like they can hear you.
Most first-timers are surprised by how much of the job is not about brute strength. It is about positioning. You can have the perfect performance exhaust kit, every socket in the drawer, and enough penetrating oil to qualify as a weather event, but if the pipes are not loosely assembled in the right order, the system will not sit correctly. That is usually the exact moment when beginners discover the difference between “installed” and “installed well.” A system can be bolted on and still be wrong. Maybe the muffler hangs a little too low. Maybe the tip is crooked. Maybe the over-axle pipe clears by a whisper and knocks every time the suspension moves. Exhaust installation teaches humility very efficiently.
Another common experience is discovering that rubber hangers are both simple and extremely annoying. On paper, they are just rubber isolators. In real life, they behave like tiny wrestling opponents coated in road grime. A little spray lubricant helps, as does the correct hanger tool, but many driveway mechanics still spend several minutes trying to convince a stubborn hanger to let go. It is one of those moments when a job becomes memorable for reasons nobody mentions in product ads.
Then there is the emotional roller coaster of the first startup. You finish tightening the clamps, lower the vehicle, stand back, and start the engine with the kind of cautious hope usually reserved for Wi-Fi routers and holiday recipes. If it fires up cleanly and the exhaust note sounds right, there is a real sense of victory. It is deeply satisfying to hear a smoother tone, feel the absence of rattles, and know you installed it yourself. If there is a leak, though, you will hear it immediately, and your face will make the universal expression for “well, back under the car I go.”
The best real-world lesson from exhaust work is that small details matter. A clamp rotated two inches the wrong way can make re-tightening miserable. A hanger installed under tension can pull the whole system crooked. A missing gasket can create a leak that sounds like a much bigger problem. Experienced installers are not necessarily faster because they are stronger or more fearless. They are faster because they have learned to slow down at the right moments: during mock-up, during alignment, and during the final clearance check.
In the end, installing an exhaust system is one of those jobs that rewards patience more than ego. Take your time, support the parts properly, align everything before final tightening, and do the short follow-up inspection after a few miles. The result is not just a better-sounding vehicle. It is the kind of practical confidence that comes from solving a real mechanical problem with your own hands, even if those hands are now filthy enough to scare your steering wheel.
Conclusion
Learning how to install an exhaust system is less about speed and more about sequence. When you confirm fitment, work safely, remove the old setup carefully, loosely assemble the new parts, and tighten only after alignment is dialed in, the job becomes much more predictable. A properly installed exhaust system should clear the underbody cleanly, avoid leaks, protect nearby lines and wires, and deliver the sound and performance you actually wanted instead of a soundtrack of rattles and regret.
If your vehicle only needs a straightforward cat-back or axle-back exhaust replacement, this can be an excellent DIY project. If rust, emissions hardware, or fabrication turns the job more complicated, a professional shop may be the smarter path. Either way, the principles stay the same: respect the heat, respect the hardware, and never trust a loose pipe to stay put just because it looks relaxed.











