
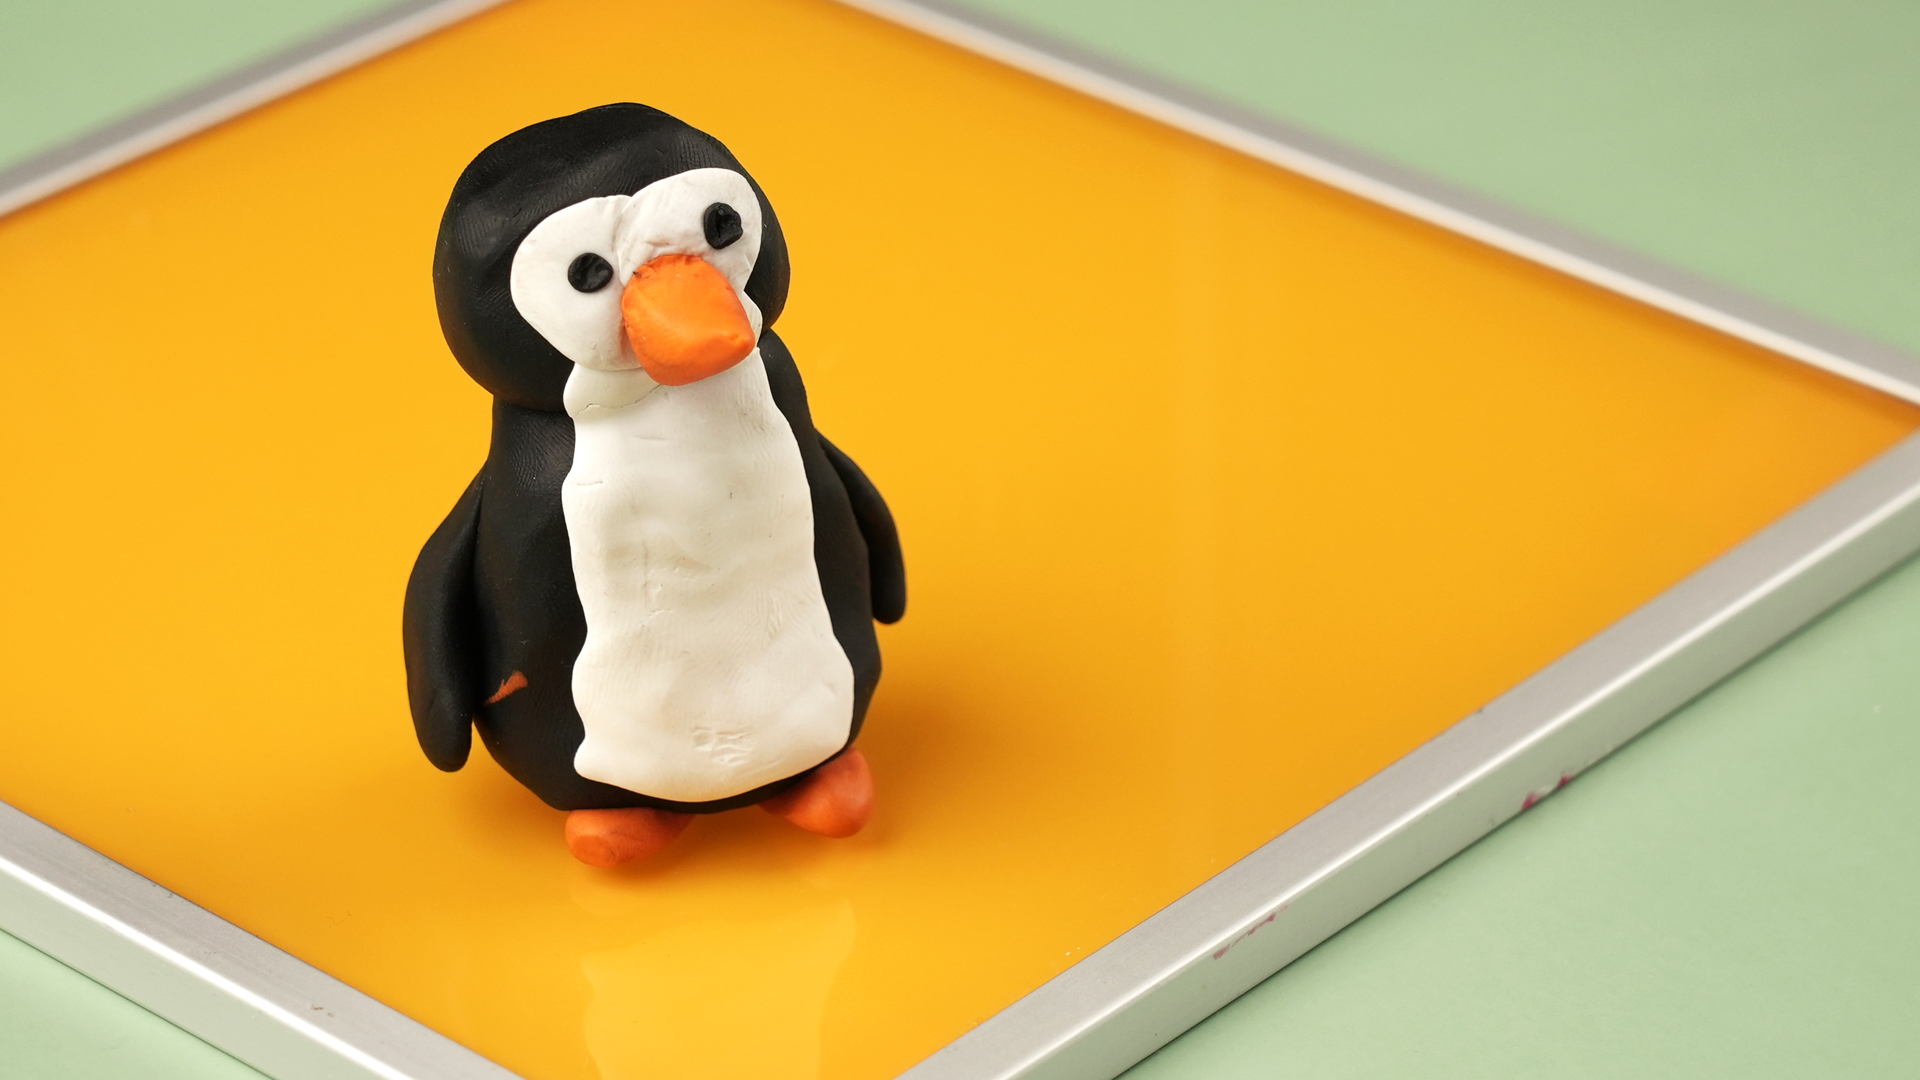
Polymer clay is wonderfully forgivinguntil it meets an oven with a dramatic personality. One minute you are holding a tiny handmade mushroom earring, a charm bracelet bead, or a sculpted dragon with suspiciously expressive eyebrows. The next minute, you are staring through the oven door like it owes you money, wondering whether your project is curing, scorching, or plotting its escape.
The good news: learning how to bake clay in the oven is not difficult. The real trick is understanding that polymer clay does not “dry” like air-dry clay and does not fire like ceramic clay. It cures through heat. When baked at the correct temperature for the correct amount of time, polymer clay becomes durable, slightly flexible in thin areas, and ready for sanding, painting, glazing, assembling, or proudly showing off to people who did not ask but absolutely need to see it.
This guide covers the essential polymer clay curing tips every beginner and returning crafter should know: oven temperature, baking time, surface choice, thermometer use, safety, common mistakes, troubleshooting, and practical examples for jewelry, miniatures, ornaments, and small sculptures.
What Is Polymer Clay, and Why Does It Need Baking?
Polymer clay is an oven-bake modeling material made from a plastic-based compound. It stays soft and workable at room temperature, which is one reason artists love it. You can roll it, texture it, blend colors, sculpt details, and then come back later without finding a sad, cracked lump on your table.
Unlike natural clay, polymer clay does not need a kiln. A regular home oven, countertop oven, or craft oven can work as long as it can hold a steady, accurate temperature. That accuracy matters because polymer clay cures within a low-temperature range, usually around 230°F to 300°F depending on the brand. Too cool, and the clay may remain weak inside. Too hot, and the surface may darken, scorch, or burn.
Check the Package First: Every Brand Has Its Own Rules
The first rule of baking polymer clay is simple: read the label. Yes, the tiny print on the wrapper. Yes, the wrapper you may have already thrown away because excitement defeated organization. Different brands and product lines cure at different temperatures and times.
Common Polymer Clay Baking Temperatures
Many Sculpey clays cure at about 275°F, often for 15 to 30 minutes per 1/4 inch of thickness. Premo and Soufflé-style clays are commonly baked longer than softer student-grade lines. FIMO is typically hardened at 230°F for 30 minutes. Kato Polyclay is often cured between 275°F and 300°F, with 300°F commonly used for maximum strength. Cosclay, known for flexibility after curing, recommends 275°F for at least 30 minutes per 1/4 inch.
Those numbers are not interchangeable. If you bake FIMO like Kato, you may overheat it. If you bake Kato too low for too short a time, it may not reach its best strength. The package directions are your starting point; your oven thermometer is your truth-teller.
Use an Oven ThermometerYour Oven Dial Is Not a Legal Witness
One of the most important polymer clay baking tips is also one of the least glamorous: buy an oven thermometer. The temperature knob on many ovens is not perfectly accurate. Some ovens run hot, some run cool, and some behave like they are auditioning for a weather documentary.
Place a separate oven thermometer near where your clay will sit. Preheat the oven fully, then wait a few extra minutes and check the actual reading. If the dial says 275°F but the thermometer says 310°F, believe the thermometer. Adjust the oven setting until the thermometernot the dialshows the curing temperature you need.
This is especially important for toaster ovens and compact craft ovens. They can work well, but smaller ovens may have hot spots because the heating elements are close to the clay. If your pieces keep browning on top or underneath, the problem is probably uneven heat, not “bad clay.” Clay is innocent until proven overheated.
How Long Should You Bake Polymer Clay?
Baking time depends mostly on thickness. Most instructions are written as “minutes per 1/4 inch.” That means you should measure the thickest part of the project, not the thinnest edge. A flat earring slab might be 1/8 inch thick, while a sculpted figurine head could be 1/2 inch or more.
Simple Thickness Examples
If your Sculpey piece is 1/4 inch thick and the package says 15 minutes per 1/4 inch, bake it for at least 15 minutes. If the thickest part is 1/2 inch, bake it for about 30 minutes. If you are using Premo or Cosclay and the package recommends 30 minutes per 1/4 inch, a 1/2-inch piece may need about 60 minutes.
Longer baking at the correct temperature is usually safer than underbaking. Polymer clay becomes stronger when fully cured, and underbaked clay may snap, crumble, or break at stress points. However, longer time should not mean higher heat. Do not crank up the oven because you are impatient. Polymer clay does not respond well to motivational shouting.
Step-by-Step: How to Bake Clay in the Oven
1. Finish and Inspect Your Piece
Before baking, smooth fingerprints, check joints, and make sure any holes for jewelry findings are open. Once cured, polymer clay can still be drilled or sanded, but it is easier to fix soft clay than hardened clay.
2. Choose the Right Baking Surface
A ceramic tile, glass tile, or baking sheet lined with parchment paper works well. Parchment paper helps prevent shiny spots on the back of flat pieces. Cardstock or plain paper can also be used under low-temperature polymer clay projects, but keep it away from direct heating elements.
3. Preheat the Oven
Preheat to the brand’s recommended temperature. Do not put clay into a cold oven and start guessing. A steady oven gives more predictable results.
4. Protect the Clay from Direct Heat
To reduce browning, place a loose aluminum foil tent, paper tent, or upside-down foil pan over the project. This protects delicate surfaces from direct radiant heat while still allowing warm air to circulate.
5. Bake for the Correct Time
Start timing only after the oven is fully preheated. Bake according to thickness and brand instructions. For mixed brands, use caution and consider baking at the temperature safest for the most heat-sensitive clay, then extending the time for strength.
6. Let It Cool Completely
Polymer clay may feel slightly flexible when warm, especially thin pieces. Let it cool before testing strength. A warm piece can bend or dent more easily, and impatient handling can cause avoidable heartbreak.
Can You Bake Polymer Clay in a Kitchen Oven?
Yes, polymer clay can be baked in a home oven when used correctly. It cures at relatively low temperatures and does not require special kiln equipment. That said, basic safety habits matter. Follow the package directions, avoid overheating, use ventilation if anything smells unusual, and do not use polymer clay for food-contact surfaces such as plates, mugs, or utensils where food touches the clay.
If children or younger teens are crafting, an adult should handle the oven part. The clay may be easy to sculpt, but hot trays and oven racks are still hot trays and oven racks. They do not become friendlier because the project is shaped like a frog.
What Happens If Polymer Clay Is Underbaked?
Underbaked polymer clay can look finished on the outside while staying weak inside. The result may be brittle jewelry, broken charms, cracked sculpture details, or pieces that snap when flexed. This is especially common when makers bake thick items for the same short time as thin pieces.
Signs of underbaking include crumbly edges, easy snapping, chalky breaks, and weak joins between parts. If a piece breaks cleanly without much resistance, it may not have cured long enough. In many cases, you can rebake polymer clay, as long as it has not been painted or sealed with materials that cannot handle heat. Always check any added materials before returning a piece to the oven.
What Happens If Polymer Clay Is Overbaked?
Overbaking usually means the oven was too hot, the clay was too close to a heating element, or the piece was exposed to direct radiant heat. Mild overheating may cause yellowing, browning, or darkened edges. Severe burning can create smoke and an unpleasant odor, and the room should be ventilated immediately.
The best prevention is temperature control. Use an oven thermometer, keep clay near the center of the oven, cover pieces with a tent, and avoid letting clay touch metal pans directly. If your white clay turns beige on the bottom, the baking surface may be too hot or too reflective. Add parchment paper or bake on a tile inside a covered pan.
Best Baking Surfaces for Polymer Clay
The surface you bake on affects both heat distribution and the final finish. A shiny metal pan can create hot spots and leave glossy marks. A ceramic tile is popular because it provides a flat, stable surface and can move from worktable to oven. Parchment paper is excellent for preventing shiny backs on earrings, pendants, and flat decorations.
For beads or rounded items, try baking on a bed of polyester fiberfill, cornstarch, baking soda, or folded paper supports, depending on the project. The goal is to prevent flat spots while keeping the clay stable. For curved items, support the shape with oven-safe forms, such as a glass bowl or ceramic surface, if the material can safely handle the curing temperature.
Should Polymer Clay Be Flexible After Baking?
Thin cured polymer clay often remains slightly flexible. That does not automatically mean it is underbaked. A thin earring component may bend a little without breaking, especially if made from a stronger clay brand. Thick pieces should feel firm, while thin sheets may have some give.
The better question is not “Does it bend?” but “Does it snap easily?” Fully cured polymer clay should resist breaking when handled normally. If a thin test strip snaps with almost no effort after cooling, increase baking time on the next batch while keeping the correct temperature.
Can You Bake Polymer Clay More Than Once?
Yes. Multiple baking sessions are common in polymer clay work. Sculptors often cure a base form first, then add details and bake again. Jewelry makers may bake a slab, add surface details, and cure it a second time. As long as each bake stays within the safe temperature range for the clay and any added materials, repeated curing can work well.
This technique is useful for complex pieces because cured sections are less likely to distort while you add new clay. For example, you might bake a miniature cake base, cool it, add frosting texture, bake again, then add tiny fruit slices and cure once more. It is like building a dessert that nobody should eat but everyone will admire.
Common Polymer Clay Baking Mistakes
Baking Too Cool
Lowering the temperature may seem safer, but it can prevent a full cure. A piece baked too cool may be weak even if it looks fine.
Skipping the Thermometer
The oven dial is a suggestion. The thermometer is evidence. Use one.
Using the Wrong Clay Type
Not all modeling clay can be baked. Some modeling clays are designed to stay soft forever. Always confirm that your clay is labeled oven-bake polymer clay.
Putting Clay Too Close to Heat
Top racks, bottom racks, and tiny toaster ovens can expose pieces to direct heat. Place the project near the center and protect it with a cover.
Testing While Hot
Let the clay cool before judging hardness. Warm polymer clay can seem softer than it really is.
Polymer Clay Curing Tips for Jewelry, Miniatures, and Sculptures
For earrings, keep thickness consistent so all pieces cure evenly. Use parchment paper to avoid shiny backs, and bake pairs together so the finish matches. For charms, reinforce jump-ring holes with enough clay around the opening so the piece does not crack during wear.
For miniatures, bake in stages. Tiny details such as handles, petals, ears, and horns can distort if the whole project is handled too much while soft. Cure the main shape first, then add delicate features. For sculptures, use an oven-safe armature when needed, and avoid trapping large air pockets inside thick clay. Very thick solid clay can be harder to cure evenly, so many artists build bulk with foil armatures and cover them with clay.
Troubleshooting: Quick Fixes for Baking Problems
If your clay is browning, check the actual oven temperature and use a tent. If the bottom is shiny, add parchment paper. If the piece breaks after cooling, bake longer next time at the correct temperature. If colors look dull, make sure the clay is not being overheated or placed too close to metal surfaces. If tiny bubbles appear, the clay may have trapped air or been heated unevenly.
Keep a small baking notebook if you make clay projects often. Write down the brand, oven setting, thermometer reading, thickness, baking time, and results. It sounds overly serious until you finally create the perfect batch of earrings and can actually repeat it. Future you will send a grateful little salute.
Conclusion: Bake Smarter, Not Scarier
Learning how to bake clay in the oven is mostly about control: the right clay, the right temperature, the right baking time, and the right surface. Polymer clay is not mysterious, but it does reward patience. Read the package, use an oven thermometer, bake according to thickness, protect your project from direct heat, and let everything cool before testing.
Once you understand polymer clay curing, the oven stops feeling like a gamble and starts feeling like part of the creative process. Your earrings become stronger, your charms survive actual use, your miniatures look cleaner, and your sculptures stop acting like fragile museum artifacts with commitment issues. In other words, bake with confidenceand maybe keep a spare thermometer around, because your oven has probably been exaggerating for years.
Extra Experience Notes: Real-World Lessons from Baking Polymer Clay
The most useful experience I can share is this: bake test pieces before you bake the masterpiece. Take a small scrap from the same clay, shape it to a similar thickness, and cure it using your planned settings. After it cools, bend it, press it, and try to break it. This tiny test can save a full tray of jewelry or a detailed sculpture from disaster. It also helps you learn your oven’s behavior without risking the piece you spent three hours sculpting while hunched over like a wizard guarding treasure.
Another practical lesson is that pale colors need extra protection. White, translucent, pastel pink, and light beige clays show browning quickly. If you bake a white pendant directly on a metal tray, you may get a toasted underside that looks less “handmade boutique” and more “forgotten marshmallow.” Parchment paper, a ceramic tile, and a foil cover make a big difference. For very delicate colors, I prefer baking inside a covered foil pan placed on the center rack.
For jewelry makers, consistency is everything. Roll slabs with guide rails or thickness cards so every earring component is the same depth. If one piece is much thicker than the others, it needs the baking time of the thickest piece. Do not remove the thin pieces early unless they are on a separate tray. A full cure matters more than speed, especially for items that will be worn, flexed, dropped, packed, shipped, or tossed into a bag with keys and lip balm.
For small sculptures, baking in stages is a sanity saver. Cure the body first, then add ears, noses, leaves, hair, wings, or tiny accessories. This reduces accidental squishing and lets you hold the cured part while adding details. It also makes complex projects less stressful because you are not trying to protect every soft detail at once. Think of it as saving your progress in a video game, except the save button is a 275°F oven.
Finally, do not judge your results too soon. Polymer clay fresh from the oven can feel slightly soft or flexible. Let it cool completely before deciding whether it worked. Many beginners panic, rebake immediately, poke the piece, or bend it while warm. Give it time. Once cool, the clay reaches its final firmness and is ready for sanding, drilling, painting, buffing, sealing, or assembling. Patience is not flashy, but in polymer clay baking, it is often the difference between “professional handmade” and “why did the mushroom lose a leg?”












