
Note: This article is written for educational publishing and classroom-style science learning. A chemical garden should be made only with adult supervision, proper eye protection, gloves, ventilation, labeled materials, and responsible disposal. It is not a food, toy, terrarium, or “let’s see what happens” kitchen project. Chemistry is fun; mystery liquids are not.
What Is a Chemical Garden?
A chemical garden, also called a crystal garden or silicate garden, is one of those science demonstrations that looks like it wandered out of a fairy tale wearing a lab coat. You add small pieces of certain metal salts to a sodium silicate solution, and within minutes, thin colorful tubes begin rising from the bottom of the container. They may look like coral, seaweed, alien asparagus, or a tiny underwater city designed by a very dramatic chemist.
Despite the botanical name, no real plants are involved. A chemical garden grows because of precipitation reactions, osmosis, density differences, and self-organization. When a soluble metal salt touches sodium silicate, a thin insoluble membrane forms around the dissolving salt. Water moves through that membrane, pressure builds, the membrane ruptures, and fresh metal-ion solution escapes upward. As it meets more silicate solution, it forms a new solid wall. That cycle repeats, creating hollow tubes that appear to “grow.”
The best part is the visual payoff: blue, green, white, orange, brown, and purple structures can appear depending on the salts used. The serious part is safety. Sodium silicate is alkaline, and many metal salts can irritate skin, stain surfaces, or be toxic if handled carelessly. So the smartest way to make a chemical garden is in a school laboratory, maker-space science program, or supervised demonstration using approved materials and a written safety plan.
How Does a Chemical Garden Work?
A chemical garden begins with two main ideas: solubility and membranes. Sodium silicate, often called water glass, dissolves in water to make a strongly alkaline solution. Many metal ions react with silicate ions to form insoluble metal silicates or metal hydroxides. “Insoluble” simply means the new material does not dissolve easily in water, so it appears as a solid.
When a metal salt crystal lands in the sodium silicate solution, the outside of the crystal starts dissolving. Almost immediately, a thin solid skin forms around it. This skin behaves like a semipermeable membrane. Water can move through more easily than the dissolved ions. Because the inside of the membrane contains a concentrated salt solution, water moves inward by osmosis. Pressure increases until the membrane splits. The liquid inside squirts out, usually upward, because density and buoyancy help guide the flow.
At the rupture point, the escaping solution reacts with the surrounding silicate and builds a tube. The tube keeps growing as long as the salt continues dissolving and fluid continues moving. In plain English: the garden is not alive, but it is very good at pretending.
Materials for a Safe Chemical Garden Demonstration
For a publishable science article, it is tempting to list exact measurements and say, “Go wild.” Please do not go wild. Wild is for raccoons, not laboratory chemistry. The safest approach is to use a school-approved chemical garden kit or follow a teacher-provided laboratory procedure. The general materials include:
- A clear glass beaker, jar, or tall transparent container used only for science
- Diluted sodium silicate solution prepared according to a verified lab guide or kit instructions
- Small crystals or pellets of approved metal salts
- Clean sand, gravel, or glass beads to stabilize the bottom layer
- Disposable pipettes, tweezers, or a spatula
- Safety goggles, chemical-resistant gloves, and a lab apron
- A tray or secondary container to catch spills
- Labels, paper towels, and a waste container approved by the instructor
Common classroom demonstrations may use salts such as copper, iron, calcium, or magnesium compounds, but the choice should be made by a qualified adult who can check safety data sheets and local disposal rules. Avoid unknown salts, unlabeled containers, and more hazardous transition-metal compounds. If a material sounds like it belongs in a villain’s basement, it probably does not belong on the kitchen table.
How to Make a Chemical Garden: 9 Steps
Step 1: Choose the Right Place
Set up the chemical garden in a supervised science area with good ventilation, a stable table, and easy access to water for cleanup. Cover the work surface with a tray or disposable liner. Keep food, drinks, pets, younger siblings, and curious elbows away from the setup.
This experiment is visually beautiful, but it is still chemistry. The container should not be used later for snacks, beverages, flowers, or that one sad goldfish your cousin insists is “basically immortal.” Use dedicated science equipment only.
Step 2: Put on Safety Gear
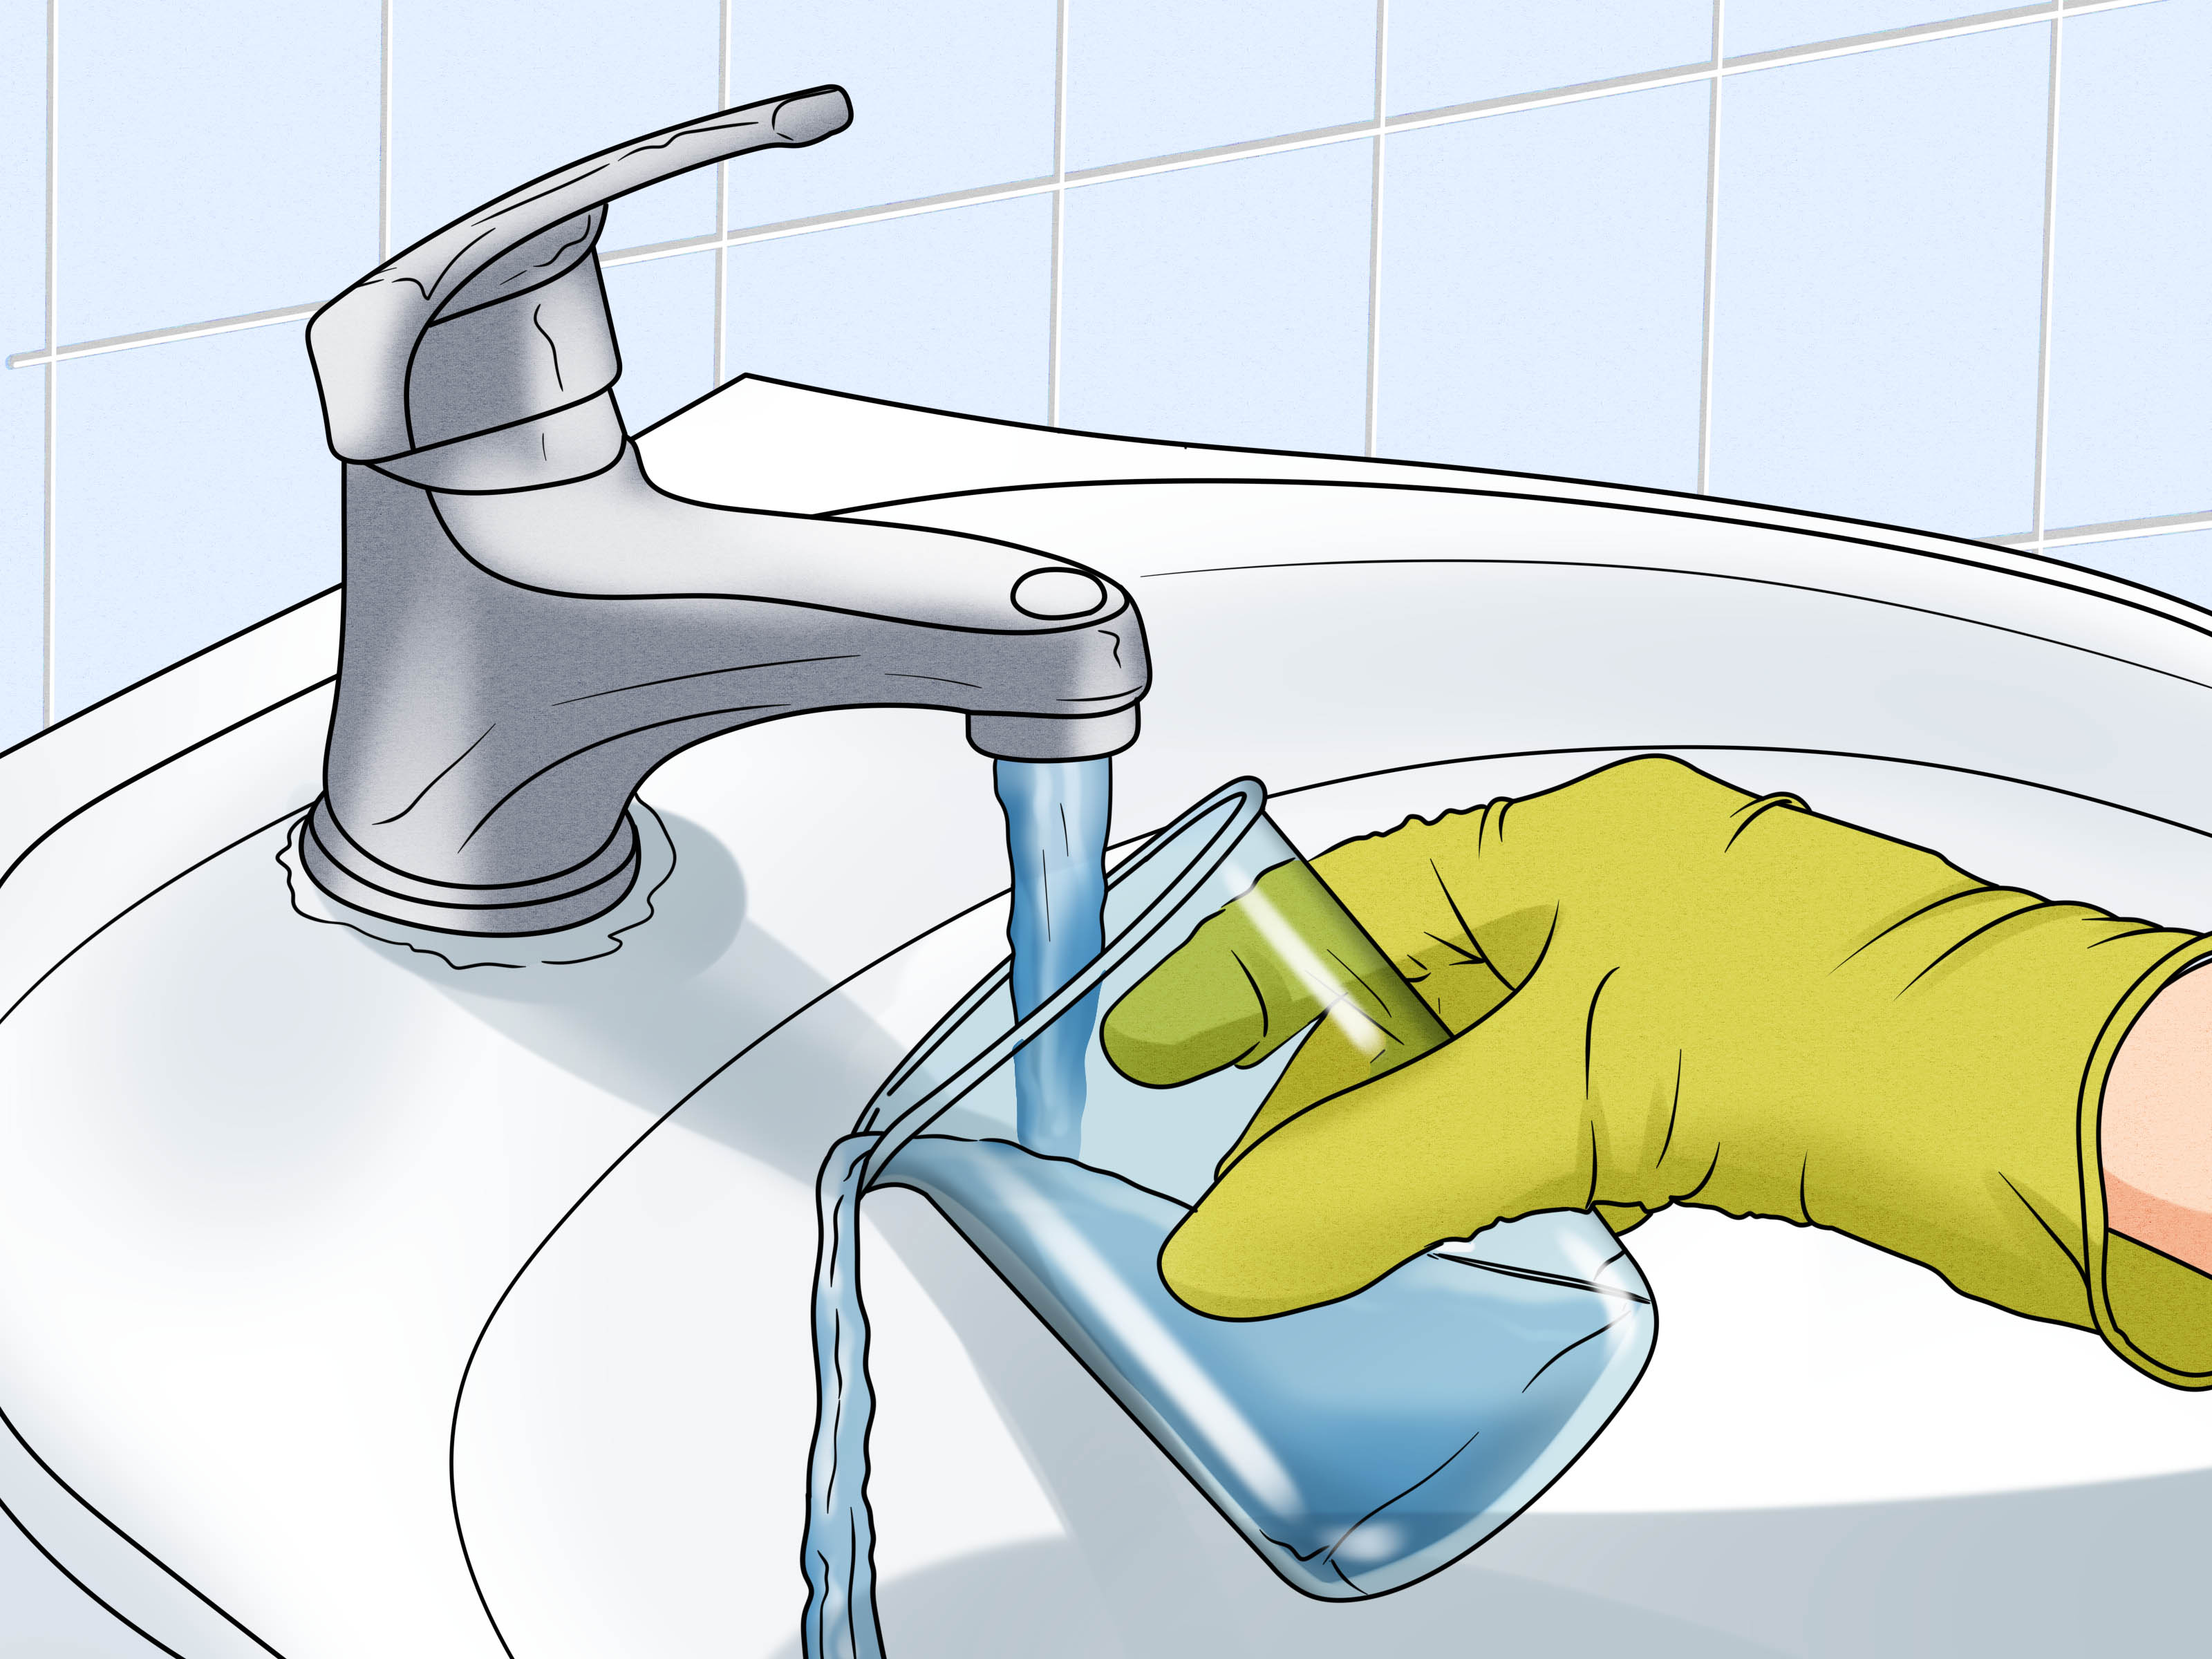
Before anything is opened, put on safety goggles, gloves, and a lab apron or old protective clothing. Sodium silicate can irritate skin and eyes, and metal salts should not be touched directly. Tie back long hair and remove dangling jewelry that might dip into the container.
Good safety habits do not ruin the magic of the experiment. They make the magic repeatable. The goal is “Wow, look at those tubes,” not “Wow, why is my sleeve blue?”
Step 3: Prepare the Clear Container
Place a thin layer of clean sand, gravel, or glass beads at the bottom of the container. This layer gives salt crystals a stable place to rest and helps prevent them from sliding around. It also makes the finished chemical garden look more like an underwater landscape.
Use a container tall enough for vertical growth. Chemical garden tubes often rise upward, and a shallow dish can limit the effect. A tall, narrow container usually makes the growth easier to observe from the side.
Step 4: Add the Sodium Silicate Solution
Slowly pour the prepared sodium silicate solution into the container. The exact dilution should come from a teacher, lab manual, or approved kit. Pour gently down the side of the container so the bottom layer is not stirred into a cloudy storm. If the solution becomes murky, let it settle before continuing.
Clarity matters because the whole point is observation. A chemical garden hidden in cloudy liquid is like buying front-row concert tickets and then wearing a cardboard box on your head.
Step 5: Select a Few Approved Salt Crystals
Choose a small number of approved salt crystals. Different salts can produce different colors and growth shapes. For example, copper-based salts may create blue or blue-green structures, while iron-based salts can form orange, brown, or darker growths. Calcium and magnesium salts may create pale or white formations.
Less is usually better. Adding too many crystals at once can create a tangled mess, cloud the solution, and make observations harder. A chemical garden is more interesting when each structure has room to grow. Think of it like seating guests at a wedding: distance prevents drama.
Step 6: Drop the Crystals Carefully
Using tweezers or a spatula, gently place the crystals into the container one at a time. Try to position them apart from one another on the bottom layer. Do not shake the container, stir the solution, or poke the crystals after they land.
Within minutes, you may see thin membranes forming around the crystals. Soon, small tubes, spikes, or branching shapes may begin to rise. Some structures grow quickly; others take their sweet time like they are waiting for a dramatic soundtrack.
Step 7: Observe the Growth
Watch the container from the side and note what happens. Which color appears first? Which tube grows fastest? Which crystal produces the thickest structure? Does the growth curve, branch, or rise straight upward?
This is where the experiment becomes more than a pretty demonstration. A chemical garden can teach reaction rates, solubility, diffusion, osmotic pressure, membrane formation, density, and buoyancy. It is also a great reminder that chemistry is not just equations on a worksheet. Sometimes chemistry builds tiny castles while you stare at it.
Step 8: Let the Garden Develop Undisturbed
Leave the container in a safe, labeled place where it will not be bumped. Some formations appear quickly, while others continue developing for hours or overnight. Keep the container covered loosely if instructed, but do not seal it tightly unless the procedure specifically says to do so.
Movement can break the delicate tubes. Chemical garden structures often look sturdy, but many are fragile mineral membranes. If the container is moved too soon, the garden may collapse into a sad underwater salad.
Step 9: Record Results and Dispose of Waste Properly
When the observation period ends, take photos, sketch the structures, and write down the materials used. Record color, height, shape, growth speed, and any unusual patterns. Then dispose of the solution and solids according to the instructions from the teacher, kit, or local waste rules.
Do not pour chemical garden waste down the drain unless a qualified adult confirms it is allowed. Do not touch the mineral structures with bare hands. Do not save the liquid as a decoration. The garden is beautiful, but it is not a souvenir aquarium.
Best Tips for a Better Chemical Garden
Use a Clear, Tall Container
A tall glass container gives the tubes room to climb and makes the garden easier to photograph. Clear sides are essential. Colored glass may look fancy, but it can hide subtle color changes.
Keep the Solution Still
Chemical gardens grow best when the liquid is calm. Stirring after the salts are added can break membranes before they develop. Add materials gently and then let the reaction do the performance. Chemistry enjoys the spotlight.
Space the Crystals Apart
Good spacing lets each salt crystal develop its own structure. If crystals are crowded, their tubes can collide and merge. That can still look interesting, but it makes it harder to compare results.
Take Photos at Regular Intervals
Photograph the garden after one minute, five minutes, fifteen minutes, one hour, and the next day. Time-lapse photos turn the experiment into a mini research project and help show how fast different salts grow.
Do Not Mix Random Chemicals
Only use materials approved for this demonstration. Random mixing can produce unsafe reactions, irritating fumes, stains, or waste that is difficult to dispose of. “I found it in the garage” is not a valid chemistry plan.
Common Mistakes to Avoid
The first common mistake is using too much salt. A few small crystals can produce a dramatic result. Too much material can cloud the solution and create heavy deposits instead of graceful tubes.
The second mistake is disturbing the container. Chemical garden membranes form and rupture in a delicate rhythm. Moving the container can snap the tubes or bury the crystals.
The third mistake is skipping safety research. Some colorful salts are not appropriate for casual use. Always check safety information and choose the least hazardous option that still demonstrates the concept.
The fourth mistake is expecting identical results every time. Chemical gardens are sensitive to concentration, temperature, crystal size, placement, solution depth, and even tiny currents in the liquid. Two gardens made with the same materials may look like siblings, not clones.
The Science Behind the Colors
The colors in a chemical garden come mostly from the metal ions in the salts. Transition metals are especially famous for colorful compounds because their electrons can absorb and reflect visible light in interesting ways. Copper compounds often appear blue or green. Iron compounds can appear rusty orange, brown, or dark green. Cobalt compounds can be blue or purple, though cobalt salts require extra caution and may not be suitable for general demonstrations.
The growing structures are usually made of metal silicates, metal hydroxides, oxides, or layered mineral-like materials. Their exact composition depends on the chemicals used and the conditions in the container. That is why chemical gardens fascinate not only students but also researchers studying self-assembling materials, hydrothermal vents, and origin-of-life chemistry.
Why Chemical Gardens Matter
A chemical garden is more than a pretty classroom trick. It shows how simple chemical gradients can create complex shapes. Similar processes appear in geology, materials science, and discussions about early Earth environments. Mineral tubes formed by chemical gradients can resemble structures found near alkaline hydrothermal vents, which are important in research about how chemistry may organize itself in natural settings.
In the classroom, the experiment also helps students understand that science is not always about memorizing facts. Sometimes science begins with patient observation: a crystal dissolves, a membrane forms, pressure builds, a tube rises, and suddenly a beaker looks like it is auditioning for a deep-sea documentary.
Chemical Garden Safety Checklist
- Use adult supervision and approved instructions.
- Wear goggles, gloves, and protective clothing.
- Use labeled chemicals only.
- Do not touch, taste, inhale, or directly handle the salts.
- Work on a tray in a ventilated area.
- Keep the experiment away from food and pets.
- Dispose of all waste according to local rules.
- Wash hands thoroughly after cleanup.
Experience: What It Feels Like to Make a Chemical Garden
The first time you watch a chemical garden grow, it feels slightly unfair that chemistry teachers waited this long to mention it. One moment, the container looks like a plain jar of clear liquid with a few suspicious crumbs at the bottom. The next moment, delicate tubes begin climbing upward like tiny mineral vines. It is quiet, slow, and weirdly dramatic. Nobody expects a crystal to have stage presence, but there it is, performing.
One of the most useful experiences is learning patience. Beginners often want to shake the container, poke the crystals, or add more salts because “nothing is happening.” Then, just as impatience reaches its peak, the first little colored chimney appears. The lesson is immediate: chemical systems may be working even when they do not look busy. That is a valuable idea for any science student. Reactions have timing, and observation is a skill.
Another memorable part is comparing different growth patterns. A blue-green tube may rise fast and thin, while a brownish structure may spread more slowly and look heavier. A pale white formation may branch like coral, while another may grow into a smooth chimney. These differences make the activity perfect for a simple lab report. Students can compare color, height, branching, speed, and stability without needing expensive instruments.
The experiment also teaches humility. A chemical garden rarely follows your artistic vision. You may imagine a perfect underwater forest and end up with one elegant tower, two leaning blobs, and a lumpy formation that resembles a melted wizard hat. That is not failure. It is data with personality. The irregular shapes show that real chemical systems are influenced by many variables at once: crystal size, solution strength, placement, temperature, and tiny currents in the liquid.
For teachers, parents, or science communicators, the biggest practical lesson is preparation. The demonstration works best when the safety gear is ready, the container is clean, the solution is settled, and the observation area is protected from bumps. A rushed chemical garden often becomes cloudy or messy. A careful setup gives the structures space to form and gives observers time to notice the science behind the beauty.
The final experience is cleanup, which is less glamorous but just as important. Science does not end when the photos look good. Responsible disposal, labeling, and handwashing are part of the experiment. A good chemical garden should leave behind curiosity, notes, and maybe a few impressive picturesnot mystery waste in the sink.
In the end, making a chemical garden is a reminder that chemistry can be elegant, surprising, and slightly theatrical. It turns invisible forces into visible architecture. It shows osmosis building towers, precipitation painting walls, and tiny changes creating big patterns. Best of all, it makes learners ask the most scientific question of all: “Wait, why did it do that?”
Conclusion
Learning how to make a chemical garden is a fantastic way to explore real chemistry through a visually stunning demonstration. With sodium silicate solution, approved metal salts, careful setup, and proper supervision, you can observe colorful mineral tubes that grow through precipitation, osmosis, and membrane rupture. The process looks like underwater gardening, but the science is pure chemistry.
The safest and smartest approach is to treat the chemical garden as a supervised educational experiment, not a casual craft. Use proper protective gear, follow a verified procedure, avoid hazardous substitutions, and dispose of materials responsibly. When done correctly, a chemical garden can turn a simple container into a miniature lesson about reactions, structure, motion, and the surprising beauty of matter.













