
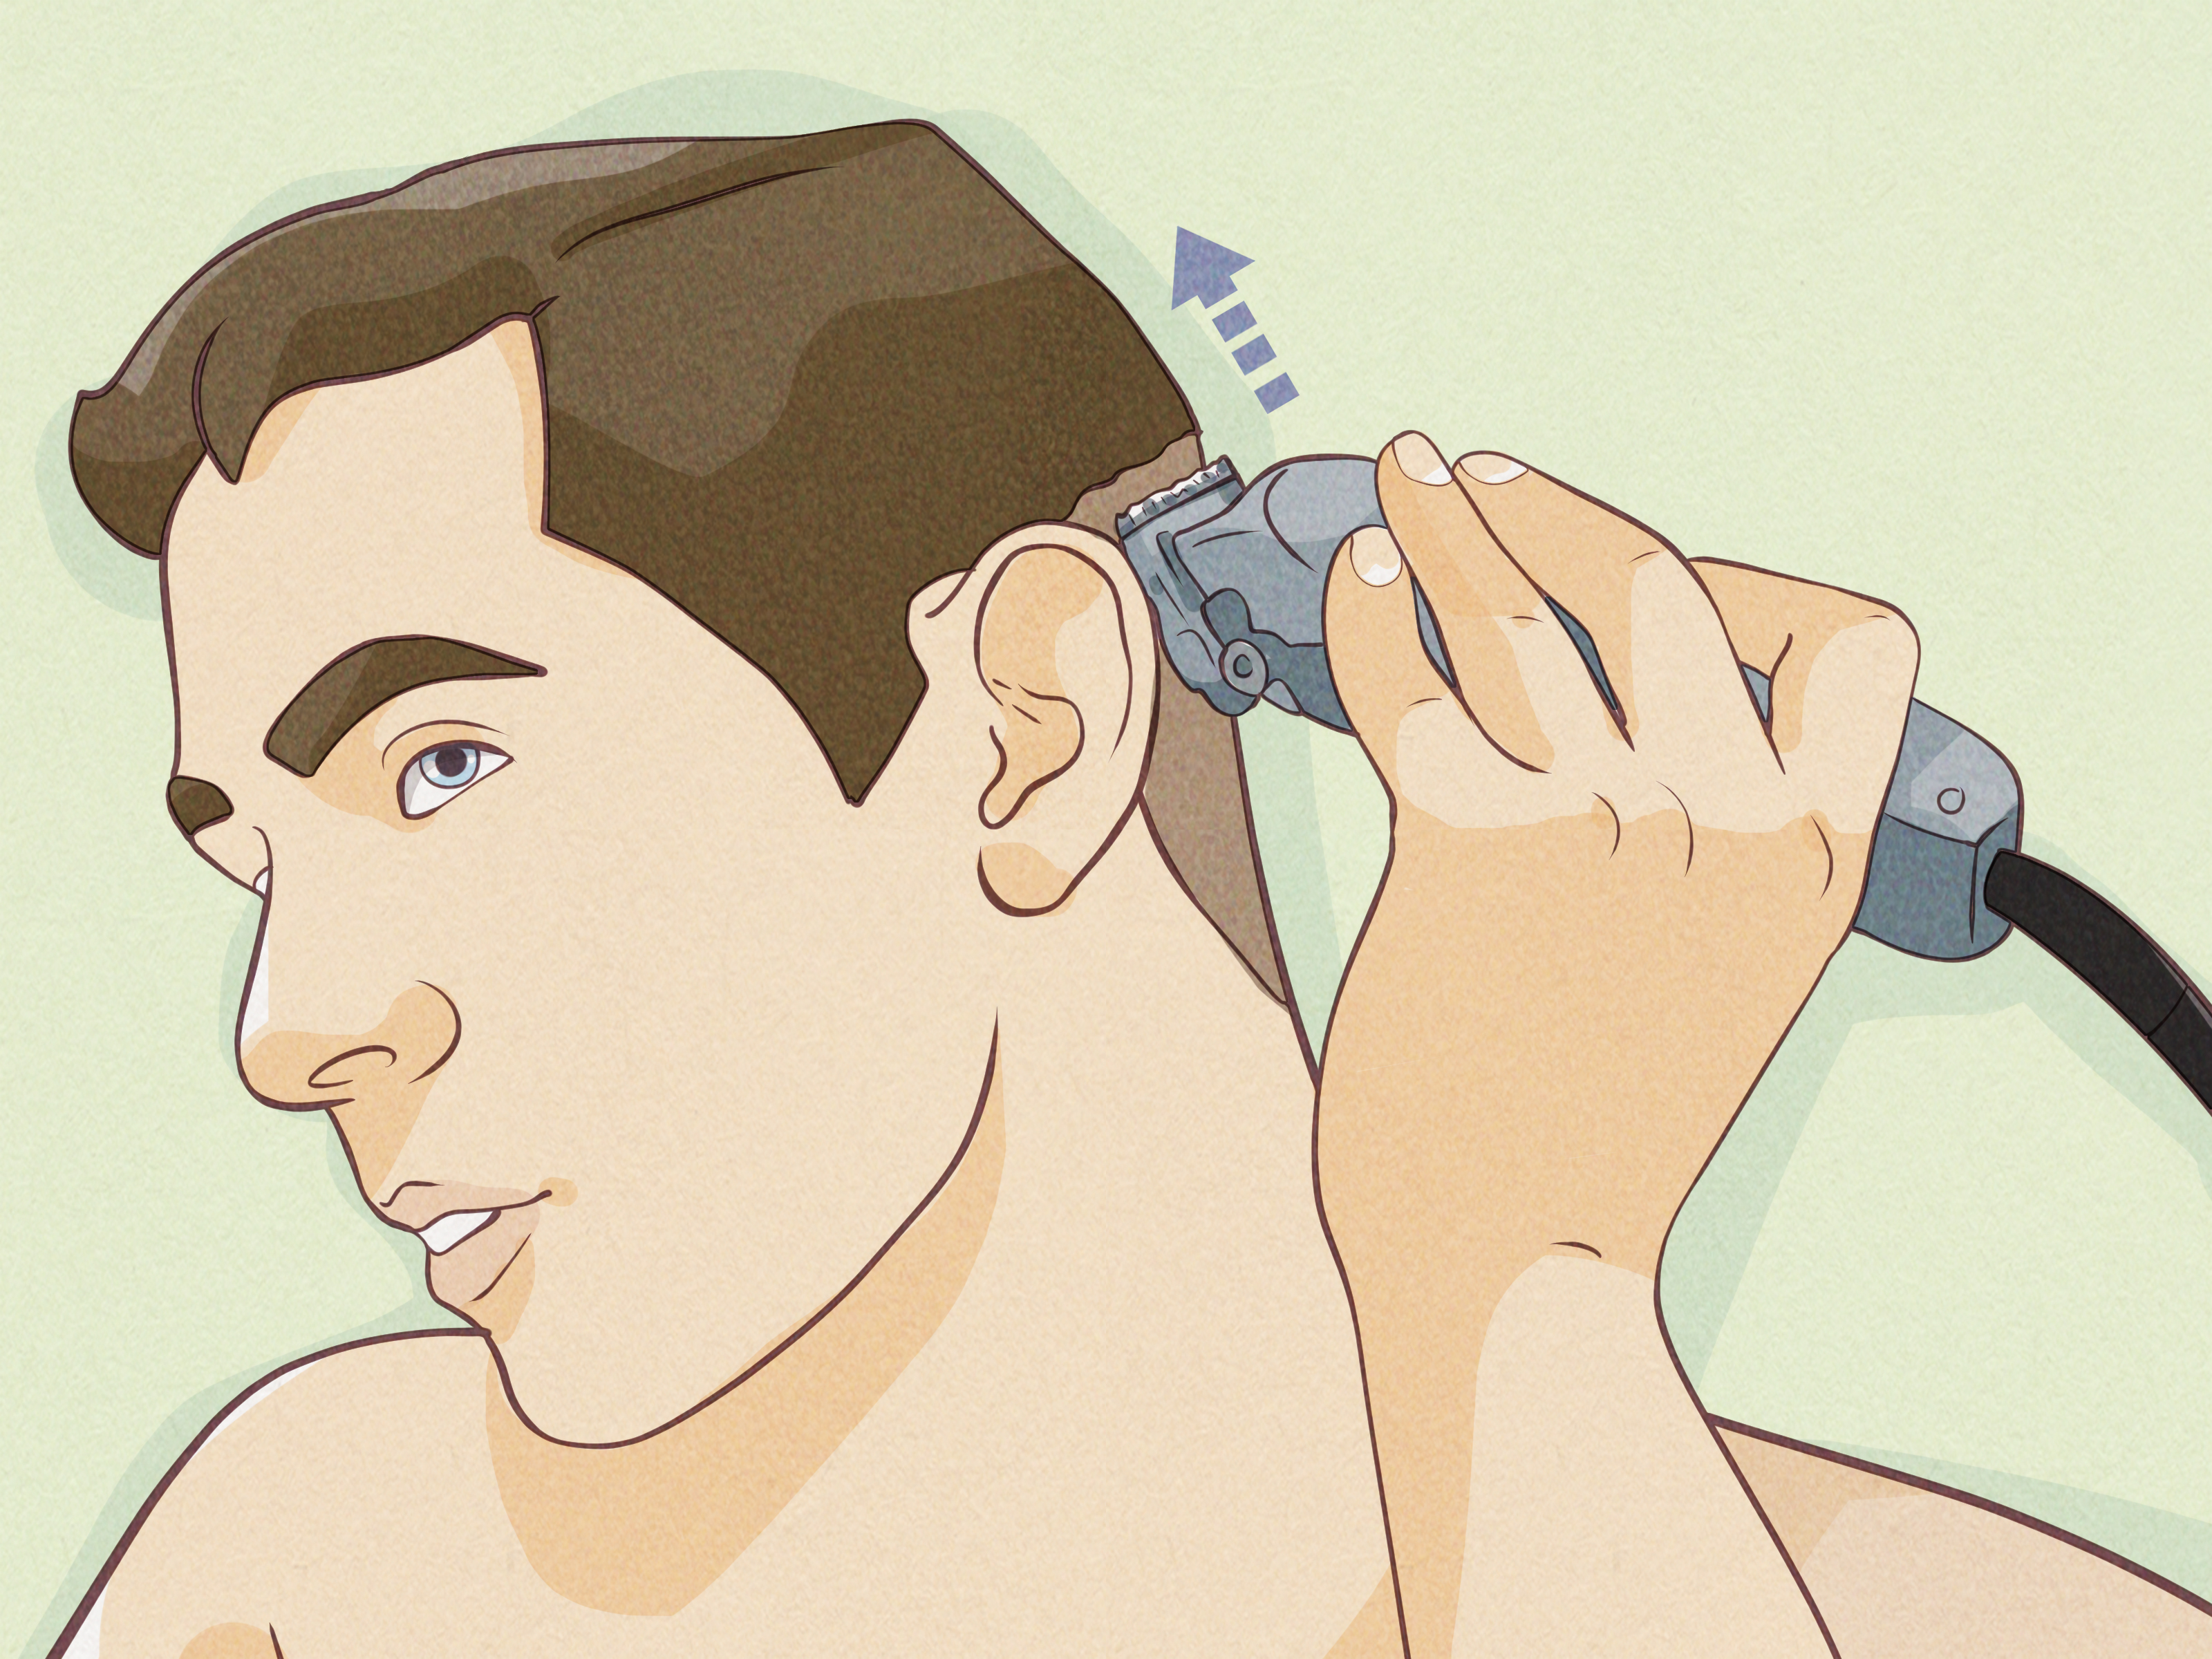
Back hair is perfectly normal. Some people keep it, some trim it, and some treat it like an unwanted guest who has overstayed through three summers. If you prefer a cleaner, lighter feel but do not want to book a salon appointment or ask someone else for help, learning how to run an electric hair trimmer on your own back can be surprisingly simple. The trick is not superhero flexibility. It is preparation, the right tool, a mirror setup, patient movements, and a healthy respect for skin that cannot easily see what you are doing to it.
This guide explains how to trim your own back hair safely, evenly, and without turning your bathroom into a tiny barbershop crime scene. You will learn what type of electric trimmer works best, how to map your back, how to reach awkward zones, how to avoid irritation, and how to clean up afterward like a responsible adult rather than a raccoon with grooming ambitions.
Why Use an Electric Hair Trimmer for Your Back?
An electric hair trimmer is one of the easiest tools for DIY back grooming because it gives control without requiring a perfectly close shave. That matters. The back has broad flat areas, curved shoulder blades, a lower spine valley, and spots you cannot directly see. A manual razor can give a smoother finish, but it also raises the chance of nicks, razor burn, and missed patches. Waxing lasts longer, but it may be painful and is harder to do alone. Hair removal creams can work, but they require careful patch testing because some formulas irritate sensitive skin.
A good body groomer or back hair trimmer keeps things practical. It shortens hair, reduces bulk, and can create a neat look without scraping the skin too closely. Many modern body groomers include skin guards, adjustable trimming lengths, waterproof designs, flexible heads, or long handles made specifically for reaching the middle and lower back. In plain English: use the tool designed for the job, not your beard trimmer from college that sounds like a lawn mower full of pennies.
Choose the Right Trimmer Before You Start
Look for a Long Handle or Back Attachment
The most useful feature for trimming your own back is reach. A back hair trimmer with an extendable handle lets you move across your shoulders, upper back, middle back, and lower back without performing yoga poses you did not consent to. Some body groomers include detachable back attachments, while others are built as long-handled back shavers. Either can work as long as the handle locks firmly and the trimming head stays stable against the skin.
Use Guards for Better Skin Protection
If you are new to trimming your back, start with a guard instead of using the bare blade. A longer guard leaves more hair behind, but it also reduces the chance of irritation, uneven digging, or accidental pressure. You can always trim shorter later. You cannot politely ask irritated skin to calm down because you got ambitious on the first pass.
Pick Wet/Dry Features Based on Your Routine
A wet/dry electric trimmer can be used in or out of the shower if the manufacturer says it is waterproof. Dry trimming often makes it easier to see hair falling and spot missed areas. Wet trimming may feel more comfortable for some people because warm water softens hair and skin. Never assume a device is waterproof. Check the label or manual before bringing it near water, because electricity and optimism are not a skincare plan.
Prep Your Back Like You Mean It
Good results begin before the trimmer turns on. Wash your back with warm water and a gentle cleanser to remove sweat, oil, sunscreen, and dead skin. Warm water helps soften the hair, which can make trimming smoother. If your skin tolerates it, gentle exfoliation a day before trimming can help reduce the buildup that contributes to ingrown hairs. Do not scrub aggressively right before trimming. Your back is skin, not a cast-iron skillet.
Dry your back well if you plan to trim dry. Damp hair can clump and make the trimmer drag. If you prefer wet trimming, use only a waterproof tool and keep your movements slower, because slippery handles can turn a simple grooming session into a bathroom blooper.
Set Up Your Mirror System
Trying to trim your own back without mirrors is technically possible, in the same way eating spaghetti in a white shirt is technically possible. Set yourself up for success. Use a large bathroom mirror plus a handheld mirror, or place a second mirror behind you. The goal is to see the trimmer head as it moves over your back, especially near the shoulders and lower back.
If your bathroom lighting is weak, add a bright lamp outside the splash zone. Back hair can hide in shadows, and missed strips become very obvious later when you wear a tank top or stand under direct sunlight. Good lighting saves you from the classic “I trimmed everything except one mysterious racing stripe” situation.
Map Your Back Before Trimming
Before you start, spend a minute looking at how the hair grows. Back hair may grow downward on the upper back, sideways around the shoulder blades, and in mixed directions near the lower back. For comfort, begin by moving the trimmer with the direction of hair growth. This reduces tugging and helps prevent irritation. If you want a closer trim later, you can make a second gentle pass across the grain, but do not rush straight against the grain on sensitive skin.
How to Run an Electric Hair Trimmer on Your Own Back
Step 1: Charge the Trimmer Fully
Start with a full battery. A weak trimmer can pull hair instead of cutting cleanly, which feels exactly as delightful as it sounds. If your device has speed settings, use a stronger setting for thick or long hair and a gentler setting for maintenance trimming.
Step 2: Start With the Longest Guard
Attach the longest guard or a medium-length comb. Turn the trimmer on and test it on an easy-to-reach area, such as the side of your upper back or shoulder. This lets you feel the pressure and check whether the length is right. If the trim is too subtle, switch to a shorter guard after the first pass.
Step 3: Work From the Shoulders Down
Begin at the upper back and shoulders, where you have the most control. Hold the handle loosely but securely. Move in slow, overlapping strokes. Imagine mowing a lawn, except the lawn is attached to you and complains if you press too hard. Each pass should slightly overlap the previous one so you do not leave narrow lines of untouched hair.
Step 4: Use Long Vertical Passes for the Middle Back
Extend the handle and guide the trimmer down the middle of your back. Keep the trimming head flat against the skin. Do not angle the blade sharply, because that can create uneven pressure. For the center spine area, use light strokes. The skin over the spine and shoulder blades can be more sensitive because the trimmer head meets bone contours instead of soft flat surface.
Step 5: Switch Hands for Each Side
Use your right hand to trim the left side of your back and your left hand to trim the right side if that feels more natural. Cross-body movements can improve reach. For the lower back, bend slightly forward and use the mirror to guide the trimmer upward or downward depending on your angle. Slow down here. The lower back is where missed patches love to form tiny civilizations.
Step 6: Check, Recheck, and Touch Up
After the first pass, brush loose hair away with a towel or rinse if you are shower trimming. Check your back from multiple angles. Look for darker patches, uneven edges near the shoulders, and strips along the sides. Touch up with short, light strokes. Avoid going over the same spot repeatedly, because too many passes can irritate the skin even with an electric trimmer.
How to Avoid Razor Burn, Bumps, and Ingrown Hairs
Even though an electric trimmer is usually gentler than a manual razor, skin irritation can still happen. The most common causes are pressing too hard, trimming too closely, using a dirty blade, moving too quickly, or trimming skin that is already irritated. To reduce problems, trim with clean blades, avoid stretching the skin tightly, and let the trimmer do the cutting instead of forcing it.
If your skin is sensitive, leave a little length rather than chasing a perfectly smooth finish. A close shave may look nice for a day, but itching during regrowth can make you question every decision that led you there. After trimming, rinse with cool or lukewarm water, pat dry, and apply a gentle fragrance-free moisturizer. Avoid heavy cologne, strong exfoliating acids, or scratchy shirts right after grooming.
Post-Trim Care: What to Do After Grooming
Once you finish trimming your back, rinse away loose hair and inspect the skin. Mild redness can happen, especially if it is your first time. A cool compress can help calm the area. Apply a lightweight, non-greasy moisturizer to support the skin barrier and reduce dryness. If you notice bumps, burning, or itching, give your skin a break before trimming again.
For the next 24 hours, avoid heavy sweating if possible, especially under tight clothing. Sweat, friction, and freshly trimmed follicles are not best friends. Choose a clean, breathable shirt. If you work out, shower afterward and gently cleanse the back. Good hygiene matters because clogged follicles can lead to irritation or folliculitis, which is inflammation around hair follicles.
Clean Your Electric Trimmer Every Time
A clean trimmer cuts better and is kinder to your skin. After each session, turn the device off, remove the guard, and brush away trapped hair. If the head is washable, rinse it according to the manufacturer’s instructions and let it dry completely before storage. Do not store a wet trimmer in a dark, sealed drawer where moisture can hang around like a bad roommate.
Some trimmers need blade oil. Others do not. Follow the manual. Replace dull or damaged blades when trimming becomes slower, louder, hotter, or more tuggy. If your trimmer pulls hair instead of slicing it cleanly, it is not building character; it needs maintenance.
Common Mistakes When Trimming Your Own Back
Pressing Too Hard
More pressure does not equal a better trim. It often creates redness and uneven cutting. Keep the head flat and let the motor work.
Starting Too Short
Beginners should not start with the shortest guard. Trim longer first, then decide whether to go closer. This prevents patchy results and reduces irritation.
Ignoring Hair Direction
Back hair may grow in several directions. If the trimmer tugs, change your angle. A comfortable pass is usually a better pass.
Skipping the Mirror Check
Feeling around blindly can work for quick maintenance, but a mirror check is the difference between “clean and even” and “topographic map of poor decisions.”
Using the Same Tool Everywhere Without Cleaning
If you use one body groomer for multiple areas, clean it between uses. Better yet, use separate attachments when available. Hygiene is not glamorous, but neither is irritated skin.
How Often Should You Trim Your Back?
Most people can maintain a neat back by trimming every one to three weeks, depending on hair growth, desired length, and skin sensitivity. If you only want to reduce thickness, you may need less frequent trimming. If you prefer a very short look, schedule regular maintenance before the hair gets long enough to clog the trimmer. Shorter, more frequent sessions are often easier than waiting until your back hair has formed a committee.
When Should You Avoid Trimming?
Do not trim over sunburn, open cuts, rashes, infected bumps, painful acne, or irritated skin. Wait until the area heals. If you have frequent painful bumps, spreading redness, pus, warmth, or skin irritation that does not improve, speak with a healthcare professional or dermatologist. Grooming should make you feel cleaner and more comfortable, not send your back into protest mode.
Electric Trimmer vs. Other Back Hair Removal Methods
An electric trimmer is best for easy maintenance, low pain, and quick cleanup. A manual back razor can create a smoother result but comes with a higher risk of nicks and razor burn, especially when used alone. Waxing removes hair from the root and lasts longer, but it may hurt and can irritate sensitive skin. Depilatory creams dissolve hair near the skin surface, but they require careful timing and patch testing. Laser hair removal can reduce growth long term, but it is expensive and usually requires multiple professional sessions.
For most beginners, trimming is the most forgiving option. It may not make your back baby-smooth, but it can make it neater, cooler, and easier to maintain without drama.
Pro Tips for a Better DIY Back Trim
Trim before you shower if you want better visibility and easier dry cutting. Shower afterward to rinse away loose hair. Put a towel on the floor to catch clippings. Use a trimmer with a curved or flexible head if your back has lots of contours. Keep your movements slow near shoulder blades and the spine. Do not chase perfection in one session. The first trim is about learning your angles; the second trim is where you start looking like you planned it all along.
If you have very thick back hair, do an initial pass with a longer guard, clean the trimmer head, then do a shorter pass. This keeps the motor from clogging and helps create an even finish. If you want a faded look near the shoulders or sides, use a slightly longer guard around the edges so the trimmed area blends more naturally.
Experience Notes: What It Is Actually Like to Trim Your Own Back
The first time you run an electric hair trimmer on your own back, expect it to feel a little awkward. Not painful. Not impossible. Just awkward, like trying to write your name with your non-dominant hand while looking in a mirror. The mirror reverses your movements, the handle feels longer than expected, and your shoulder may suddenly announce that it has union rules. That is normal.
The most helpful experience-based tip is to treat the first session as practice, not a grand unveiling. Use a longer guard, go slowly, and focus on learning the zones of your back. The upper back is usually the easiest because the shoulders are easier to reach and see. The middle back is where the long handle earns its paycheck. The lower back requires patience, because it is easy to miss the outer edges near the waistline.
Another real-world lesson: lighting matters more than confidence. In dim light, everything looks fine. In daylight, missed patches appear like surprise guests. Use bright lighting and check your back twice before cleaning up. A handheld mirror helps you inspect the shoulder blades, the spine line, and the sides. If you cannot see a section clearly, do not attack it with random strokes. Reposition the mirror and try again.
It also helps to divide your back into sections. Think of it as four zones: upper left, upper right, lower left, lower right. Trim one zone at a time instead of waving the trimmer around like you are conducting an orchestra. This makes the job calmer and more even. Start with long strokes, then use shorter touch-up strokes for edges and missed areas.
Do not underestimate cleanup. Back hair clippings are tiny, sneaky, and determined. They stick to towels, sinks, shoulders, and somehow places you did not trim. Put a towel under your feet, trim before a shower, and rinse the trimmer head immediately afterward if the device allows it. Your future self will appreciate not finding mysterious hair confetti later.
Skin care afterward is not optional if you want the process to feel good the next day. A fragrance-free moisturizer can reduce dryness and itching. A clean cotton shirt feels better than a tight synthetic shirt right after trimming. If you are trimming before a beach day, party, or event, do it the day before rather than five minutes before leaving. That gives any redness time to calm down and gives you a chance to catch missed spots.
Finally, remember that back grooming is personal. You do not have to remove every hair. You can trim lightly, maintain a natural look, or keep your back exactly as it is. The best grooming routine is the one that makes you comfortable, does not irritate your skin, and does not require a rescue team to untangle you from an extendable handle.
Conclusion
Learning how to run an electric hair trimmer on your own back is mostly about preparation, patience, and using the right tool. Choose a back-friendly trimmer with a long handle or attachment, start with a longer guard, use mirrors, trim in slow overlapping passes, and take care of your skin afterward. Avoid pressing too hard, do not trim irritated skin, and clean your device after every use.
A neat back trim does not require salon-level skill. It requires a charged trimmer, decent lighting, a towel on the floor, and the humility to check your work from more than one angle. Do that, and your DIY back grooming routine can be quick, comfortable, and surprisingly satisfying.
Note: This article was written as original SEO content and synthesized from reputable U.S.-focused dermatology, health, grooming, and consumer guidance on shaving preparation, electric grooming, ingrown hair prevention, razor burn reduction, trimmer hygiene, and post-shave skin care.












