
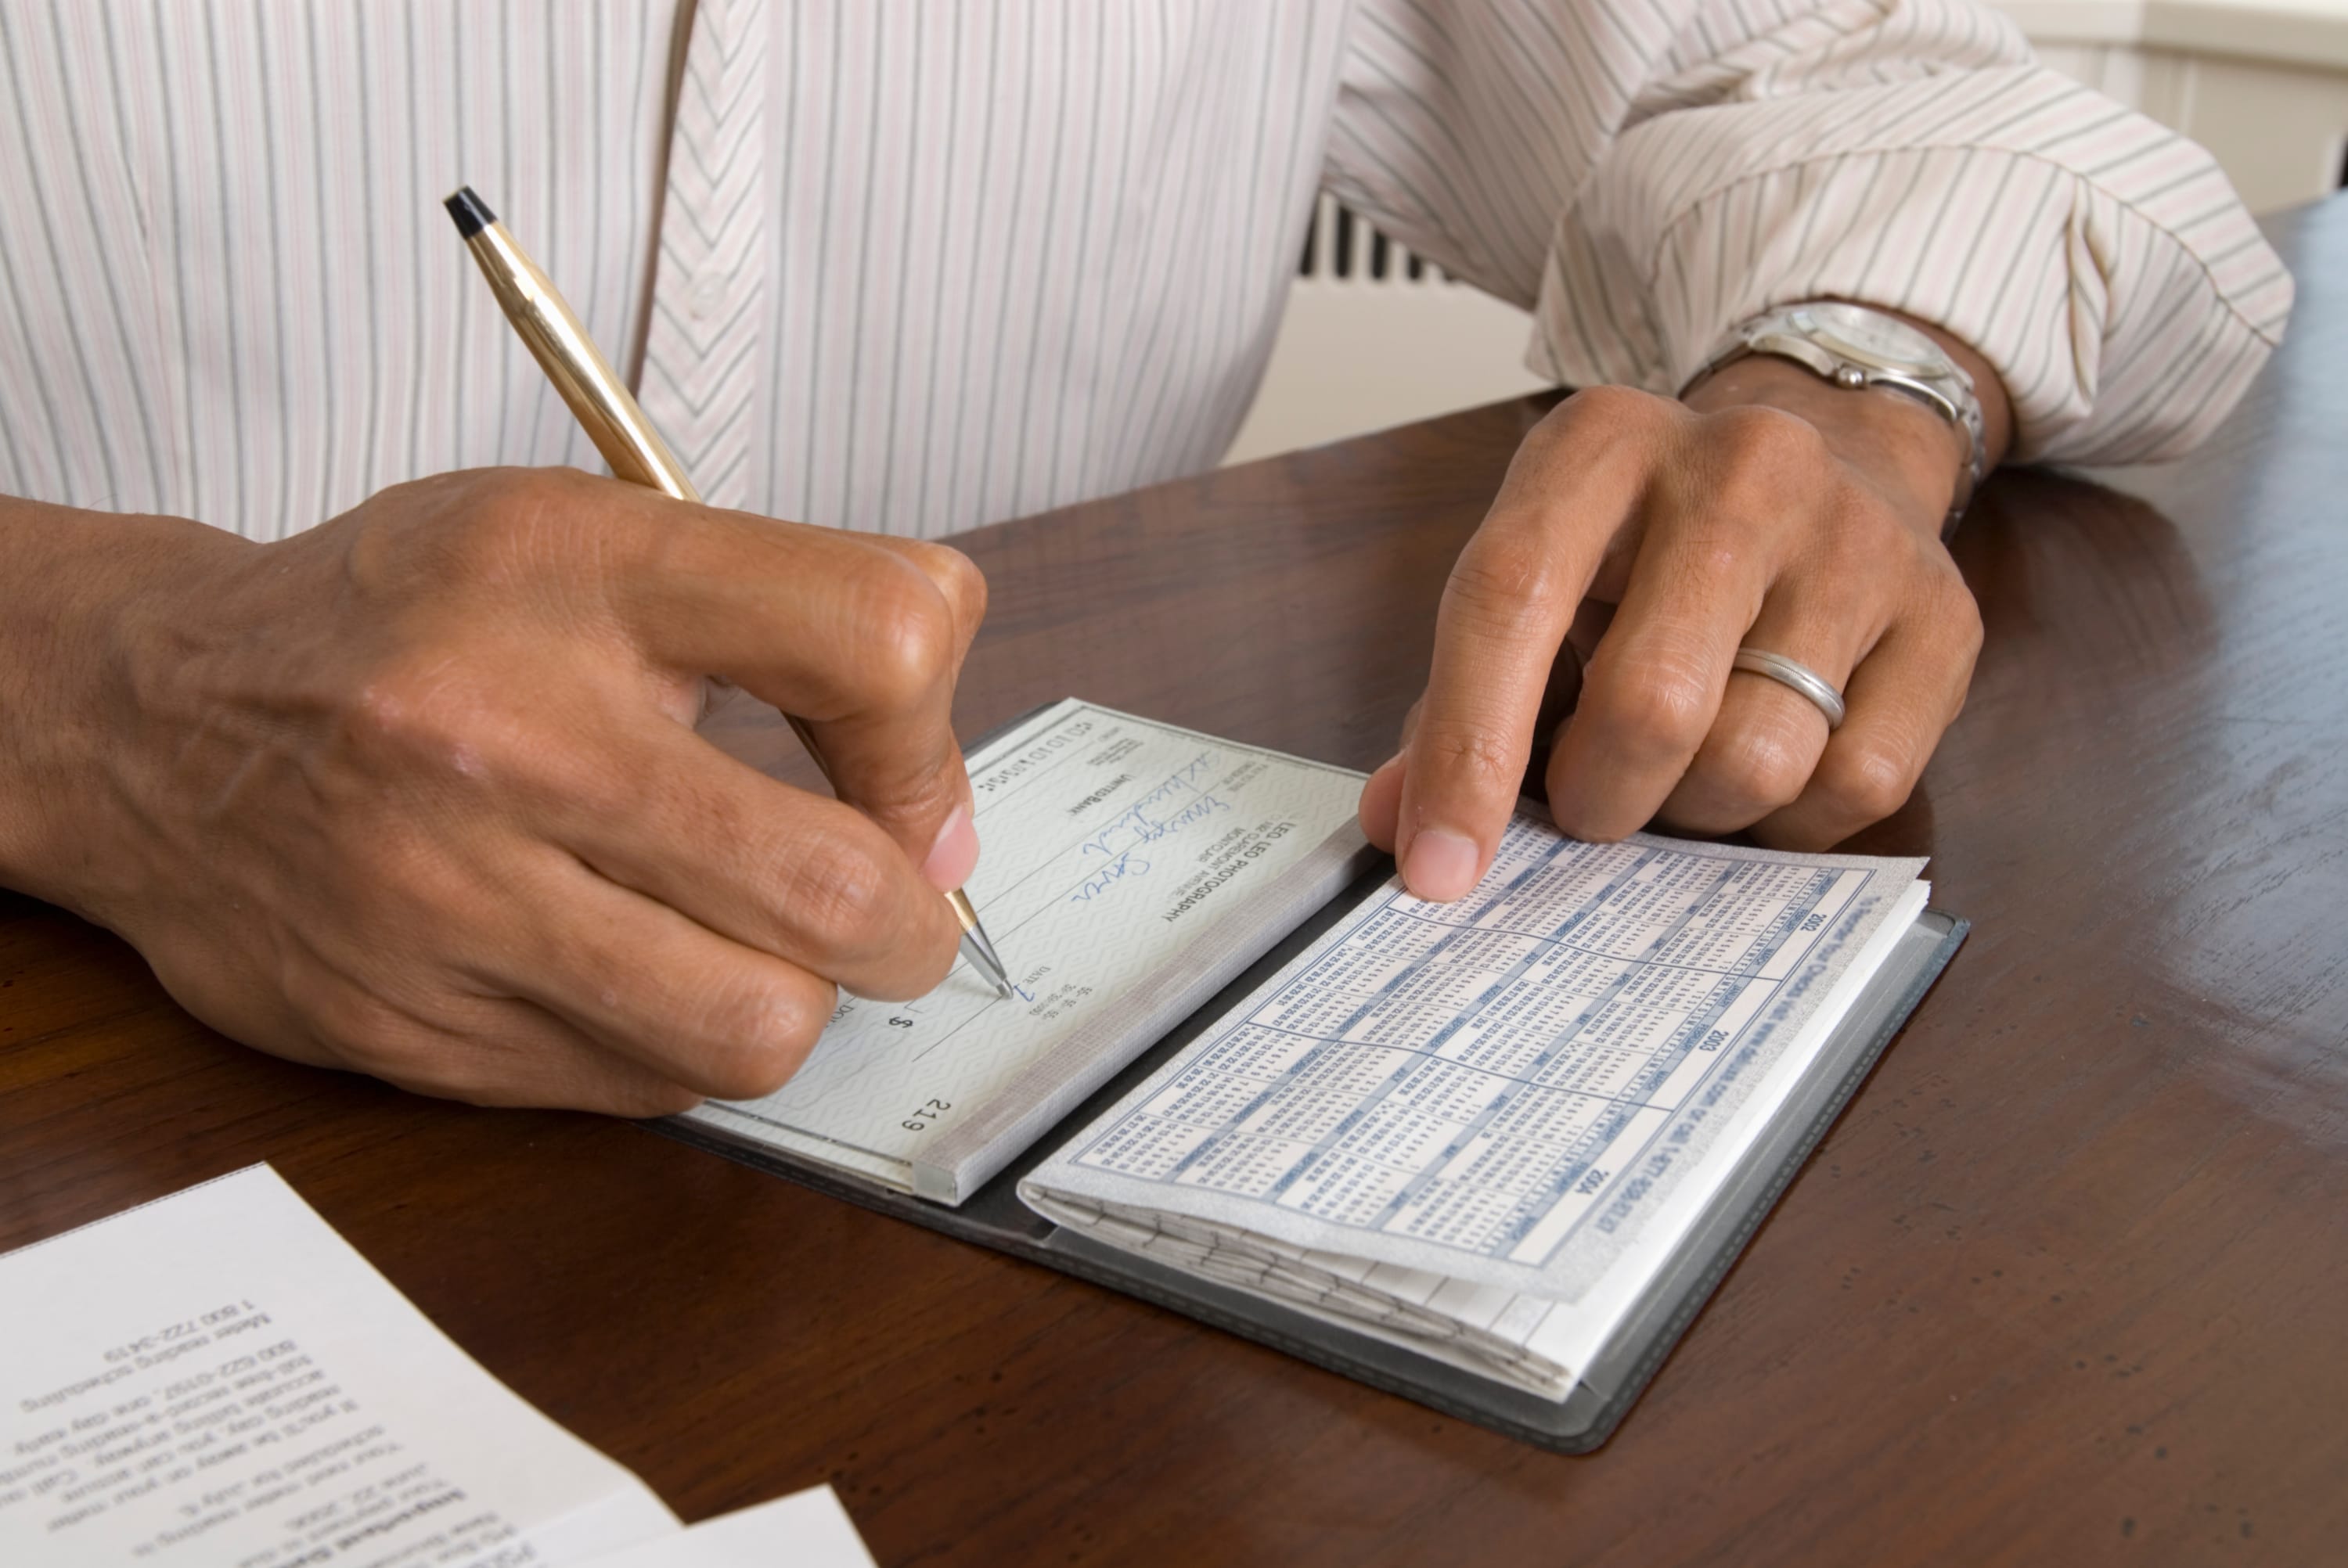
Note: This article is written for web publishing and synthesizes practical U.S. banking guidance from major banks, consumer-protection agencies, and personal finance resources. It does not include source links, per publishing requirements.
Writing a check may feel a little like using a flip phone at a tech conference: old-school, slightly dramatic, and somehow still useful. While debit cards, mobile wallets, ACH transfers, and payment apps handle most everyday transactions, checks have not disappeared. Landlords still ask for them. Contractors may prefer them. Schools, charities, government offices, and small businesses sometimes still operate with paper payments. And sooner or later, someone will hand you a blank check and expect you to know what to do with it.
The good news is that learning how to write a check is simple. A personal check is basically a written instruction telling your bank to pay a specific person or business a specific amount of money from your checking account. The not-so-good news? A small mistake can delay the payment, create confusion, or open the door to fraud. That is why each line matters.
This guide walks you through the six essential steps to fill out a check correctly, explains common mistakes, gives real-world examples, and adds practical tips from experience so you can write checks with confidence instead of squinting at the paper like it came from a museum exhibit.
What Is a Check?
A check is a paper payment document linked to a checking account. When you write a check, you are authorizing your bank or credit union to transfer money from your account to the payee, which is the person or company receiving the payment. The check includes your name, bank information, routing number, account number, check number, payment amount, date, memo line, and signature line.
Even though checks are less common than they used to be, they remain useful for payments that need a paper trail. For example, you might write a check for rent, a security deposit, a wedding gift, a school fee, a tax payment, a contractor invoice, or a donation. Unlike cash, a check can be tracked through your bank statement, which makes it helpful for recordkeeping.
However, checks also carry sensitive information. Your routing number and account number appear at the bottom, and your signature authorizes the payment. That means you should treat checks like financial documents, not like random scraps of paper floating around your kitchen drawer next to batteries, receipts, and that one mysterious Allen wrench.
Before You Write a Check: What You Need
Before filling out a check, make sure you have three things ready: a check from the correct account, a blue or black ink pen, and enough money in your checking account to cover the payment. Avoid pencil, erasable ink, red ink, glitter ink, or anything that makes your check look like it belongs in a craft project.
You should also know the exact name of the person or business you are paying. Do not guess. If you are paying a company, use the official business name from the invoice or bill. If you are paying a person, ask how they want the check made out. A check written to “Mike” may not be as easy to deposit as one written to “Michael Anderson,” especially if the bank wants the name to match the account.
Finally, record the payment in your check register, budgeting app, spreadsheet, or banking notes. A check may not clear immediately, so your online balance may look higher than the amount you truly have available. That is how people accidentally spend money twice and then meet the dreaded overdraft fee, which is nobody’s favorite financial character.
How to Write a Check in 6 Steps
Step 1: Write the Date
The date goes in the upper-right corner of the check. In the United States, the most common format is month/day/year, such as 06/10/2026. You can also write the date out, such as June 10, 2026. Both formats are usually acceptable as long as the date is clear.
The date helps the bank, the payee, and you identify when the check was written. It also helps with bookkeeping if you need to review your account later. If you write several checks in a month, clear dates keep your records from turning into a financial guessing game.
Some people postdate checks by writing a future date, hoping the payee will wait before depositing it. Be careful with this. In many cases, banks may still process a check when it is presented, even if the written date is in the future. If you do not have enough money in your account, a postdated check can still cause problems. A better option is to wait until funds are available or arrange a clear payment schedule with the recipient.
Step 2: Write the Payee’s Name
On the line that says “Pay to the Order of,” write the name of the person, company, organization, or agency receiving the money. This is one of the most important parts of the check because it tells the bank who is allowed to cash or deposit it.
For example, if you are paying your landlord, write the landlord’s full name or the property management company’s official name. If you are paying a utility bill, write the utility company’s name exactly as shown on the statement. If you are giving money as a gift, write the recipient’s legal name if possible.
Avoid writing checks to “Cash” unless you have a specific reason and understand the risk. A check made out to cash can generally be deposited or cashed by whoever has it. If it gets lost or stolen, you may have a much harder time protecting the funds. Writing a specific payee name is safer and cleaner.
Step 3: Write the Payment Amount in Numbers
Next, write the payment amount in the small box on the right side of the check. Use numbers, including dollars and cents. For example, if the payment is one hundred twenty-five dollars and fifty cents, write:
$125.50
If the check is for a whole-dollar amount, include “.00” after the dollar amount. For example:
$80.00
Write clearly and keep the numbers close to the left side of the box if possible. This reduces the chance that someone could alter the amount. For example, if you write “80.00” loosely in the middle of the box, a dishonest person might try to add digits before it. That is not common in everyday life, but check security is about making fraud harder, not giving fraud a comfortable chair and a cup of coffee.
Step 4: Write the Payment Amount in Words
Below the payee line, write the same amount in words. This line confirms the numerical amount and helps prevent confusion. For cents, use a fraction over 100. For example:
One hundred twenty-five and 50/100 dollars
Or:
One hundred twenty-five dollars and 50/100
If the check is for a whole-dollar amount, you can write:
Eighty and 00/100 dollars
After writing the amount in words, draw a line through any remaining empty space. This prevents someone from adding extra words. For example, if you write “Eighty dollars” and leave a long blank space before the word “dollars,” someone could attempt to change the amount. A simple line closes the gap.
Make sure the number box and written amount match. If they do not, the check may be delayed, rejected, or interpreted according to bank rules. When in doubt, void the check and start over. Do not try to turn a messy mistake into modern art.
Step 5: Fill Out the Memo Line
The memo line is usually in the lower-left area of the check. It is optional, but it is useful. The memo explains what the payment is for. You might write “June rent,” “Invoice #1048,” “Birthday gift,” “Soccer registration,” “Security deposit,” or “Tax payment.”
A clear memo can save you headaches later. If a landlord says you missed rent, your bank record and memo line can help show what the payment was intended to cover. If you are paying a business, including an account number or invoice number may help the company apply your payment correctly.
Do not put sensitive information on the memo line unless the recipient specifically requires it. For example, avoid writing your full Social Security number. If a bill asks for an account number, use only what is necessary. The memo line is helpful, but it is not a diary. Your check does not need to know your deepest thoughts about the cable bill.
Step 6: Sign the Check
The final step is signing the check on the signature line in the lower-right corner. Your signature authorizes the bank to pay the amount from your account. Without a signature, the check is usually not valid.
Always fill out the rest of the check before signing it. Never sign a blank check. A blank signed check is risky because someone could fill in the payee and amount later. That is like handing over your wallet and saying, “Surprise me.”
Use the same signature style you normally use with your bank. It does not need to be calligraphy-level beautiful, but it should be consistent. If your signature looks completely different from what the bank has on file, the check may draw extra attention.
Example: How to Fill Out a Check Correctly
Suppose you need to pay Green Valley Apartments $1,250.75 for July rent. Here is how the check would look in words:
- Date: 07/01/2026
- Pay to the Order of: Green Valley Apartments
- Amount box: $1,250.75
- Amount in words: One thousand two hundred fifty and 75/100 dollars
- Memo: July rent, Apt. 4B
- Signature: Your usual signature
This example is clear, complete, and easy to process. It also creates a useful record if you ever need to prove the payment. The memo line adds context, while the written and numerical amounts confirm each other.
Common Check-Writing Mistakes to Avoid
Leaving Blank Spaces
Blank spaces can create opportunities for alteration. Start the payee name and written amount close to the left side of their lines, and draw a line after the written amount. This is a small habit that adds a helpful layer of protection.
Using the Wrong Payee Name
If the payee’s name is misspelled or incomplete, the recipient may have trouble depositing the check. Always use the official name when paying a company or organization. If you are unsure, ask before writing.
Forgetting to Record the Check
Checks can take time to clear. If you forget about a check and spend the money elsewhere, your account may not have enough funds when the check is processed. Record the check immediately so your available balance reflects reality, not wishful thinking.
Writing More Than You Have
A check written for more than your available balance may bounce. That can lead to bank fees, merchant fees, late fees, embarrassment, and possibly account problems. Before writing a check, confirm your balance and remember that pending debit card purchases, automatic payments, and other checks may not have posted yet.
Signing Before Filling It Out
Never sign a blank check. If you make a mistake, write “VOID” across the check and keep it for your records or destroy it securely. Do not toss a blank or partially completed check into the trash where someone could retrieve it.
How to Void a Check
To void a check, write the word “VOID” in large letters across the front. Use a dark pen and make sure the word covers the check clearly without completely hiding the routing and account numbers if you need to use it for direct deposit setup. A voided check cannot be used for payment, but it can provide your banking details to an employer, payment processor, or billing company.
If you made an error while writing a check, do not scribble over several fields and hope for the best. Void it and start with a new check. Checks are formal payment documents, and neatness matters. Your future self will thank you when the bank statement does not look like a detective case.
How to Endorse a Check You Receive
Writing a check is different from depositing one. If someone gives you a check, you usually need to endorse it by signing the back in the endorsement area. For mobile deposit, many banks ask you to write a phrase such as “For Mobile Deposit Only” and may require the name of the bank or credit union. Follow your bank’s instructions exactly because endorsement rules can vary.
Do not endorse a check until you are ready to deposit or cash it. Once endorsed, it may be easier for someone else to misuse if it is lost. Keep received checks in a secure place and deposit them promptly.
Are Checks Still Safe?
Checks can be safe when used carefully, but they require more caution than digital payments. A paper check contains your account number, routing number, name, and signature. If it is stolen from the mail or altered, it can create a serious problem.
To reduce risk, store unused checks securely, use permanent blue or black ink, fill in all fields clearly, avoid mailing checks from unsecured outgoing mailboxes, and review your bank statements regularly. If you lose a check or suspect fraud, contact your bank quickly. You may be able to place a stop payment, though banks often charge a fee and stop-payment rules vary.
Also be cautious with checks you receive from strangers. Fake check scams often involve someone sending a check for too much money and asking you to return the extra funds. The check may appear to clear at first, but later the bank may discover it is fake. If that happens, you could be responsible for the money you sent. The safest move is simple: never send money back to someone just because they sent you a check and created an urgent story.
When Should You Use a Check Instead of a Digital Payment?
A check can make sense when the recipient does not accept cards or digital transfers, when you need a paper record, when the payment is large, or when a business charges extra fees for card payments. Checks may also be useful for gifts, deposits, and payments to small vendors.
However, checks are not always the best option. For recurring bills, online bill pay may be faster and easier. For friends and family, digital transfers may be more convenient. For guaranteed funds, a cashier’s check or money order may be required. The best payment method depends on the amount, recipient, timing, cost, and security risk.
Experience-Based Tips for Writing Checks Without Stress
Even though writing a check only takes a minute, the experience can feel awkward if you rarely do it. Many people today can set up a phone, order groceries online, and transfer money through an app, but freeze when staring at the “Pay to the Order of” line. That is normal. Check writing is a skill, and like any skill, it gets easier with a simple routine.
The first practical habit is to slow down. Most check mistakes happen because people rush. They are standing at a counter, someone is waiting, and suddenly the amount line feels like a spelling bee with money involved. Before writing, take ten seconds to confirm the payee name, amount, and purpose. Those ten seconds can prevent a voided check, a delayed payment, or a very annoying customer service call.
The second habit is to keep a sample format in mind. For example, remember this pattern: date, name, number, words, memo, signature. Say it once before you begin. It sounds almost too simple, but it works. The order follows the layout of most checks, moving from top right, to center, to right box, to written line, to bottom left, to bottom right. Once the pattern becomes familiar, filling out a check feels less like decoding a financial puzzle.
The third habit is to treat your check register or digital budget as part of the check-writing process, not an optional afterthought. The payment is not truly “done” when you sign the check. It is done when you record it. Write down the check number, date, payee, amount, and reason. If you use a budgeting app, enter the transaction manually and mark it as pending. This helps you avoid the classic mistake of thinking you have more money available than you really do.
The fourth habit is to keep checks in one secure location. Do not leave them in your car, backpack, desk pile, or kitchen counter stack. A checkbook is not cash, but it can still be misused. Store it with other important financial documents. If you only write a few checks per year, check the sequence number before using one so you know whether any checks are missing.
The fifth habit is to write neatly enough that a tired human and a banking system can both understand it. You do not need perfect handwriting. You do need legible handwriting. A sloppy “7” can look like a “1,” and a rushed amount can cause processing delays. Print the payee name clearly, write the amount carefully, and avoid squeezing words into tiny spaces.
The sixth habit is to use the memo line like a mini receipt. If you pay rent, include the month and unit number. If you pay an invoice, include the invoice number. If you donate to a charity, write “donation” and the campaign name if relevant. Months later, that tiny note can save you from wondering why you wrote a $325 check on a random Tuesday.
Finally, trust the old rule: when a check looks wrong, start over. Do not patch a major mistake with arrows, bubbles, correction fluid, or a heroic amount of scribbling. Write “VOID” across the bad check, record that it was voided, and use a fresh one. A clean check is easier for the payee, easier for the bank, and easier for you. The paper may be old-fashioned, but the confidence that comes from doing it correctly never goes out of style.
Conclusion
Learning how to write a check is still a practical money skill. The process is straightforward: write the date, name the payee, enter the amount in numbers, write the amount in words, add a helpful memo, and sign the check. The real secret is not just filling in the blanks; it is filling them in clearly, safely, and consistently.
Checks may no longer be the star of everyday spending, but they remain useful for rent, contractors, school payments, donations, deposits, gifts, and situations where digital payments are not ideal. Once you understand the six steps, you can write a check without hesitationand without feeling like you need a financial historian standing nearby.












