
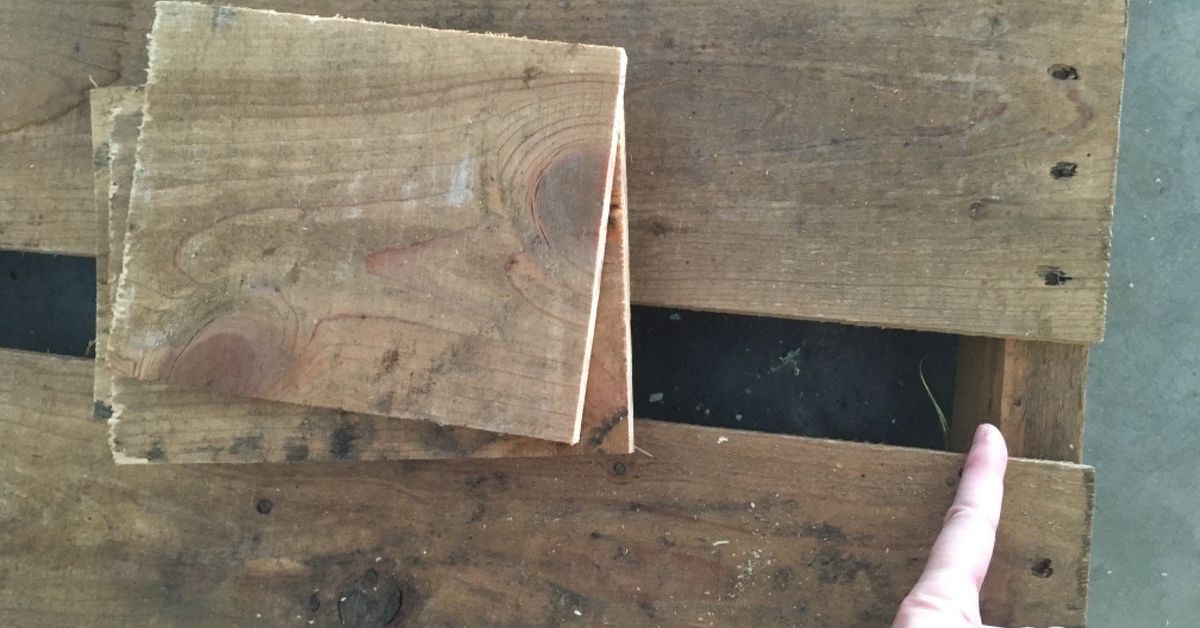
Note: This guide is for decorative garden borders and light edging, not structural retaining walls. Always use clean, heat-treated pallet wood and avoid any pallet marked “MB,” stained, oily, moldy, or suspiciously mysterious. In DIY, “mysterious” is rarely a compliment.
Introduction: Turn a Humble Pallet Into a Garden Glow-Up
A pallet garden border DIY project is one of those weekend ideas that sounds almost too simple: find a pallet, take it apart, cut the boards, and line your garden bed. But when done well, it can transform a messy flower bed into a charming, rustic border that looks intentional instead of “the lawn mower gave up here.”
Garden borders do more than make your yard prettier. They help separate lawn from mulch, keep soil where it belongs, define planting areas, reduce weed creep, and give your landscape a clean, finished edge. A pallet garden border adds another bonus: it reuses wood that might otherwise be tossed away. It is affordable, beginner-friendly, and surprisingly flexible for vegetable gardens, flower beds, herb patches, small pathways, and tree rings.
Of course, not every pallet deserves a second career in your backyard. Some pallets are clean and heat-treated; others have carried unknown chemicals, been soaked by spills, or lived a harder life than a garden border should. The difference matters, especially near edible plants. This guide walks you through how to choose safe pallet wood, design your border, build it step by step, and make it last longer without turning your Saturday into a full-blown construction saga.
Why Build a DIY Pallet Garden Border?
A pallet garden border is practical, attractive, and budget-friendly. Instead of buying new landscape timbers, metal edging, brick, or stone, you can repurpose pallet boards into a natural-looking border that fits cottage gardens, farmhouse yards, raised beds, and casual backyard landscapes.
It Gives Your Garden a Clean Edge
Without edging, mulch spills into grass, grass crawls into beds, and your tidy planting area slowly becomes a botanical negotiation. A wood border creates a visible line between spaces. It frames flowers, herbs, vegetables, or shrubs so the garden looks designed rather than accidental.
It Helps Control Mulch and Soil
Pallet boards can help hold mulch inside a bed and reduce washout after rain. This is especially helpful on gently sloped areas where bark mulch, compost, or loose soil tends to travel downhill like it has somewhere better to be.
It Saves Money
Many pallets can be found for free or at a low cost from local businesses, warehouses, garden centers, appliance stores, or online community marketplaces. Screws, stakes, sand, gravel, and optional wood sealer may be your only expenses.
It Adds Rustic Character
New edging can look polished, but pallet wood has personality. Weathered boards, imperfect grain, nail marks, and subtle color differences create a relaxed, handmade look. If your garden style leans cozy, natural, or “I know what compost is and I’m not afraid to use it,” pallet edging fits right in.
Choosing Safe Pallets for Garden Use
The most important part of this project happens before you pick up a saw. Choosing the right pallet keeps your garden safer, cleaner, and more durable.
Look for the HT Stamp
Use pallets marked “HT,” which means heat-treated. Heat treatment is used to reduce pests in wood packaging without chemical fumigation. For garden projects, especially around vegetables and herbs, HT pallets are generally the preferred choice.
Avoid MB Pallets
Do not use pallets marked “MB.” That stamp indicates methyl bromide fumigation. Methyl bromide has been used as a pesticide and fumigant, and it is not something you want near your basil, tomatoes, or curious dog. If you cannot identify the stamp, skip the pallet.
Skip Painted, Stained, Oily, or Smelly Pallets
A bright blue, red, or heavily painted pallet may belong to a pallet pool or commercial system and may not be free to take. More importantly, paint, stains, residues, and unknown spills can make the wood unsuitable for garden use. If the pallet smells like chemicals, has dark oil patches, sticky residue, mold, or mystery crust, let it continue its dramatic life elsewhere.
Choose Solid Boards
Look for boards that are not badly cracked, warped, rotten, or full of splinters. A little weathering is fine. Crumbling wood is not. Pallet borders sit close to soil and moisture, so they need enough strength to survive watering, rain, and occasional bumps from tools.
Tools and Materials You Will Need
You do not need a workshop worthy of a television makeover show. A few basic tools will handle most pallet garden edging projects.
Materials
- One or more clean HT pallets
- Exterior-grade screws or galvanized nails
- Wood stakes, rebar, or short scrap pieces for anchoring
- Landscape fabric, cardboard, or newspaper for optional weed suppression
- Gravel or coarse sand for drainage under the border
- Optional: exterior wood sealer, raw linseed oil, or outdoor-safe finish
- Mulch or compost for backfilling the garden bed
Tools
- Pry bar or pallet buster
- Hammer
- Drill and bits
- Circular saw, jigsaw, handsaw, or miter saw
- Tape measure
- Level
- Garden spade or trenching shovel
- Work gloves
- Safety glasses
- Sanding block or orbital sander
Safety glasses are not optional. Pallet nails have a special talent for appearing exactly where you thought they were not.
Planning Your Pallet Garden Border
Before cutting boards, decide what kind of border you want. Pallet wood can be used in several ways depending on your garden’s shape and style.
Option 1: Horizontal Board Border
This is the simplest and most common method. Boards run lengthwise along the edge of the bed and are attached to stakes. It works well for straight garden beds, raised beds, walkways, and rectangular vegetable plots.
Option 2: Vertical Picket Border
Cut pallet boards into shorter pieces and set them upright like little fence pickets. This creates a cottage-style border that looks charming around flower beds and herb gardens. It takes more cutting and alignment, but the result has plenty of curb appeal.
Option 3: Staggered Rustic Border
For a more relaxed look, cut boards into varied heights and install them vertically in a staggered pattern. This style is great for informal gardens, pollinator beds, or areas where perfect straight lines would feel too stiff.
Option 4: Tree Ring Border
Short pallet pieces can be arranged around a tree to create a ring for mulch. Keep the mulch away from the tree trunk, though. Mulch piled against bark can trap moisture and create problems. Trees enjoy mulch; they do not enjoy being tucked in up to the chin.
Step-by-Step: How to Make a Pallet Garden Border DIY
Step 1: Measure the Garden Edge
Use a tape measure or garden hose to map out the border. A garden hose is helpful for curves because you can bend it into the shape you want before marking the line with spray paint, flour, or a shallow cut from a spade.
Measure the total length of your border. Then check the length and width of your pallet boards to estimate how many pieces you need. Always add extra for mistakes, splits, corners, and the board that suddenly snaps because it has chosen retirement.
Step 2: Dismantle the Pallet Carefully
Place the pallet on a flat surface and use a pry bar or pallet buster to remove the deck boards. Work slowly to reduce splitting. If nails are stubborn, tap the board from the back with a hammer to loosen it, then pry again.
Remove all nails or hammer them flat if they cannot be pulled. For garden borders, exposed nails are a bad idea. They catch gloves, scratch skin, damage tools, and make future maintenance unpleasant.
Step 3: Sort and Clean the Boards
Separate the best boards from the cracked or weak ones. Brush off dirt, cobwebs, and debris. A stiff brush works well. If the wood is muddy, rinse it and let it dry fully before sanding or sealing.
Do not pressure-wash fragile pallet boards too aggressively. Thin boards can splinter, warp, or become rougher than before. Gentle cleaning is usually enough.
Step 4: Sand Rough Edges
Sand the faces and edges that people may touch. You do not have to make the boards furniture-smooth, but you should remove splinters and sharp corners. Focus on top edges, cut ends, and any area near paths or seating.
Step 5: Cut Boards to Size
For a horizontal border, cut boards to match your layout. For a vertical picket border, decide on a height first. Most decorative pallet garden borders look good between 6 and 12 inches tall. Taller borders can work, but pallet boards are thin, so they need more support.
If you want a finished look, cut all boards the same height. If you want a rustic look, vary the heights slightly. For a picket style, cut a simple point at the top of each board. This small detail makes scrap wood look intentional, which is one of the great secrets of DIY.
Step 6: Dig a Shallow Trench
Dig a trench along your marked line. For most pallet edging, 2 to 4 inches deep is enough. The trench helps seat the boards, keeps the bottom edge from shifting, and creates a cleaner line between bed and lawn.
If your soil drains poorly, add a thin layer of gravel or coarse sand at the bottom of the trench. Pallet wood lasts longer when it is not sitting in soggy soil all day. Think of drainage as giving your border a pair of waterproof boots.
Step 7: Install Stakes
Stakes are what keep the border from leaning, bowing, or wandering off after a few rainstorms. Place stakes every 2 to 3 feet for horizontal boards. For corners and curves, add extra stakes. You can use wood stakes, short pieces of pallet stringer, rebar, or sturdy scrap lumber.
Drive each stake into the ground so it is solid and mostly hidden behind the border. Use a level to keep the top line even, or intentionally follow the natural grade if your garden slopes.
Step 8: Attach the Pallet Boards
Hold the first board against the stakes and fasten it with exterior screws. Screws are easier to adjust than nails and usually hold better over time. Pre-drill holes near the ends of thin pallet boards to prevent splitting.
Continue board by board, checking alignment as you go. If you are making a vertical picket border, screw each picket to a horizontal backing strip or attach the pickets directly to stakes. Leave tiny gaps between boards to allow for wood movement and drainage.
Step 9: Backfill and Level
Once the boards are attached, backfill the trench with soil, gravel, or mulch. Press the material firmly against the base to stabilize the border. Check for wobbles and tighten screws where needed.
Inside the bed, add mulch, compost, or soil amendments as needed. Outside the border, trim grass neatly so the edge looks crisp.
Step 10: Seal or Leave Natural
You can leave pallet wood unfinished for a naturally weathered look. It will gray over time and eventually break down. If you want it to last longer, apply an outdoor-safe wood finish. Around edible gardens, choose products carefully and follow label directions. Avoid finishes that are not intended for garden or soil-adjacent use.
Design Ideas for a Better-Looking Pallet Border
Go Low for a Subtle Edge
A low 4- to 6-inch border works well around flower beds and paths. It defines the space without becoming the main event. This is ideal if your plants are already the stars of the garden.
Use Staggered Heights for Personality
Cut some boards at 6 inches, others at 8 or 10 inches, and install them in a repeating pattern. The result looks playful and handmade, especially around cottage flowers like coneflowers, daisies, lavender, salvia, and black-eyed Susans.
Paint With Caution
Paint can make a pallet border pop, but use exterior paint suitable for outdoor wood. For vegetable gardens, many gardeners prefer to keep finishes minimal or use safer, garden-friendly options. If you paint, let the boards cure fully before installation.
Add Solar Lights
Small solar stake lights along a pallet border can make a pathway safer and more attractive at night. Keep lights spaced evenly for a polished look. Too many lights can make the garden look like a tiny airport runway.
Pair With Mulch or Gravel
Dark mulch highlights rustic wood nicely. Pea gravel gives a cleaner, more modern look. Straw or pine needles can work in vegetable gardens, while shredded bark creates a classic landscape finish.
Common Mistakes to Avoid
Using the Wrong Pallet
The biggest mistake is using a pallet without checking its condition and treatment stamp. When in doubt, do not use it near soil, vegetables, pets, or kids.
Skipping Anchors
Pallet boards are lightweight. If you simply wedge them into soil, they may lean or shift. Stakes and screws turn a flimsy line of boards into a real border.
Installing Directly in Wet Soil
Wood rots faster when trapped in constant moisture. A shallow gravel base, better drainage, and occasional sealing can help extend the life of the border.
Making the Border Too Tall
Pallet boards are not retaining wall lumber. If you need to hold back a lot of soil, use proper landscape timbers, stone, block, or another structural material. Pallet edging is best for light-duty borders.
Ignoring Curves
Long straight boards do not bend well. For curved beds, use shorter board sections or vertical pickets. Smaller pieces follow curves more naturally and reduce awkward gaps.
How Long Will a Pallet Garden Border Last?
A pallet garden border may last a few seasons or several years depending on wood condition, climate, drainage, soil contact, and maintenance. In dry areas, it may last longer. In damp climates or shady beds, it may break down faster.
To extend its life, keep mulch from piling too high against the boards, improve drainage at the base, reseal when needed, and replace damaged pieces as they age. The nice thing about pallet edging is that repairs are easy. If one board fails, you do not have to rebuild the whole border. Just swap the board and pretend that was the plan all along.
Is a Pallet Garden Border Good for Vegetable Gardens?
Yes, a pallet garden border can work for vegetable gardens if you use clean, heat-treated pallets and avoid questionable wood. For edible gardens, be extra selective. Do not use pallets that carried chemicals, pesticides, petroleum products, or unknown industrial materials. Avoid painted or stained boards unless you know exactly what coating was used.
For extra peace of mind, use pallet edging on the outside of a raised vegetable bed rather than as the main structure holding soil. You can also line the inside face with heavy cardboard or a safe barrier to reduce direct soil contact, though the best protection is still starting with clean wood.
Maintenance Tips for Pallet Garden Edging
- Inspect the border each spring for loose screws, rot, or leaning boards.
- Pull grass and weeds before they root deeply along the edge.
- Refresh mulch to keep the bed neat and reduce weed pressure.
- Keep soil from burying the boards too deeply.
- Replace individual boards as needed.
- Reapply outdoor-safe finish if you chose to seal the wood.
Maintenance is simple, but do not ignore it completely. A pallet border is like a haircut: it looks best when touched up before things get wild.
Cost Breakdown: What This DIY Project May Cost
If you already have basic tools, this project can be very inexpensive. A free pallet may cover a small bed or part of a border. Larger gardens may require several pallets.
- Pallets: Free to low cost
- Exterior screws: $5 to $15
- Wood stakes or rebar: $5 to $25
- Gravel or sand: $5 to $20
- Optional sealer: $10 to $30
- Optional paint or stain: $10 to $40
Compared with stone, brick, metal, or commercial timber edging, pallet wood can be one of the cheapest ways to create a defined garden border. The tradeoff is durability. Pallet wood is usually thinner and softer than purpose-made landscape lumber, so expect a rustic project rather than a lifetime installation.
of Real-World Experience: What I Would Do Differently Next Time
The first thing experience teaches you about building a pallet garden border is that pallet wood has a personality. Sometimes that personality is charming. Sometimes it is a cranky old uncle who refuses to cooperate. Boards split, nails hide in strange places, and no two pieces seem to be exactly the same thickness. That is not a flaw if you plan for it. In fact, the slight unevenness is part of the beauty. A pallet border looks best when you stop demanding perfection and start aiming for tidy, sturdy, and natural.
If I were building a pallet garden border from scratch, I would spend more time choosing pallets than cutting boards. The cleanest pallet saves hours later. A dry, unstained, heat-treated pallet with straight boards is worth driving a little farther for. I would avoid any pallet with dark spills, chemical odor, fuzzy mold, or boards that crumble at the edges. Free wood is only a bargain if it does not bring problems into the garden.
I would also pre-drill every screw hole near the end of each board. Pallet boards are thin, and they split easily when screws are driven too close to the edge. Pre-drilling feels like an annoying extra step until you realize it saves half your boards from cracking. Exterior screws are worth using because they hold better and make repairs easier. Nails work, but screws are friendlier when you need to remove a damaged piece later.
Another lesson: do not skip the trench. Even a shallow trench makes the whole border look more professional. When boards sit slightly below grade, they feel anchored instead of perched on top of the soil. A little gravel underneath helps with drainage, especially in wet areas. The border does not have to be buried deeply, but it should feel seated.
For curved beds, I would use short vertical pickets rather than long horizontal boards. Pallet boards do not bend gracefully. They either refuse or break, usually with dramatic timing. Short sections follow curves better and create a flexible, handmade look. Around straight vegetable beds, horizontal boards are faster and cleaner.
I would also leave small gaps between boards. At first, gaps may look unnecessary, but outdoor wood expands, shrinks, and dries over time. Tiny gaps allow movement and help water escape. A border built too tightly can warp or trap moisture.
Finally, I would treat this project as a living garden feature, not permanent architecture. Pallet edging will age. Some boards will gray, some will soften, and a few may need replacing after a couple of seasons. That is perfectly fine. The benefit of pallet garden edging is that it is easy to repair, affordable to refresh, and forgiving. When a board fails, replace it. When the border leans, add a stake. When the garden expands, build another section. In other words, let the project grow with the garden. That is the whole point.
Conclusion: A Simple Border With Big Backyard Charm
Learning how to make a pallet garden border DIY is a smart way to improve your yard without draining your wallet. With the right pallet, a careful layout, solid stakes, and a little patience, you can create a rustic border that defines beds, holds mulch, reduces messy edges, and adds handmade charm to your landscape.
The key is safety and preparation. Choose clean heat-treated pallets, avoid MB-marked or contaminated wood, sand rough edges, anchor the boards securely, and provide drainage where the wood touches soil. Keep expectations realistic: pallet edging is not a stone wall, but it is a beautiful, low-cost solution for flower beds, herb gardens, vegetable borders, paths, and small landscape projects.
Best of all, this is a DIY project that welcomes imperfection. A few nail marks, weathered boards, and uneven grains make the border look warm and lived-in. Your garden does not need a luxury renovation to look loved. Sometimes it just needs a pallet, a drill, and one determined gardener who is not afraid of a splinter or two.











