
Learning how to dry hair with a round brush is one of those beauty skills that looks suspiciously easy until you try it at home and suddenly have three arms’ worth of tools, one tired shoulder, and a section of hair wrapped around the brush like it has signed a lease. The good news: a round-brush blowout is not magic. It is a repeatable technique built on preparation, sectioning, airflow direction, tension, and patience. The even better news: once you understand the process, you can create smoother, bouncier, more polished hair without needing a weekly salon appointment or a trust fund dedicated to blowouts.
A round brush helps shape hair as it dries. The blow dryer provides heat and airflow, while the brush creates tension, lift, bend, smoothness, or curl depending on how you hold it. The secret is not simply rolling your hair around the brush and hoping for a shampoo-commercial miracle. It is about starting with hair that is damp, not dripping; using the right brush size; drying in small sections; keeping the nozzle pointed down the hair shaft; and letting each section cool before disturbing it. Think of it like baking cookies: pull them out too early, and things collapse. Let them set, and suddenly everyone thinks you know what you are doing.
Why a Round Brush Works So Well for Blow-Drying
A round brush is designed to create tension and shape while heat dries the hair into place. When you pull hair over the curved barrel, you smooth the outer layer of the strand and guide it into a new form. A larger round brush creates soft volume and loose bends, while a smaller brush gives more curl, grip, and control around shorter layers, bangs, and face-framing pieces.
The real salon-looking finish comes from three things working together: the brush, the dryer nozzle, and the angle of airflow. When the dryer nozzle points downward from roots to ends, the hair lies smoother and usually looks shinier. When airflow blasts upward or randomly from every direction, frizz arrives like an uninvited group chat. A concentrator nozzle helps focus the air exactly where you want it, which is why many hairstylists treat it as essential rather than optional.
What You Need Before You Start
You do not need a bathroom full of professional tools, but the right basics make the job easier. Start with a blow dryer that has adjustable heat and speed settings, plus a concentrator nozzle. Choose a round brush that matches your hair length and styling goal. Keep clips nearby because sectioning is the difference between “polished blowout” and “I fought a ceiling fan.” You will also need a heat protectant, a wide-tooth comb or detangling brush, and possibly a lightweight styling product such as mousse, smoothing cream, or leave-in conditioner.
Choosing the Right Round Brush Size
Brush size matters. A small barrel is best for short hair, bangs, tight flips, or adding shape around the face. A medium barrel works well for shoulder-length hair, layers, and classic bouncy movement. A large barrel is ideal for long hair, soft volume, and a smoother finish with gentle bends rather than obvious curls. If your hair is fine, a ceramic or vented round brush can help speed up drying. If your hair is thick, coarse, or frizz-prone, a mixed-bristle brush can help create stronger tension and a smoother finish.
Pick Products Based on Your Hair Type
A heat protectant is the non-negotiable base layer. Blow dryers use heat, and repeated heat styling can leave hair dry, brittle, or frizzy over time. Fine hair usually does best with a lightweight spray or mousse that adds lift without making roots greasy. Thick or coarse hair may benefit from a smoothing cream or leave-in conditioner. Wavy hair often needs frizz control without too much weight. Curly or coily hair may need a moisturizing leave-in and careful tension if the goal is a stretched blowout.
Step-by-Step: How to Dry Hair with a Round Brush
Step 1: Start with Clean, Damp Hair
The best round-brush blowout starts after washing and conditioning, but not when your hair is soaking wet. Gently squeeze out extra water with a towel or microfiber towel. Avoid rough rubbing, which can disturb the hair cuticle and create frizz before the dryer even joins the party. Detangle gently from the ends upward, then let your hair air-dry or rough-dry until it is about 70 to 80 percent dry.
This step is important because using a round brush on very wet hair takes longer and exposes your strands to more heat. Hair also has less grip when it is dripping wet, making the brush harder to control. Damp hair gives you enough moisture to reshape the style while saving time and reducing unnecessary heat exposure.
Step 2: Apply Heat Protectant and Styling Product
Spray or apply heat protectant evenly through your hair, focusing on mid-lengths and ends. If your roots get oily easily, avoid overloading them with heavy cream. For volume, add mousse or root-lifting spray near the scalp. For smoothing, use a small amount of blow-dry cream. The key phrase is “small amount.” Too much product can make hair feel sticky, heavy, or like it is wearing a tiny helmet.
Step 3: Section Your Hair
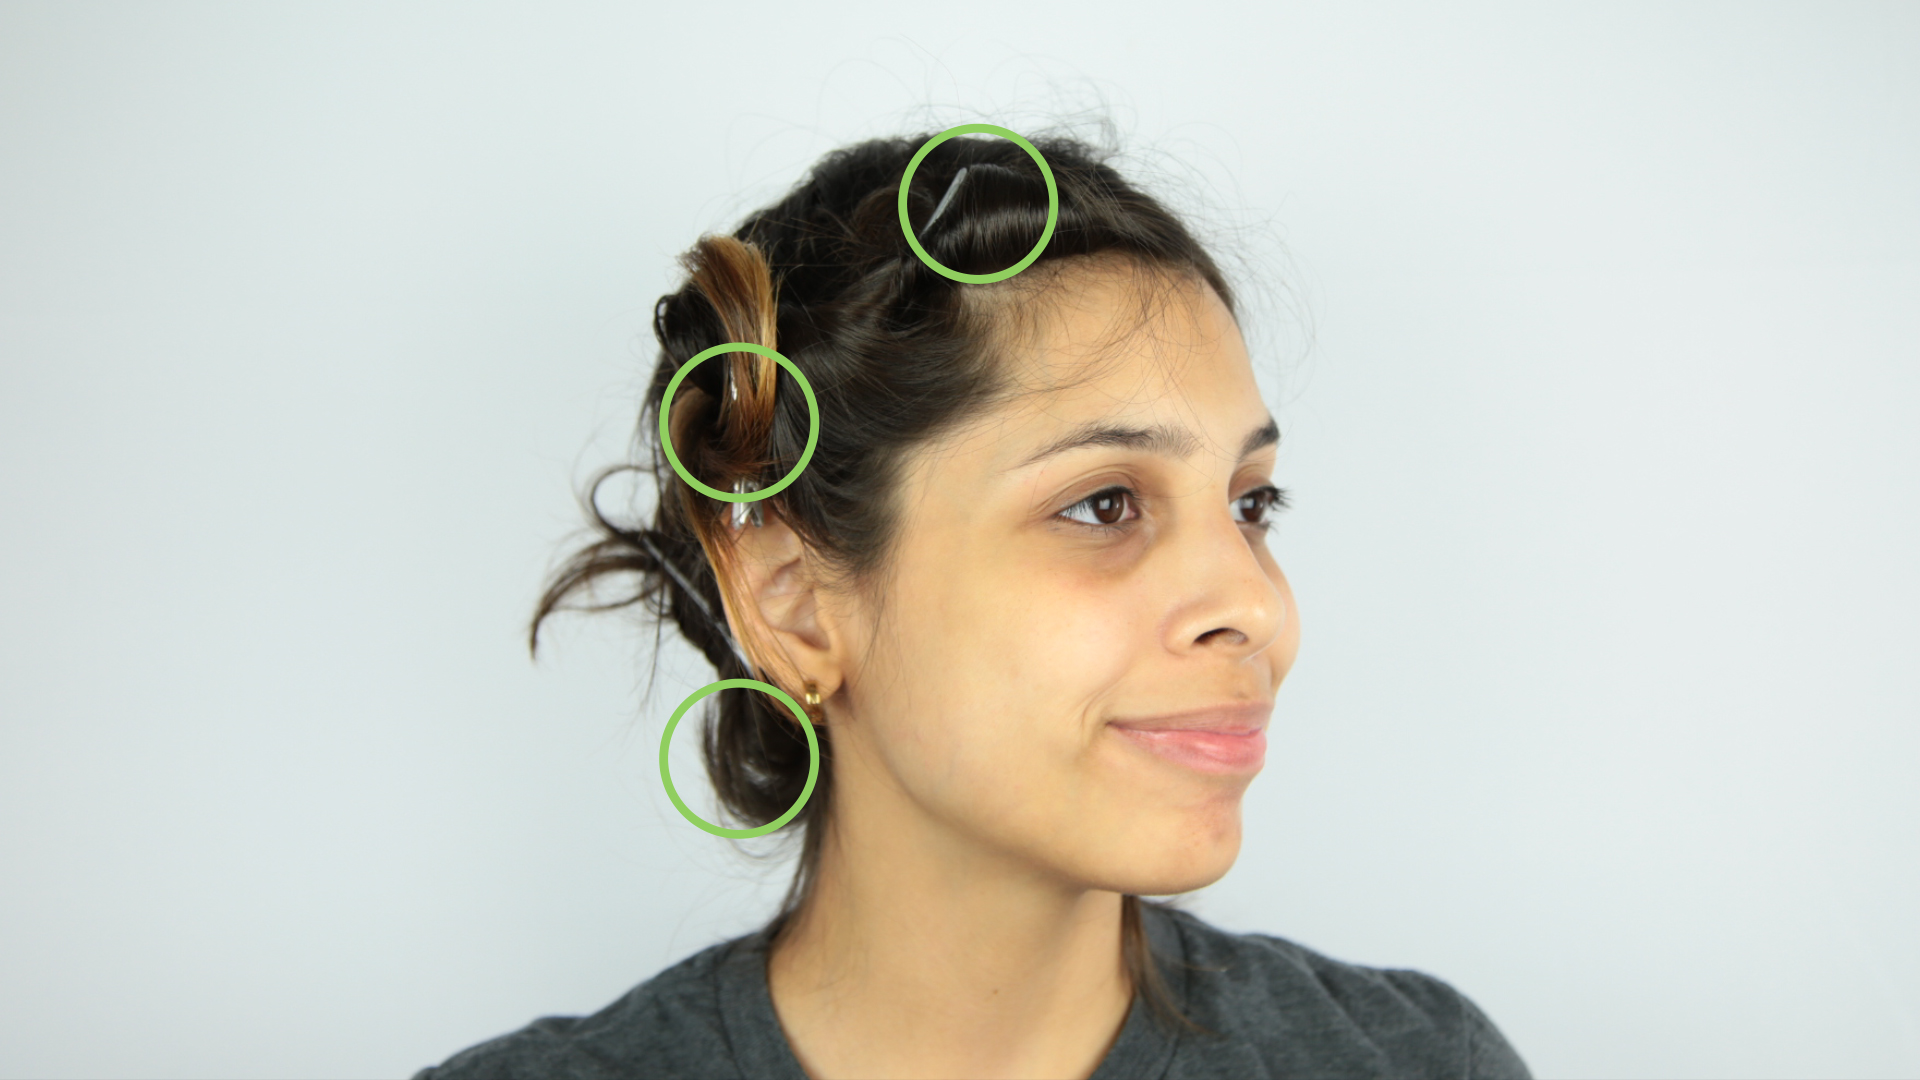
Divide your hair into manageable sections. A simple method is to clip the top half up and start with the bottom layers near the nape of your neck. Then work upward section by section. For thick hair, create more sections. For fine hair, fewer sections may be enough. Each working section should be no wider than your round brush and not too thick for the heat to pass through evenly.
Sectioning may seem like an annoying extra step, but it actually saves time. When you try to dry everything at once, the outside may look finished while the inner layers stay damp. Then the style falls flat in twenty minutes, which is deeply rude after all that arm exercise.
Step 4: Rough-Dry the Roots First
Before using the round brush for detailed styling, use your fingers and dryer to lift the roots. Keep the dryer moving and use medium heat when possible. If you want volume, direct the roots opposite the way they naturally fall. For example, lift crown sections upward or blow them slightly forward before styling them back. This creates root memory and helps the final blowout look fuller.
Step 5: Place the Brush Under the Section
Take one section of hair and place the round brush underneath it near the roots. Aim the blow dryer nozzle downward over the top of the section. Pull the brush gently away from your scalp to create tension, then move the dryer and brush together from roots to ends. The brush should lead and the dryer should follow. Imagine the dryer is a polite assistant, not a chaotic leaf blower.
Step 6: Keep the Nozzle Pointed Down
Air direction is one of the biggest differences between a smooth blowout and a frizzy one. Keep the nozzle angled down the hair shaft as you move from roots to ends. This helps smooth the surface of the hair and encourages shine. Do not press the dryer directly against the brush or hair. Keep a little distance, keep the dryer moving, and avoid cooking one spot like a grilled cheese sandwich.
Step 7: Roll the Ends for Bend
When you reach the ends, roll the brush inward, outward, or away from your face depending on the style you want. For a classic polished look, roll the ends under. For a flipped, airy finish, roll them outward. For soft face-framing movement, hold the brush vertically and twist away from the face as you pull through the section. This small wrist movement is where the “expensive blowout” effect starts to appear.
Step 8: Use the Cool Shot
Once a section is dry and shaped, use the cool shot button for a few seconds while the hair is still wrapped around or curved over the brush. Cooling helps set the style. Heat shapes the hair; cool air helps lock it in. If you skip this step, your hair may look good for the first five minutes and then slowly return to its original personality.
Step 9: Release the Brush Carefully
Do not yank the brush out. Gently unwind it or twist it through the ends. If the brush gets stuck, stay calm. Turn off the dryer, stop pulling, and slowly reverse the direction of the brush. Most tangles happen when too much hair is wrapped around the barrel or the section is rolled too many times. One clean wrap is usually enough.
How to Create Different Looks with a Round Brush
For Smooth, Straight Hair
Use a medium or large round brush and work with steady tension. Pull each section downward while pointing the dryer nozzle from roots to ends. Focus on smoothing the mid-lengths before shaping the ends. Finish with a small amount of lightweight serum or cream if needed, but avoid applying too much near the roots.
For Big Volume
Use a large round brush at the crown and lift each section straight up from the scalp. Aim the dryer at the roots first, then pull the brush through the section. For extra hold, let the hair cool while still lifted. You can also roll the crown section onto the brush, cool it, then release. This gives height without needing to tease the hair into a dramatic weather system.
For Soft Waves
Hold the brush vertically and roll the hair away from your face. Dry the section, cool it, then twist the brush as you release. Let the wave sit for a minute before touching it. Once all sections are done, use your fingers to loosen the shape. Avoid brushing aggressively afterward unless your goal is “romantic cloud.”
For Bangs or Face-Framing Layers
Use a smaller round brush for control. Dry bangs side to side first to reduce awkward separation, then roll them slightly under or back depending on the shape you want. For curtain bangs, direct each side away from the face and let the section cool before releasing. Small sections make a big difference here.
Common Round Brush Blow-Drying Mistakes
Starting When Hair Is Too Wet
If water is still dripping from your ends, wait. Starting too wet increases drying time and makes styling harder. Remove excess moisture first, then begin round-brush work when hair is damp.
Using Sections That Are Too Large
Oversized sections do not dry evenly. The outside gets hot while the inside stays damp, which leads to frizz and a style that collapses quickly. Smaller sections may feel slower, but they usually create better results in less total time.
Skipping the Nozzle
The concentrator nozzle focuses airflow and helps smooth hair. Without it, air blows everywhere, creating frizz and making the process harder to control. If your dryer came with a nozzle and it is currently living in a drawer with expired lip balm, reunite them.
Holding the Dryer Too Close
Blow dryers do not need to touch the hair to work. Keep some distance between the nozzle and your strands, and keep the dryer moving. This helps reduce overheating and keeps the finish smoother.
Forgetting to Let Hair Cool
If you brush through a warm section immediately, you may undo the shape you just created. Letting hair cool before touching it gives your blowout more staying power.
Round Brush Tips by Hair Type
Fine Hair
Fine hair can fall flat quickly, so focus on root lift and lightweight products. Use mousse or a volumizing spray, then dry the roots upward. A medium or large ceramic brush can help create body without too much curl. Avoid heavy oils before styling because they can make fine hair look limp.
Thick Hair
Thick hair needs sectioning more than any other hair type. Work in smaller sections and rough-dry thoroughly before round brushing. Use a brush with enough grip to create tension, and do not rush the cooling step. Thick hair may look dry on the outside while still holding moisture inside, so check each section before moving on.
Wavy Hair
Wavy hair often responds beautifully to a round brush because it already has natural movement. Use a smoothing product if frizz is a concern, then roll the ends in alternating directions for a soft, natural finish. Avoid over-brushing after styling, which can make waves expand.
Curly or Coily Hair
For curly or coily hair, moisture and gentle tension are key. Use a leave-in conditioner, heat protectant, and small sections. If your goal is a stretched blowout, work slowly from roots to ends and keep the hair taut without pulling harshly. Medium heat and controlled airflow are usually better than maximum heat. If your goal is to preserve curl definition, a diffuser may be a better option than a round brush.
How to Make Your Round Brush Blowout Last Longer
After styling, keep your hands out of your hair as much as possible. Touching transfers oil and can flatten the roots. Sleep on a silk or satin pillowcase if available, or loosely twist your hair into a soft bun before bed. In the morning, refresh the roots with a quick blast of cool or low warm air. Dry shampoo can help absorb oil, but use it lightly so the hair still moves.
Humidity is the natural enemy of a fresh blowout. If the weather is damp, finish with a flexible anti-frizz spray or light hairspray. Do not shellac the hair into place. A good blowout should move, not crunch.
Safety and Hair Health Tips
Round-brush blow-drying can be part of a healthy routine when done thoughtfully. Let hair partially dry before styling, use heat protectant, choose medium heat when possible, and give your hair heat-free days. If your hair feels rough, overly dry, or breaks easily, reduce heat styling and focus on conditioning. Healthy-looking results come from technique, not from turning your dryer to the temperature of a tiny dragon.
Also remember to clean your dryer filter. A clogged filter can reduce airflow, make drying take longer, and cause the dryer to overheat. Most people forget this until the dryer smells suspiciously dramatic. Check the back vent regularly and remove dust or lint according to the manufacturer’s instructions.
Real-Life Experience: What Actually Makes Round-Brushing Easier
The biggest lesson from learning how to dry hair with a round brush is that the first attempt may not look like a salon blowout, and that is completely normal. Most people struggle because they try to style hair that is too wet, grab sections that are too large, and move the brush too quickly. The technique feels awkward at first because one hand is holding the dryer, the other is turning the brush, and your brain is asking why humans did not evolve with a third styling arm. After a few tries, the movements become more natural.
One practical experience that helps immediately is starting with the front sections. The hair around the face is what most people notice first, so styling it while your arms are fresh makes a big difference. Begin with bangs, curtain bangs, or face-framing layers, then move to the sides and crown. The back does not have to be perfect enough for a magazine cover. It just needs to be dry, smooth, and not shaped like you slept in a hedge.
Another useful trick is to treat the round brush like a styling tool, not a detangling brush. Detangle before you start. Once you begin blow-drying, the brush should guide and shape the hair, not fight through knots. If a section is tangly, stop and comb it out gently. Pulling a round brush through knots can cause breakage and frustration, and frustration has never once improved a hairstyle.
For beginners, the easiest method is to rough-dry the whole head first until it is mostly dry, then use the round brush only for smoothing and shaping. This cuts down styling time and makes the brush easier to control. Trying to take hair from wet to finished with only a round brush is possible, but it requires more patience, strength, and coordination. Starting at 70 to 80 percent dry feels much more realistic for everyday life.
Product choice also becomes clearer with experience. Too much smoothing cream can make hair flat. Too much mousse can make hair feel stiff. Too much oil before blow-drying can make clean hair look strangely tired. A light layer of heat protectant and one styling product is usually enough. Add finishing product only after the hair is dry, and start with less than you think you need.
The cool shot is another step people often underestimate. In real life, it is the difference between a style that looks good while you are still in the bathroom and one that survives the trip downstairs, the walk outside, or the moment you put on a sweater. Letting each section cool before releasing the brush helps the bend stay in place. If you want extra volume at the crown, roll the section up on the brush, cool it, and release it last.
Finally, the best round-brush blowouts come from accepting your hair’s natural behavior. Fine hair may need lighter products and more root lift. Thick hair may need more sections. Wavy hair may need frizz control. Curly hair may need more moisture and gentler tension. The goal is not to force every strand into the same style; it is to use the round brush to polish what your hair already wants to do. Once you learn that, the process becomes less like a battle and more like a negotiationwith better lighting.
Conclusion
Drying hair with a round brush is a skill built from simple habits: start with damp hair, protect it from heat, section it properly, use the dryer nozzle, create steady tension, point airflow downward, shape the ends, and cool each section before release. It may feel clumsy at first, but the technique becomes easier every time you practice. With the right brush size and a little patience, you can create volume, smoothness, bend, and movement at home without turning your bathroom into a full salon production.
Note: This article is written for general educational and beauty-care purposes. For hair that is severely damaged, breaking, or affected by scalp concerns, consider getting personalized advice from a licensed stylist or dermatologist.













