
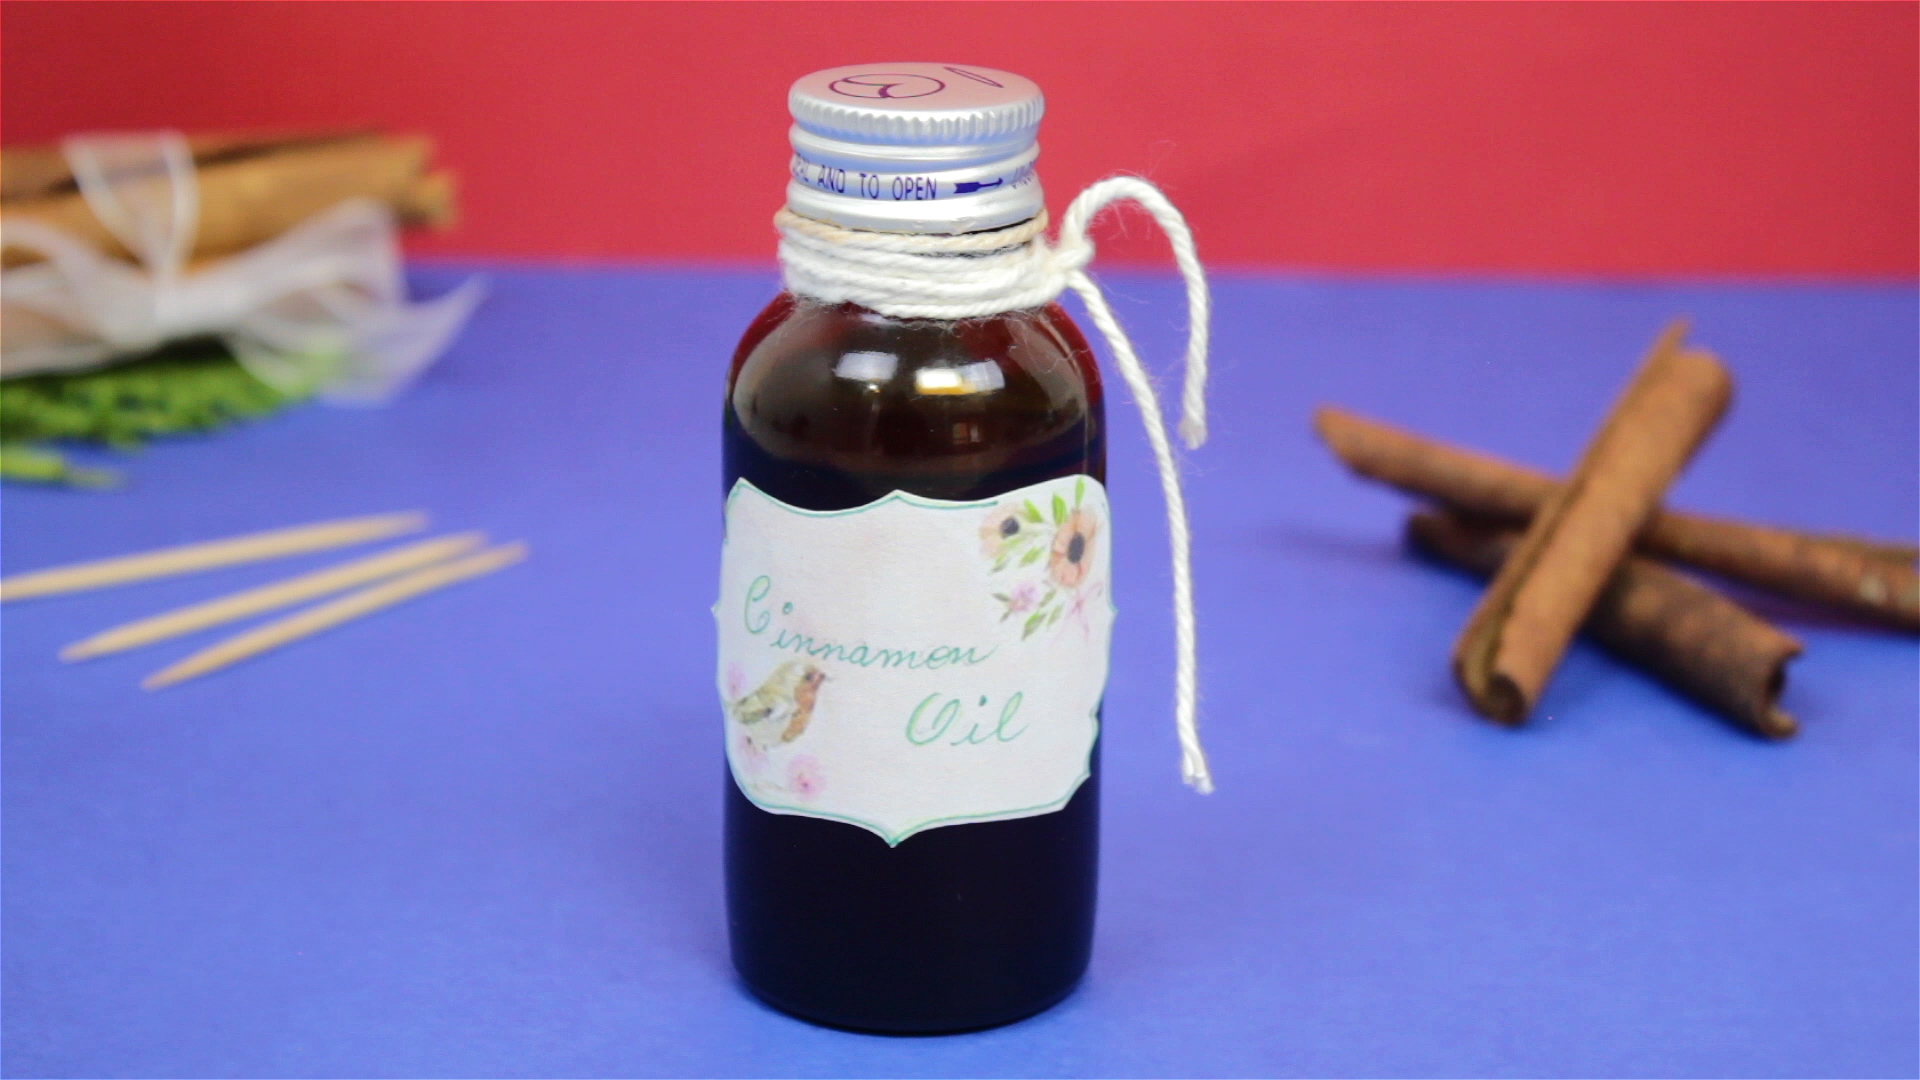
Cinnamon toothpicks are tiny, spicy, oddly addictive little things. They can freshen your breath, give your mouth a warm cinnamon kick, and satisfy the urge to chew on something without reaching for gum, candy, or the nearest pen cap like a stressed-out office raccoon. The good news? You can make them at home with just a few supplies, a little patience, and a healthy respect for cinnamon oil, which is not shy about making its presence known.
This guide explains how to make cinnamon toothpicks in 9 easy steps, including how to choose the right toothpicks, how long to soak them, how to dry them properly, and how to store them so they stay flavorful. You will also learn important safety tips, because cinnamon oil is concentrated and can irritate your mouth, lips, skin, or stomach if used carelessly. Homemade cinnamon toothpicks should be bold, not volcanic. Your taste buds should feel awake, not like they filed a complaint with management.
Before you start, remember one key rule: use only food-grade cinnamon flavoring or cinnamon oil intended for culinary use. Do not use random aromatherapy oils, diffuser oils, fragrance oils, or anything labeled “external use only.” Toothpicks go in your mouth, so the flavoring must be suitable for that purpose. When in doubt, do not use it.
What Are Cinnamon Toothpicks?
Cinnamon toothpicks are wooden toothpicks infused with cinnamon flavor, usually from cinnamon oil or cinnamon flavoring. They are commonly used after meals, during road trips, while quitting smoking, or simply as a flavorful chew. Many people like them because they provide a strong, warm taste without sugar. They are also easy to carry, inexpensive to make, and surprisingly customizable.
Most wooden toothpicks are made from birch or another light hardwood because it is smooth, sturdy, and absorbent enough to hold flavor. When soaked in cinnamon oil or diluted cinnamon flavoring, the wood absorbs the spicy liquid. After drying, the toothpicks release that flavor slowly as you hold or chew them.
However, cinnamon toothpicks are not a replacement for brushing, flossing, or dental care. They may help remove a visible food particle in a pinch, but they do not clean between teeth like floss. Use them gently and occasionally. If your gums are sensitive, irritated, bleeding, or healing from dental work, skip them until your mouth is back to normal.
Supplies You Need
Making homemade cinnamon toothpicks is simple, but using the right supplies makes the process safer and cleaner. Here is what you need:
- 100 to 200 plain wooden toothpicks, preferably round birch toothpicks
- 1 to 2 ounces food-grade cinnamon oil or cinnamon flavoring
- Optional: fractionated coconut oil or another food-safe carrier oil for dilution
- A small glass jar with a tight-fitting lid
- Tongs or clean tweezers
- Parchment paper, wax paper, or a clean non-absorbent tray
- Paper towels for cleanup
- An airtight glass container, tin, or small food-safe pouch for storage
- Disposable gloves, especially if you have sensitive skin
A glass jar is strongly recommended because cinnamon oil can cling to plastic and leave a powerful smell behind. Plastic containers may also stain or absorb the flavor. In other words, unless you want your leftover pasta sauce container to smell like a holiday candle forever, use glass.
How to Make Cinnamon Toothpicks: 9 Steps
Step 1: Choose Plain, Unsplintered Toothpicks
Start with clean, plain wooden toothpicks. Avoid toothpicks that are colored, painted, coated, heavily bleached, scented, or already flavored. Round toothpicks often work well because they are smooth and comfortable to hold in the mouth. Flat toothpicks can work too, but they may break or splinter more easily when chewed.
Inspect the toothpicks before soaking. Toss any that are cracked, rough, or visibly splintered. A cinnamon toothpick should be spicy, not a tiny wooden porcupine. Smooth wood is safer and gives a better finished product.
Step 2: Pick Food-Grade Cinnamon Oil or Flavoring
This is the most important step. Use food-grade cinnamon oil, cinnamon candy flavoring, or cinnamon flavoring specifically intended for culinary use. Look for labeling that indicates it can be used in candy, baking, beverages, or food preparation. If the bottle says “for diffuser use,” “for aromatherapy,” “for external use only,” or “not for internal use,” do not use it for toothpicks.
Cinnamon oil is very concentrated. A little goes a long way. Many commercial cinnamon candies and flavorings get their hot cinnamon character from cinnamaldehyde, the compound responsible for cinnamon’s intense aroma and bite. That heat can be enjoyable in small amounts, but too much can irritate your mouth or lips. Choose carefully and treat the oil with respect.
Step 3: Decide Whether to Dilute the Cinnamon Oil
If you want extremely strong cinnamon toothpicks, you can soak them in cinnamon oil or flavoring alone. However, many people prefer diluting the oil so the toothpicks are warm and flavorful instead of “why did I challenge a dragon?” hot.
For a milder batch, mix cinnamon oil with a small amount of food-safe carrier oil, such as fractionated coconut oil. A simple beginner-friendly ratio is 1 part cinnamon oil to 1 or 2 parts carrier oil. For example, you might use 1 tablespoon cinnamon oil with 1 to 2 tablespoons fractionated coconut oil. If you are using cinnamon candy flavoring that is already formulated for food use, check the label directions before diluting.
Make a small test batch first. Flavor strength depends on the product, the number of toothpicks, and how long you soak them. It is easier to make a second stronger batch than to rescue toothpicks that taste like they were marinated in fireworks.
Step 4: Add the Cinnamon Mixture to a Glass Jar
Pour your cinnamon oil or diluted cinnamon mixture into a clean glass jar. You do not need to fill the jar completely. You only need enough liquid to coat or partially submerge the toothpicks. For 100 toothpicks, 1 to 2 ounces is usually enough, depending on the jar shape.
A narrow jar works better than a wide one because it keeps the liquid deeper and allows the toothpicks to stand more closely together. If your jar is wide, you may need more oil to reach the same soaking depth. Keep the jar on a stable surface, away from pets, children, and anything you do not want smelling like cinnamon for the next century.
Step 5: Place the Toothpicks in the Jar
Place the toothpicks into the jar carefully. You can stand them upright or lay them sideways, depending on the container. Try to make sure the tips or most of the toothpicks touch the cinnamon mixture. If the liquid does not cover all the wood, close the jar and gently tilt or roll it every few hours to distribute the flavor evenly.
Do not shake the jar aggressively. Cinnamon oil can leak, splash, or coat the lid. A gentle turn is enough. If you are using gloves, this is the moment when you will feel very wise and prepared. If you are not using gloves, wash your hands thoroughly afterward and avoid touching your eyes. Cinnamon oil near the eyes is not a learning experience anyone needs.
Step 6: Soak the Toothpicks
Seal the jar tightly and let the toothpicks soak. For a light cinnamon flavor, soak them for 2 to 4 hours. For a stronger flavor, soak them overnight. For very bold toothpicks, some people soak them for 24 hours or longer, but longer soaking increases the chance of mouth irritation if the oil is too strong.
A good starting point is 8 to 12 hours. This usually gives the wood time to absorb enough flavor without becoming overwhelmingly hot. If you are making cinnamon toothpicks for the first time, do not begin with a two-day soak. That is like learning to swim by jumping into the ocean during a thunderstorm. Start moderate, test one, and adjust your next batch.
Step 7: Remove and Drain the Toothpicks
Once the toothpicks have soaked to your preferred strength, remove them using clean tongs or tweezers. Let excess oil drip back into the jar. Place the toothpicks in a single layer on parchment paper, wax paper, or a clean non-absorbent tray.
Avoid drying them directly on paper towels at first because the paper may absorb too much of the oil and pull flavor from the toothpicks. After the first stage of drying, you can use paper towels lightly to blot any excess. Keep the drying area away from heat, flames, pets, and curious children. Essential oils and concentrated flavorings should always be handled carefully.
Step 8: Dry Them Completely
Let the toothpicks air-dry until they feel dry to the touch. This may take several hours or overnight, depending on how much oil they absorbed and how humid your room is. Turn them once or twice during drying so all sides can air out evenly.
Do not rush the process with an oven, microwave, or open flame. Heat can change the flavor, increase fumes, or create safety issues. Room-temperature drying is simple and effective. The toothpicks are ready when they are no longer wet or oily on the outside but still smell strongly of cinnamon.
Step 9: Store and Enjoy Responsibly
Transfer the dried cinnamon toothpicks to an airtight glass jar, small metal tin, or food-safe pouch. Label the container with the flavor and date. Store it in a cool, dry place away from direct sunlight. Properly dried toothpicks can keep their flavor for several weeks, though the intensity may fade over time.
Use one toothpick at a time. Hold it gently in your mouth or chew lightly. Do not bite hard, swallow pieces, poke your gums, or use toothpicks as a substitute for floss. If your mouth burns, tingles painfully, develops sores, or feels irritated, stop using them. Homemade cinnamon toothpicks should be a small pleasure, not a dental dare.
Safety Tips for Homemade Cinnamon Toothpicks
Cinnamon oil is powerful. Even when it is food-grade, it is still concentrated and should be used in small amounts. People with sensitive mouths, allergies, oral sores, braces, gum disease, dental restorations, or recent dental work should be cautious. Children should not use strong cinnamon toothpicks, and these should always be kept out of reach of young kids and pets.
If you take medications, have liver disease, diabetes, bleeding disorders, or allergies to cinnamon, ask a healthcare professional before using cinnamon products frequently. This is especially important if you tend to chew toothpicks for long periods. Occasional use is different from having cinnamon oil in your mouth all day like a tiny spicy roommate.
Also remember that toothpicks can splinter. Chew gently and discard a toothpick as soon as it becomes soft, sharp, cracked, or frayed. Never walk, drive, exercise, or lie down with a toothpick in your mouth. It sounds obvious, but many safety rules exist because someone, somewhere, gave common sense the afternoon off.
Flavor Variations You Can Try
Once you understand the basic method, you can experiment with other food-grade flavors. Peppermint, clove, orange, vanilla, and wintergreen are common options, but each flavoring has its own strength and safety considerations. Clove and cinnamon are both intense, so use them sparingly. Citrus oils can be bright and refreshing, but they should still be food-grade and used carefully.
You can also blend flavors. Cinnamon-orange toothpicks taste warm and festive. Cinnamon-vanilla gives a softer candy-like profile. Cinnamon-peppermint is bold and breath-friendly, though it can become very strong if both oils are concentrated. For blended toothpicks, make very small batches until you find the right ratio.
Common Mistakes to Avoid
Using Non-Food-Grade Essential Oil
This is the biggest mistake. Aromatherapy oil is not automatically safe for oral use. Always read the label. If the product is not intended for food or flavoring, do not use it.
Soaking Too Long
Longer soaking creates stronger toothpicks, but stronger is not always better. If your first batch burns your lips, reduce the soaking time or dilute the cinnamon oil next time.
Skipping the Drying Step
Wet, oily toothpicks can be messy and too intense. Dry them fully before storing. This also helps prevent them from clumping together in the container.
Using Too Much Force While Chewing
Cinnamon toothpicks are for gentle chewing or holding in the mouth. Biting down hard can splinter the wood or irritate your gums.
Making a Giant First Batch
Start small. Make 25 to 50 toothpicks first, test the strength, and then scale up. A test batch saves oil, toothpicks, and possibly your dignity.
How Long Do Cinnamon Toothpicks Last?
Homemade cinnamon toothpicks usually taste best within the first few weeks. If stored in an airtight container, they may hold flavor longer, but the aroma will gradually fade. If they smell stale, feel damp, show discoloration, or develop any odd odor beyond cinnamon, throw them away.
For best results, make small batches. This keeps the flavor fresh and gives you room to adjust each batch. You may find that you prefer a shorter soak in summer, a stronger soak in winter, or a different dilution depending on the brand of cinnamon oil.
When Should You Not Use Cinnamon Toothpicks?
Do not use cinnamon toothpicks if you have mouth ulcers, cracked lips, gum inflammation, oral allergies, or burning mouth symptoms. Avoid them after dental surgery or if your dentist has told you to avoid chewing hard objects. They are also not ideal for people who compulsively chew toothpicks until they break apart.
If you are trying to quit smoking, cinnamon toothpicks may help with the hand-to-mouth habit, but they are not a medical treatment for nicotine addiction. They can be part of a broader strategy that may include counseling, nicotine replacement therapy, prescription support, or behavior changes. Think of cinnamon toothpicks as a helpful sidekick, not the superhero wearing the cape.
Real-Life Experience: What Making Cinnamon Toothpicks Teaches You
The first thing you learn when making cinnamon toothpicks is that cinnamon oil does not believe in being subtle. Open the bottle and the whole kitchen knows what is happening. The air turns warm and spicy, and suddenly your countertop smells like a candy shop moved into a log cabin. This is charming for about five minutes and then very educational. Ventilation helps.
A practical lesson from making these at home is that small batches are your best friend. It is tempting to dump a mountain of toothpicks into a jar and declare yourself the mayor of Cinnamon City, but testing 25 toothpicks first is smarter. Different cinnamon oils vary in strength. One brand may create a pleasant warmth after six hours, while another may produce toothpicks so fiery they seem personally offended by your mouth.
Another experience worth noting is that drying takes longer than expected. Toothpicks may look dry on the outside while still carrying a slick layer of oil. If you store them too early, they can feel greasy and overly intense. Letting them sit overnight on parchment paper usually produces a cleaner, easier-to-handle result. The patience pays off. A properly dried cinnamon toothpick feels neat, smells strong, and releases flavor gradually instead of attacking all at once.
You also discover that dilution is not weakness. Some DIY recipes act as if the strongest possible toothpick is the goal, but comfort matters. A diluted cinnamon mixture can taste better because it gives you flavor without irritation. The best cinnamon toothpick is not the one that makes your eyes water. It is the one you actually enjoy using.
Storage matters too. Glass containers preserve the flavor well and do not absorb the scent as badly as plastic. Small tins are convenient for carrying a few toothpicks, but they should be clean, dry, and used only for food-safe items. If you make these as gifts, tiny glass vials or paper envelopes can look charming, but include a simple label. Mention that they contain cinnamon and should be used gently. Homemade gifts are wonderful; surprise mouth fire is less wonderful.
One of the nicest parts of the process is how customizable it becomes. After your first batch, you start thinking like a flavor scientist. What if you add orange? What if you use vanilla? What if peppermint joins the party? This is where DIY gets fun. Just keep safety first and use only food-grade ingredients. Your kitchen experiments should end with tasty toothpicks, not a call to Poison Control.
Finally, making cinnamon toothpicks reminds you that simple projects can be satisfying. There is no complicated equipment, no dramatic technique, and no need to own a workshop full of tools. You soak, wait, dry, store, and enjoy. The result is useful, inexpensive, and a little nostalgic. It feels like something from an old general store, except you made it yourself and did not have to wear suspenders or say “much obliged” unless you really wanted to.
Conclusion
Learning how to make cinnamon toothpicks is easy, affordable, and surprisingly enjoyable. With plain wooden toothpicks, food-grade cinnamon oil or flavoring, a glass jar, and a little drying time, you can create a spicy homemade chew that is perfect for freshening your mouth after meals or keeping your chewing habit busy. The key is moderation: choose safe ingredients, start with a small batch, avoid over-soaking, and use the finished toothpicks gently.
Cinnamon toothpicks are not dental tools, medical treatments, or a reason to stop flossing. They are simply a fun DIY project with a warm, bold flavor. Make them carefully, store them properly, and adjust each batch until you find your ideal cinnamon level. Once you do, you may never look at a plain toothpick the same way again.
Note: Use only food-grade cinnamon flavoring or cinnamon oil intended for culinary use. Avoid aromatherapy oils, diffuser oils, and products labeled for external use only. Stop using cinnamon toothpicks if they irritate your mouth, lips, gums, or stomach.












